by
by 
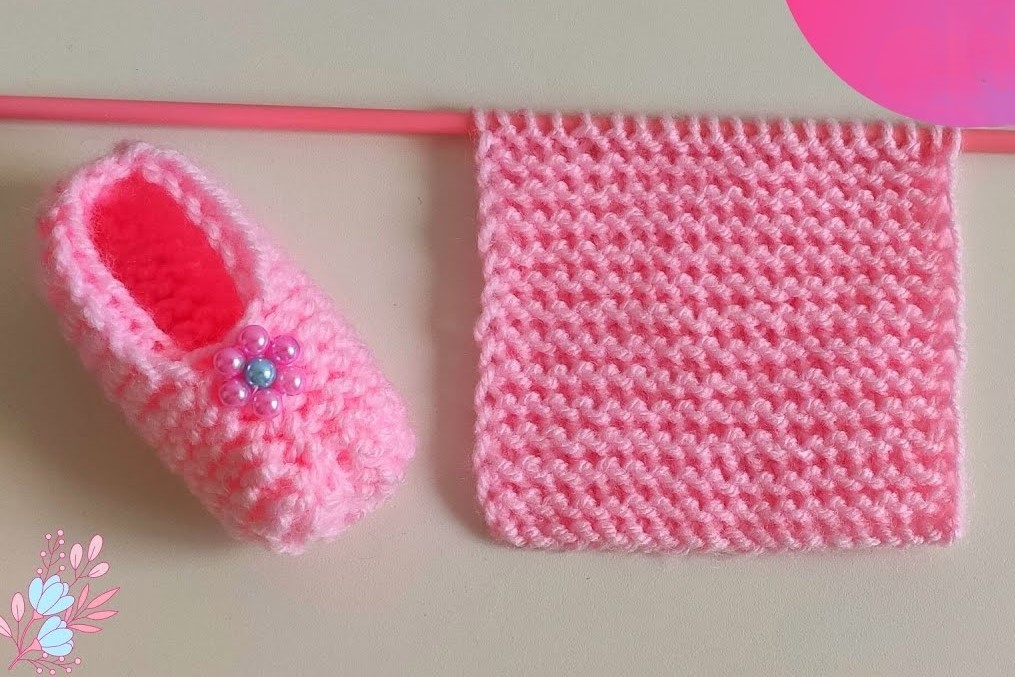
Welcome, fellow yarn enthusiasts! If you’re looking for a heartwarming project that works up quickly and makes a wonderful gift, you’ve come to the right place. Today, we’re diving into a simple yet charming crochet baby shoes pattern designed especially for beginners. These little booties are not only incredibly cute but also a fantastic way to practice basic crochet stitches. So, grab your yarn and let’s craft some tiny treasures!
What You’ll Need:
- Yarn: Worsted weight yarn in your desired color(s). A soft, baby-friendly yarn is always a great choice. You won’t need much – scraps often work perfectly!
- Crochet Hook: A size H/8 (5.0 mm) crochet hook, or the size recommended for your yarn.
- Scissors: For snipping yarn ends.
- Yarn Needle: For weaving in those loose ends.
- Measuring Tape (Optional): To ensure sizing.
Abbreviations (US Crochet Terms):
- ch = chain
- sc = single crochet
- hdc = half double crochet
- dc = double crochet
- sl st = slip stitch
- st(s) = stitch(es)
- rep = repeat

Gauge:
While gauge isn’t critical for this small project, knowing it can help with sizing. A typical gauge for worsted weight yarn with an H/8 hook is around 11-14 hdc stitches in a 4-inch width.
Sizing:
This pattern is written for approximately a 0-3 month old (sole length around 3.5 inches). You can adjust the size slightly by going up or down a hook size or by adding/subtracting rows to the sole.
Video tutorial
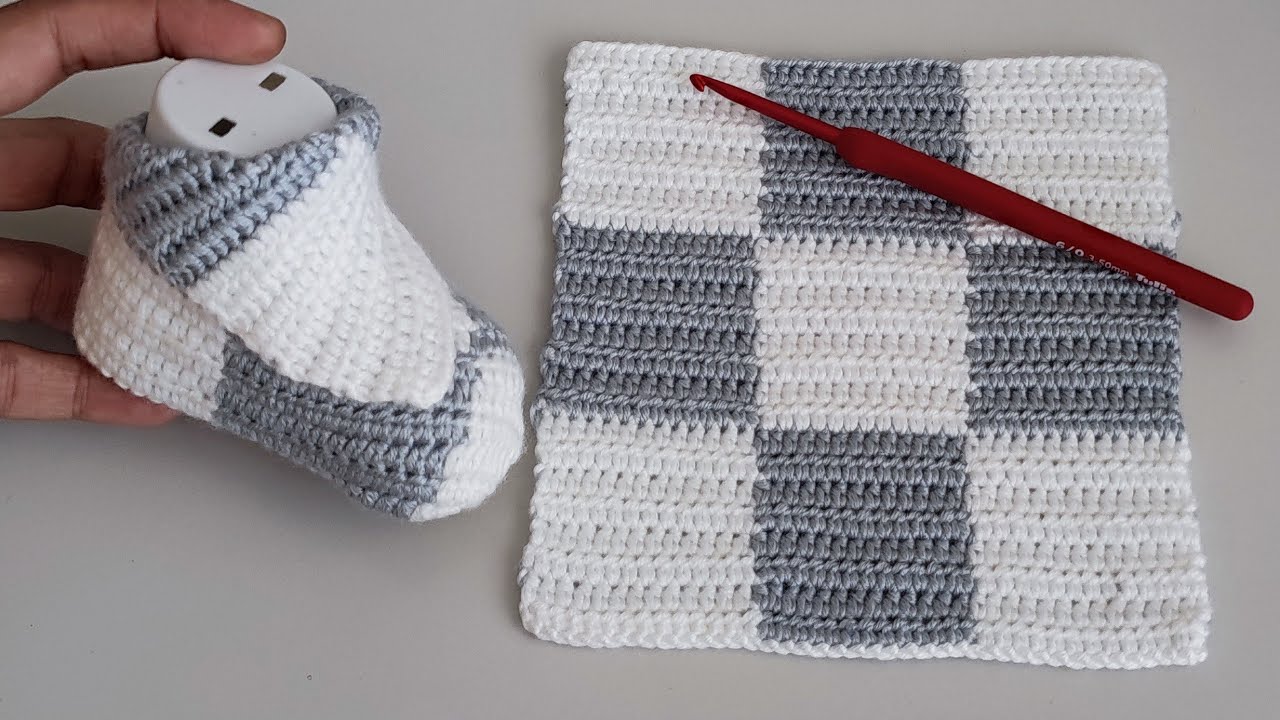
Let’s Get Started! The Sole:
We’ll begin by creating the sole of the baby shoe.
Round 1: Ch 11. In the 2nd ch from the hook, sc 1. Sc in the next 8 chs. In the last ch, work 3 sc. Now, working on the other side of the chain, sc in the next 8 chs. Sc in the last ch. Sl st to the first sc to join. (22 sts)
Round 2: Ch 1. Sc in the same st. Sc in the next 9 sts. 2 sc in each of the next 3 sts. Sc in the next 9 sts. 2 sc in the last st. Sl st to the first sc to join. (26 sts)
Round 3: Ch 1. Sc in the same st. Sc in the next 10 sts. (Sc, 2 sc) in the next st. Repeat from * to * twice. Sc in the next 10 sts. 2 sc in the last st. Sl st to the first sc to join. (30 sts)
Round 4: Ch 1. Sc in the same st. Sc in the next 11 sts. (Sc, 2 sc) in the next st. Repeat from * to * twice. Sc in the next 11 sts. 2 sc in the last st. Sl st to the first sc to join. (34 sts)
- Note: For a slightly larger sole (3-6 months), you can add one more round, increasing in the curved edges.
Building the Upper:
Now we’ll start working on the upper part of the shoe.
Round 5: Ch 1. Sc in the back loop only of each st around. Sl st to the first sc to join. (34 sts)
Round 6: Ch 1. Sc in each st around. Sl st to the first sc to join. (34 sts)
Round 7: Ch 1. Sc in each st around. Sl st to the first sc to join. (34 sts)
Shaping the Toe:
This is where we’ll create the rounded shape for the baby’s toes.
Round 8: Ch 1. Sc in the next 10 sts. Hdc in the next 4 sts. Dc in the next 6 sts. Hdc in the next 4 sts. Sc in the remaining 10 sts. Sl st to the first sc to join. (34 sts)
Round 9: Ch 1. Sc in the next 10 sts. Hdc in the next 4 sts. Dc in the next 3 sts. Hdc in the next 4 sts. Sc in the remaining 10 sts. Sl st to the first sc to join. (31 sts)
Round 10: Ch 1. Sc in the next 10 sts. Hdc in the next 4 sts. Dc in the next st. Hdc in the next 4 sts. Sc in the remaining 10 sts. Sl st to the first sc to join. (29 sts)

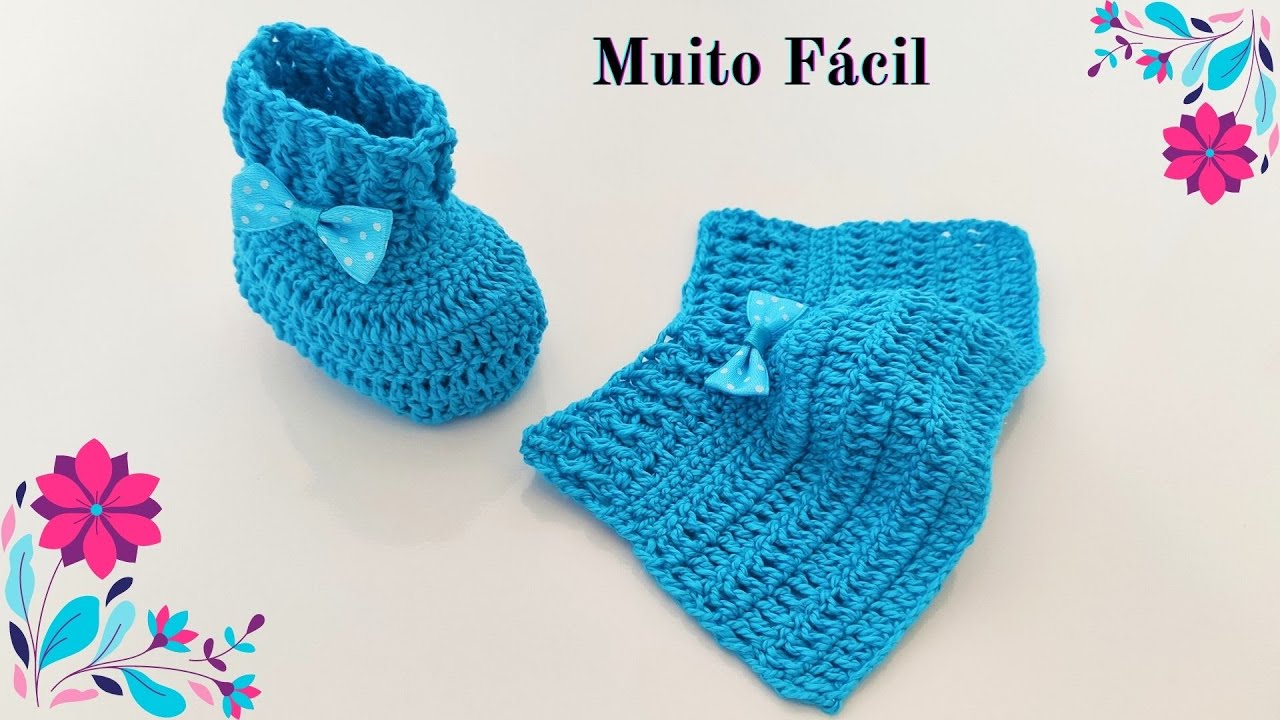
Creating the Ankle Strap (Optional):
This adds a sweet detail and helps keep the shoe on little feet.
Round 11: Ch 1. Sc in the next 12 sts. Ch 10 (this will be the strap). Skip the next 5 sts. Sc in the remaining 12 sts. Sl st to the first sc to join. (24 sc + 10 ch)
Round 12: Ch 1. Sc in the next 12 sts. Sc in each of the 10 chs. Sc in the remaining 12 sts. Sl st to the first sc to join. (34 sts)
Finishing:
- Fasten off your yarn, leaving a long tail.
- Use your yarn needle to weave in all loose ends securely.
Making the Button Loop (Optional):
If you added the ankle strap, you’ll need a loop for the button.
- With your yarn needle and a small piece of yarn, create a small loop on the opposite side of the strap (towards the side of the shoe). Secure it tightly.
- Alternatively, you can crochet a small chain and attach it to form a loop.
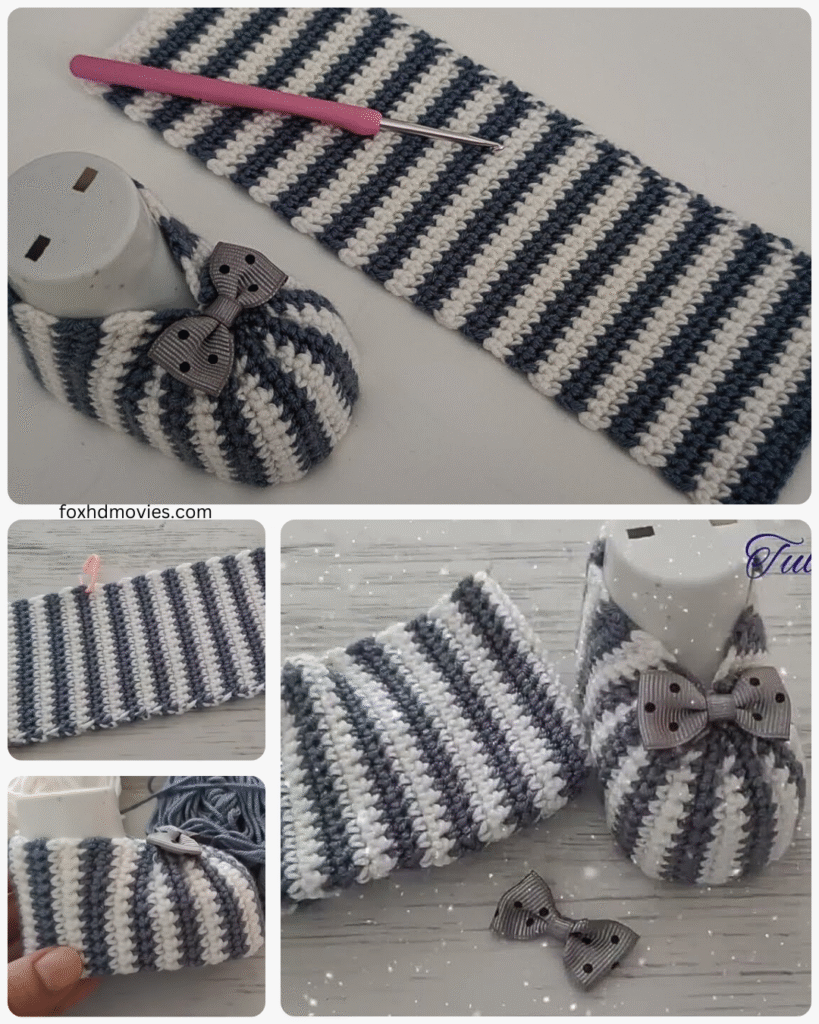
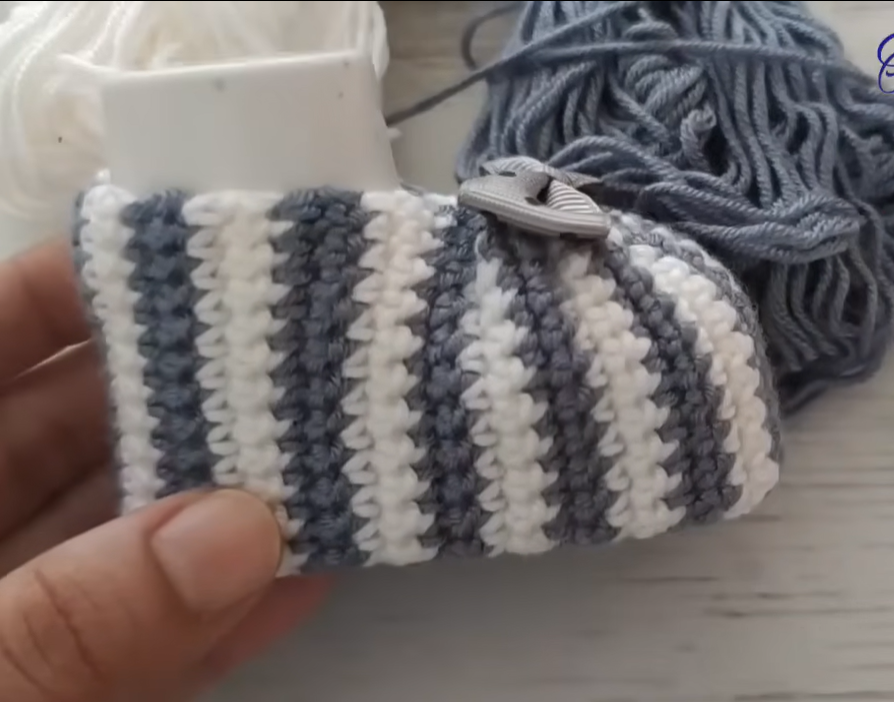
Adding a Button (Optional):
- Sew a cute button onto the side of the shoe opposite the ankle strap loop.
Making the Second Shoe:
Simply repeat the entire pattern to create the second baby shoe.
Tips for Beginners:
- Practice your stitches: Before starting the shoes, practice your single crochet, half double crochet, and double crochet stitches to ensure they are consistent.
- Count your stitches: It’s crucial to count your stitches at the end of each round, especially in the sole, to ensure the correct shape and size.
- Don’t be afraid to frog (rip it out): If you make a mistake, don’t hesitate to undo your work and try again. Every crocheter does it!
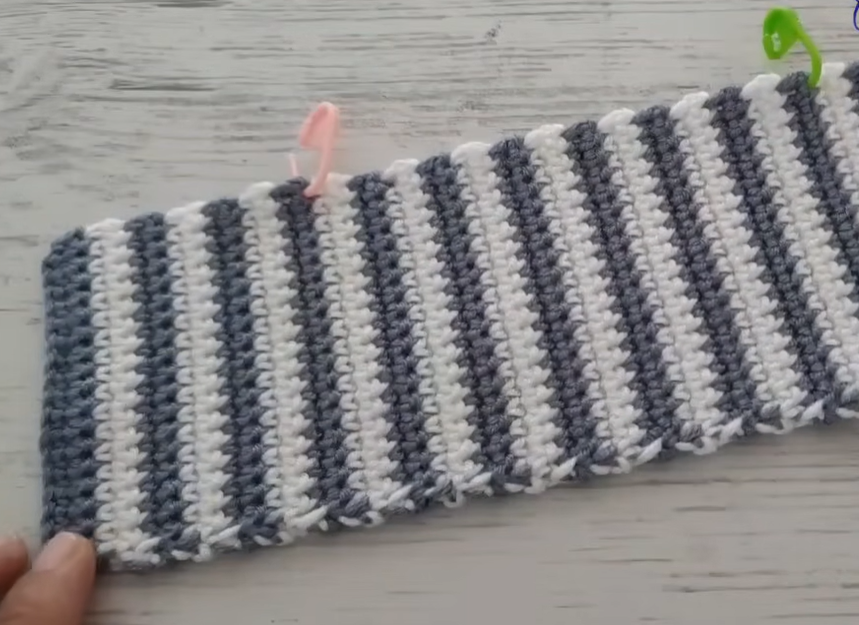
- Have fun with colors: Get creative with color combinations! You can make the sole and upper different colors or add stripes.
- Consider embellishments: Once you’re comfortable with the basic pattern, you can add small embellishments like crocheted flowers, bows, or embroidered details.
Congratulations!
You’ve now created a beautiful pair of handmade crochet baby shoes. These little booties are perfect for keeping tiny toes warm and make a thoughtful and personal gift for baby showers or new arrivals.