by
by 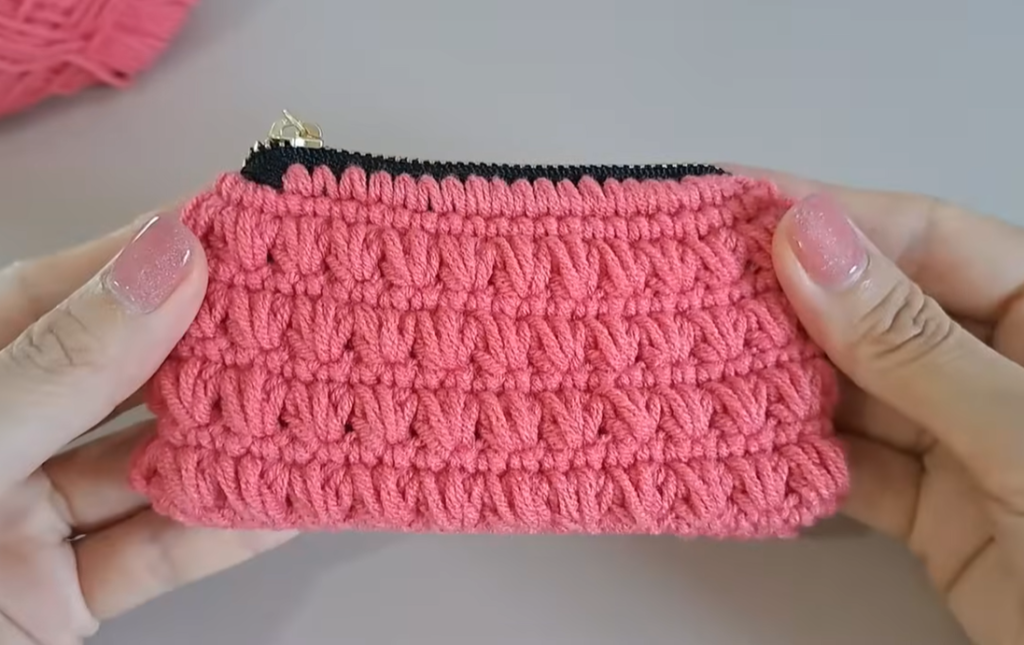
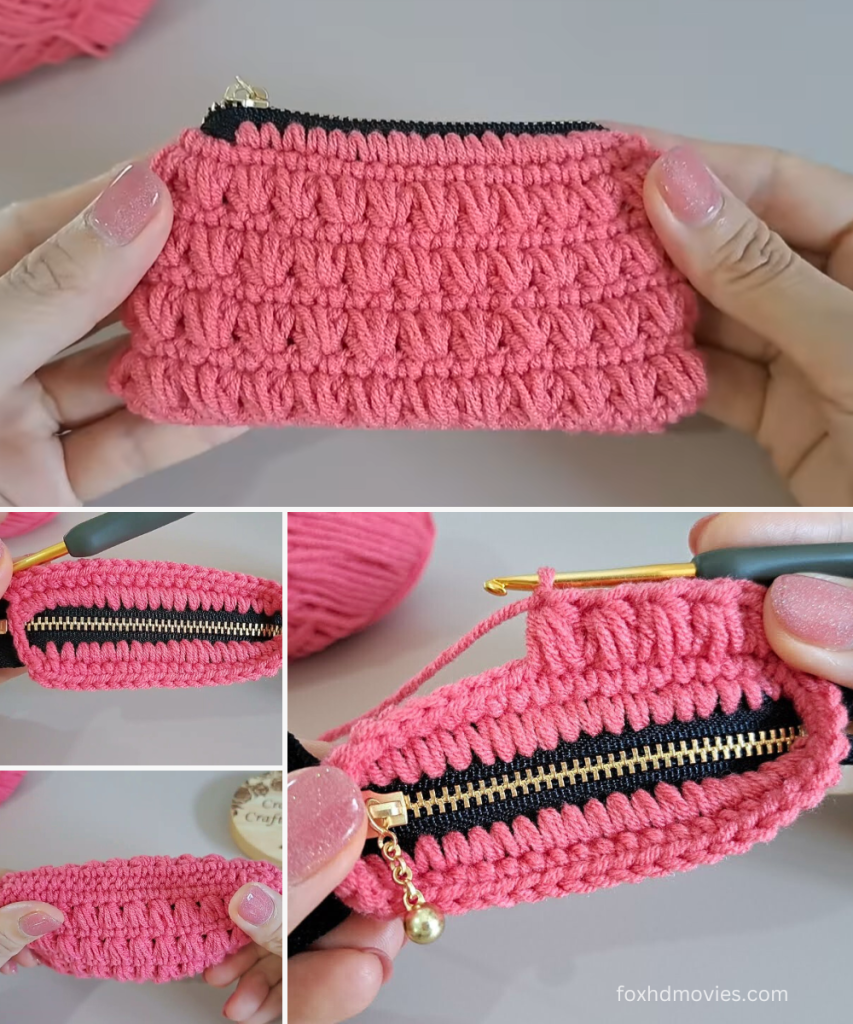
This pattern creates a compact and stylish coin purse with a prominent textured stitch, perfect for small essentials like coins, cards, or earbuds.
Approximate Finished Size:
- Width: 4.5-5 inches (11.5-12.5 cm)
- Height: 3-3.5 inches (7.5-9 cm)
Materials:
- Yarn: Worsted Weight (Category 4) cotton or acrylic yarn in pink (or desired color).
- Approx. 50-70 yards (45-65 meters)
- Crochet Hook: 3.5mm (E/4) or 4.0mm (G/6) hook (adjust to achieve a dense fabric with no gaps, suitable for a purse).
- Zipper: One (1) 5-inch (12-13 cm) nylon or polyester zipper (matching color, or black as in the image).
- Yarn Needle: For weaving in ends and sewing on the zipper.
- Sewing Needle and Thread: Matching thread for sewing the zipper (optional, can also use yarn needle and yarn).
- Scissors
- Stitch Markers (optional but recommended)
Gauge: Working in the textured stitch (explained below), approximately 16 stitches (based on dc count) x 10 rows = 4 inches (10 cm).
- Achieving the correct gauge is important for the final size of the purse and how well the zipper fits.
Abbreviations (US Terms):
- ch: chain
- sl st: slip stitch
- sc: single crochet
- dc: double crochet
- sk: skip
- st(s): stitch(es)
- F.O.: Fasten Off
- Puff Stitch (PS): [Yarn over, insert hook into stitch, yarn over, pull up a loop] 3 times in the same stitch (7 loops on hook), yarn over, pull through all 7 loops on hook.
Ch 1to secure. - V-Stitch (V-st): (
dc,ch 1,dc) in the same stitch/space.
Pattern Instructions: The Purse Body
The purse is worked in joined rounds from the base up.
Part 1: Base of the Purse (Oval)
Start with your main color yarn.
Foundation Chain: Ch 21.
Round 1: Sc in the 2nd ch from the hook. Sc in the next 18 chs. Work 3 sc in the last ch. (This turns the corner). Now working on the other side of the foundation chain, sc in the next 18 chs. Work 2 sc in the last ch (same ch as first sc). Sl st to the first sc to join. (42 sc total).
Round 2: Ch 1 (does not count as a stitch). Sc in the first sc. Sc in the next 18 sts. Inc in the next 3 sts. Sc in the next 18 sts. Inc in the next 2 sts. Sl st to the first sc. (48 sc total).
Round 3: Ch 1. Sc in BLO of each st around. Sl st to the first sc. (48 sc total).
- This round creates a defined edge for the base of the purse to stand up.
Part 2: Body of the Purse (Textured Stitch)
The textured stitch in the image appears to be a variant of puff stitches combined with single crochets. We will use a repeating two-round pattern.

Round 1 (Puff Stitch Layer): Ch 1 (does not count as a stitch). Sc in the first st. Puff Stitch in the next st, sc in the next st. Repeat from * to * around. Sl st to the first sc. (24 Puff stitches and 24 sc).
Round 2 (Single Crochet Layer): Ch 1 (does not count as a stitch). Sc in the first sc (the sc from previous round). Sc in the top of the next Puff Stitch. Sc in the next sc (from previous round), sc in the top of the next Puff Stitch. Repeat from * to * around. Sl st to the first sc. (48 sc total). * This round works into the previous sc and the top of the Puff Stitch to create the staggered, textured look.
Repeat Rounds 1 and 2 for the body of the purse until it reaches your desired height (approx. 3-3.5 inches / 7.5-9 cm). The image shows about 4-5 sets of these two rounds after the base.
- End with a Round 2 (single crochet layer) before moving to the top edge for zipper attachment.
Part 3: Top Edge for Zipper
To create a clean edge for sewing the zipper.
Round 1: Ch 1. Sc in each st around. Sl st to the first sc. (48 sc)
Round 2: Ch 1. Sc in each st around. Sl st to the first sc. (48 sc)
F.O. Weave in all loose ends securely.
Video tutorial
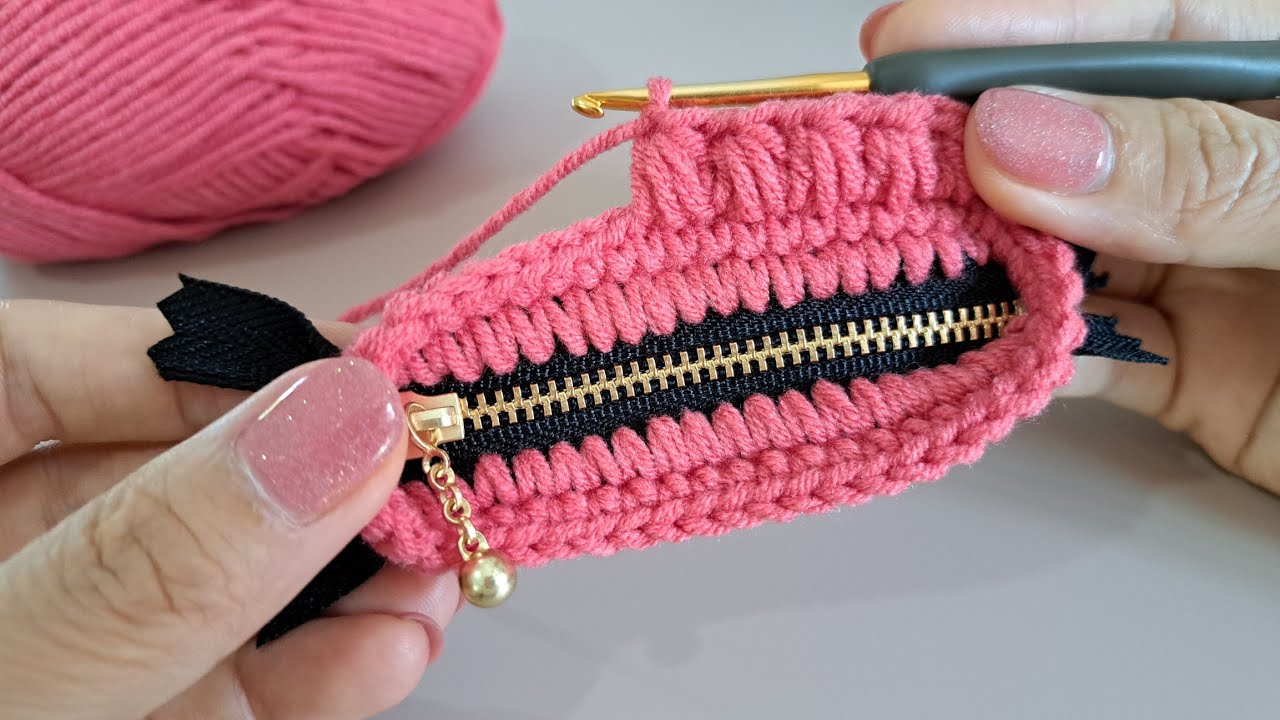
Assembly: Attaching the Zipper
This step requires a bit of patience for a neat finish.
- Prepare the Zipper: Open the zipper halfway.
- Align the Zipper: Place one side of the open zipper along the inside top edge of your crocheted purse. Make sure the zipper teeth are facing up towards the opening of the purse. Align the ends of the zipper with the sides of the purse. Use pins or stitch markers to hold the zipper in place.
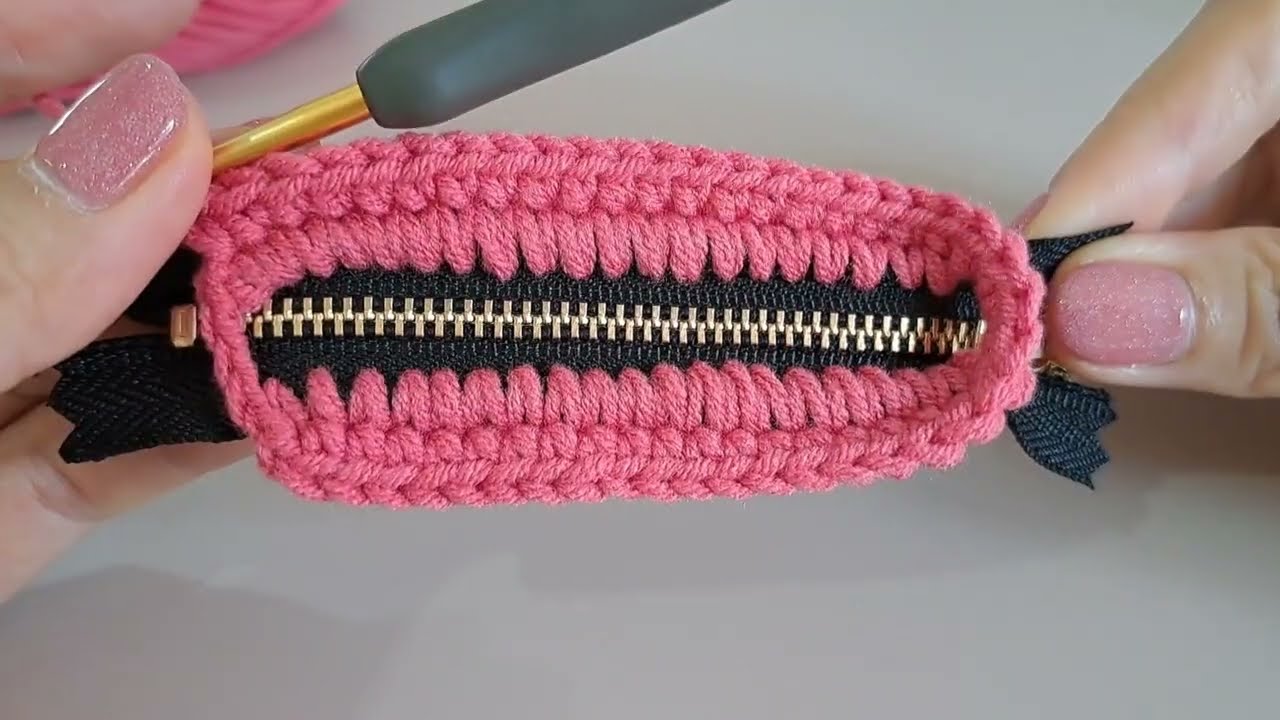
- Sew the First Side: Using your yarn needle and a length of matching yarn (or a sewing needle and matching thread for a neater finish), begin to sew the zipper tape to the very top edge of the crocheted purse. Use small, even whip stitches or a backstitch, going through the zipper tape and catching the top loops of your last
scrow. Ensure your stitches are neat and don’t go through to the outside of the bag. - Sew the Second Side: Once the first side is securely sewn, close the zipper to help align the second side. Pin the other side of the zipper tape to the opposite top edge of the purse, ensuring it’s perfectly aligned. Sew this side in the same manner.
- Secure the Ends: At both ends of the zipper, fold any excess zipper tape inwards and stitch it down securely to prevent fraying and create a clean finish inside the purse.
Your beautifully textured crocheted coin purse with a zipper is now complete!