by
by 
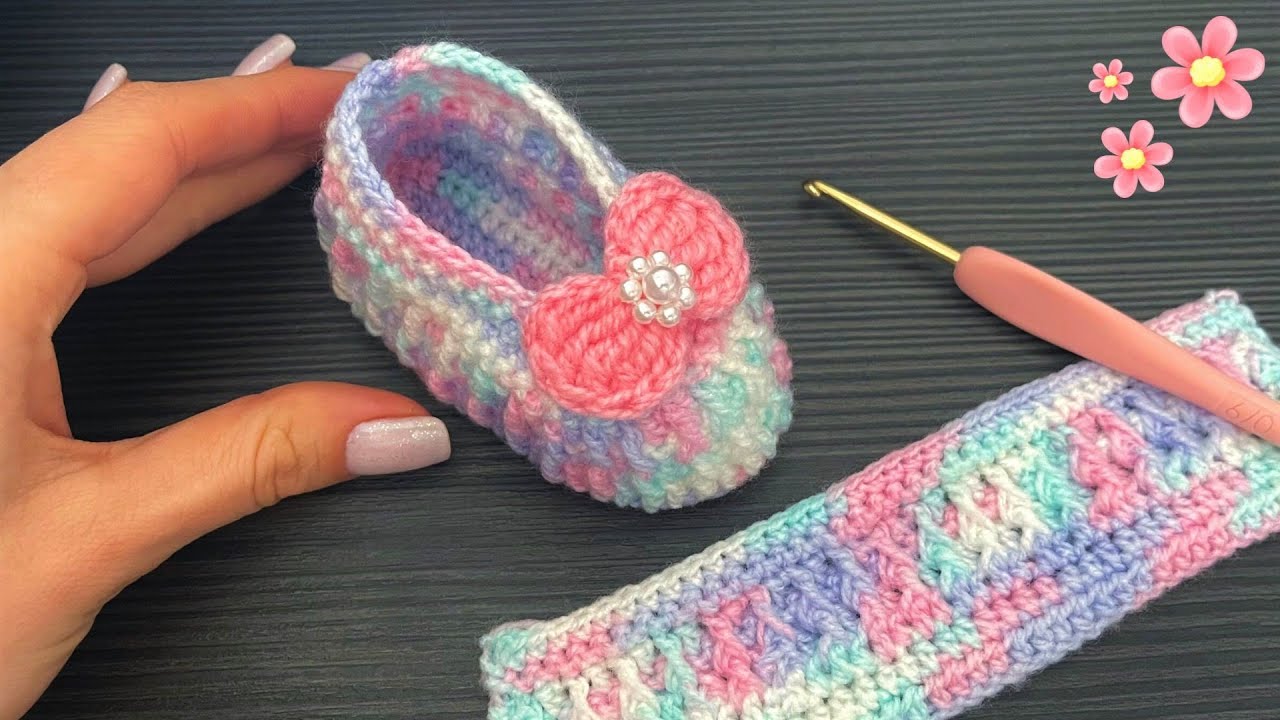
Hey there, fellow yarn enthusiasts! 👋 Are you ready to whip up the cutest little things your crochet hook has ever seen? Today, we’re diving into the wonderful world of baby booties, and I’m thrilled to share a pattern for the Easiest Crochet Baby Booties you can imagine. Seriously, if you’re a beginner or just looking for a quick and satisfying project, this one’s for you.
These booties are not only incredibly simple to make but also make the most adorable gifts for baby showers, newborns, or just because! Plus, they’re super customizable with different colors and embellishments. So, grab your favorite yarn and let’s get started on this sweet adventure!
What You’ll Need:
- Yarn: Worsted weight yarn in your desired color(s). A soft yarn like cotton or acrylic blends works wonderfully for baby items. You won’t need a lot – scraps are perfect for this project!
- Crochet Hook: An H/8 (5.0 mm) crochet hook, or the size recommended for your yarn.
- Scissors: For snipping those yarn ends.
- Yarn Needle: For weaving in the ends securely.
- Optional: Buttons, small appliques, or ribbon for embellishments.

Abbreviations (US Crochet Terms):
- ch: chain
- sl st: slip stitch
- sc: single crochet
- hdc: half double crochet
- dc: double crochet
Video pattern
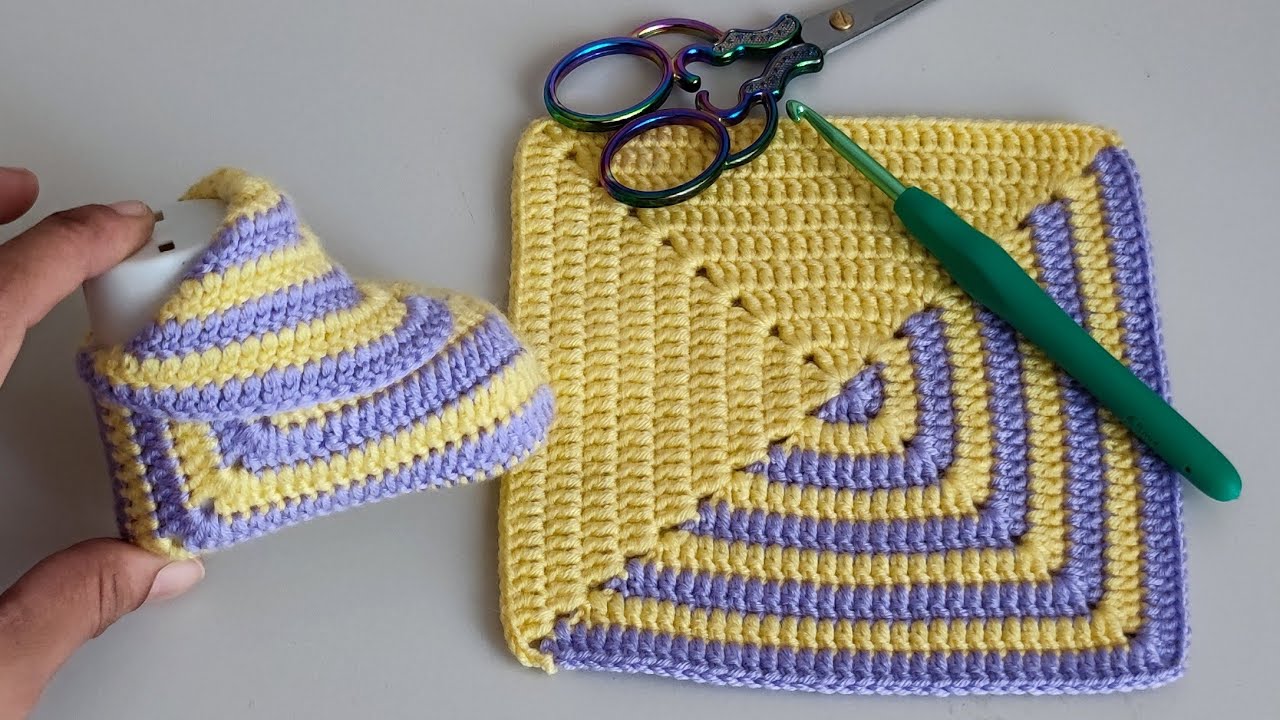
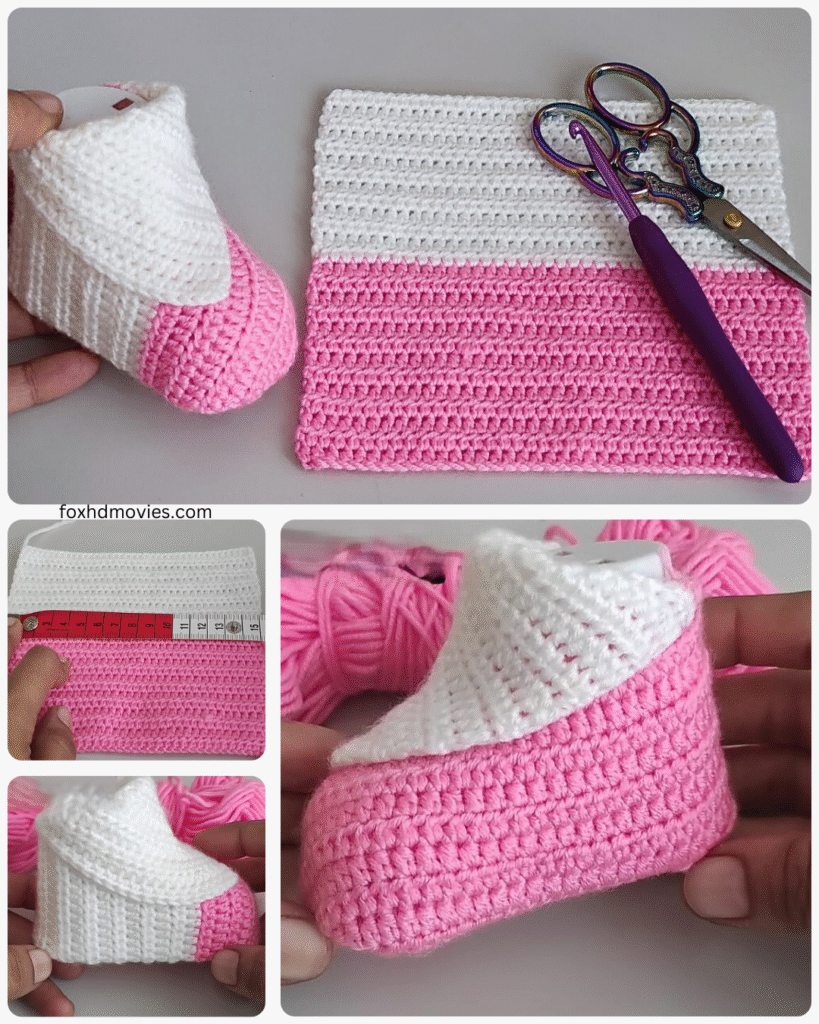
Getting Started: The Sole
We’ll begin by creating the sole of the bootie, which is a simple oval shape.
Round 1: Chain 11. In the 2nd chain from the hook, sc 1. Sc in the next 8 chains. In the last chain, work 3 sc. Now, working on the opposite side of the chain, sc in the next 8 chains. In the last chain (where you started), work 2 sc. Sl st to the first sc to join. (22 stitches)
Round 2: Ch 1 (doesn’t count as a stitch). Sc in the same stitch. 2 sc in the next stitch. Sc in the next 8 stitches. 2 sc in each of the next 3 stitches. Sc in the next 8 stitches. 2 sc in each of the last 2 stitches. Sl st to the first sc to join. (28 stitches)
Round 3: Ch 1. Sc in the same stitch. Sc in the next stitch, 2 sc in the next stitch. Repeat from * to * 4 times. Sc in the next 10 stitches. 2 sc in the next stitch, sc in the next stitch. Repeat from * to * 4 times. Sc in the last 2 stitches. Sl st to the first sc to join. (34 stitches)
And just like that, you’ve created the sole! It might look a little like a rounded rectangle – perfect for tiny feet.
Building the Sides
Now, we’ll work in the back loops only to create a nice ridge that separates the sole from the rest of the bootie.
Round 4: Ch 1. Working in the back loops only, sc in each stitch around. Sl st to the first sc to join. (34 stitches)
Round 5: Ch 1. Sc in each stitch around. Sl st to the first sc to join. (34 stitches)
You should now see a little cup shape forming – this is the base of our bootie!
Shaping the Toe
Next, we’ll shape the toe area of the bootie.
Round 6: Ch 1. Sc in the next 10 stitches. Hdc in the next 4 stitches. Dc in the next 6 stitches. Hdc in the next 4 stitches. Sc in the remaining 10 stitches. Sl st to the first sc to join. (34 stitches)
This round creates a slightly higher front section for the baby’s toes.

Creating the Ankle Opening
Now, we’ll work on the ankle part, creating a more open area for the baby’s foot to slip in.
Round 7: Ch 1. Sc in the next 12 stitches. Ch 10 (this will form the strap). Skip the next 10 stitches. Sc in the remaining 12 stitches. Sl st to the first sc to join. (24 sc + 10 ch)
Round 8: Ch 1. Sc in the next 12 stitches. Sc in each of the 10 chain stitches. Sc in the remaining 12 stitches. Sl st to the first sc to join. (34 stitches)

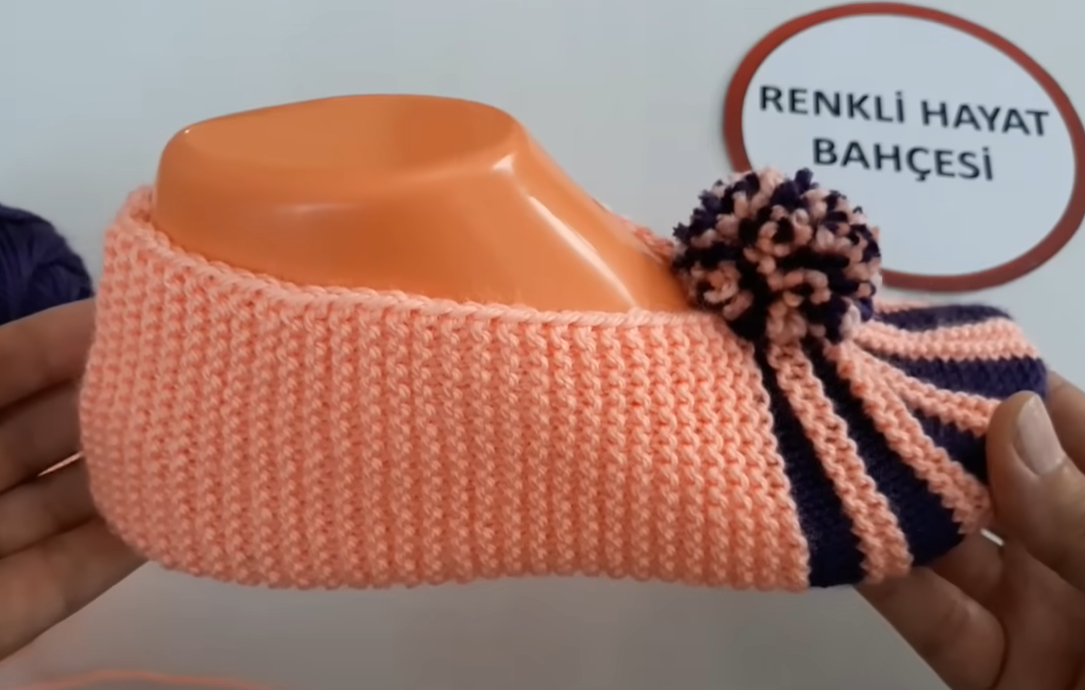
Adding the Cuff
Let’s add a little cuff for a snugger fit around the ankle.
Round 9: Ch 1. Hdc in each stitch around. Sl st to the first hdc to join. (34 stitches)
Round 10: Ch 1. Hdc in each stitch around. Sl st to the first hdc to join. (34 stitches)
You can make the cuff as tall as you like by adding more rounds of hdc.
Finishing Touches
Fasten off your yarn and weave in all the loose ends using your yarn needle.
Now, it’s time to get creative with embellishments! You can:
- Sew on a cute button to the strap for closure (make sure it’s securely attached!).
- Add a small crocheted flower or applique to the side or front.
- Weave a thin ribbon through the ankle cuff.
- Leave them plain and let the yarn color shine!
Making the Second Bootie
Simply repeat all the steps above to create the second bootie. Remember to keep your tension consistent for both booties to ensure they are the same size.
Tips for Success:
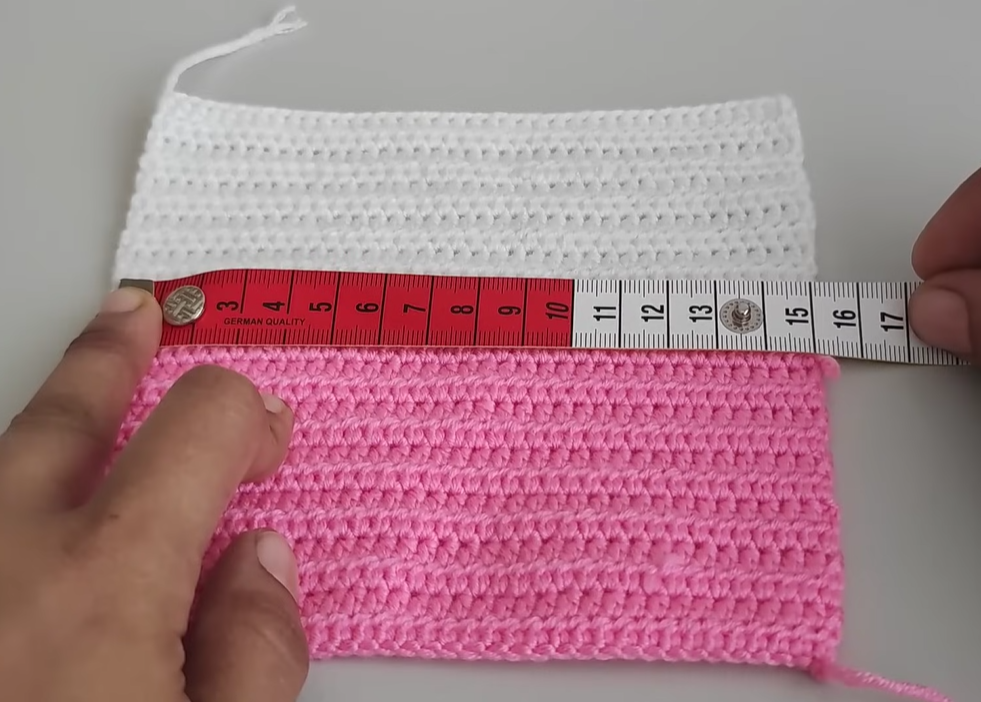
- Check your gauge: While these booties are forgiving, checking your gauge can help ensure they come out the size you expect.
- Use stitch markers: If you’re a beginner, using stitch markers at the beginning of each round can be helpful.
- Don’t be afraid to adjust: Feel free to add or subtract rounds to adjust the size slightly.
- Have fun with colors! These booties look adorable in solid colors, stripes, or even variegated yarn.
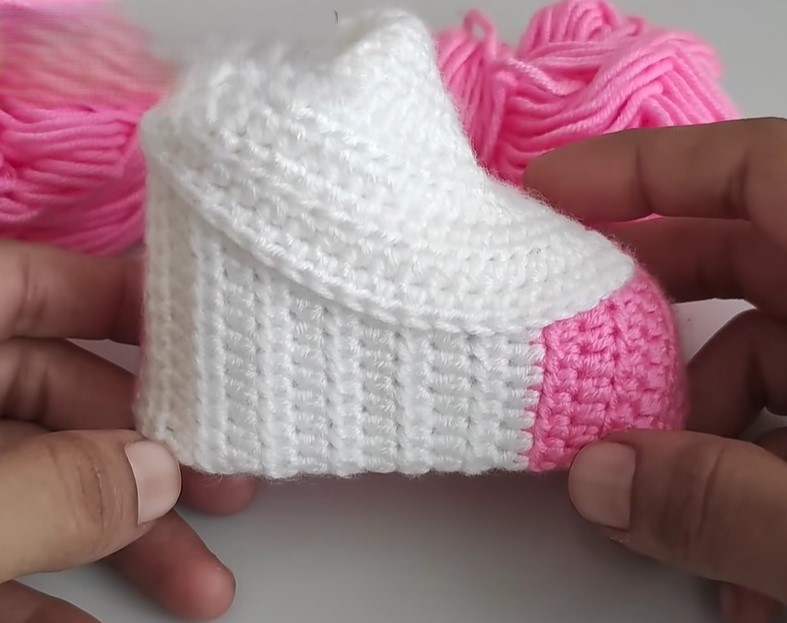
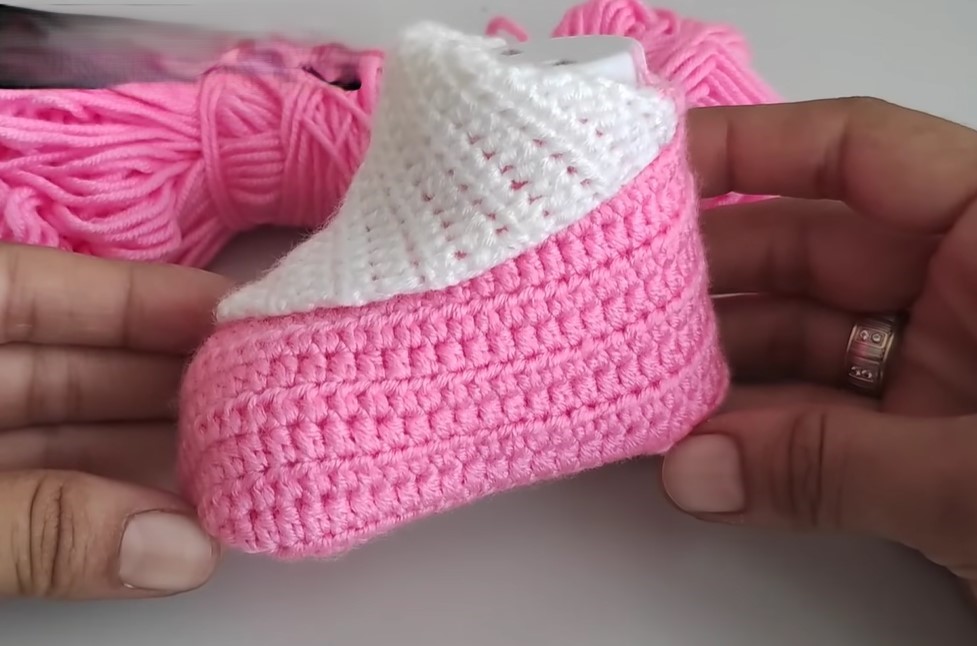
And there you have it! Your very own pair of the easiest crochet baby booties. Aren’t they just the sweetest? I hope you enjoyed this pattern. If you make a pair, I’d love to see them – feel free to share your creations! Happy crocheting! 🧶👶