by
by 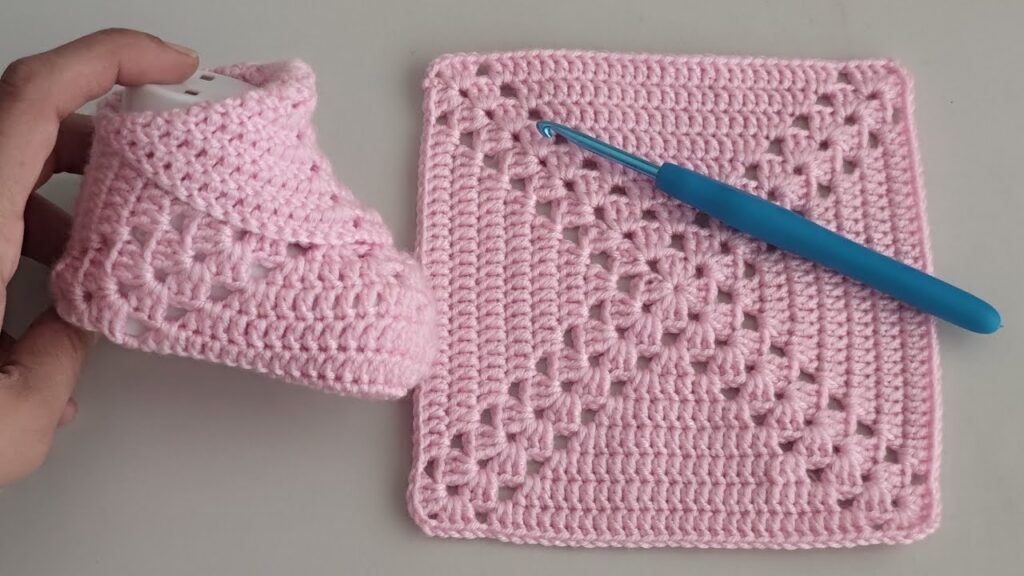
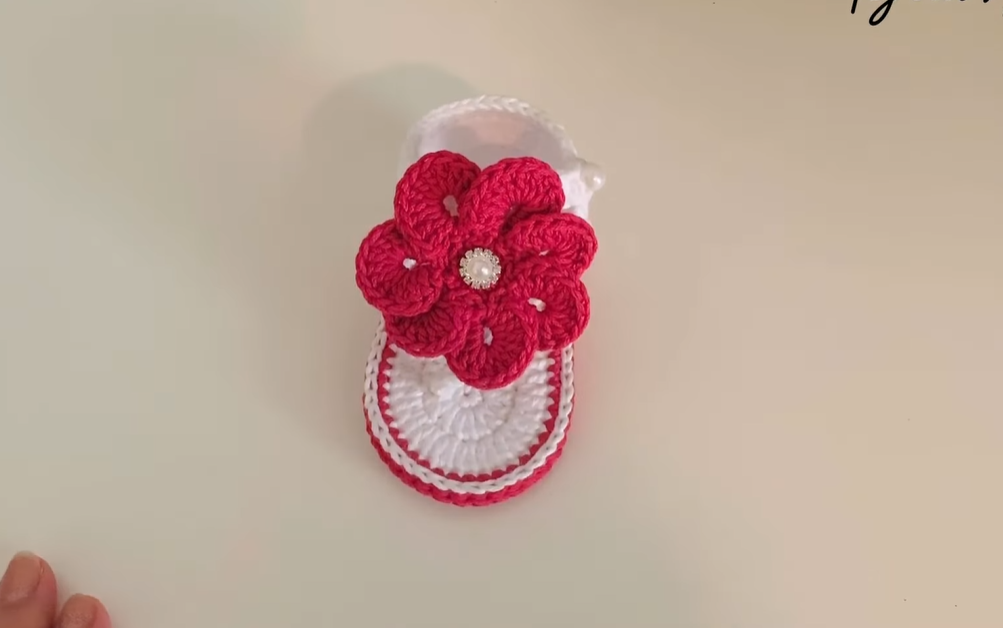
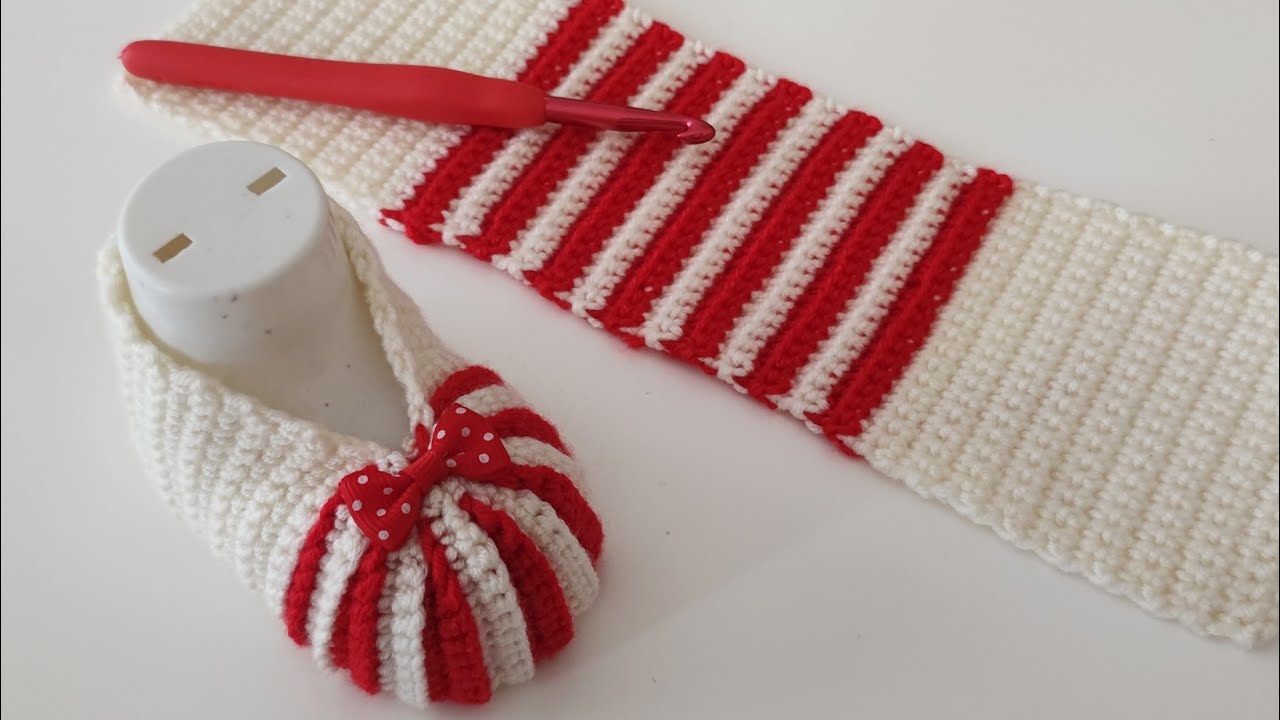
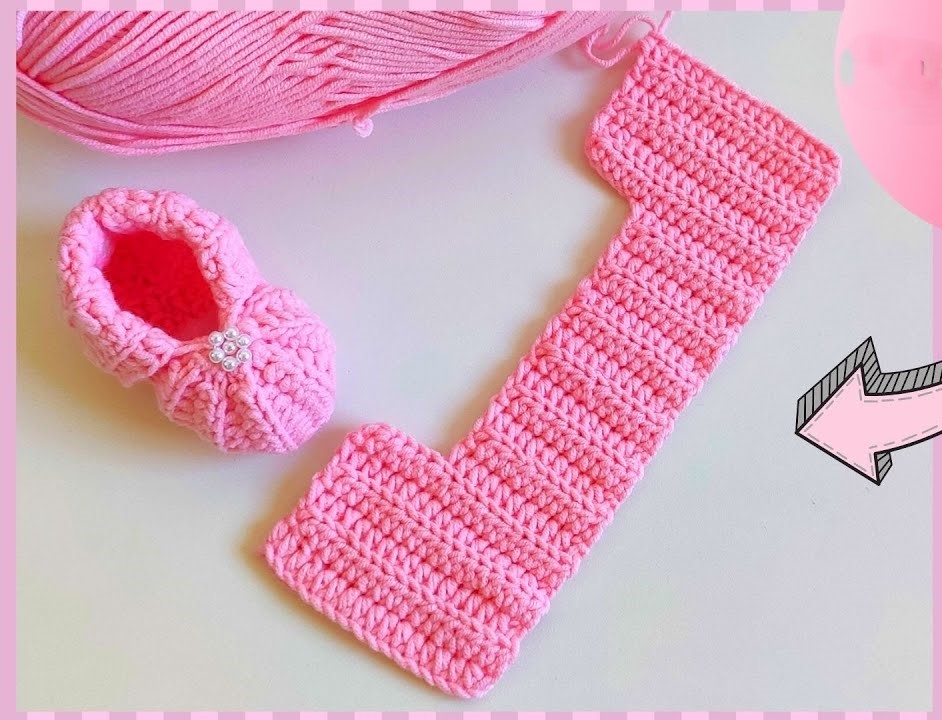
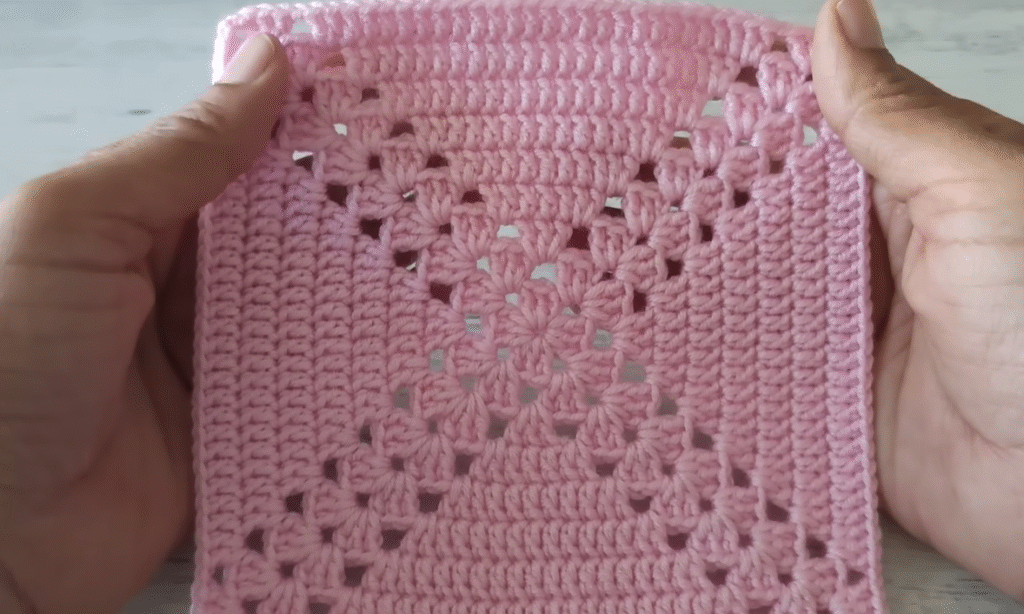
Hello fellow yarn enthusiasts! Are you ready to embark on a heartwarming crochet journey? Today, we’re diving into a project that’s not only adorable but also perfect for beginners: crocheting the cutest little baby shoes using the simple yet charming square stitch.
If you’ve just started your crochet adventure and are looking for a rewarding project, look no further! This pattern breaks down each step, ensuring even the newest crocheters can create a precious pair of booties for a special little one. Get your yarn and hook ready, and let’s get started!

Why the Square Stitch for Baby Shoes?
The square stitch, also known as the moss stitch or linen stitch, is a fantastic choice for baby shoes for several reasons:
- Simplicity: It primarily uses single crochet (sc) and chain (ch) stitches, the absolute building blocks of crochet.
- Texture: It creates a lovely, dense fabric with a subtle texture that’s both cozy and breathable for tiny feet.
- Versatility: You can easily adapt the size by adjusting the starting chain and the number of rows.
- Visual Appeal: The alternating single crochet and chain spaces create a clean and classic look that’s perfect for baby items.
What You’ll Need:
- Yarn: DK weight (light worsted) yarn in your desired color(s). A soft, baby-friendly yarn is always a great choice. You won’t need a lot – leftover yarn from other projects might just be perfect!
- Crochet Hook: A size D/3 (3.25 mm) or E/4 (3.5 mm) hook, or the size recommended on your yarn label.
- Scissors: For snipping yarn.
- Tapestry Needle: For weaving in ends.
- Stitch Markers (optional but helpful): To mark the beginning of rows or specific stitches.
- Measuring Tape or Ruler: To check the size as you go.
Abbreviations (US Crochet Terms):
- ch = chain
- sc = single crochet
- sl st = slip stitch
- st(s) = stitch(es)
- sp = space
- rep = repeat
Gauge:
While gauge isn’t critical for this small project, it’s good practice to check. A typical gauge for DK weight yarn with a D/3 or E/4 hook is around 20-22 single crochet stitches in a 4-inch (10 cm) square.
Video pattern
Pattern Instructions:
These instructions are for a newborn to 3-month-old size (approximately 3.5 inches/9 cm sole length). Adjust the starting chain for different sizes (add or subtract multiples of 2).
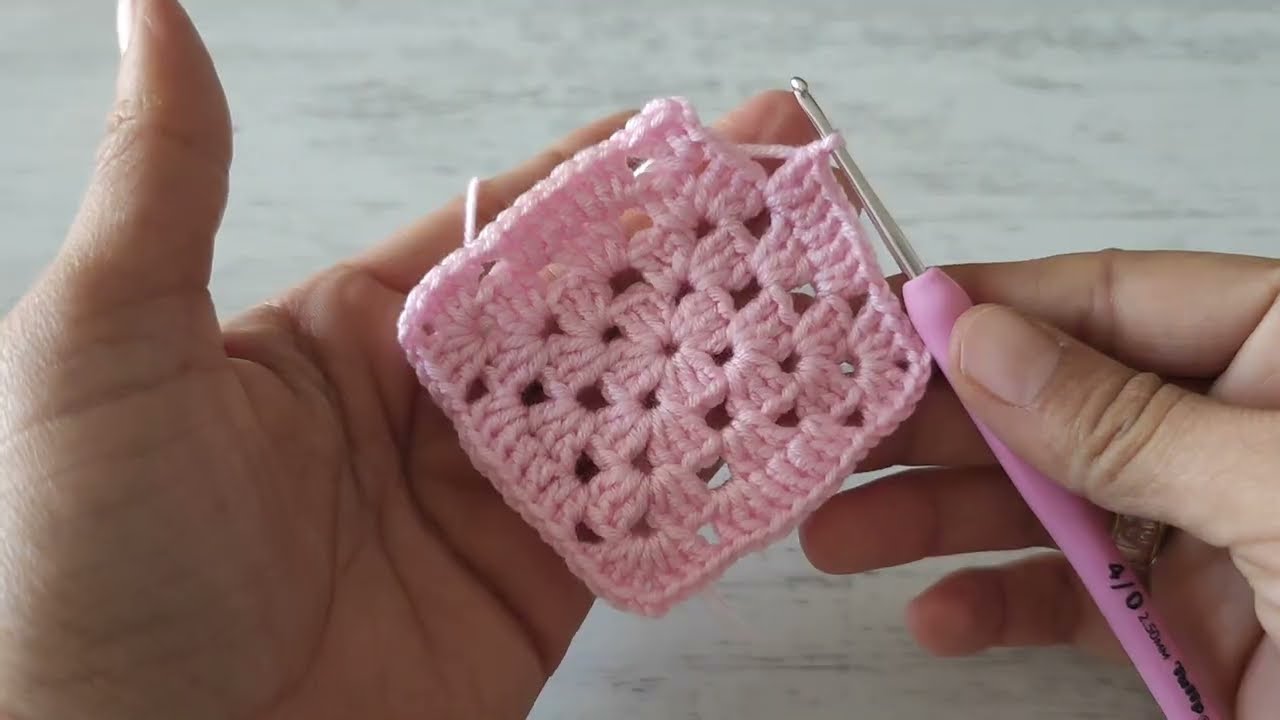
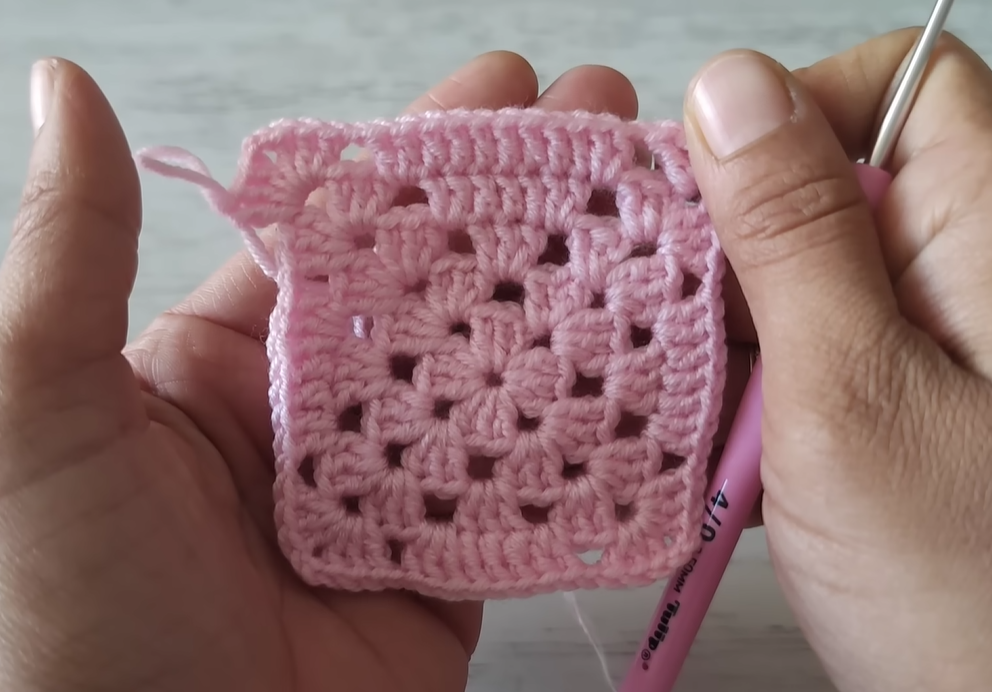
Sole (Make 2):
- Foundation Chain: Chain 17.
- Row 1: Single crochet in the second chain from the hook and in each chain across. (16 sc)
- Row 2: Chain 1 (does not count as a stitch), single crochet in the first stitch, *chain 1, skip the next stitch, single crochet in the next stitch; repeat from * across. (8 sc, 7 ch-1 sps)
- Row 3: Chain 1 (does not count as a stitch), single crochet in the first stitch, *single crochet in the next chain-1 space, single crochet in the next single crochet; repeat from * across. (15 sc)
- Row 4: Chain 1 (does not count as a stitch), single crochet in the first stitch, *chain 1, skip the next stitch, single crochet in the next stitch; repeat from * across. (8 sc, 7 ch-1 sps)
- Rows 5-14: Repeat Rows 3 and 4 alternately. Your sole should now be approximately 3.5 inches (9 cm) long.
- Edging: Chain 1, work single crochet evenly around the entire sole. Join with a slip stitch to the first single crochet. Fasten off.
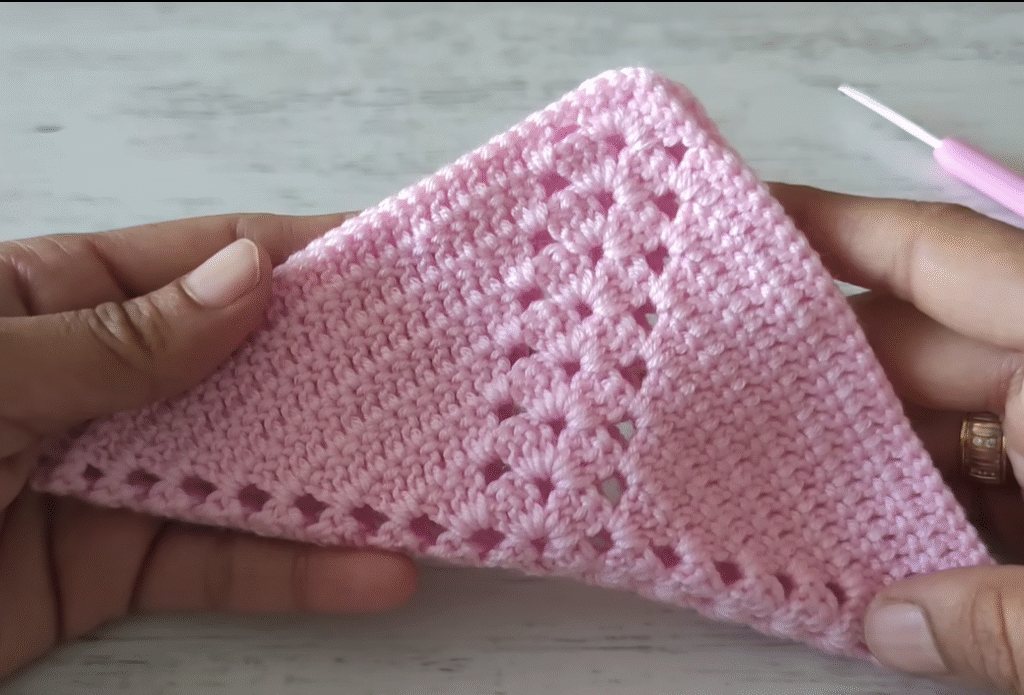
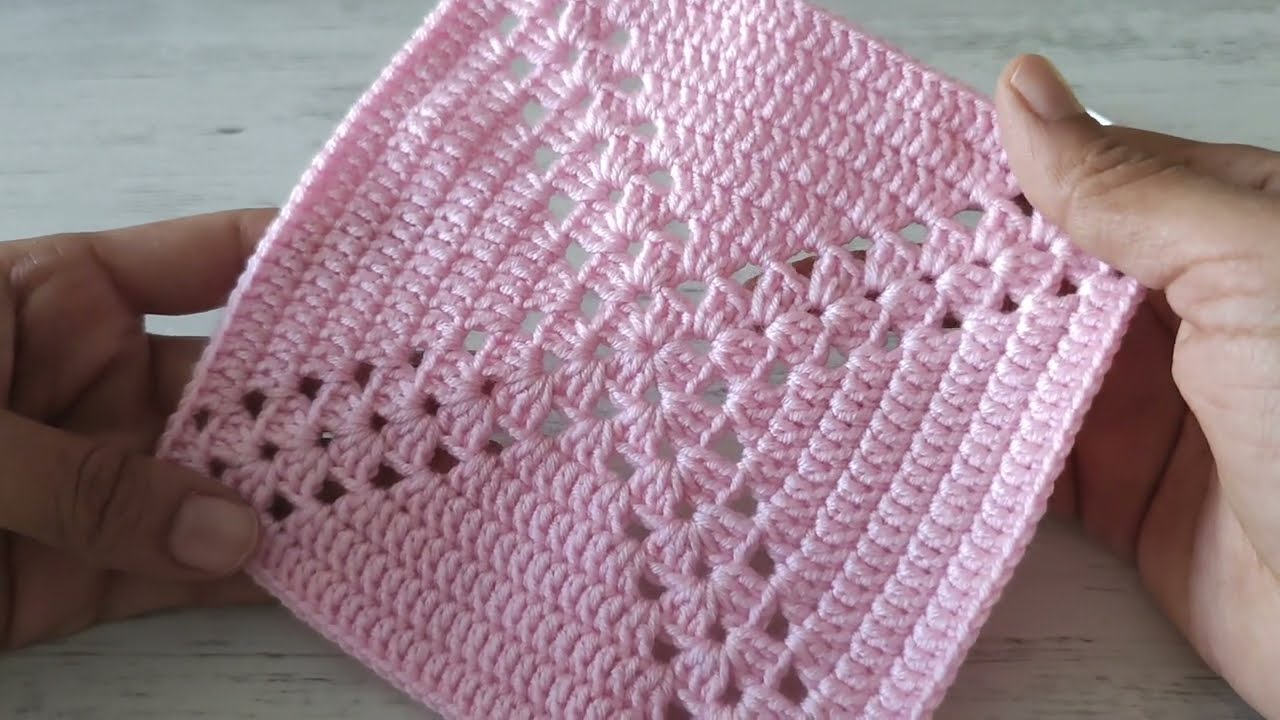
Upper (Make 2):
- Foundation Chain: Chain 17.
- Row 1: Single crochet in the second chain from the hook and in each chain across. (16 sc)
- Row 2: Chain 1 (does not count as a stitch), single crochet in the first stitch, *chain 1, skip the next stitch, single crochet in the next stitch; repeat from * across. (8 sc, 7 ch-1 sps)
- Row 3: Chain 1 (does not count as a stitch), single crochet in the first stitch, *single crochet in the next chain-1 space, single crochet in the next single crochet; repeat from * across. (15 sc)
- Rows 4-8: Repeat Rows 2 and 3 alternately. Fasten off.
Assembly:
- Position the Upper: Place one upper piece on top of one sole piece. Align the center of the shorter edge of the upper with the center of the toe area of the sole.
- Sew or Crochet Together: Using your tapestry needle and yarn (or your crochet hook and slip stitches), attach the upper to the sole, starting from one side of the center and working your way around, leaving the heel open. Ensure your stitches are secure but not too tight. Repeat for the second shoe.
Ankle Strap (Make 2):
- Foundation Chain: Chain 25 (or your desired length for the strap).
- Row 1: Single crochet in the second chain from the hook and in each chain across. (24 sc)
- Fasten off.
Attaching the Ankle Strap:
- Position one end of the ankle strap on the side of the heel opening of one shoe.
- Sew or crochet the end securely to the shoe. Repeat for the other side of the same shoe and for the second shoe.
Finishing Touches (Optional):
- Buttons or Ties: You can add a small button to the side of the shoe and create a loop on the ankle strap for closure. Alternatively, create longer straps to tie into a bow.
- Appliqués: Add small crocheted or felt appliqués like flowers, hearts, or stars to personalize your booties.
- Contrasting Edging: Work a round of single crochet in a contrasting color around the top opening of the shoe.
Tips for Beginners:
- Practice Makes Perfect: Don’t be discouraged if your first attempt isn’t perfect. Keep practicing, and you’ll see improvement with each shoe.
- Count Your Stitches: Especially in the beginning, counting your stitches at the end of each row will help you maintain the correct shape and size.
- Use Stitch Markers: If you’re unsure where a row begins or ends, use stitch markers to keep track.
- Don’t Be Afraid to Frog: “Frogging” (ripping out stitches) is a normal part of crochet. If you make a mistake, don’t hesitate to undo your work and try again.
- Find Your Tension: Try to maintain consistent tension throughout your work. This will result in a more even and professional-looking finish.
Congratulations!
You’ve now crocheted a beautiful pair of baby shoes using the simple square stitch! These adorable booties make a thoughtful handmade gift for baby showers, newborns, or just because.
We’d love to see your creations! Share your finished baby shoes on social media using [Your Hashtag Here] so we can all admire your handiwork.
Happy crocheting!