 by
by 
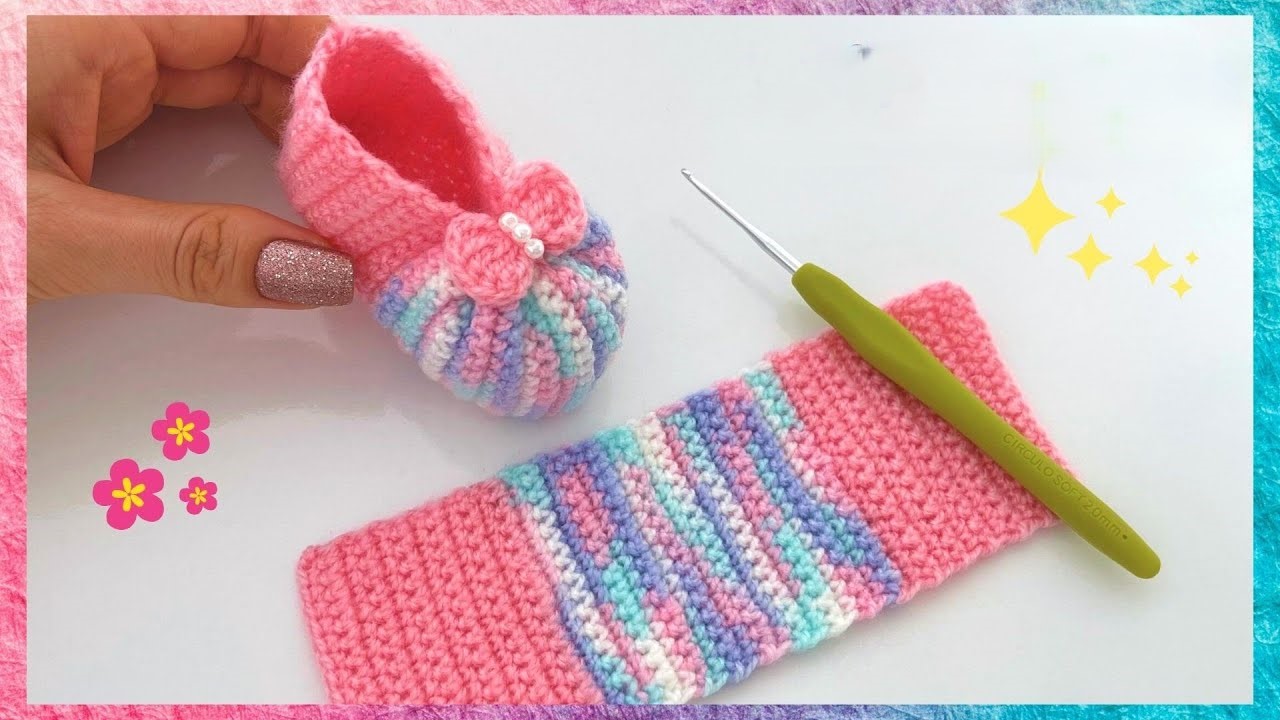
Master Baby Shoes with Granny Squares! What a delightful project! Combining the classic charm of granny squares with the practicality of baby shoes creates a truly special and handmade gift. Let’s dive into a detailed pattern so you can create these adorable little booties.
Project Overview:
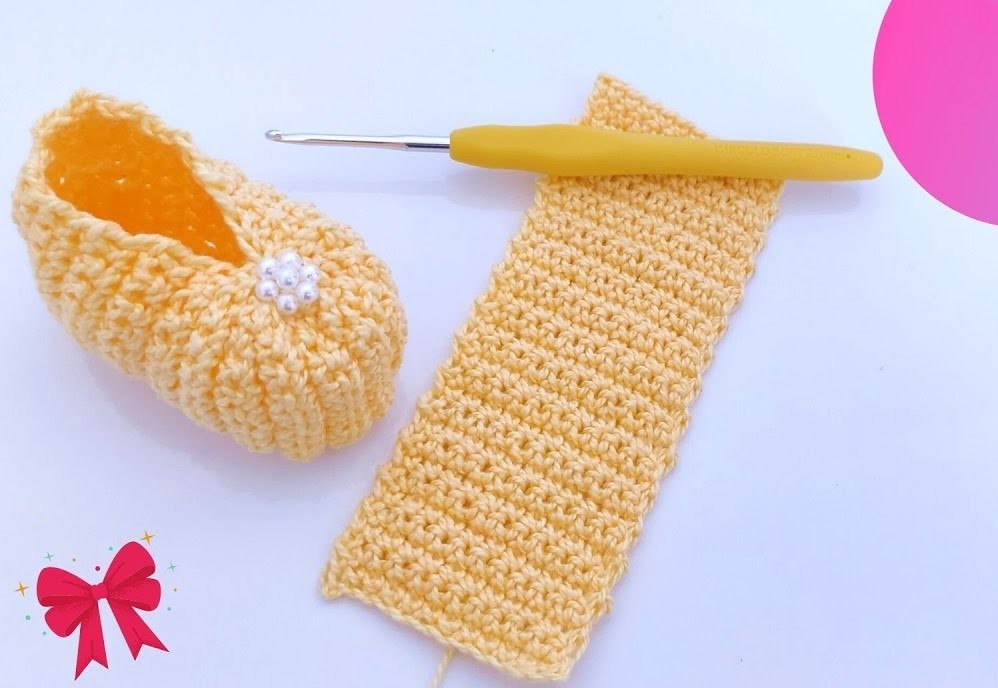
These baby shoes are constructed by crocheting two small granny squares for the top of each shoe and then working around these squares to form the sole and sides. This method allows for a customizable and colorful result, perfect for using up yarn scraps!

Materials You’ll Need:
- Yarn: Worsted weight yarn in your desired colors. You won’t need a lot, making this a great stash-busting project. Consider soft, baby-friendly yarns like cotton or acrylic blends.
- Crochet Hook: A size H/8 (5.0 mm) crochet hook is a good starting point for worsted weight yarn. Adjust the hook size if your gauge differs significantly.
- Yarn Needle: For weaving in ends.
- Scissors: To trim yarn.
- Optional: Buttons, small appliques, or ribbons for embellishments.
Gauge:
While gauge isn’t critical for this small project, aim for approximately 4 double crochets (dc) per inch. This will help ensure your finished shoes are a suitable size for a newborn to 3-month-old baby (approximately 3.5 inches in sole length).
Abbreviations (US Crochet Terms):
- ch: chain
- sl st: slip stitch
- sc: single crochet
- hdc: half double crochet
- dc: double crochet
- tr: treble crochet
- sp: space
- st(s): stitch(es)
- beg: beginning
- rep: repeat
Video tutorial
Making the Granny Squares (Make 4):
We’ll start by making four identical granny squares, two for each shoe.
- Round 1: Ch 4, join with a sl st to form a ring. (Alternatively, you can use a magic ring.) Ch 3 (counts as first dc), 2 dc in the ring, ch 2, (3 dc in the ring, ch 2) three times more. Join with a sl st to the top of the beginning ch-3. (4 clusters of 3 dc, 4 ch-2 corner spaces)
- Round 2: Sl st into the next dc and into the ch-2 corner sp. Ch 3 (counts as first dc), 2 dc in the same ch-2 sp, ch 2, 3 dc in the same ch-2 sp. *(Ch 1, skip the next 3 dc, (3 dc, ch 2, 3 dc) in the next ch-2 corner sp; repeat from * twice more. Ch 1, join with a sl st to the top of the beginning ch-3. (8 clusters of 3 dc, 4 ch-2 corner spaces, 4 ch-1 spaces)
- Round 3: Sl st into the next 2 dc and into the ch-2 corner sp. Ch 3 (counts as first dc), 2 dc in the same ch-2 sp, ch 2, 3 dc in the same ch-2 sp. *(Ch 1, 3 dc in the next ch-1 sp, ch 1, (3 dc, ch 2, 3 dc) in the next ch-2 corner sp; repeat from * twice more. Ch 1, 3 dc in the next ch-1 sp, ch 1, join with a sl st to the top of the beginning ch-3. (12 clusters of 3 dc, 4 ch-2 corner spaces, 8 ch-1 spaces)


Fasten off each granny square and weave in the ends.
Assembling the Shoe (Make 2):
Now we’ll join two granny squares and work around them to create the shoe shape.
- Joining the Squares: Place two granny squares together, wrong sides facing. Using your yarn and hook, join the yarn in any corner ch-2 sp. Sc through both loops of the corresponding corner ch-2 sp on both squares. Sc across the three dc of the first cluster on both squares, sc in the ch-1 sp on both squares, sc across the next three dc on both squares, and finally sc in the next corner ch-2 sp on both squares. You have now joined one side of the two squares. Fasten off and weave in the end.
- Forming the Toe: With the joined squares, locate the opposite corner ch-2 spaces (these will form the toe of the shoe). Join your yarn in one of these corner ch-2 spaces.
- Round 1 (Toe Shaping): Ch 1, sc in the same ch-2 sp. Sc in each st across to the next corner ch-2 sp. In the corner ch-2 sp, work (sc, hdc, dc, hdc, sc). Continue sc in each st across to the beginning sc. Join with a sl st to the first sc.
- Round 2 (Sole Shaping): Ch 1, sc in the same st. Sc in each st across to the hdc from the previous round. Work 2 hdc in the hdc. Work 2 dc in the dc. Work 2 hdc in the next hdc. Continue sc in each st across to the beginning sc. Join with a sl st to the first sc.
- Round 3 (Sole Shaping): Ch 1, sc in the same st. Sc in each st across to the first hdc increase from the previous round. Work 2 hdc in each of the next 2 hdc. Work 2 dc in each of the next 2 dc. Work 2 hdc in each of the next 2 hdc. Continue sc in each st across to the beginning sc. Join with a sl st to the first sc.
- Round 4 (Sole): Ch 1, sc in the same st. Sc in each st around. Join with a sl st to the first sc.
- Round 5 (Side Wall): Ch 1, sc in the back loop only of each st around. Join with a sl st to the first sc. This creates a nice ridge for the sole.
- Rounds 6-8 (Side Wall): Ch 1, sc in each st around. Join with a sl st to the first sc at the end of each round. Adjust the number of rounds here if you want a higher or lower shoe.
- Creating the Ankle Strap (Optional):
- Locate the center back of the shoe. Count approximately 8-10 stitches to the left and right of the center back and mark these points.
- Join your yarn at one of the marked points. Ch 1, sc in the same st and in each st across to the other marked point. Turn.
- Row 2: Ch 1, sc in each st across. Turn.
- Repeat Row 2 until the strap is the desired length to fasten comfortably around a baby’s ankle.
- Creating the Button Loop (Optional): On the end of the strap, ch a few stitches (enough to fit around your chosen button), sl st back into the base of the chain to form a loop. Fasten off and weave in the ends.
- Edging (Optional): You can add a decorative edge around the top of the shoe using a contrasting color. A simple sc or a picot edge (ch 3, sl st in the first ch) works well.
Finishing Touches:
- Weave in all remaining yarn ends securely.
- If you added ankle straps, sew a button onto the side of the shoe opposite the button loop.
- Consider adding small crocheted flowers, bows, or other appliques for extra embellishment.
Tips and Variations:
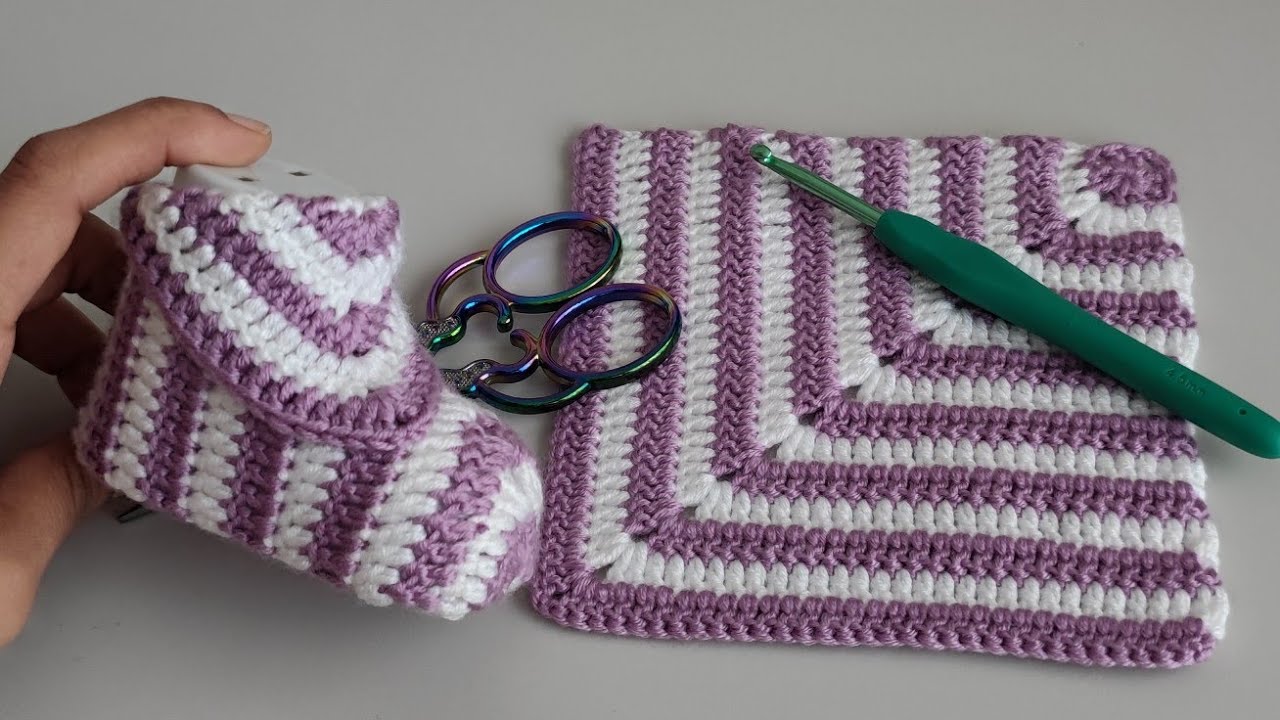
- Color Play: Use different colors for each round of the granny squares or for the sole and sides of the shoe to create a unique look.
- Stripe It: Incorporate stripes into the sole and side wall for a fun design.
- Sizing: To adjust the size, you can add or subtract rounds from the granny squares or the sole. Remember to adjust the strap length accordingly.
- Yarn Weight and Hook Size: Using a different weight yarn and corresponding hook size will also affect the finished size.
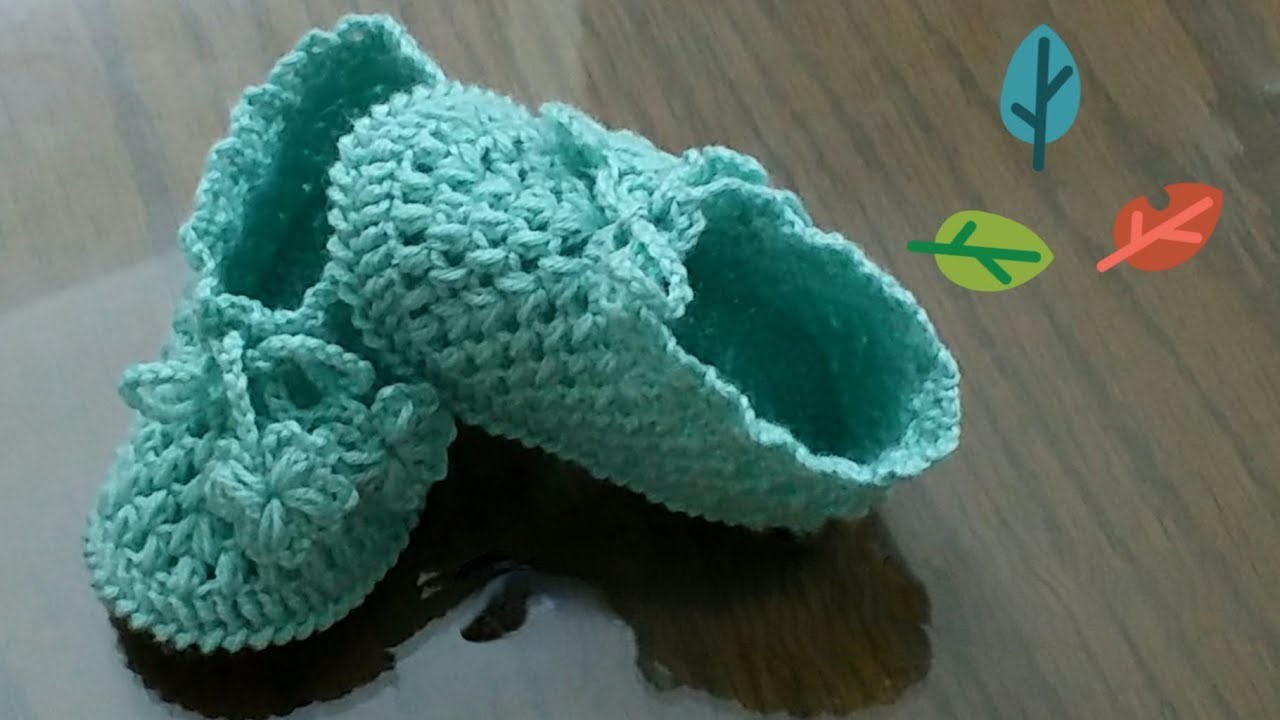
Congratulations! You’ve now crafted a beautiful pair of Master Baby Shoes with Granny Squares. These handmade booties are not only adorable but also a thoughtful and cherished gift for a little one. Happy crocheting!