 by
by 
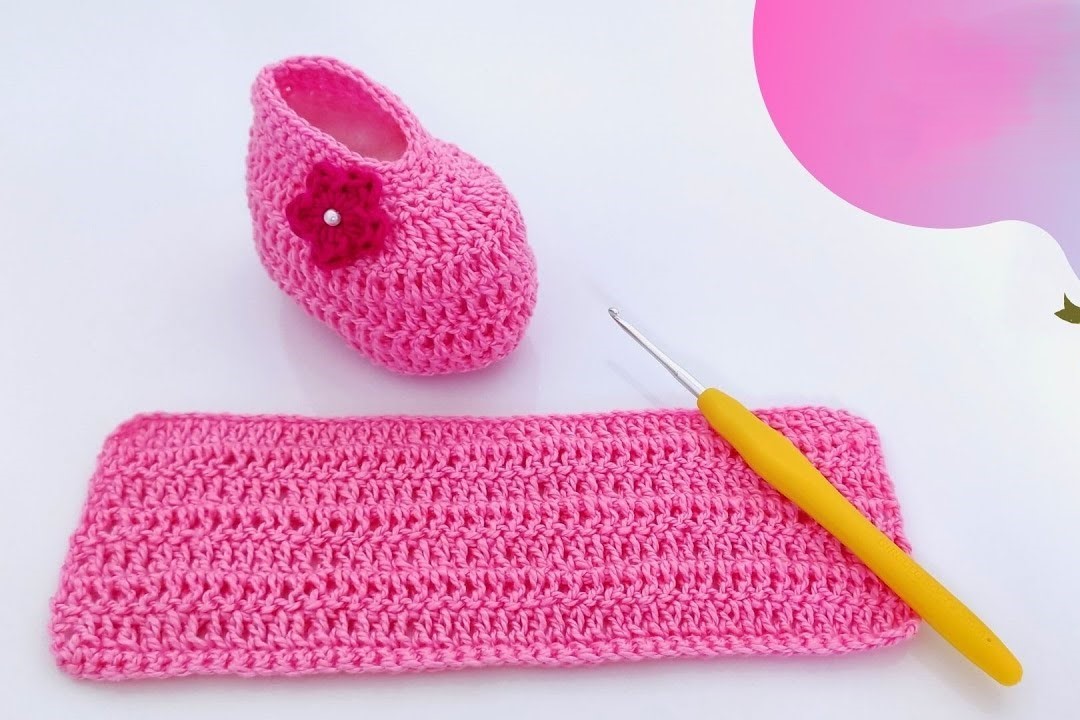
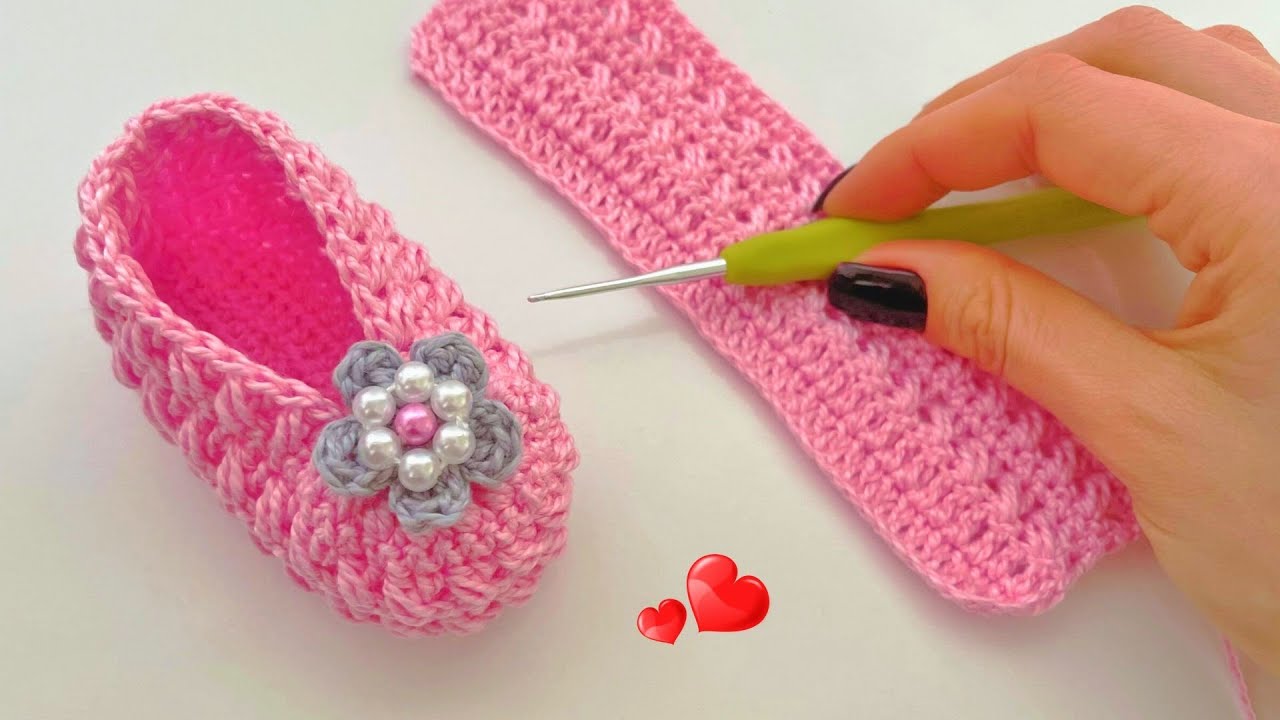
There’s nothing quite as charming as tiny handmade baby items, and these easy crochet granny square baby booties are no exception! Using just one simple granny square for each bootie, this project is perfect for beginners and works up quickly, making it ideal for last-minute baby shower gifts or just because you want to make something adorable.
The classic granny square provides a lovely texture and look, and the construction is so clever – you’ll be amazed how a flat square transforms into a sweet little bootie!
Let’s get hooking!
Difficulty Level: Easy

Finished Size: Approximately 0-3 months (Adjustable – see Sizing Notes)
Materials You’ll Need:
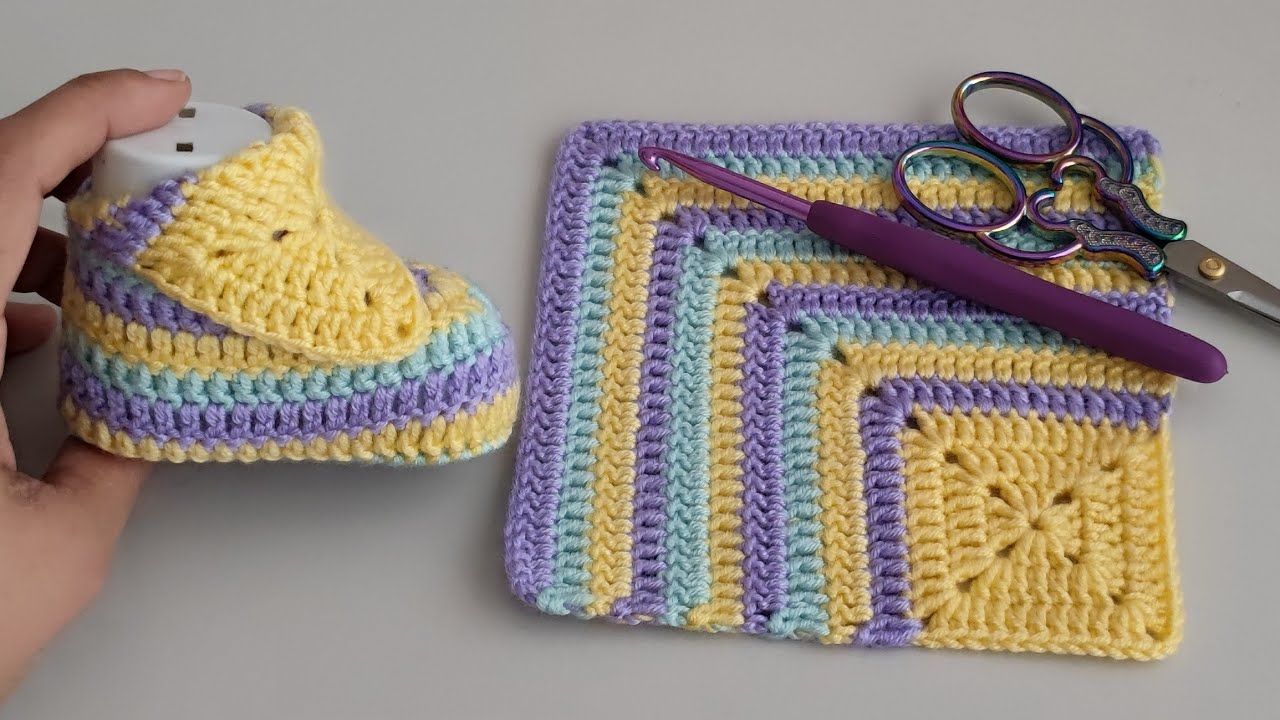
- Yarn: Approximately 50-60 yards of Worsted Weight (Aran / 10 ply) yarn. Cotton or a soft acrylic blend is recommended for baby items. Choose your favorite color! (Using multiple colors for the granny square rounds is also a fun option!)
- Hook: H/8 (5.0 mm) crochet hook (or size needed to obtain gauge)
- Notions: Yarn needle for weaving in ends and sewing, scissors.
- Optional: Ribbon or cord for ties
Gauge:
Your finished 4-round granny square should measure approximately 4 inches x 4 inches (10 cm x 10 cm).Getting gauge is important! If your square is too big, the bootie will be too big. If it’s too small, the bootie will be too small.
- If your square is too large, try a smaller hook.
- If your square is too small, try a larger hook.
Abbreviations (US Terms):
- ch: chain
- sl st: slip stitch
- sc: single crochet
- dc: double crochet
- sp: space
- sk: skip
- rnd: round
- st(s): stitch(es)
- rep: repeat
Notes Before You Start:
- This pattern is written for one bootie. You will need to make two identical squares and follow the assembly steps for each.
- Ch 2 at the beginning of a round counts as a dc unless otherwise specified (it doesn’t in traditional granny patterns, but it’s easier for beginners if it does here). Or, you can use a standing double crochet or chainless starting double crochet for a cleaner look if you prefer.
- You can join new colors at the beginning of any round for a multi-colored granny square.
- Stitch counts are given at the end of each round instruction in parentheses
().
Video pattern
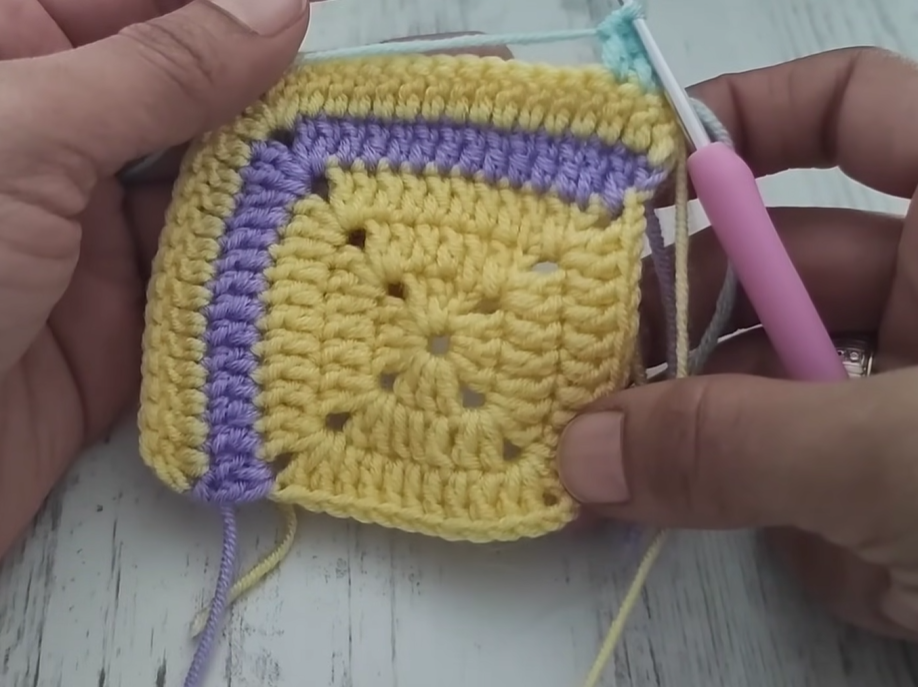
The Pattern: Making the Granny Square
We’ll start by creating a basic 4-round granny square.
Start: Create a magic ring OR Ch 4 and join with a sl st to the first ch to form a ring.
Round 1: Ch 2 (counts as first dc), 2 dc into ring, ch 2 (corner), 3 dc into ring, ch 2 (corner), 3 dc into ring, ch 2 (corner), 3 dc into ring, ch 2 (corner). Join with a sl st to the top of the beginning Ch 2. (4 groups of 3 dc, 4 ch-2 sps)
Round 2: Sl st into the first Ch-2 sp. Ch 2 (counts as first dc), (2 dc, ch 2, 3 dc) into the same Ch-2 sp (this is your first corner). Ch 1, sk next 3 dc, (3 dc, ch 2, 3 dc) into the next Ch-2 sp (corner). Rep from * to * two more times. Ch 1, sk next 3 dc. Join with a sl st to the top of the beginning Ch 2. (8 groups of 3 dc, 4 ch-2 sps, 4 ch-1 sps)
Round 3: Sl st into the first Ch-2 sp. Ch 2 (counts as first dc), (2 dc, ch 2, 3 dc) into the same Ch-2 sp (corner). Ch 1, sk next 3 dc, 3 dc into the next Ch-1 sp, Ch 1, sk next 3 dc, (3 dc, ch 2, 3 dc) into the next Ch-2 sp (corner). Rep from * to * two more times. Ch 1, sk next 3 dc, 3 dc into the next Ch-1 sp, Ch 1, sk next 3 dc. Join with a sl st to the top of the beginning Ch 2. (12 groups of 3 dc, 4 ch-2 sps, 8 ch-1 sps)
Round 4: Sl st into the first Ch-2 sp. Ch 2 (counts as first dc), (2 dc, ch 2, 3 dc) into the same Ch-2 sp (corner). Ch 1, sk next 3 dc, 3 dc into the next Ch-1 sp, Ch 1, sk next 3 dc, 3 dc into the next Ch-1 sp, Ch 1, sk next 3 dc, (3 dc, ch 2, 3 dc) into the next Ch-2 sp (corner). Rep from * to * two more times. Ch 1, sk next 3 dc, 3 dc into the next Ch-1 sp, Ch 1, sk next 3 dc, 3 dc into the next Ch-1 sp, Ch 1, sk next 3 dc. Join with a sl st to the top of the beginning Ch 2. (16 groups of 3 dc, 4 ch-2 sps, 12 ch-1 sps)
Fasten off, leaving a long tail (about 15-20 inches) for sewing. Do NOT weave in the long tail yet. Weave in the starting tail.
Make a second identical square.
Assembly: Turning Your Square into a Bootie
This is the fun part where the magic happens!
- Lay one of your finished granny squares flat with the wrong side facing up (the side where your joins are slightly more visible). One corner should be pointing directly upwards.(Imagine the square is a diamond shape with a point at the top, bottom, left, and right).
- Fold the square in half diagonally so that the top point meets the bottom point. You now have a triangle. The folded edge is the ‘opening’ for the foot, and the two raw edges that meet along the side will form the sole and heel seam.(The point where the top and bottom corners meet will be the toe of the bootie).
- Thread the long tail you left with your yarn needle.
- Starting from the pointed ‘toe’ end of the triangle (the corner where the original top and bottom points met), begin sewing the two raw edges together using a whip stitch or mattress stitch. Sew along this seam for approximately 1.5 to 2 inches (3.5 to 5 cm). This seam will form the sole and go up the back of the heel.(Do not sew all the way to the top corner of the original square – you need to leave an opening for the foot!)
- Securely fasten off the yarn and weave in the tail along the seam.
- Turn the bootie right side out. The unsewn part of the fold is the ankle opening. The sewn seam forms the bottom and back of the bootie.

Repeat the assembly steps for your second square.
Finishing Touches (Optional)
- Adding Ties: To help the booties stay on wiggly feet, you can add ties.
- Crocheted Tie: Chain a length of about 40-50 chains. Fasten off. Make a second one.
- Ribbon/Cord: Cut two lengths of ribbon or cord, about 18-20 inches each.
- Thread the tie through the stitches around the ankle opening, starting and ending at the back/heel seam. This allows you to tie a bow at the front.
- Edging: For a slightly neater or different look, you could add a round of single crochet or reverse single crochet around the ankle opening before adding ties. Join yarn with a sl st anywhere along the opening, ch 1, work sc (or reverse sc) evenly around, join with sl st to first st, fasten off and weave in ends.

Sizing Notes
This pattern is written for a common 0-3 month size based on the 4-inch square gauge. Baby foot sizes vary greatly!
- To adjust size:
- The easiest way is to change your hook size. A smaller hook makes a smaller square/bootie; a larger hook makes a larger square/bootie.
- You could also add or remove rounds from the granny square. Adding a round will make the square larger, removing a round will make it smaller. Remember to adjust the length of the seam you sew in step 4 of the assembly accordingly.
- Measure! If possible, measure the baby’s foot length from heel to toe and make a square that, when folded diagonally, has the folded length roughly equal to the baby’s foot length plus maybe 0.5 – 1 inch for wiggle room.
Caring for Your Booties
Wash according to the instructions on your yarn label. For best results with handmade items, hand washing and laying flat to dry is often recommended.
That’s it! You’ve made a super cute and easy pair of crochet granny square baby booties. They make wonderful gifts and are a joy to create.
Happy Hooking