 by
by 
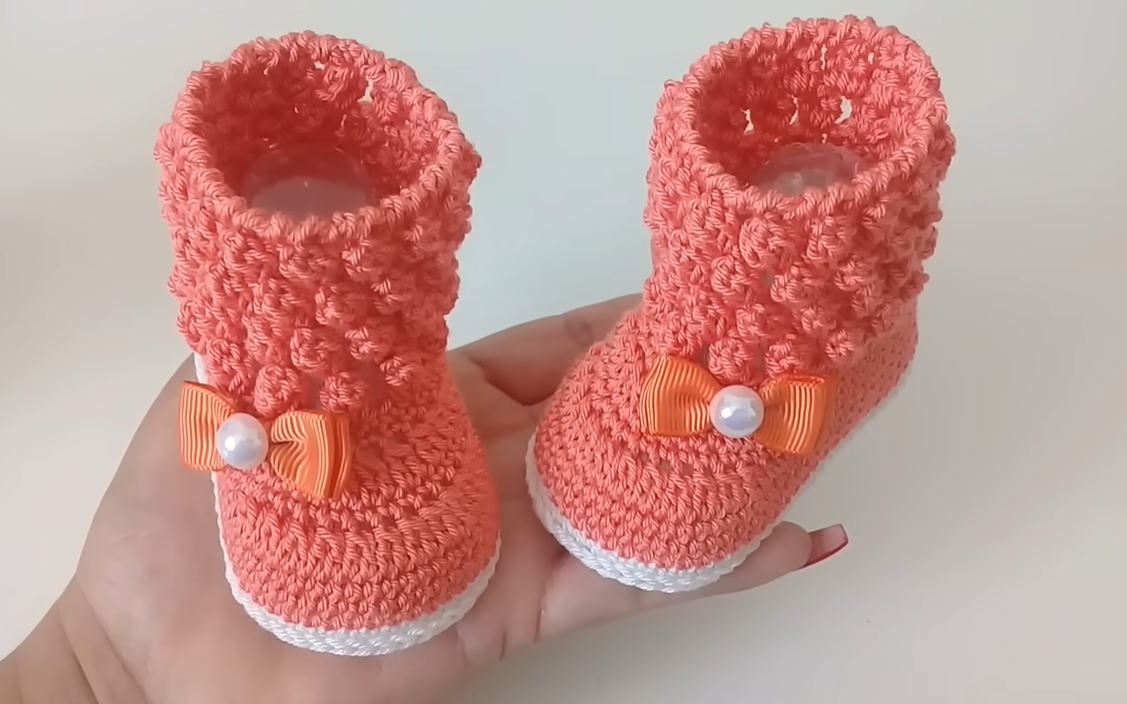
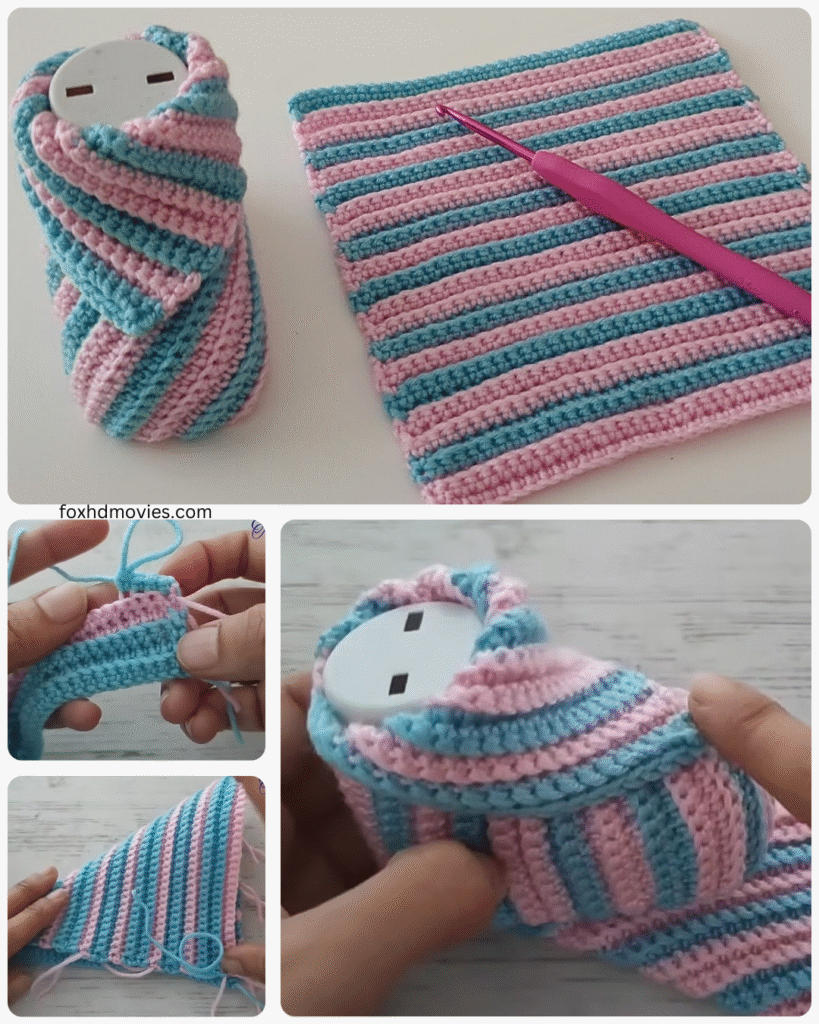
These little booties are designed with simplicity in mind, using basic crochet stitches and a straightforward construction. They work up quickly and can be customized with your favorite colors and embellishments.
Skill Level: Beginner
Materials:
- Worsted weight yarn (approximately 50-75 yards) in your desired color. A soft yarn like cotton or acrylic blend is recommended for baby items.
- Crochet hook size H/8 (5.0 mm) or the size recommended for your yarn.
- Scissors
- Yarn needle for weaving in ends
- Optional: Buttons, small appliques, or ribbon for decoration.
Gauge: While gauge isn’t critical for baby shoes, aim for approximately 4 single crochet (sc) stitches and 4 rows to measure 1 inch. This will help ensure the sizing is close to the pattern.
Finished Size: This pattern is written for approximately 0-3 months (sole length of about 3.5 inches). Instructions for slightly adjusting the size will be provided.
Abbreviations (US Crochet Terms):
- ch: chain
- sc: single crochet
- hdc: half double crochet
- dc: double crochet
- sl st: slip stitch
- st(s): stitch(es)
- rep: repeat
- inc: increase (work 2 stitches in the same stitch)
- dec: decrease (sc 2 stitches together)
Video pattern
Let’s Get Started!
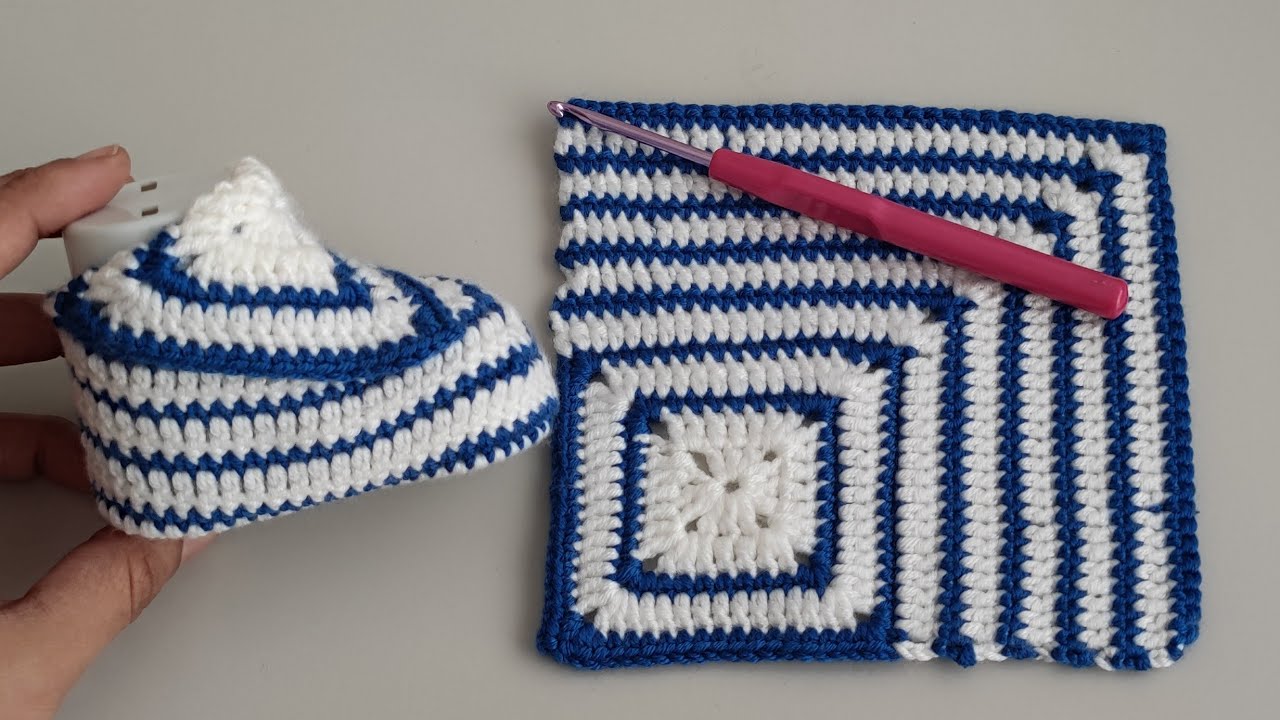
Part 1: The Sole
The sole is worked in an oval shape.
- Foundation Chain: Ch 11.
- Round 1: Sc in the 2nd ch from the hook and in each of the next 8 chs. In the last ch, work 3 sc. Now, working on the other side of the foundation chain, sc in the next 8 chs. In the last ch (which is the same ch where you started the first sc of the round), work 2 sc. Sl st to the first sc to join the round. (22 sts)
- Beginner Tip: Make sure your foundation chain isn’t too tight, as this will form the base of the shoe.
- Round 2: Ch 1 (does not count as a st). Sc in the first st. Work 2 sc in each of the next 2 sts. Sc in the next 8 sts. Work 2 sc in each of the next 3 sts. Sc in the next 8 sts. Work 2 sc in each of the last 2 sts. Sl st to the first sc to join the round. (28 sts)
- Round 3: Ch 1 (does not count as a st). Sc in the first st. *Inc in the next st, sc in the next st; rep from * twice. Sc in the next 8 sts. *Inc in the next st, sc in the next st; rep from * three times. Sc in the next 8 sts. *Inc in the next st, sc in the next st; rep from * twice. Sl st to the first sc to join the round. (34 sts)
- Adjusting Size: To make the sole slightly longer, add a few more chains to your foundation chain and adjust the number of single crochets in the straight sections accordingly in Round 1. You may also need to add an extra increase round, distributing the increases evenly at the toe and heel.

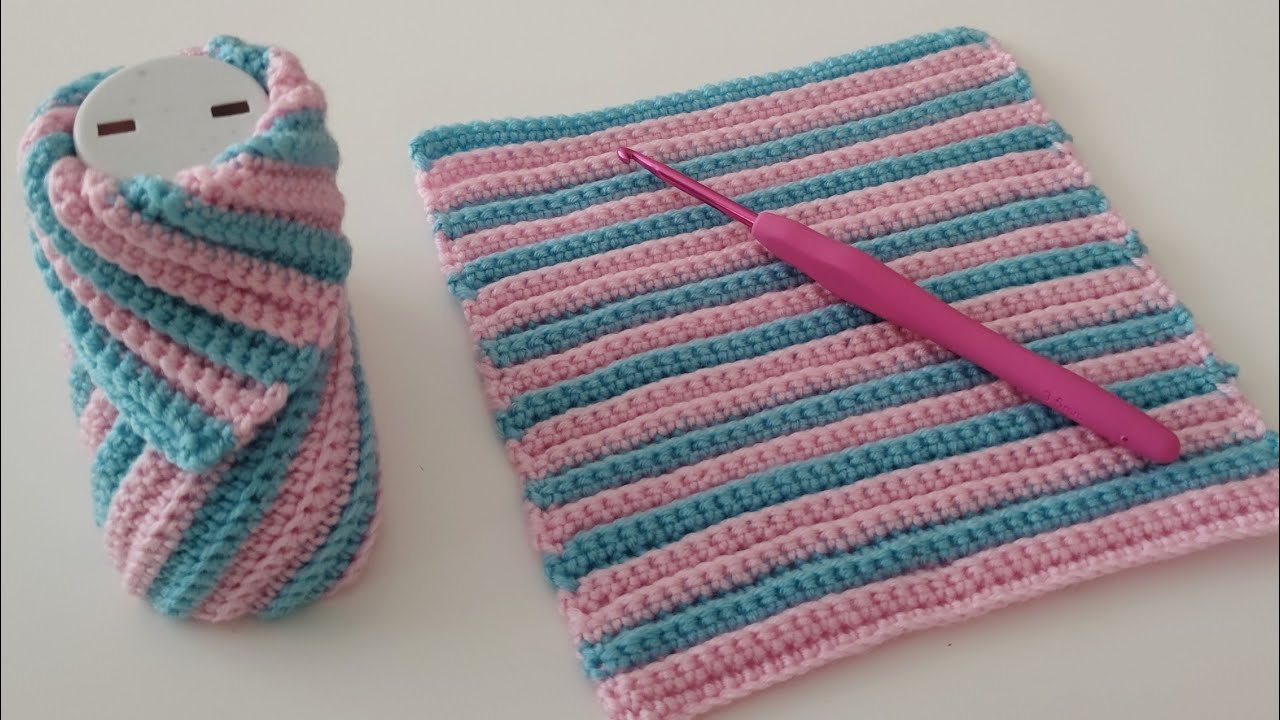
Part 2: The Sides
Now we’ll build up the sides of the shoe.
- Round 4: Ch 1 (does not count as a st). Sc in the back loop only (BLO) of each st around. Sl st to the first sc to join the round. (34 sts)
- Why Back Loop Only? Working in the back loop only creates a nice ridge that defines the sole and helps the sides stand up.
- Round 5: Ch 1 (does not count as a st). Sc in each st around. Sl st to the first sc to join the round. (34 sts)
- Round 6: Ch 1 (does not count as a st). Sc in each st around. Sl st to the first sc to join the round. (34 sts)
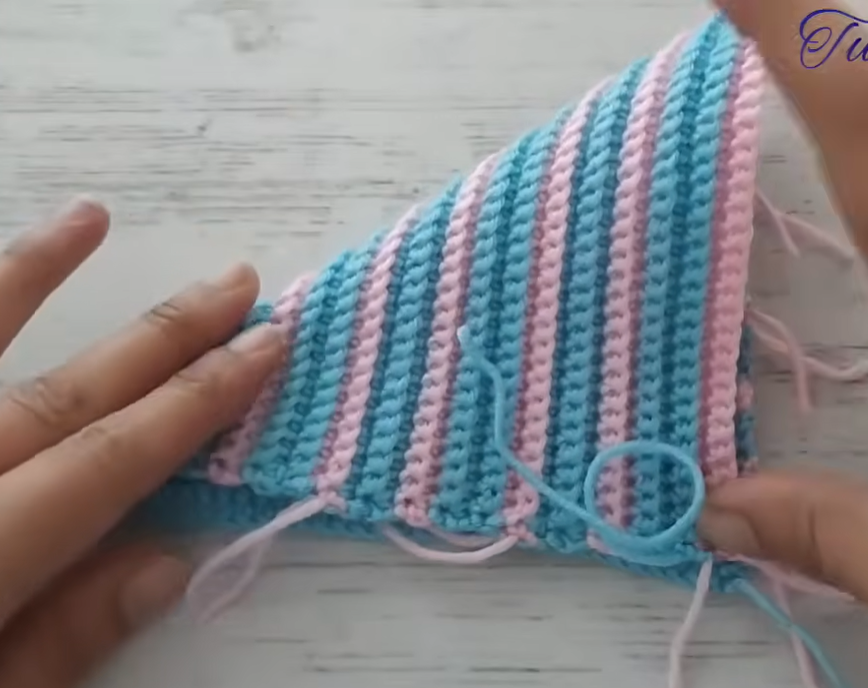
Part 3: Shaping the Toe
We’ll now shape the toe area to create the characteristic curve of a baby shoe.
- Round 7: Ch 1 (does not count as a st). Sc in the next 10 sts. Dec over the next 2 sts. Rep the decrease 5 more times (6 decreases total). Sc in the remaining 12 sts. Sl st to the first sc to join the round. (28 sts)
- Understanding the Decrease: To decrease (dec), insert your hook into the first stitch, yarn over, and pull up a loop. Insert your hook into the next stitch, yarn over, and pull up a loop 1 (you’ll have three loops on your hook). Yarn over and pull through all three loops.
- Round 8: Ch 1 (does not count as a st). Sc in the next 8 sts. Dec over the next 6 sts (this will involve decreasing three times, each over two stitches). Sc in the remaining 8 sts. Sl st to the first sc to join the round. (22 sts)
Part 4: The Ankle Strap (Optional)
This adds a little extra security to keep the shoes on tiny feet.
- Round 9: Ch 1 (does not count as a st). Sc in the next 16 sts. Ch 8 (or desired length for the strap). Skip the next 6 sts and sl st to the next sc. (24 sts + chain)
- Round 10: Ch 1 (does not count as a st). Sc in the next 16 sts. Sc in each of the 8 chs of the strap. Sl st to the first sc to join the round. (24 sts)
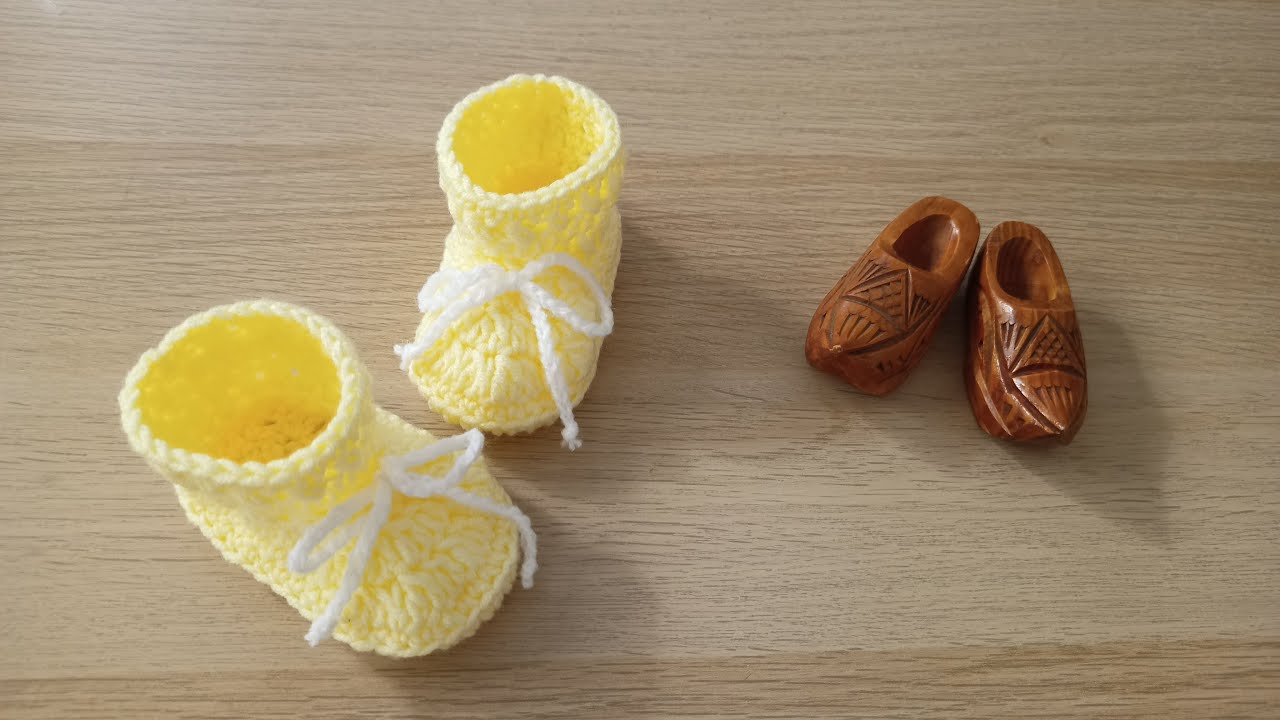
- Alternative Strap: You can also create a simple tie strap by chaining a longer length in Round 9 and then working back down the chain with slip stitches in Round 10.
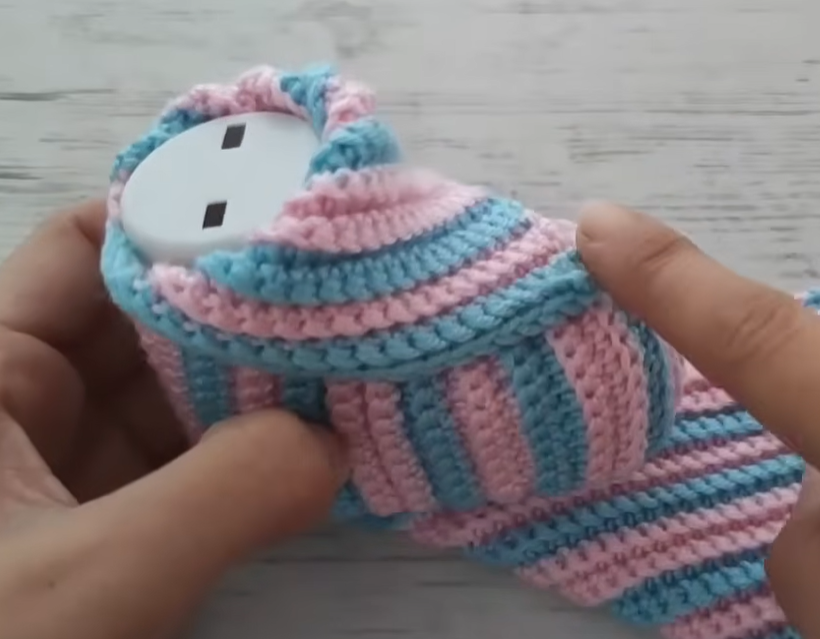
Part 5: Finishing
- Fasten off your yarn and weave in all loose ends securely using your yarn needle.
- Second Bootie: Repeat all steps to create the second baby shoe.
- Embellishments (Optional): Now for the fun part! You can personalize your baby shoes with:
- Sewing on small buttons to the strap.
- Adding a cute crocheted or felt applique to the toe.
- Threading a ribbon through the ankle strap.
- Creating a small crocheted flower or bow and attaching it.
Congratulations! You’ve now created a beautiful pair of easy crochet baby shoes. These little booties are perfect for keeping tiny toes warm and make a wonderful handmade gift for baby showers or newborns.