 by
by 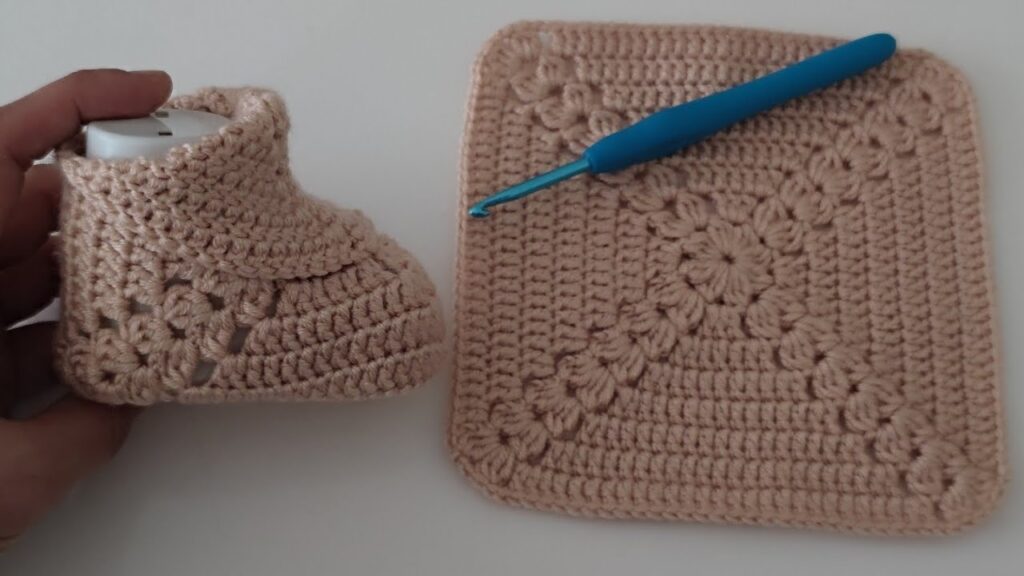
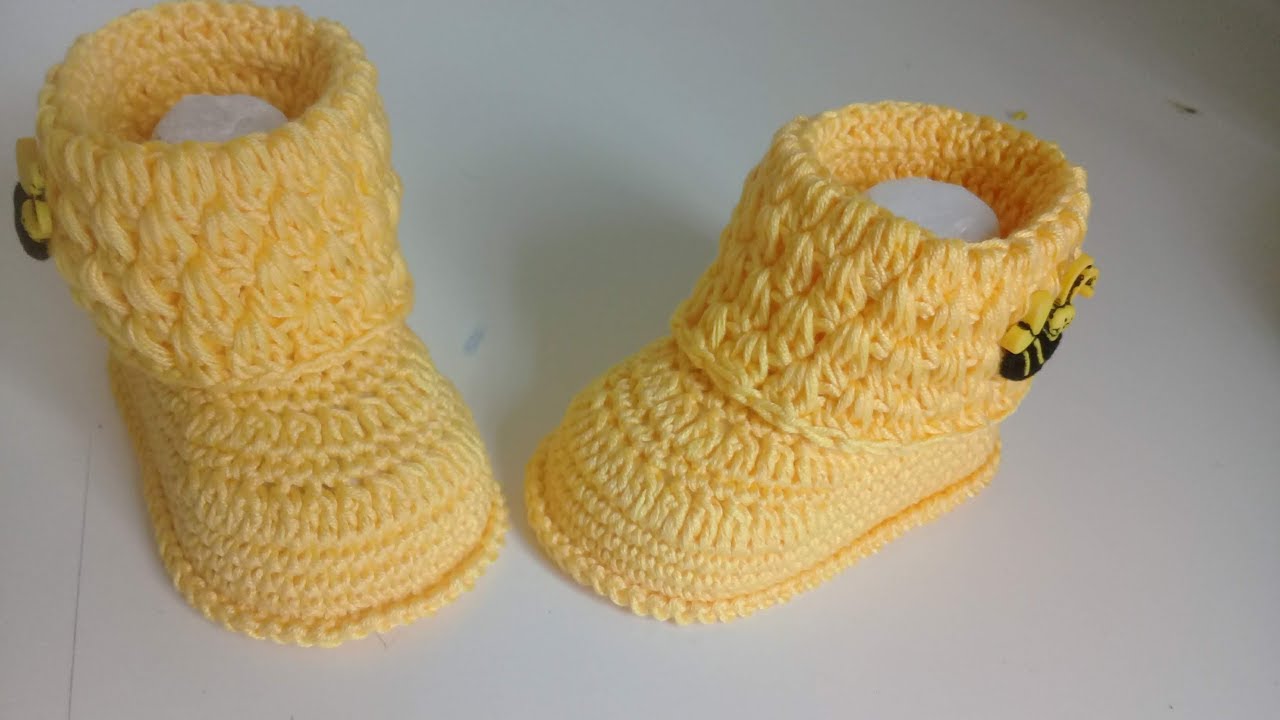
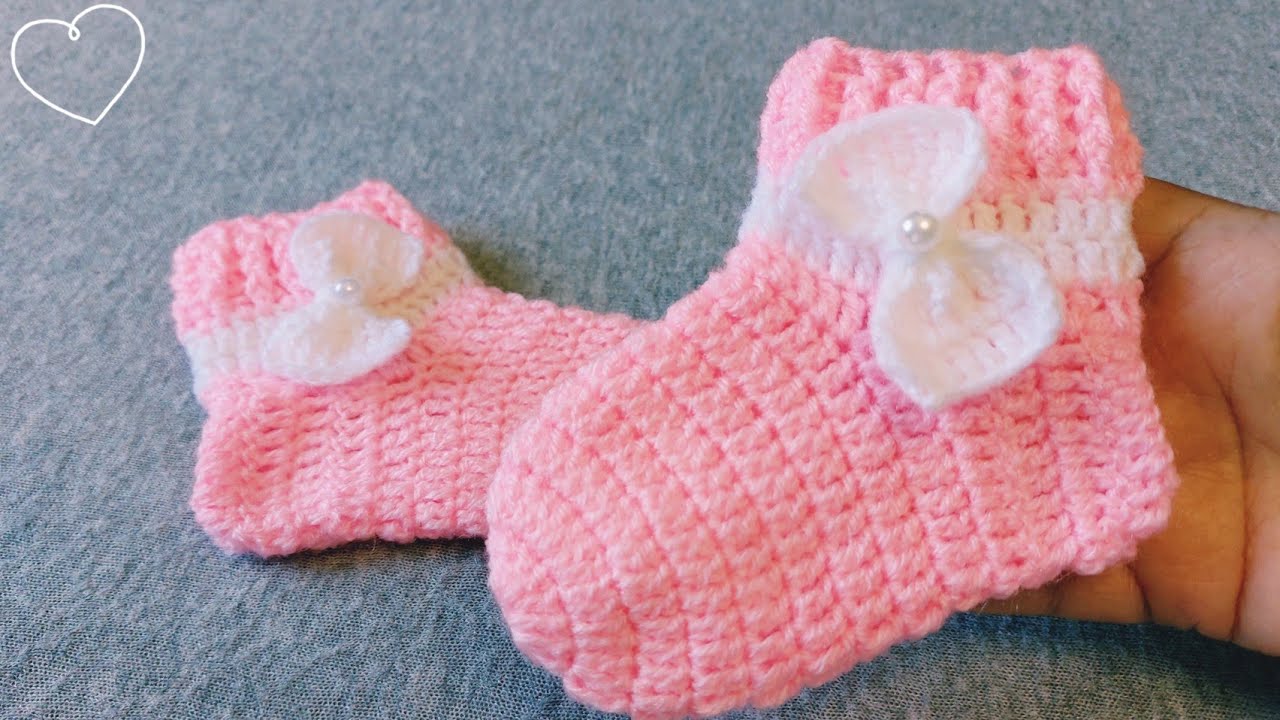
the delightful world of tiny toes and cozy crochet! Let’s craft some adorable granny square baby shoes. This pattern will guide you step-by-step to create a charming and unique pair for that special little one.
Skill Level: Intermediate Beginner (You should be comfortable with basic crochet stitches and granny squares)

Materials You’ll Need:
- Yarn: Worsted weight yarn in your choice of colors (approximately 50-75 yards total). Consider soft, baby-friendly yarns like cotton or acrylic blends. You’ll likely want two contrasting colors for the main shoe and the trim.
- Crochet Hook: Size H/8 (5.0 mm) or the size recommended for your yarn.
- Yarn Needle: For weaving in ends.
- Scissors: To snip yarn.
- Stitch Markers: Helpful for marking rounds.
- Measuring Tape or Ruler: To ensure proper sizing.
- Optional: Buttons, small appliques, or ribbon for embellishments.
Gauge: While not critical for baby shoes, knowing your gauge can help ensure consistent sizing. A typical gauge for worsted weight yarn with an H/8 hook is approximately 4 double crochet stitches and 2 rows per inch.
Finished Size: This pattern is written for approximately 0-3 months (sole length of about 3.5 inches). Adjust hook size or yarn weight to modify the size. You can also add or subtract rounds in the sole for minor adjustments.
Abbreviations (US Crochet Terms):
- ch: chain
- sl st: slip stitch
- sc: single crochet
- hdc: half double crochet
- dc: double crochet
- tr: treble crochet
- sp: space
- st(s): stitch(es)
- rep: repeat
- beg: beginning
- rnd: round
Video pattern
Let’s Get Started!
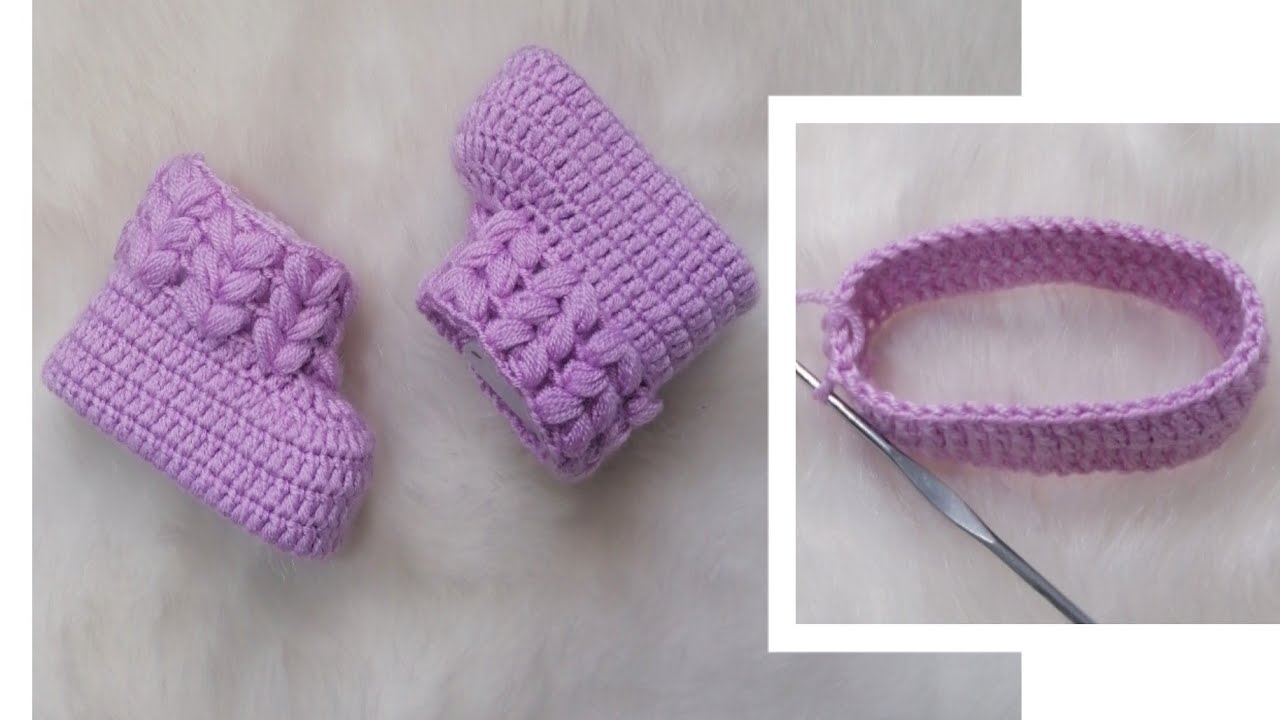
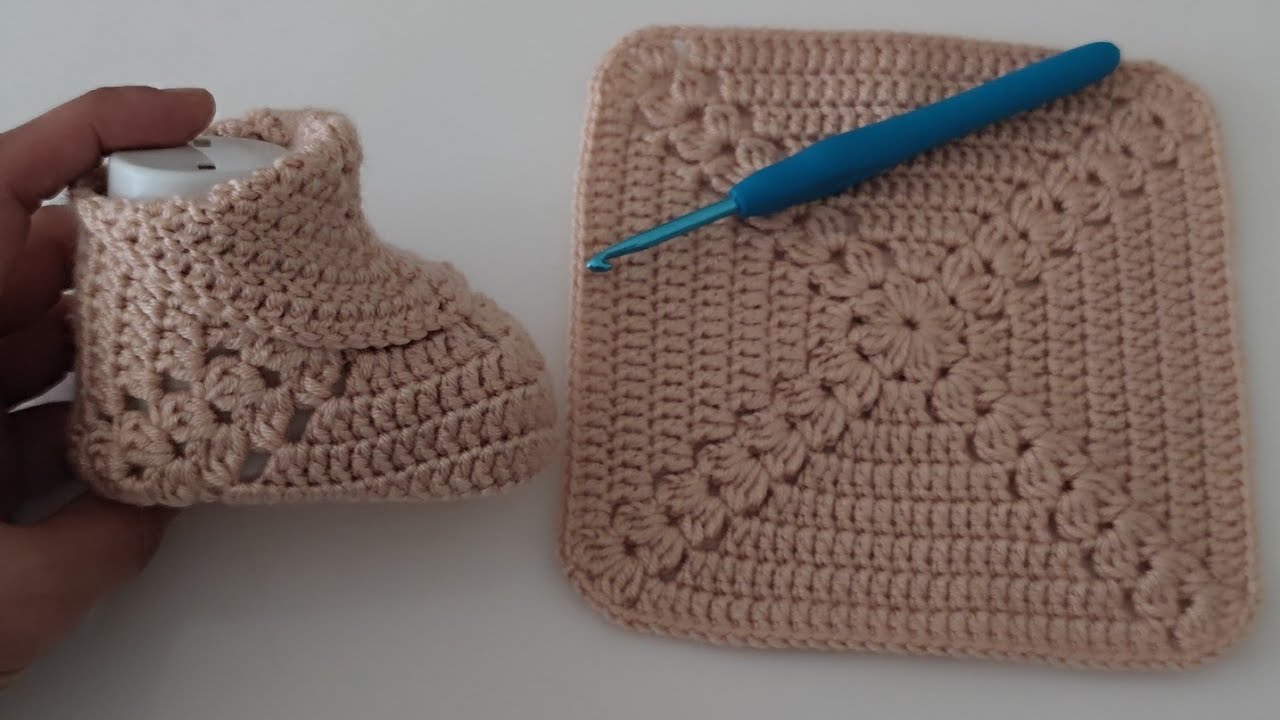
Part 1: Making the Granny Squares (Make 2)
We’ll create two small granny squares that will form the main part of the shoe.
- Starting Chain: With your main color, ch 4, and join with a sl st to form a ring.
- Round 1: Ch 3 (counts as first dc), 2 dc in the ring, ch 2, *3 dc in the ring, ch 2; rep from * twice more. Join with a sl st to the top of the beginning ch-3. (12 dc, 4 ch-2 corner spaces)
- Round 2: Sl st into the next 2 dc and into the first ch-2 sp. Ch 3 (counts as first dc), 2 dc in the same ch-2 sp, ch 2, 3 dc in the same ch-2 sp (corner made). *Ch 1, (3 dc, ch 2, 3 dc) in the next ch-2 sp (corner made); rep from * twice more. Ch 1, join with a sl st to the top of the beginning ch-3. (24 dc, 4 ch-2 corner spaces, 4 ch-1 spaces)
- Round 3: Sl st into the next 2 dc and into the first ch-2 sp. Ch 3 (counts as first dc), 2 dc in the same ch-2 sp, ch 2, 3 dc in the same ch-2 sp (corner made). *(Ch 1, 3 dc in the next ch-1 sp), ch 1, (3 dc, ch 2, 3 dc) in the next ch-2 sp (corner made); rep 1 from * twice more. (Ch 1, 3 dc in the next ch-1 sp), ch 1, join with a sl st to the top of the beginning ch-3. (36 dc, 4 ch-2 corner spaces, 8 ch-1 spaces)
- Note: For a slightly larger shoe, you can add another round to your granny squares, following the same pattern of 3 dc in each ch-1 sp and (3 dc, ch 2, 3 dc) in each ch-2 corner sp.
- Fasten off and weave in the ends of both granny squares.

Part 2: Creating the Shoe Sole (Make 2)
We’ll now create the soles that the granny squares will be attached to.
- Starting Chain: With your main color, ch 11.
- Round 1: Sc in the 2nd ch from the hook and in each of the next 8 ch. 3 sc in the last ch. Working on the other side of the chain, sc in each of the next 8 ch. 2 sc in the last ch (where you started the first sc). Do not join. (22 sc)
- Round 2: 2 sc in the next st, sc in the next 8 sts, 2 sc in each of the next 3 sts, sc in the next 8 sts, 2 sc in each of the last 2 sts. Do not join. (28 sc)
- Round 3: Sc in the next st, 2 sc in the next st, sc in the next 9 sts, (2 sc in the next st, sc in the next st) repeat 3 times, sc in the next 9 sts, (2 sc in the next st, sc in the next st) repeat twice. Join with a sl st to the first sc. (34 sc)
- Note: For a slightly larger sole, you can add more rounds, increasing evenly around the curves at the toe and heel.
- Fasten off and weave in the ends of both soles.
Part 3: Attaching the Granny Square to the Sole (Make 2)
Now we’ll join the granny square to the front of the sole.
- Position one granny square so that one of the straight edges aligns with the rounded toe edge of one of the soles.
- Using your main color and your yarn needle, whip stitch or slip stitch the granny square securely to the sole. Aim to attach it evenly, using the stitches of the last round of the granny square and the stitches of the sole. The center of the granny square’s edge should align with the center of the toe.
- Repeat this process for the second granny square and the second sole.
Part 4: Creating the Upper Part of the Shoe (Make 2)
Now we’ll work in rounds around the attached granny square and the sole to create the sides and heel of the shoe.
- With your main color, join your yarn with a sl st to any stitch along the edge where the granny square meets the sole.
- Round 1: Sc evenly around the entire edge of the sole and the attached granny square. You’ll likely work approximately 10-12 sc across the straight edge of the granny square and the remaining sc along the sides and heel of the sole. Join with a sl st to the first sc.
- Round 2: Ch 1, sc in each st around. Join with a sl st to the first sc.
- Round 3-5 (or more for a higher shoe): Repeat Round 2.
- Fasten off and weave in the ends for both shoes.

Part 5: Creating the Heel Strap (Make 2)
This strap will help keep the shoe on baby’s foot.
- With your contrasting color, ch 15 (or desired length).
- Row 1: Sc in the 2nd ch from the hook and in each ch across. (14 sc)
- Fasten off, leaving a long tail for sewing.
- Position the strap at the back of the shoe, attaching one end to each side of the heel opening. Use your yarn needle and the long tail to sew the strap securely in place. Ensure the strap is centered and allows for a comfortable fit.
Part 6: Adding the Ankle Strap (Optional – Make 2)
This strap provides extra security.
- With your contrasting color, ch 25 (or desired length).
- Row 1: Sc in the 2nd ch from the hook and in each ch across. (24 sc)
- Fasten off, leaving a long tail for sewing.
- Position the strap on the side of the shoe, just above the sole and in front of the heel strap. Sew one end securely to the side of the shoe. The other end will likely have a button loop or will be secured with a button.
Part 7: Finishing Touches
- Button Loops (for Ankle Strap): If you’ve added an ankle strap, create a small loop at the unattached end using your contrasting color. Ch 3-5 (depending on the size of your button) and sl st back into the strap. Fasten off and weave in the end.
- Attaching Buttons (Optional): Sew buttons onto the side of the shoe opposite the button loop on the ankle strap.
- Embellishments (Optional): Add small crocheted flowers, appliques, or tie a ribbon around the ankle strap for extra charm.
Care Instructions:
Gently hand wash in cool water with mild soap. Reshape and air dry.