 by
by 
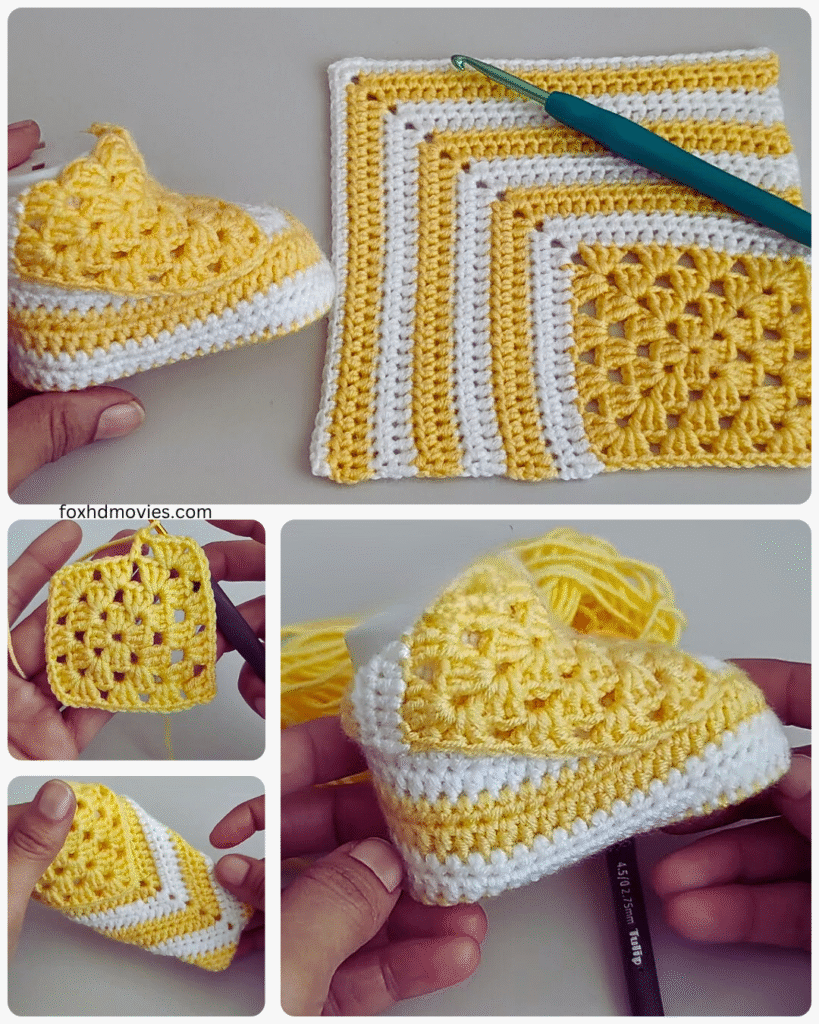
crafting tiny treasures for little feet! Let’s dive into creating some utterly unique crochet woolen thread baby booties. This pattern will guide you through the process, but feel free to unleash your creativity and personalize each pair.
Materials You’ll Need:
- Worsted weight wool yarn: Choose soft, baby-friendly wool in your desired colors. You won’t need a lot, making this a perfect stash-busting project. Consider using variegated yarn for a naturally unique look or contrasting colors for cuffs and embellishments.
- Crochet hook: The recommended hook size for your chosen yarn weight (usually around a G/6 or H/8 (4.0-5.0 mm)).
- Scissors: For snipping yarn ends.
- Yarn needle: For weaving in ends.
- Stitch markers: Helpful for marking the beginning of rounds or specific stitches.
- Measuring tape: To ensure consistent sizing.
- Optional embellishments: Buttons, small appliques, ribbons, beads (ensure they are securely attached and safe for babies).
Gauge:
While precise gauge isn’t critical for booties, aim for approximately 4-5 single crochet stitches per inch to achieve a newborn size. Adjust your hook size if needed.
Abbreviations (US Crochet Terms):
- ch: chain
- sl st: slip stitch
- sc: single crochet
- hdc: half double crochet
- dc: double crochet
- inc: increase (2 sc in the same stitch)
- dec: decrease (sc 1 2 stitches together)
- st(s): stitch(es)
- rep: repeat
- BLO: back loop only
- FLO: front loop only
Video pattern
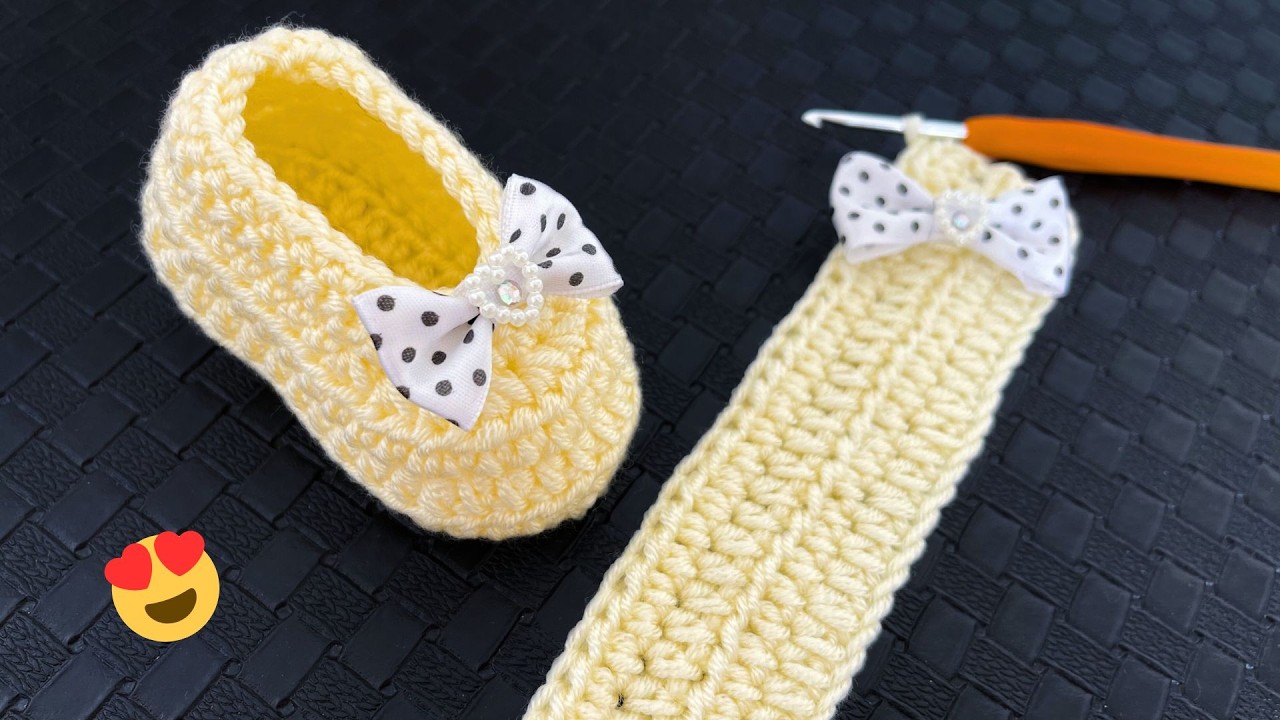
Basic Bootie Sole (Make 2):
We’ll start with an oval shape for the sole.
Round 1: Ch 10. In the second ch from the hook, sc, sc in the next 7 chs, 3 sc in the last ch. Working on the other side of the chain, sc in the next 7 chs, 2 sc in the last ch. Sl st to the first sc to join. (20 sts)
Round 2: Ch 1, inc in the first st, sc in the next 7 sts, inc in the next 3 sts, sc in the next 7 sts, inc in the last 2 sts. Sl st to the first inc to join. (26 sts)
Round 3: Ch 1, sc in the first st, inc in the next st, sc in the next 7 sts, (sc, inc) rep 3 times, sc in the next 7 sts, (inc, sc) rep twice. Sl st to the first sc to join. (32 sts)
Round 4: Ch 1, sc in the first 2 sts, inc in the next st, sc in the next 7 sts, (sc in the next 2 sts, inc) rep 3 times, sc in the next 7 sts, (inc, sc in the next st) rep twice. Sl st to the first sc to join. (38 sts)
- For a slightly larger sole: Add another round, increasing at the rounded ends as you have been.
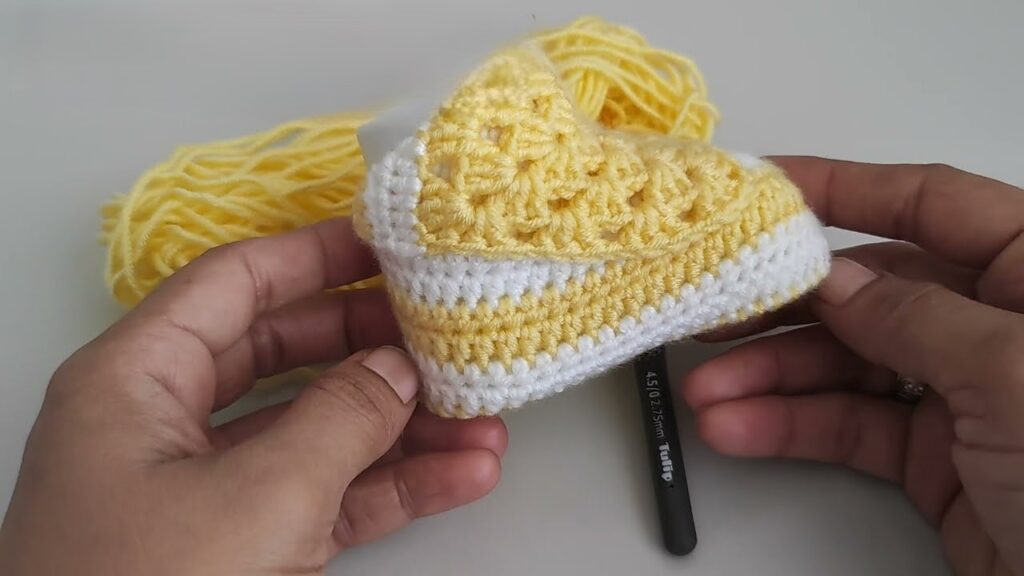
Bootie Upper:
Now we’ll build the sides of the bootie.
Round 1: Ch 1, working in the BLO of each st of the sole, sc around. Sl st to the first sc to join. (38 sts)
Round 2-5: Ch 1, sc in each st around. Sl st to the first sc to join at the end of each round. (38 sts)

Shaping the Toe:
We’ll now create the rounded toe.
Round 6: Ch 1, sc in the next 12 sts. Now we’ll work a decrease section: dec 7 times (sc 2 together 7 times). Sc in the remaining 12 sts. Sl st to the first sc to join. (31 sts)
Round 7: Ch 1, sc in the next 10 sts, dec 6 times, sc in the remaining 9 sts. Sl st to the first sc to join. (25 sts)
Round 8: Ch 1, sc in the next 8 sts, dec 4 times, sc in the remaining 9 sts. Sl st to the first sc to join. (21 sts)
Ankle Cuff:
Let’s add a cozy cuff. You can make this as tall or short as you like.
Round 9: Ch 1, sc in each st around. Sl st to the first sc to join. (21 sts)
Round 10-14 (or desired height): You have several options here for a unique touch:
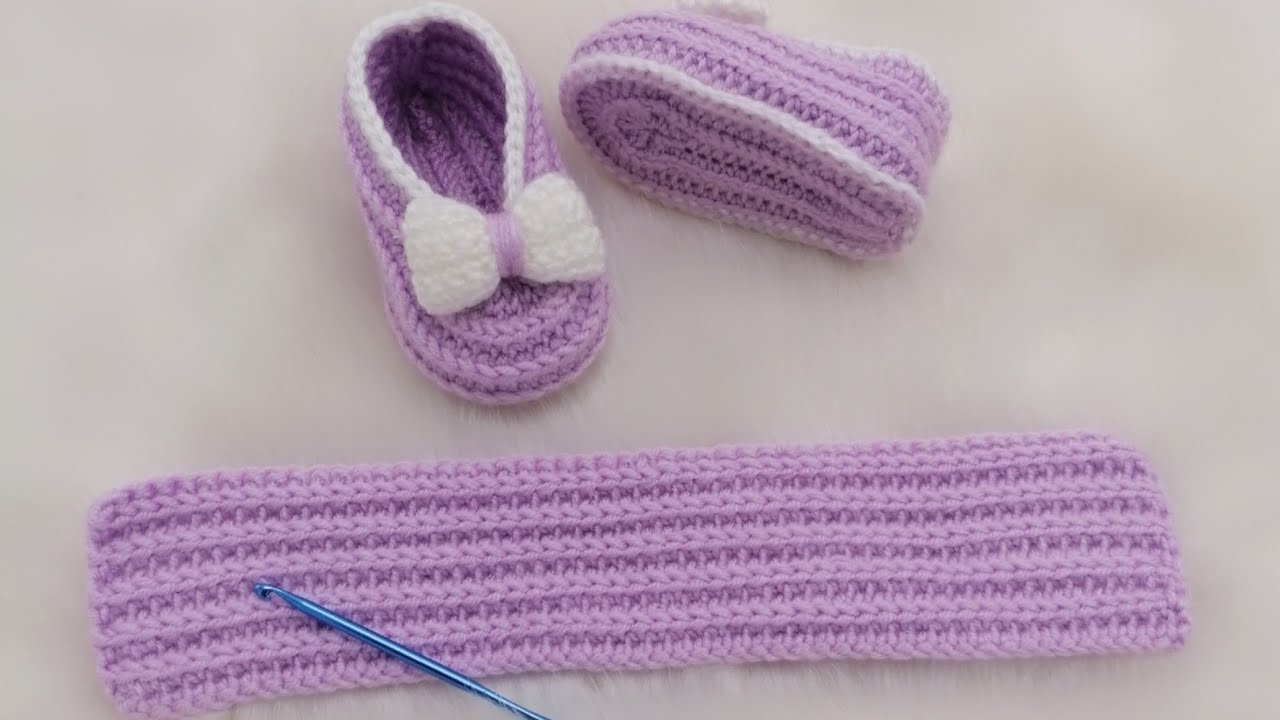
- Option 1 (Simple Ribbing): Ch 1, working in BLO, sc in each st around. Sl st to the first sc to join. Repeat for the desired number of rounds. This creates a stretchy, ribbed cuff.
- Option 2 (Color Change Stripes): Change colors every round or every few rounds for a striped effect. Simply join the new color with a sl st and continue with sc.
- Option 3 (Textured Stitch): Try using hdc or dc for a different texture. You could also alternate rows of sc and hdc.
- Option 4 (Picot Edge): For the last round, work (sc in the next 3 sts, ch 3, sl st in the first ch) repeat around. This creates a delicate, decorative edge.

Fasten off and weave in all yarn ends securely.
Finishing Touches and Unique Details:
This is where you can truly make your booties stand out! Here are some ideas:
- Contrasting Cuff: Make the cuff in a different color than the main bootie.
- Embroidered Details: Once the bootie is complete, you can add small embroidered details like tiny flowers, stars, or initials using a yarn needle and contrasting yarn.
- Appliques: Crochet small shapes like hearts, stars, or animals and securely sew them onto the booties. You can find many free patterns for small crochet appliques online.
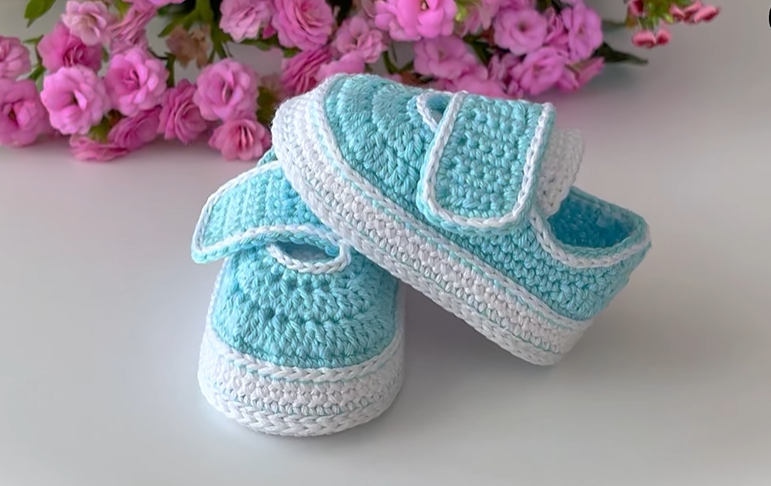
- Buttons and Straps: Add a small button on the side of the bootie and create a simple crocheted strap with a loop to fasten it. This adds a functional and decorative element.
- Ribbons: Thread a thin ribbon through the stitches around the ankle cuff and tie it in a bow. Choose a ribbon that complements your yarn colors.
- Pom-Poms or Tassels: Attach small, securely made pom-poms or tassels to the back or sides of the booties for a playful touch.
- Beaded Accents: Carefully sew on small, baby-safe beads around the cuff or as part of an applique. Ensure they are very securely attached.
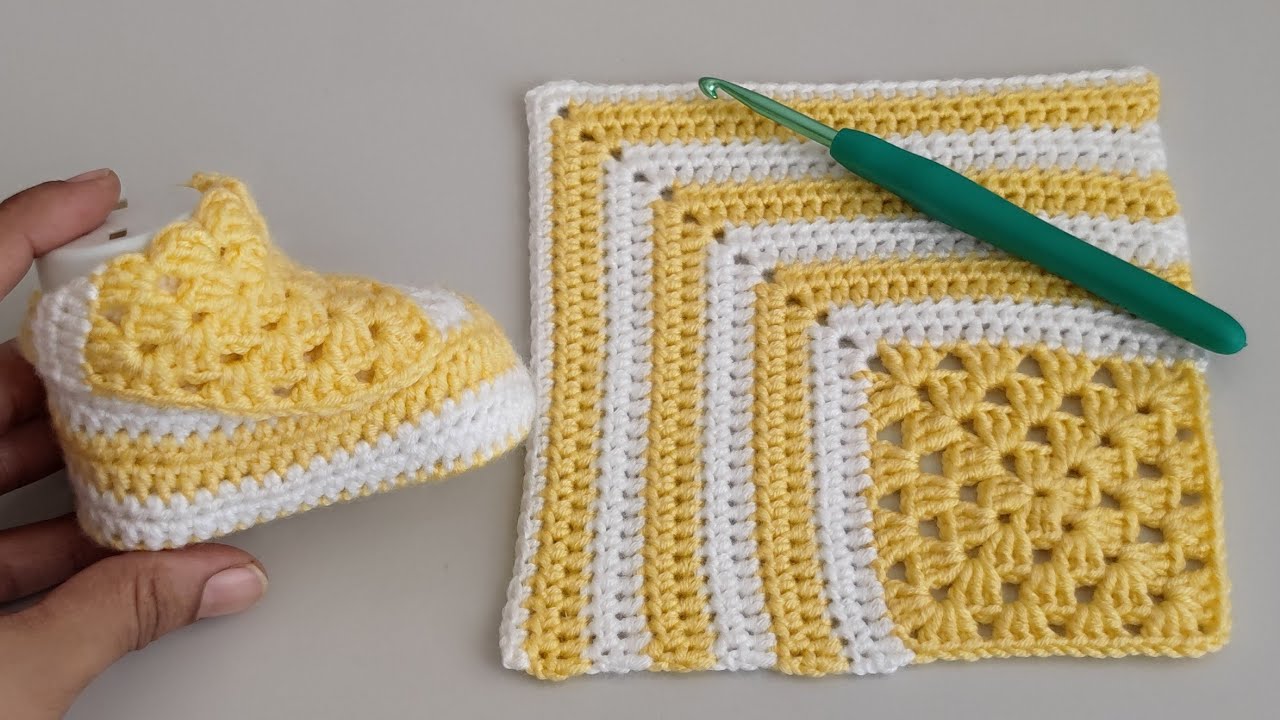
- Different Stitch Patterns: Experiment with different stitch patterns for the upper part of the bootie. You could use a shell stitch, a puff stitch, or a simple textured stitch to create visual interest.
Sizing Notes:
This pattern is generally sized for a newborn (approximately 0-3 months). To adjust the size:
- For a smaller size: Reduce the number of starting chains in the sole and work fewer rounds.
- For a larger size: Increase the number of starting chains in the sole and work additional rounds in the sole and upper. You may also need to adjust the decrease section for the toe.
Always measure the sole against a baby’s foot or a sizing chart to ensure the desired fit.
Tips for Success:
- Work with soft yarn: Baby’s skin is delicate, so choose a soft, non-irritating wool yarn specifically designed for babies.
- Maintain consistent tension: This will ensure your booties have a uniform look and fit.
- Count your stitches: Especially in the shaping rounds, accurate stitch counts are crucial.
- Weave in ends securely: This prevents your work from unraveling and keeps the booties safe for baby.
- Get creative! Don’t be afraid to experiment with colors, textures, and embellishments to make each pair of booties truly unique.
There you have it! A detailed pattern to create adorable and unique crochet woolen thread baby booties. Enjoy the process of crafting these little wonders, and let your imagination soar with each stitch. Happy crocheting!