 by
by 
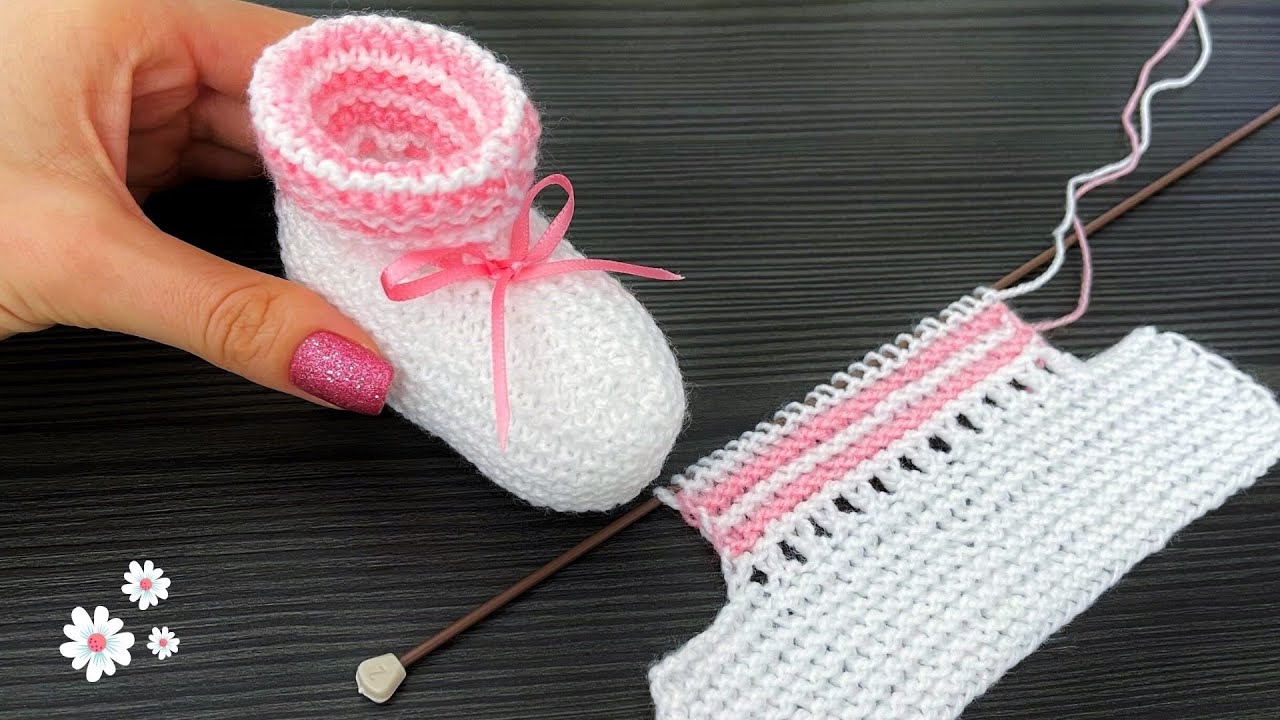
This pattern creates a soft and cozy pair of baby shoes, approximately 3-4 inches in length, suitable for newborns up to 3 months. You can easily adjust the size by using a thicker or thinner yarn and a corresponding hook size, or by adding or subtracting rounds in the granny squares.
Materials You’ll Need:
- Worsted weight yarn in your desired colors (you’ll need small amounts of at least two colors)
- Crochet hook size H/8 (5.0 mm) or size needed to obtain gauge
- Scissors
- Yarn needle for weaving in ends
- Measuring tape or ruler
- Optional: Buttons or small embellishments for decoration
Abbreviations (US Crochet Terms):
- ch: chain
- sl st: slip stitch
- sc: single crochet
- hdc: half double crochet
- dc: double crochet
- tr: treble crochet
- sp: space
- st(s): stitch(es)
- rep: repeat
Gauge:
While gauge isn’t critical for this project, approximately 4 double crochet stitches should measure about 1 inch.
Video pattern
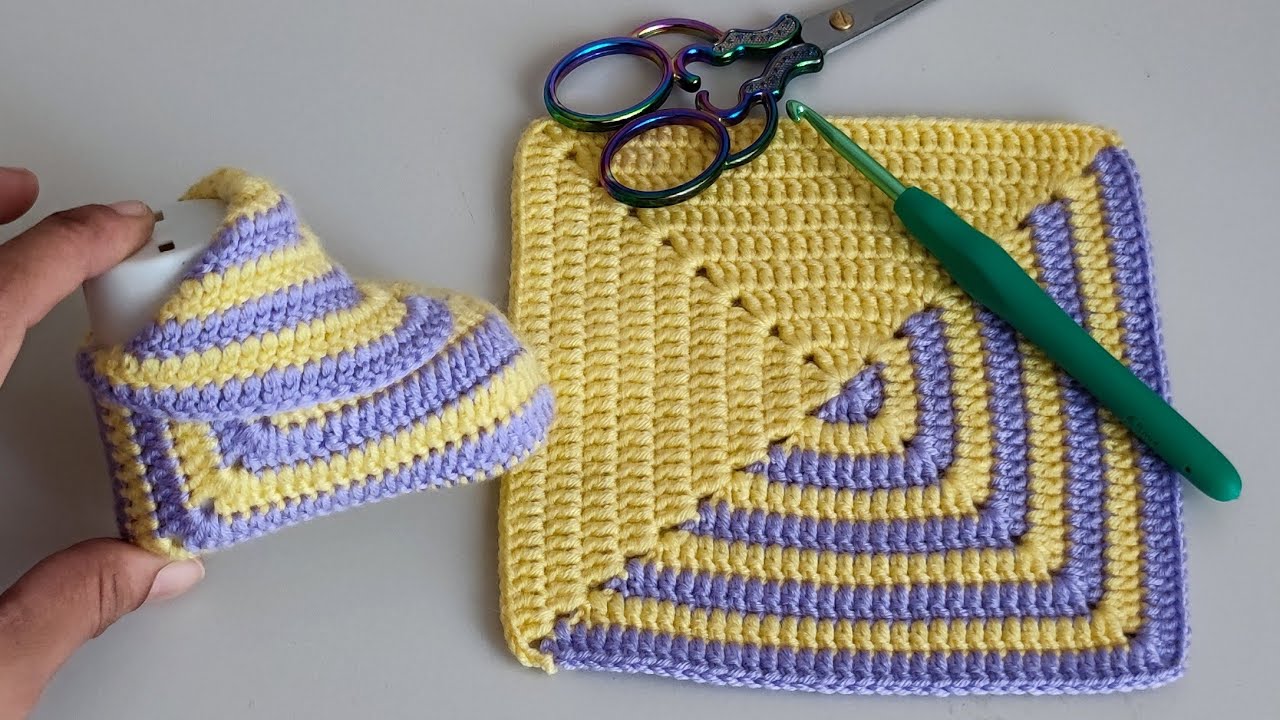
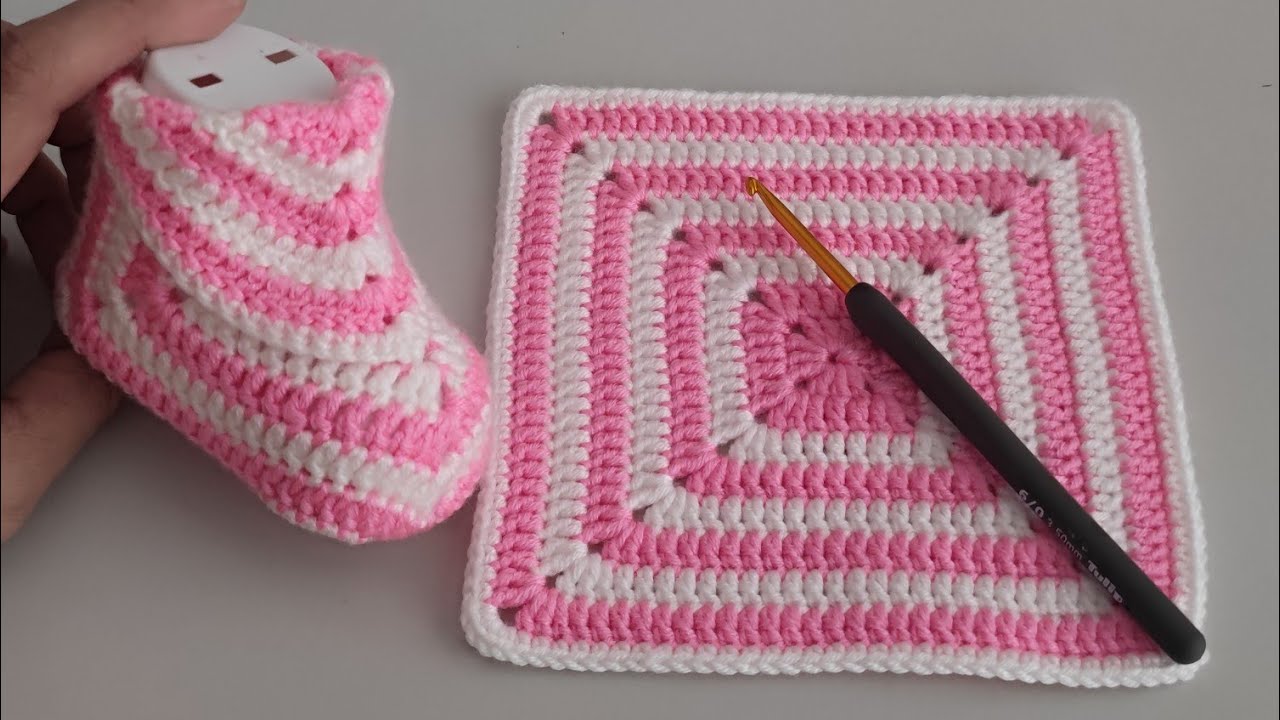
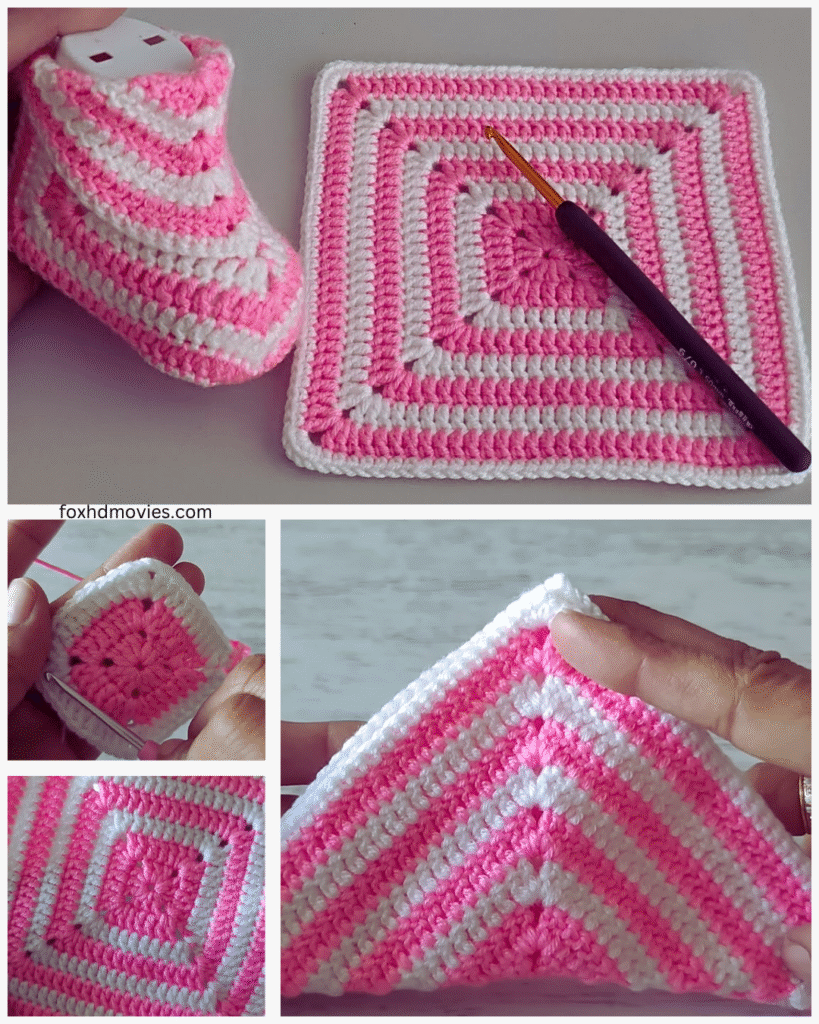
Let’s Make the Granny Squares (Make 4):
We’ll be making small, two-round granny squares for the main parts of the shoes.
Round 1: Ch 4, join with a sl st to form a ring. Ch 3 (counts as first dc), 2 dc in the ring, ch 2, (3 dc in the ring, ch 2) three times more. Join with a sl st to the top of the beginning ch-3. (12 dc, 4 ch-2 spaces)
Round 2: Sl st into the next dc and into the ch-2 space. Ch 3 (counts as first dc), 2 dc in the same ch-2 space, ch 1, (3 dc in the next ch-2 space, ch 2, 3 dc in the same ch-2 space, ch 1) three times, 3 dc in the starting ch-2 space, ch 2, join with a sl st to the top of the beginning ch-3. Fasten off and weave in ends. (24 dc, 4 ch-1 spaces, 4 ch-2 corner spaces)

Assembling the Shoe Upper:
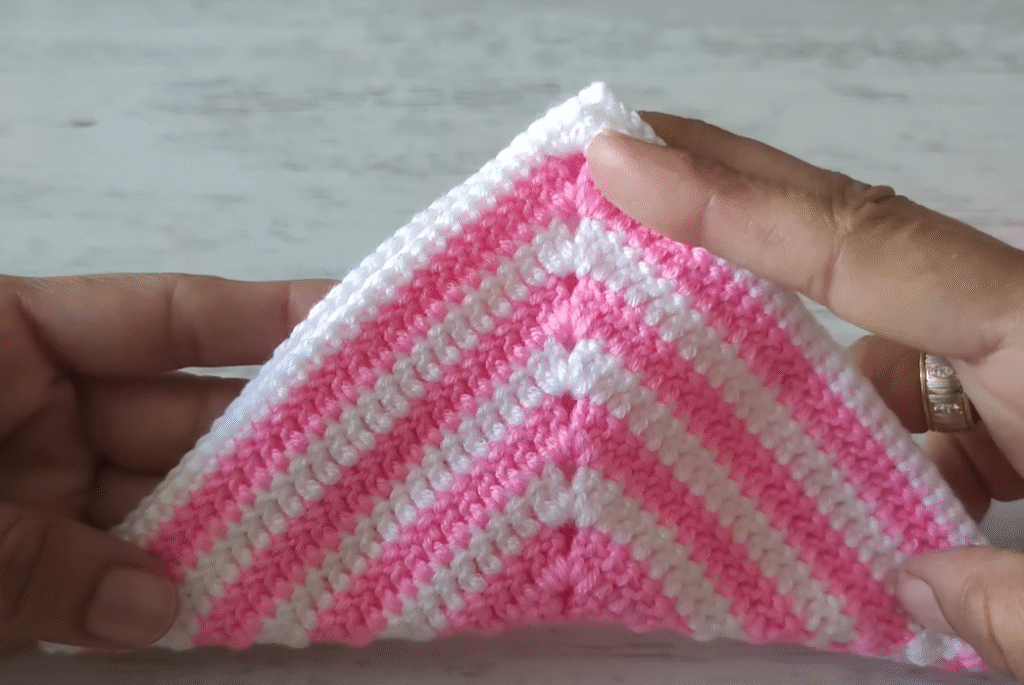
- Take two of your completed granny squares. Hold them with the wrong sides facing each other.
- Using your yarn and yarn needle, whipstitch or single crochet the two squares together along one side. This will form the front part of the shoe.
Creating the Sole:
- Round 1: With the right side facing you, join your yarn to any ch-1 space on one of the joined granny squares. Sc evenly around the perimeter of the joined squares. Make sure to work 3 sc in each of the four corner ch-2 spaces to create a rounded shape. Join with a sl st to the first sc.
- Round 2: Ch 1, sc in the same st, sc in each st around. Join with a sl st to the first sc.
- Round 3: Ch 1, sc in the same st, *sc in the next st, 2 sc in the following st; rep from * around. Join with a sl st to the first sc. This slight increase helps to shape the sole. You can adjust the number of increases here depending on the desired width of the sole.
- Round 4 (and beyond, for larger sizes): Ch 1, sc in each st around. Join with a sl st to the first sc. Repeat this round until the sole reaches your desired length. For the newborn size, 2-3 rounds of single crochet after the increases are usually sufficient. Fasten off and weave in the end.

Attaching the Remaining Granny Squares (Sides of the Shoe):
- Take one of the remaining granny squares. Align one side of the square with the side edge of the sole, starting near the front (where the two granny squares are joined) and extending towards the heel.
- Using your yarn and yarn needle or your crochet hook, sew or single crochet this granny square to the sole.
- Repeat this process with the last granny square on the other side of the sole.
Creating the Heel:
- With the right side facing you, join your yarn at the back of the shoe where the two side granny squares meet the sole.
- Round 1: Ch 1, sc evenly across the back edge, joining the two side granny squares together and attaching them to the sole.
- Round 2 (and beyond): Ch 1, turn, sc in each st across. Repeat until the heel reaches your desired height. A few rows should be enough for a baby shoe. Fasten off and weave in the end.
Adding the Ankle Strap (Make 2):
- Join your yarn at the side of the shoe, near the top edge.
- Ch approximately 15-20 (adjust the length as needed for tying).
- Sc in the second ch from the hook and in each ch across.
- Sl st to the other side of the shoe at the top edge to attach the strap. Fasten off and weave in the end.
- Repeat on the other side of the shoe.
Finishing Touches:
- Weave in all remaining yarn ends securely.
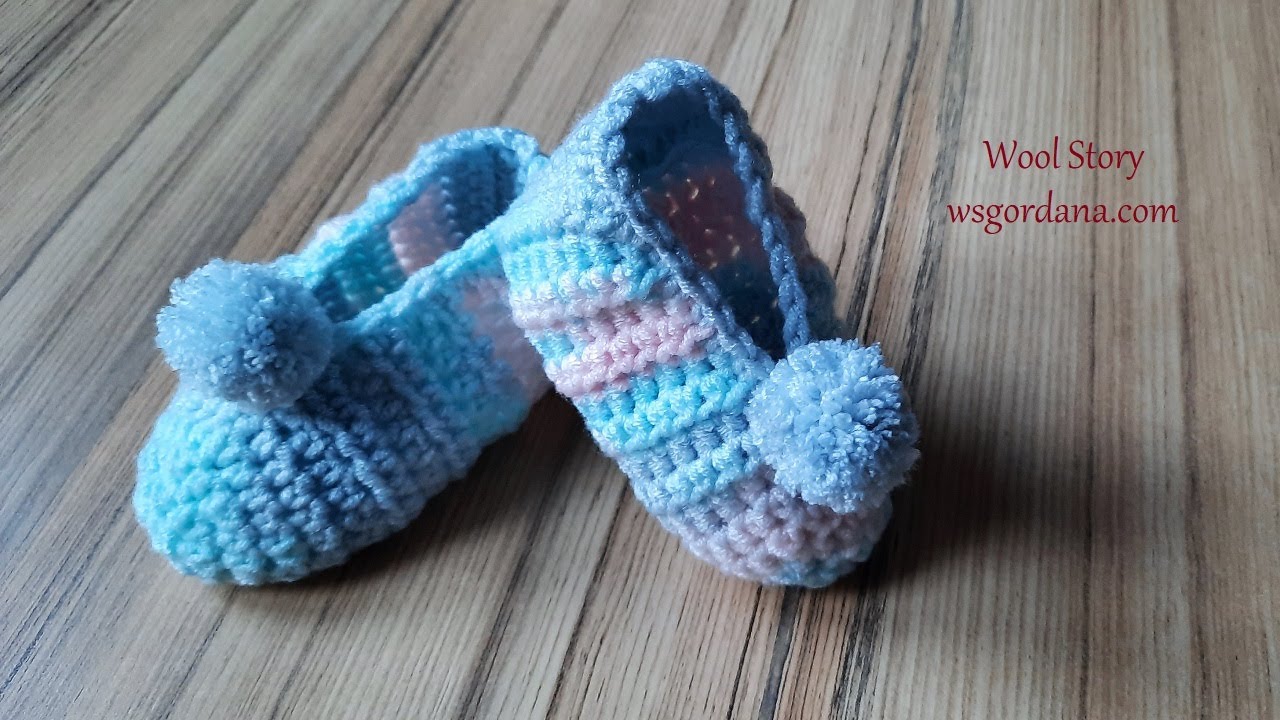
- You can add small buttons, crocheted flowers, or other embellishments to the front of the shoes for an extra touch of cuteness. Make sure any embellishments are securely attached.
Tips and Variations:
- Color Play: Get creative with your color combinations! Use contrasting colors for the granny squares and the sole/strap, or use variegated yarn for a fun, multi-colored look.
- Size Adjustment: As mentioned earlier, you can adjust the size by changing yarn weight and hook size, or by adding or subtracting rounds in the granny squares and the sole.
- Closure Options: Instead of straps, you could add a button and a loop closure.
- Non-Slip Sole: For older babies who are starting to walk, you can add non-slip dots to the soles using fabric paint or silicone.
Congratulations! You’ve now created a charming pair of crochet baby shoes using easy granny squares. These little booties are not only adorable but also soft and comfortable for tiny feet. They make a thoughtful and heartfelt gift for baby showers or just because. Happy crocheting!