by
by 
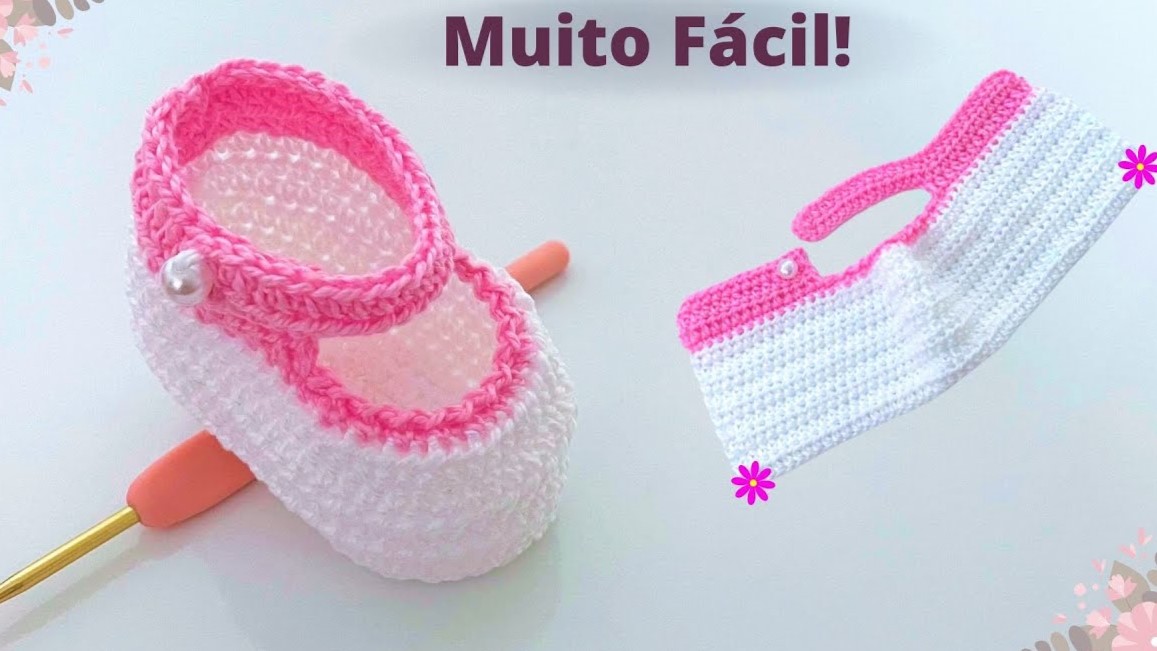
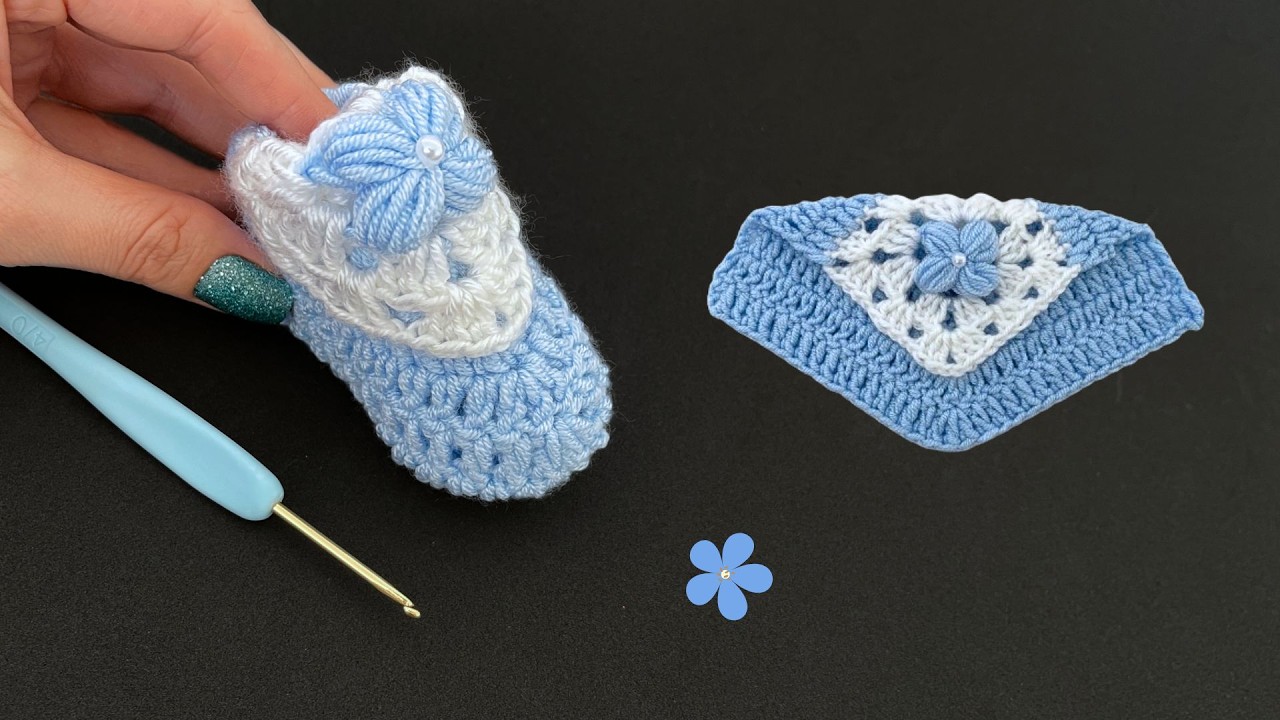
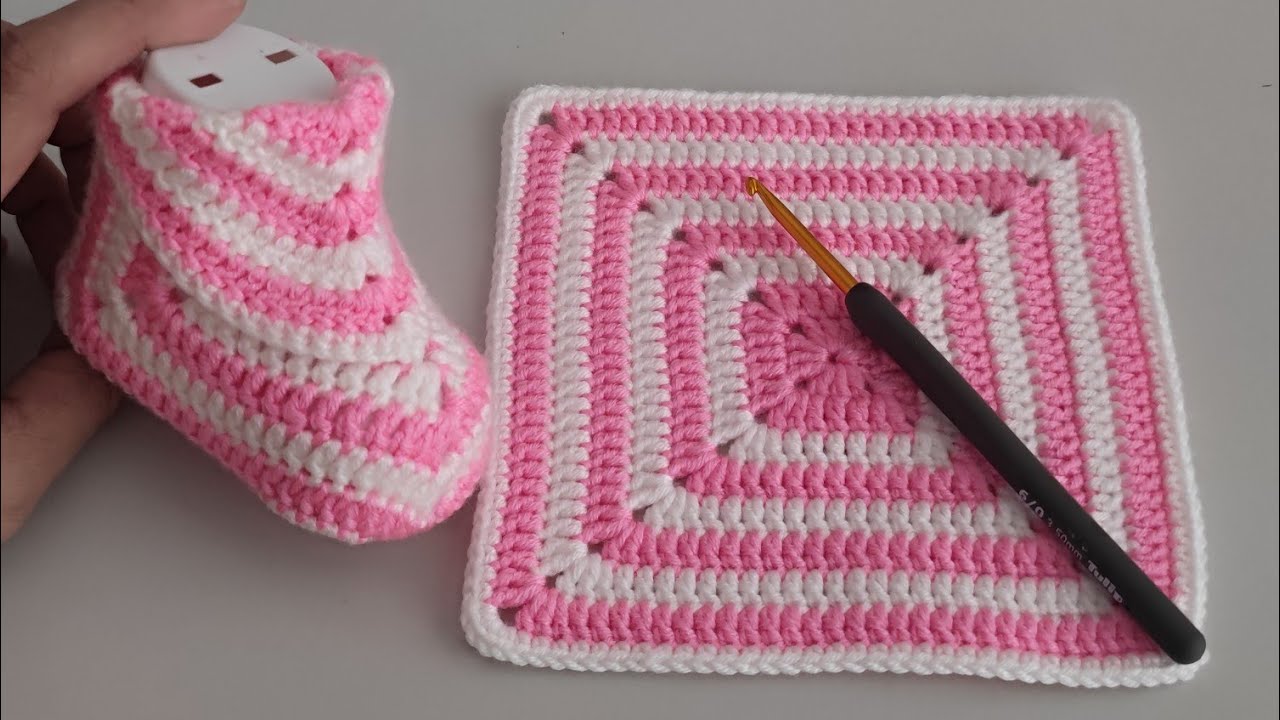
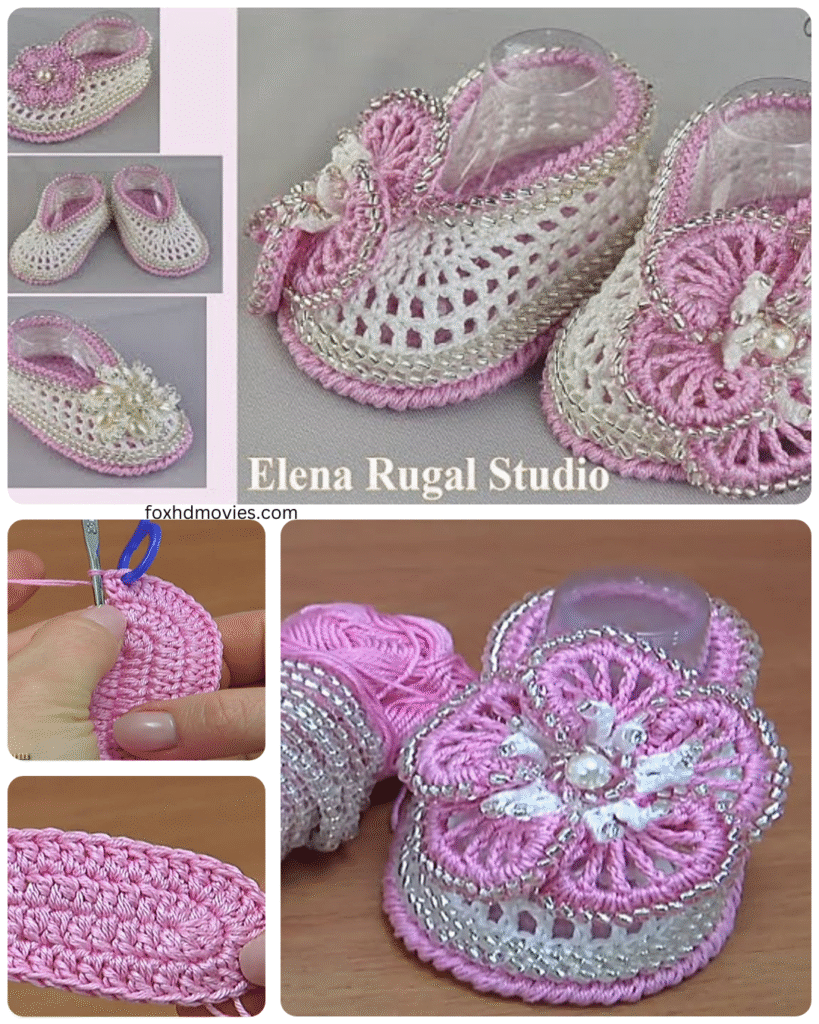
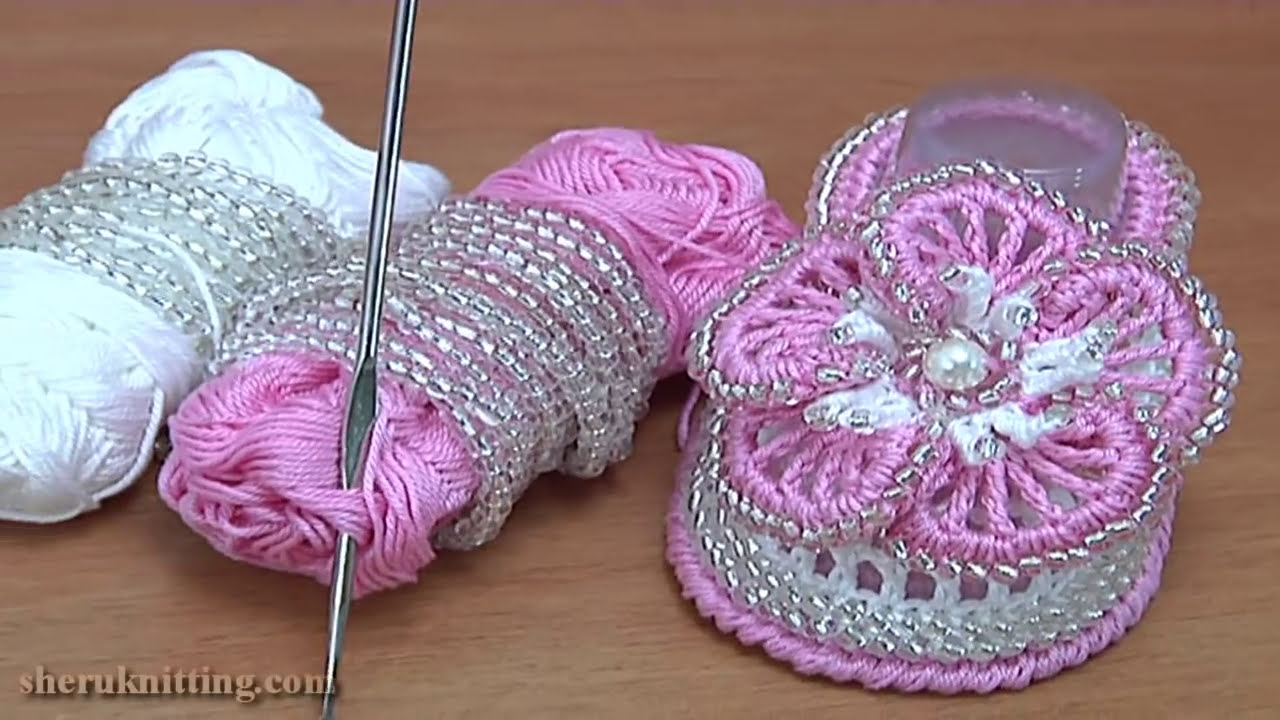
let’s craft a detailed crochet pattern for beaded baby shoes! This pattern will guide you through each step, from the sole to the delicate beaded embellishments.
Skill Level: Intermediate (due to beadwork and shaping)
Materials:
- Sport weight yarn (approximately 50-75 yards depending on size) in your desired color.
- Crochet hook size appropriate for your yarn (usually around 3.5mm or E/4).
- Small seed beads (size 6/0 or 8/0) in your chosen colors and quantity.
- Beading needle with an eye small enough to fit through your seed beads.
- Tapestry needle for weaving in ends.
- Scissors.
- Stitch markers.
- Optional: Non-slip fabric or suede for soles (if you want to add extra grip).
Finished Size: This pattern is written for approximately 0-3 months (sole length approx. 3.5 inches). Adjust hook size and yarn weight for different sizes. You can also add or subtract rounds in the sole.
Abbreviations (US Crochet Terms):
- ch = chain
- sl st = slip stitch
- sc = single crochet
- hdc = half double crochet
- dc = double crochet
- inc = increase (2 sc in the same stitch)
- dec = decrease (sc2tog – single crochet two stitches together)
- st(s) = stitch(es)
- rep = repeat
- BLO = back loop only
- FLO = front loop only
Gauge: Gauge is not critical for baby shoes, but consistency will ensure a good fit. Aim for approximately 20 sc stitches and 20 rows in a 4-inch square.
Pattern Instructions:
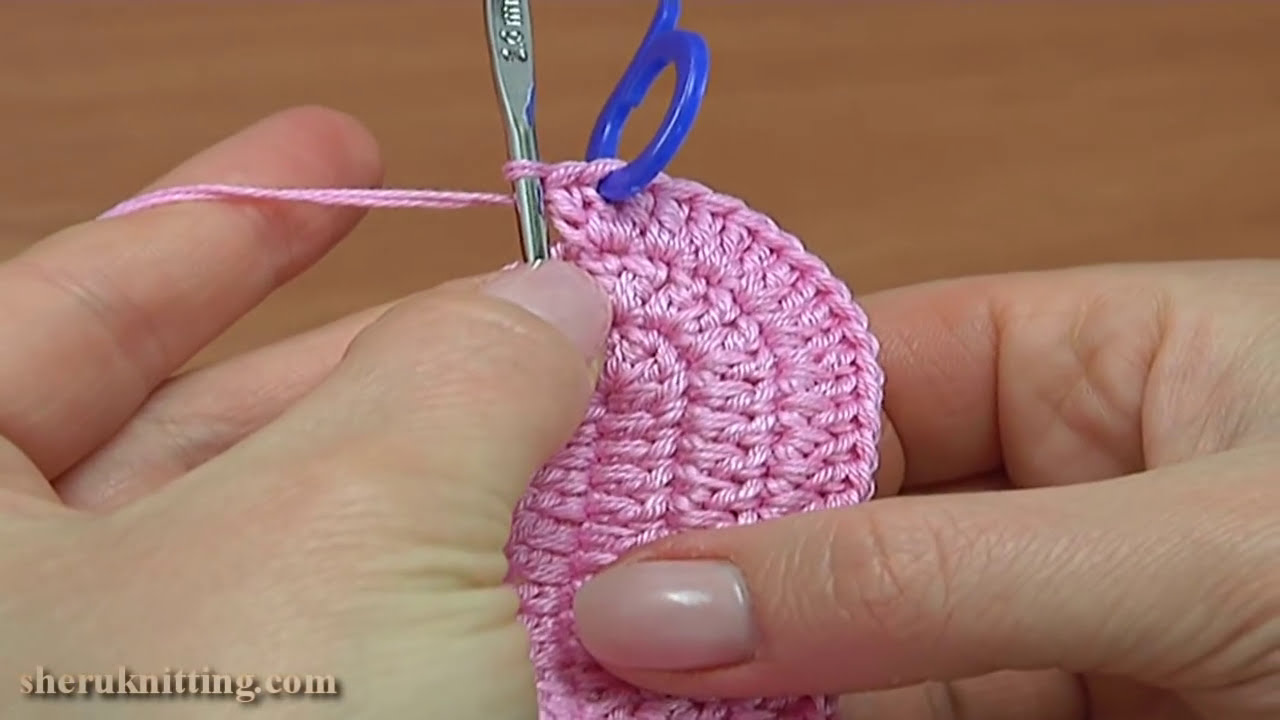
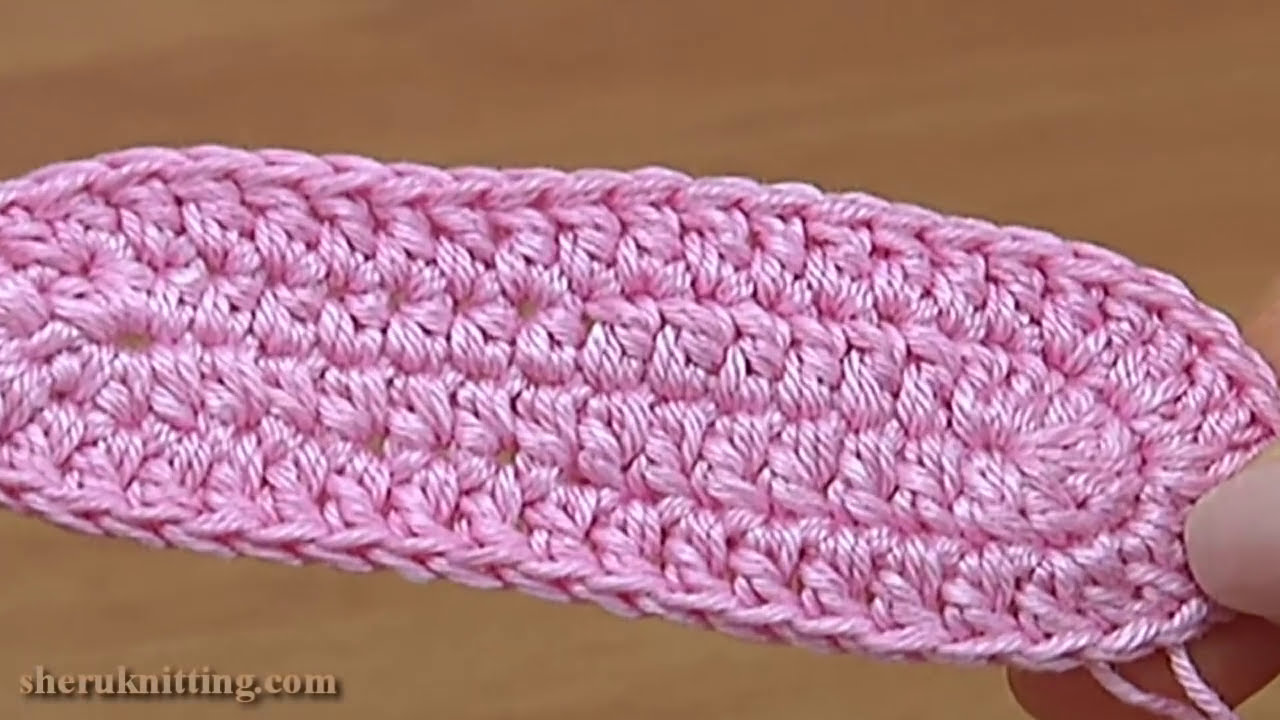
Part 1: The Sole (Make 2)
- Round 1: Ch 10. Sc in the 2nd ch from the hook and in the next 7 chs, 3 sc in the last ch. Working on the other side of the chain, sc in the next 7 chs, 2 sc in the last ch. Sl st to the first sc to join. (20 sts)
- Round 2: Ch 1, inc in the first st, sc in the next 7 sts, inc in the next 3 sts, sc in the next 7 sts, inc in the last 2 sts. Sl st to the first inc to join. (26 sts)
- Round 3: Ch 1, sc in the first st, inc in the next st, sc in the next 8 sts, (sc, inc) x 3, sc in the next 8 sts, (inc, sc) x 2. Sl st to the first sc to join. (32 sts)
- Round 4: Ch 1, sc in the first 2 sts, inc in the next st, sc in the next 9 sts, (sc in the next 2 sts, inc) x 3, sc in the next 9 sts, (inc, sc in the next st) x 2. Sl st to the first sc to join. (38 sts)
- Round 5: Ch 1, sc in the first 3 sts, inc in the next st, sc in the next 10 sts, (sc in the next 3 sts, inc) x 3, sc in the next 10 sts, (inc, sc in the next 2 sts) x 2. Sl st to the first sc to join. (44 sts)
- Adjusting Size: For a slightly larger size, add another round, increasing evenly around the oval. For a smaller size, stop at an earlier round.
Part 2: The Upper
- Round 1: Ch 1, sc in BLO of each st around. Sl st to the first sc to join. (44 sts)
- Round 2: Ch 1, sc in each st around. Sl st to the first sc to join. (44 sts)
- Round 3: Ch 1, sc in the next 15 sts. Mark the next 14 sts (this will be the front of the shoe). Sc in the remaining 15 sts. Sl st to the first sc to join. (44 sts)
- Round 4: Ch 1, sc in the next 15 sts. Dec over the next 14 marked sts (7 decreases). Sc in the remaining 15 sts. Sl st to the first sc to join. (37 sts)
- Round 5: Ch 1, sc in the next 15 sts. Dec over the next 7 sts (3 decreases, 1 single sc, 3 decreases). Sc in the remaining 15 sts. Sl st to the first sc to join. (33 sts)
- Round 6: Ch 1, sc in the next 15 sts. Dec over the next 5 sts (2 decreases, 1 single sc, 2 decreases). Sc in the remaining 15 sts. Sl st to the first sc to join. (29 sts)
- Round 7: Ch 1, sc in the next 15 sts. Dec over the next 3 sts (1 decrease, 1 single sc, 1 decrease). Sc in the remaining 15 sts. Sl st to the first sc to join. (27 sts)
- Shaping the Front: The number of decreases in these rounds can be adjusted slightly to achieve the desired shape for the toe.
Part 3: The Ankle Strap (Make 2)
- Row 1: Starting at the side of the shoe (approximately 5-7 sts from the back), join yarn with a sl st. Ch 1, sc in the same st and in the next 8 sts. (9 sts)
- Row 2 – 10 (or desired length): Ch 1, turn, sc in each st across. (9 sts)
- Fasten off, leaving a long tail for sewing.
Part 4: Beaded Embellishment (Optional, on one or both shoes)
- Prepare your needle and thread: Thread your beading needle with a length of your yarn. Tie a knot at the end.
- Plan your design: Decide where you want to place the beads on the shoe. Common areas are along the front edge of the upper or around the ankle strap. You can create simple lines, floral patterns, or random scattering.
- Attaching the beads:
- Bring your needle up from the inside of the shoe at your desired starting point.
- Pick up one bead with your needle.
- Stitch back down into the fabric close to where your thread emerged.
- Bring your needle back up a short distance away to attach the next bead.
- Repeat this process to create your desired beaded design.
- Securing the thread: Once you’ve finished your beading, weave the yarn tail through the back of the stitches several times to secure it. Trim the excess yarn.
Part 5: Finishing
- Weave in all loose ends on both the soles and the uppers using your tapestry needle.
- Sew the ankle straps to the sides of the shoe. Position them so they align comfortably around a baby’s ankle. Ensure they are attached securely.
- Optional Non-Slip Soles: If desired, cut pieces of non-slip fabric or suede slightly larger than the crocheted soles. Attach them to the bottom of the crocheted soles using fabric glue or by carefully sewing them on with a needle and thread.
Video tutorial
Tips and Variations:
- Color Changes: Introduce different colors of yarn for stripes or accents in the upper or strap.
- Edging: Add a decorative edging around the top of the shoe or the ankle strap using a contrasting color or a picot stitch.
- Button Closure: Instead of simply sewing the ankle strap, you can add a small button to one strap and create a loop on the other for closure.
- Flower or Appliqué: Add a small crocheted flower, bow, or other appliqué to the front or side of the shoe for extra decoration. Attach securely.
- Bead Placement Variations: Experiment with different bead sizes, shapes, and colors. You can create more intricate patterns or simply add a few strategically placed beads.
Important Safety Note: Ensure all beads are securely attached to prevent them from becoming a choking hazard for the baby. Regularly check the shoes for any loose beads.