 by
by 
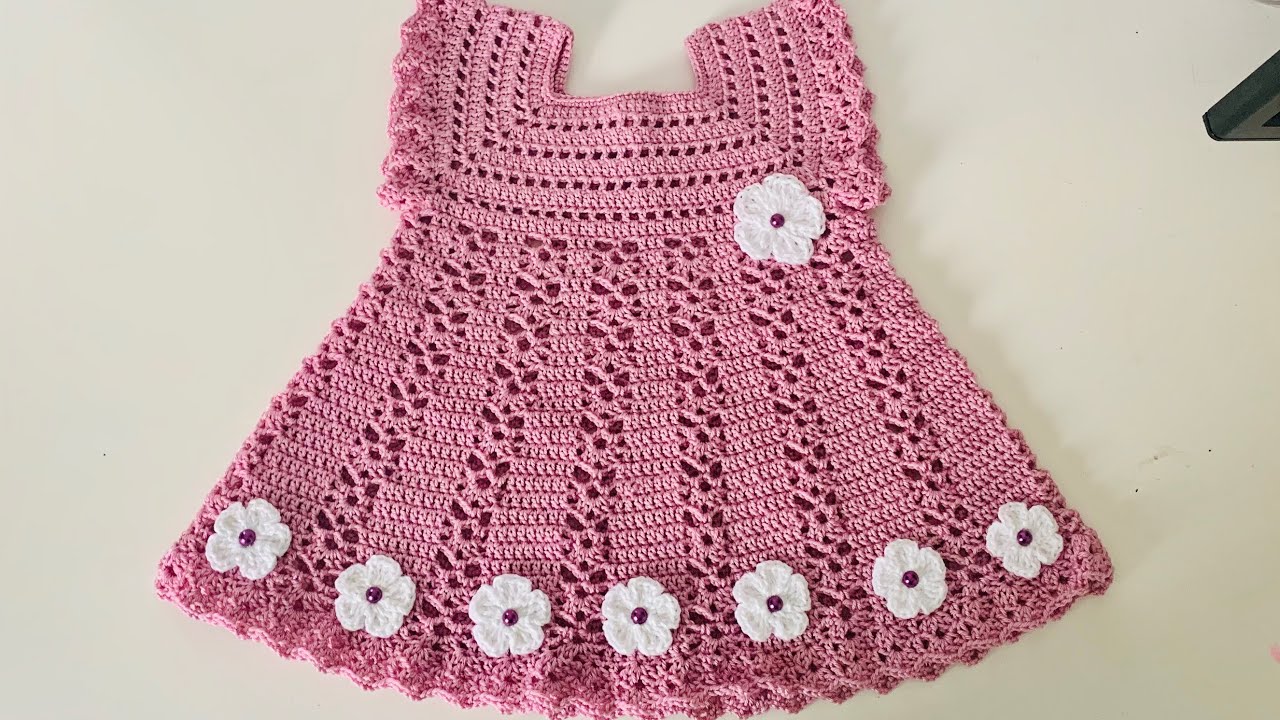
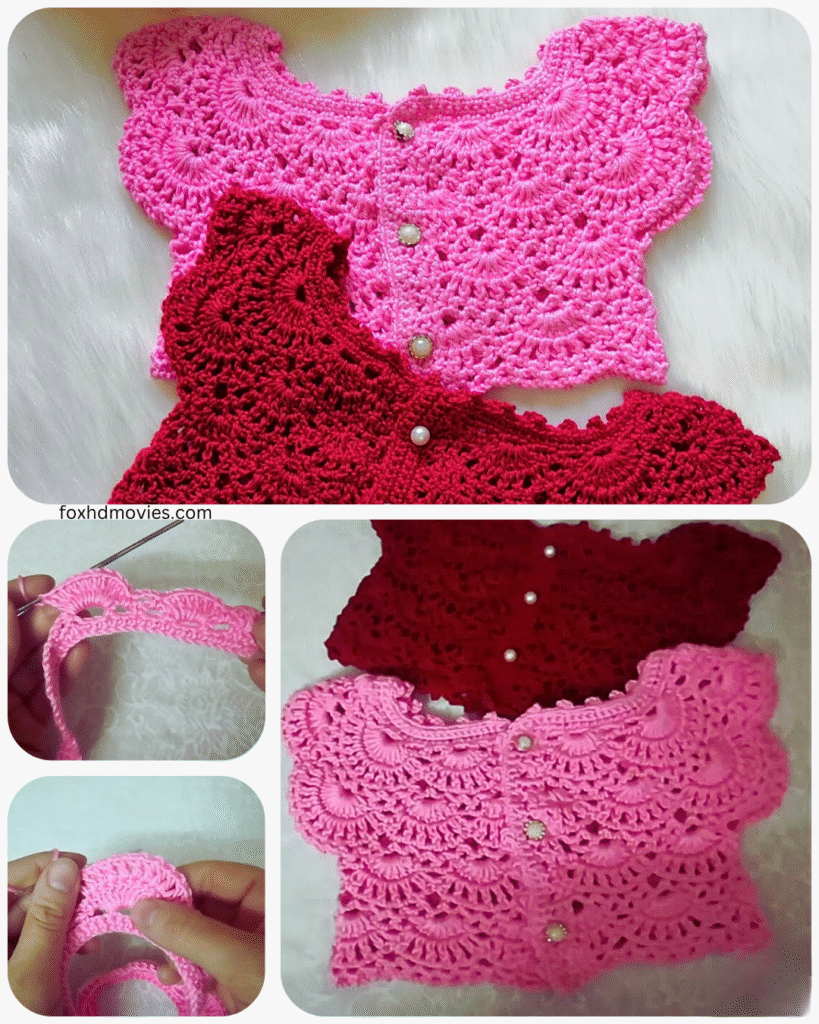
Let’s get those hooks clicking and create a beautiful crochet yoke for a baby dress. This pattern offers a lovely, gently shaped neckline and provides a solid foundation for adding a skirt of any style you desire – from simple single crochet to frilly ruffles.
This pattern is written for a newborn to 3-month-old size. Adjustments for larger sizes are noted where applicable.
Materials:
- DK weight yarn (approximately 100-150 yards) in your chosen color. Soft, baby-friendly yarn is recommended.
- Crochet hook size E/4 (3.5 mm) or size needed to obtain gauge.
- Stitch markers (4)
- Yarn needle for weaving in ends.
- Scissors.
Gauge:
- 4 double crochet (dc) stitches = 1 inch
- 2 rows of double crochet = 1 inch
Finished Yoke Measurements (Newborn to 3 Months):
- Neck opening: Approximately 12 inches
- Shoulder to bottom of yoke: Approximately 4 inches
Abbreviations (US Crochet Terms):
- ch: chain
- sl st: slip stitch
- sc: single crochet
- hdc: half double crochet
- dc: double crochet
- tr: treble crochet
- st(s): stitch(es)
- sp(s): space(s)
- rep: repeat
- inc: increase (work 2 stitches in the same stitch)
- sk: skip
Special Stitches:
- V-stitch (V-st): (dc, ch 1, dc) in the same stitch.
Video pattern
Pattern:
Yoke:
- Foundation Chain: Ch 60.
- Round 1: Dc in the 3rd ch from the hook (counts as first dc), dc in each ch across. Join with a sl st to the first dc. (58 sts)
- Round 2: Ch 2 (does not count as a st), hdc in the same st, hdc in each st around. Join with a sl st to the first hdc. (58 sts)
- Round 3: Ch 3 (counts as first dc), dc in the same st. Ch 1, sk the next st, (dc, ch 1, dc) in the next st (V-st). Rep from * to last 2 sts. Ch 1, sk the next st, 2 dc in the last st. Join with a sl st to the top of the beginning ch-3. (14 V-sts, 4 dc)
- Round 4: Sl st into the ch-1 sp of the first V-st. Ch 3 (counts as first dc), dc in the same ch-1 sp. Ch 1, (dc, ch 1, dc) in the ch-1 sp of the next V-st. Rep from * around. Ch 1, 2 dc in the last ch-1 sp. Join with a sl st to the top of the beginning ch-3. (14 V-sts, 4 dc)
- Round 5: Sl st into the ch-1 sp of the first V-st. Ch 3 (counts as first dc), dc in the same ch-1 sp. Ch 1, (dc, ch 1, dc) in the ch-1 sp of the next V-st. Rep from * around. Ch 1, 2 dc in the last ch-1 sp. Join with a sl st to the top of the beginning ch-3. (14 V-sts, 4 dc)
- Round 6 (Raglan Increases): Ch 3 (counts as first dc). Place a stitch marker in this stitch. Dc in the next st. Ch 1, (dc, ch 1, dc) in the ch-1 sp of the next V-st. Rep from * 3 times. Ch 1, dc in the next dc. Place a stitch marker in this stitch. Dc in the next st. Ch 1, (dc, ch 1, dc) in the ch-1 sp of the next V-st. Rep from * 3 times. Ch 1, dc in the next dc. Place a stitch marker in this stitch. Dc in the next st. Ch 1, (dc, ch 1, dc) in the ch-1 sp of the next V-st. Rep from * 3 times. Ch 1, dc in the next dc. Place a stitch marker in this stitch. Dc in the last st. Join with a sl st to the top of the beginning ch-3.
- You have now marked the beginning of the round and the points where the sleeves will separate from the body. There should be 14 V-sts and 8 dc stitches (2 between each marker).
- Round 7: Ch 3 (counts as first dc), dc in each st up to the first marker. Slip the marker. Ch 3 (for armhole). Sk all sts until the next marker. Slip the marker. Dc in each st until the next marker. Rep from * once more. Slip the marker. Ch 3 (for armhole). Sk all sts until the last marker. Slip the marker. Dc in each st to the end of the round. Join with a sl st to the top of the beginning ch-3.
- You have now created the armholes.
- Round 8: Ch 3 (counts as first dc), dc in each st across, working 3 dc in each ch-3 armhole space. Join with a sl st to the top of the beginning ch-3.
- Round 9: Ch 3 (counts as first dc), dc in each st around. Join with a sl st to the top of the beginning ch-3.
- Round 10: Rep Round 9.
- Round 11 (Optional Edging): Ch 1, sc in each st around. Join with a sl st to the first sc. Fasten off.

Larger Sizes:
- 3-6 Months: Begin with a slightly longer foundation chain (adjust in multiples of 4 + 2). Work more rounds of the V-stitch pattern (Rounds 4-6) before the raglan increases to increase the neck and upper chest circumference. You may also need to work an extra round or two after separating the sleeves to achieve the desired yoke length.
- 6-12 Months: Begin with a longer foundation chain. Work more rounds of the V-stitch pattern and potentially add increases within the V-stitches in the raglan increase rounds (e.g., (dc, ch 1, dc, ch 1, dc) in the ch-1 sp) to accommodate a larger chest. Add more rounds after separating the sleeves for length.

Finishing:
- Weave in all loose ends securely.
- Block the yoke gently if desired to even out the stitches.

Next Steps:
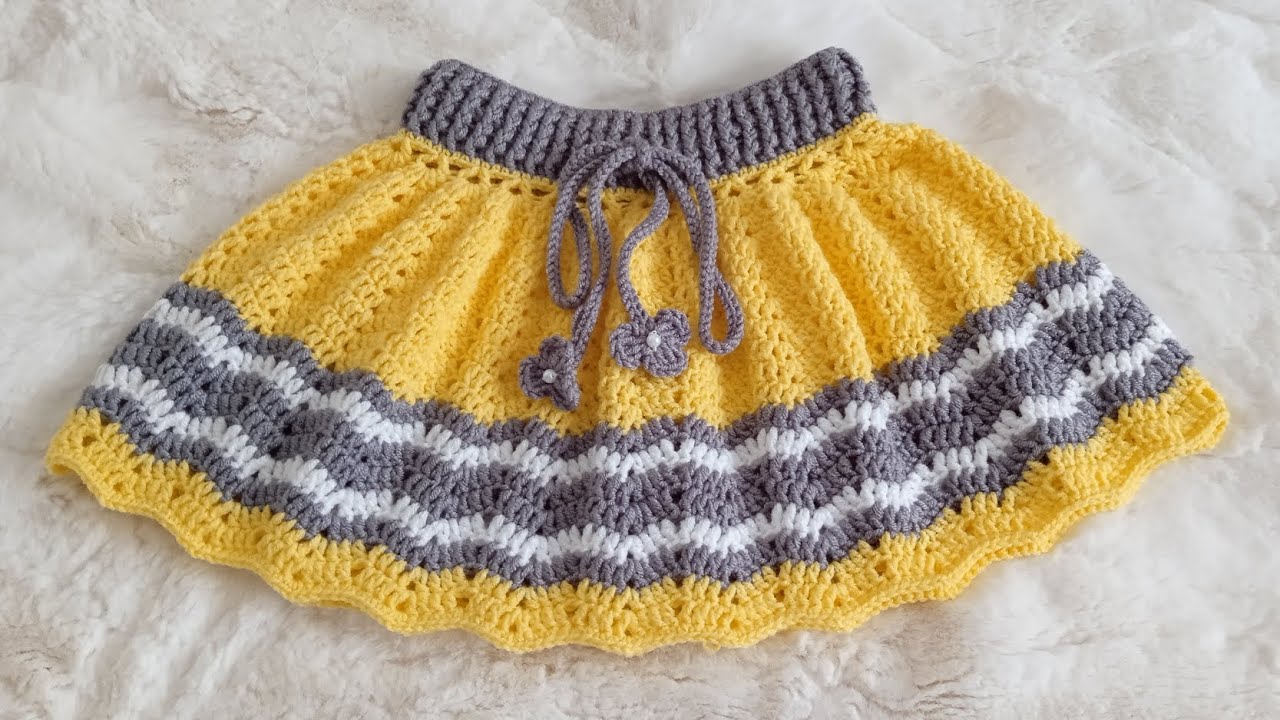
With your beautiful crochet yoke complete, you’re ready to add a skirt! You can attach your yarn at the bottom edge of the yoke and work any stitch pattern you like. Consider:
- Simple single crochet or double crochet for a classic look.
- Shell stitches or ruffles for a more decorative feel.
- A-line shaping by increasing stitches evenly around the skirt.
Tips and Variations:
- Color Changes: Introduce stripes or color blocking in the yoke for a unique design.
- Texture: Experiment with different stitch patterns for the yoke itself, such as puff stitches or bobbles.
- Button Placket/Opening: If you want a closed-back dress, you’ll need to incorporate a button placket or other closure at the back of the yoke. This can be done by working in rows for a portion of the back or by adding a separate placket after the yoke is complete.
- Neckline Edging: You can add a picot edge, shell edge, or a simple row of single crochet in a contrasting color around the neckline for a polished finish.