by
by 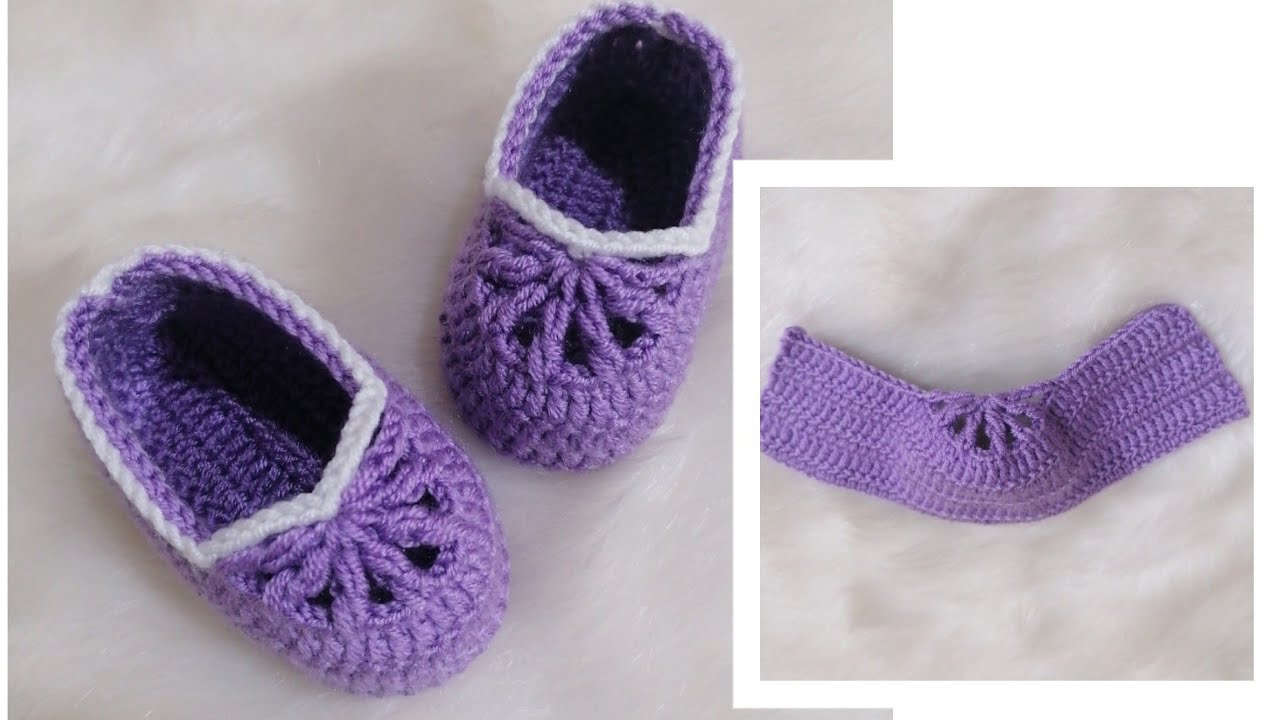
Introduction: Tiny Toes, Tiny Treasures
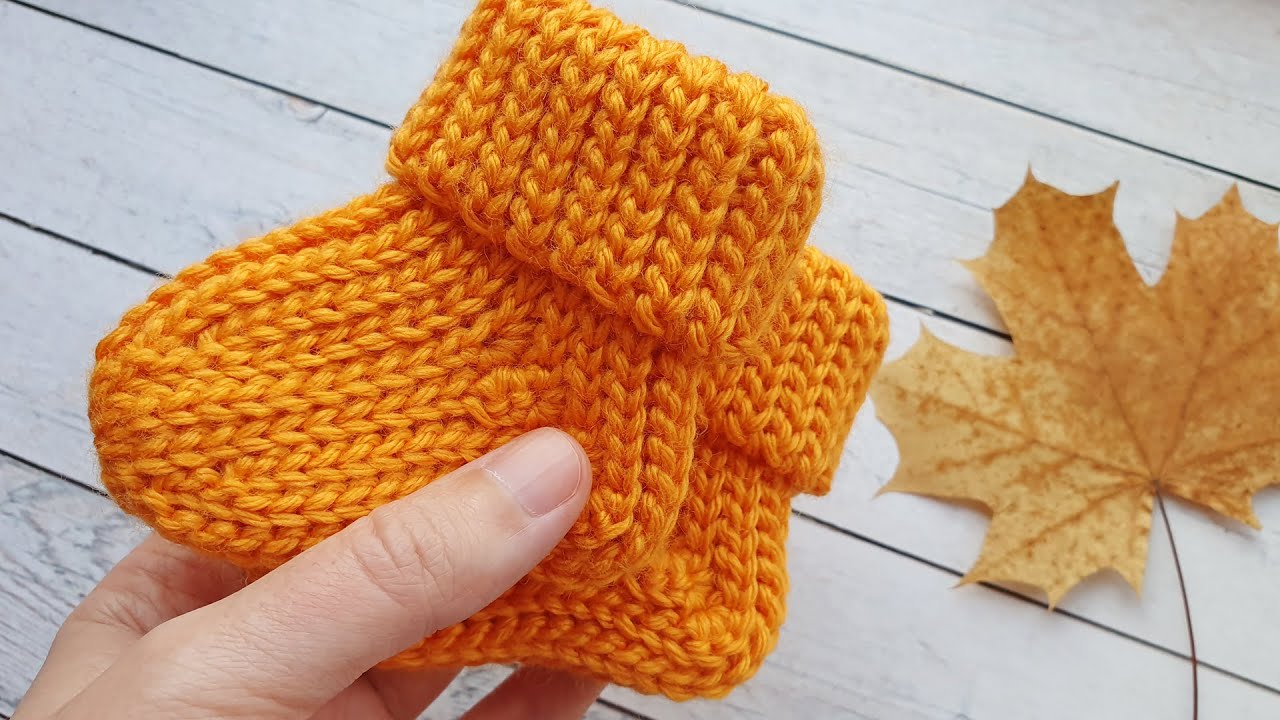
Oh, the joy of tiny toes! As a fellow yarn enthusiast (or new parent, or loving grandparent!), you know there’s something extra special about creating something handmade for a little one. Today, we’re diving into a project that’s both practical and utterly heart-melting: easy crochet baby slippers!
These little booties work up quickly, require minimal yarn, and make the sweetest gifts for baby showers, newborns, or just because. Whether you’re a crochet newbie or a seasoned pro looking for a fast and satisfying project, this pattern is for you. Get ready to transform some yarn into tiny treasures that will keep those precious feet warm and cozy.
(Optional: Include a personal anecdote about making baby slippers or the joy of gifting them.)

What You’ll Need: Gathering Your Cozy Supplies
Before we get hooking, let’s gather our materials. Don’t worry, the list is short and sweet!
- Yarn: Worsted weight yarn (Size 4) in your favorite baby-friendly color(s). A small amount goes a long way! (Suggest a soft, washable yarn like cotton or acrylic blend.)
- Crochet Hook: A size H/8 (5.0 mm) crochet hook (or the size recommended on your yarn label).
- Scissors: For snipping yarn ends.
- Yarn Needle: For weaving in those pesky tails.
- Optional: Buttons, small appliques, or ribbon for embellishments.
(Include a photo of the materials laid out nicely.)
Video tutorial
Let’s Get Hooking: The Easy Peasy Pattern
Here’s the step-by-step guide to creating these adorable baby slippers. We’ll be working in simple stitches to make this project beginner-friendly.
(Clearly divide the pattern into sections for the sole, the upper, and the finishing touches. Use clear and concise language, and define any abbreviations used.)
Part 1: Crafting the Cozy Sole
(Provide detailed, row-by-row instructions for crocheting the sole. Specify the starting chain, the stitches used (e.g., single crochet, half double crochet), and any increases or decreases. Aim for a simple oval or slightly rounded rectangle shape.)
Example Snippet:
Round 1: Chain 10. In the second chain from the hook, single crochet (sc). Sc in the next 7 chains. In the last chain, work 3 sc. Now, working on the other side of the chain, sc in the next 7 chains. In the last chain, work 2 sc. Join with a slip stitch (sl st) to the first sc. (19 stitches)
Round 2: Chain 1 (does not count as a stitch). Sc in the same stitch. 2 sc in the next stitch. Sc in the next 7 stitches. 2 sc in each of the next 3 stitches. Sc in the next 7 stitches. 2 sc in each of the last 2 stitches. Join with a sl st to the first sc. (24 stitches)
(Include a photo or diagram illustrating the sole shape.)

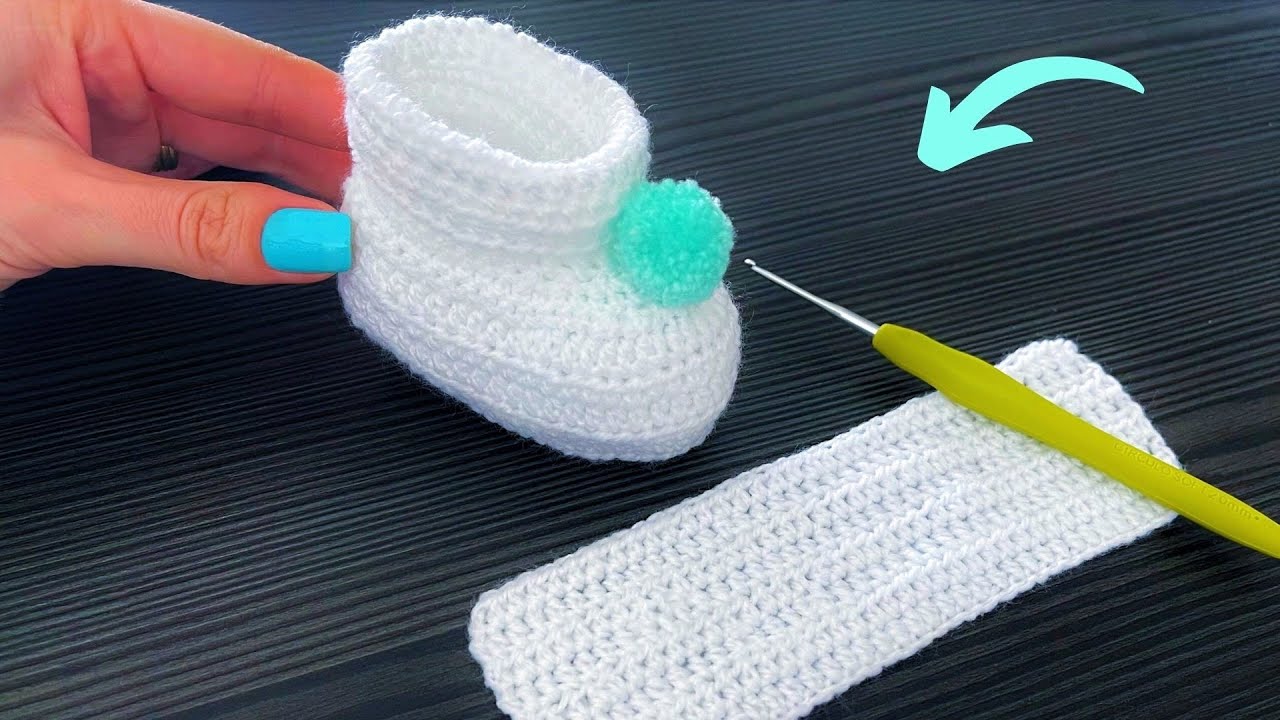
Part 2: Building the Snug Upper
(Provide instructions for creating the upper part of the slipper. This usually involves working in rounds or rows on top of the sole to create the “shoe” shape. Explain how to create the opening for the foot.)
Example Snippet:
Round 3: Chain 1. Sc in each stitch around. Join with a sl st. (24 stitches)
Round 4: Chain 1. Sc in the back loop only of each stitch around. Join with a sl st. (24 stitches) (This creates a nice ridge.)
Round 5-8: Chain 1. Sc in each stitch around. Join with a sl st. (24 stitches)
Creating the Opening: Mark the center 8 stitches on the front of the slipper. On the next round, chain 1. Sc in the next (number) stitches. Skip the marked 8 stitches. Sc in the remaining (number) stitches. Join with a sl st.
(Include a photo showing the upper taking shape.)

Part 3: Adding the Finishing Touches
(Explain how to create any straps, closures, or embellishments. Provide clear instructions for each step.)
Example Snippet for a Simple Strap:
Strap (Make 2): Chain 15. Starting in the second chain from the hook, sc in each chain across. Fasten off, leaving a long tail for sewing.
Attaching the Strap: Position the strap on the side of the slipper opening and sew it securely in place. Repeat on the other side. You can add a button to the front of the slipper for fastening.
(Include photos of the finishing details.)

Tips for Tiny Toes: Making it Perfect
- Sizing: This pattern is generally sized for a newborn to 3-month-old baby. You can adjust the size by adding or subtracting rounds in the sole and upper sections. (Consider providing approximate finished measurements.)
- Yarn Choice: Opt for soft, washable yarns that are gentle on baby’s delicate skin.
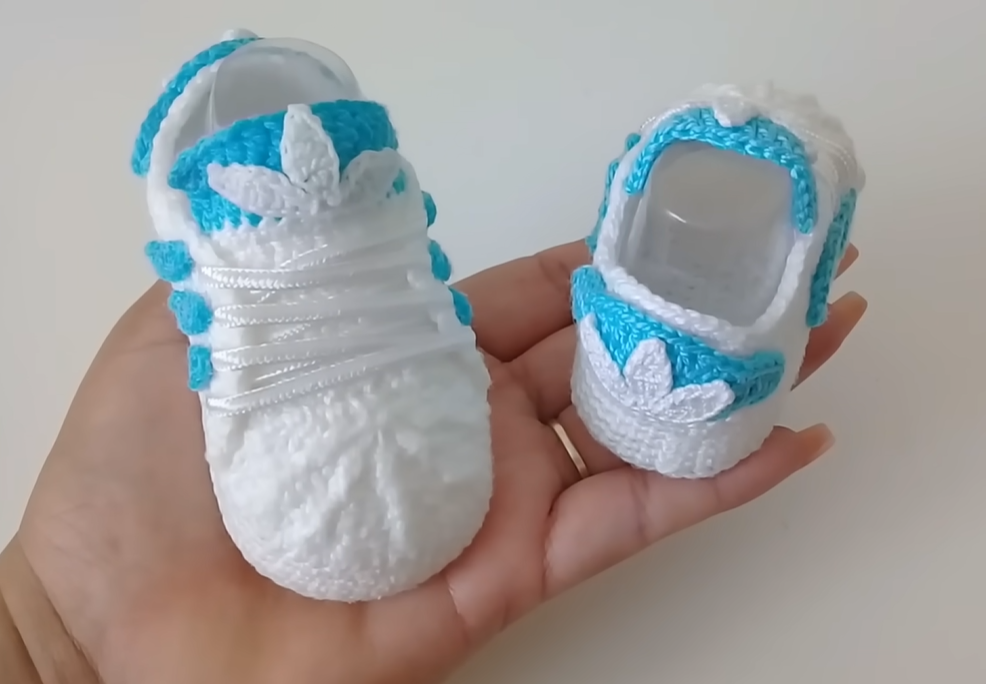
- Color Play: Get creative with colors! Use stripes, color blocking, or a single vibrant hue.
- Embellishments: Add personality with buttons, small crocheted appliques (stars, hearts), or a sweet ribbon tied around the ankle. Ensure any embellishments are securely attached.
- Gauge: While not critical for this small project, maintaining a consistent tension will help ensure both slippers are the same size.
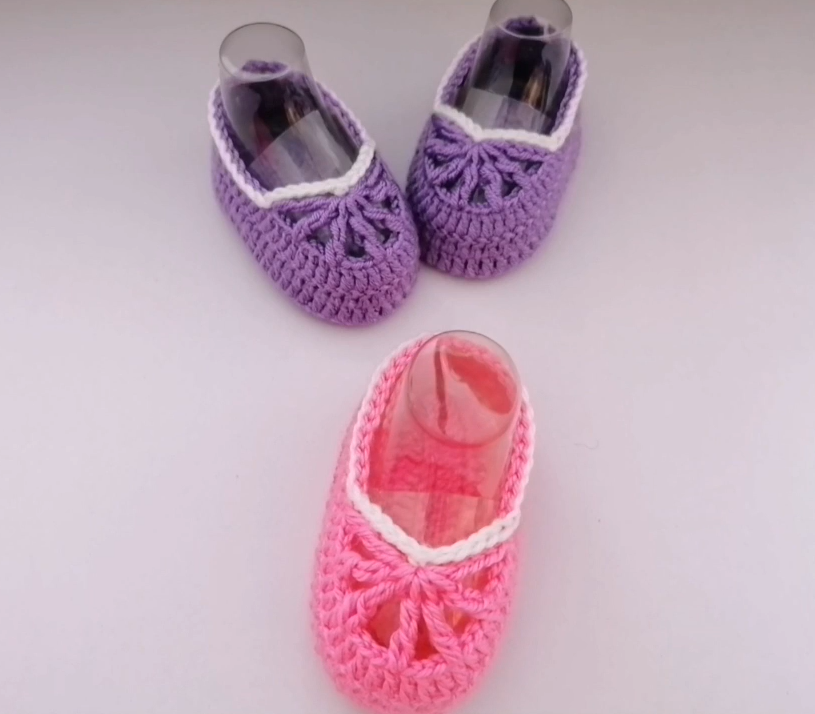
(Include a photo showcasing different color and embellishment options.)
Share Your Snuggly Creations!
I’d absolutely love to see your finished baby slippers! Share your photos on Instagram using #[YourBrandHashtag] or tag me @[YourSocialMediaHandle]. Happy hooking!
(Include social media links and a call to action to leave comments or questions.)
Conclusion: Wrapping Up the Cuteness
There you have it – your very own pair of adorable and easy crochet baby slippers! This quick and rewarding project is perfect for gifting or adding a handmade touch to your little one’s wardrobe. So grab your hook and yarn, and get ready to create some snuggly steps!
(Optional: Include a final encouraging thought or a suggestion for the next baby-related crochet project.)