by
by 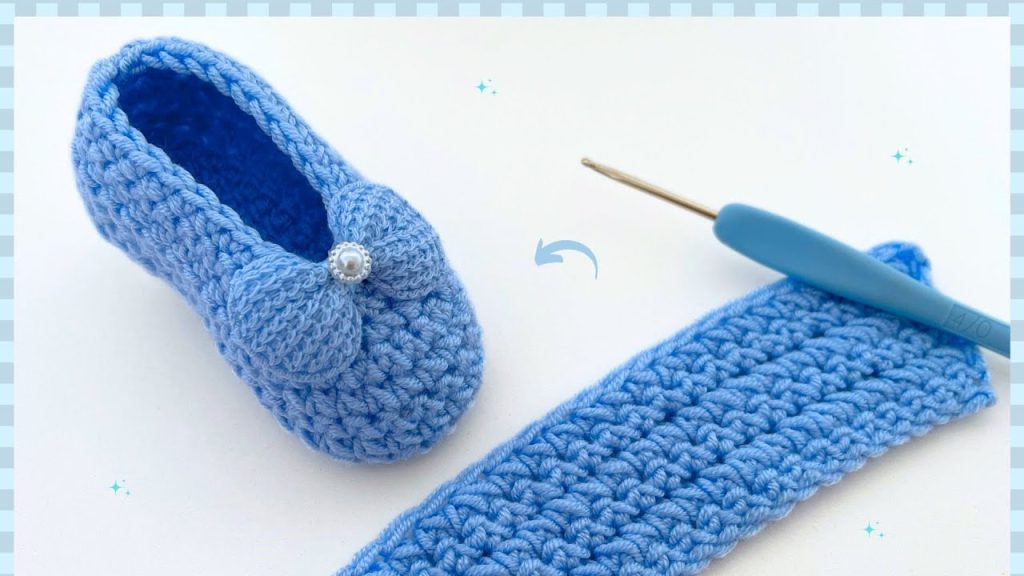
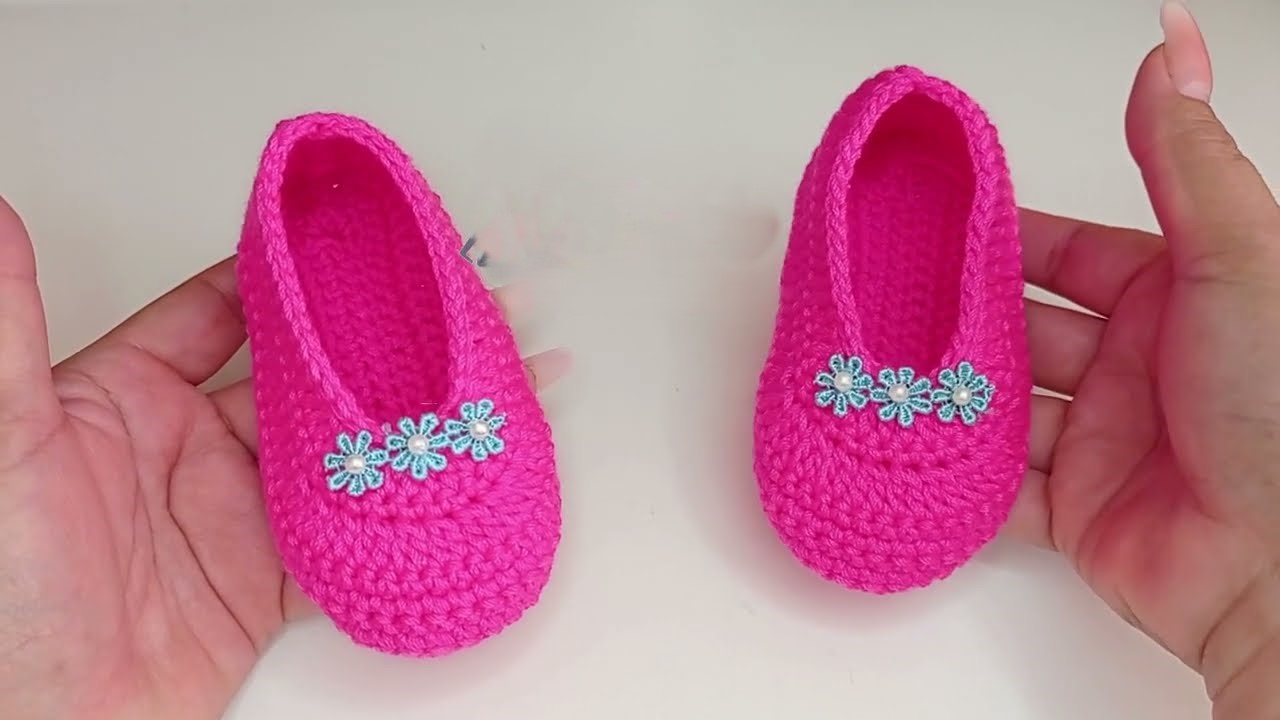
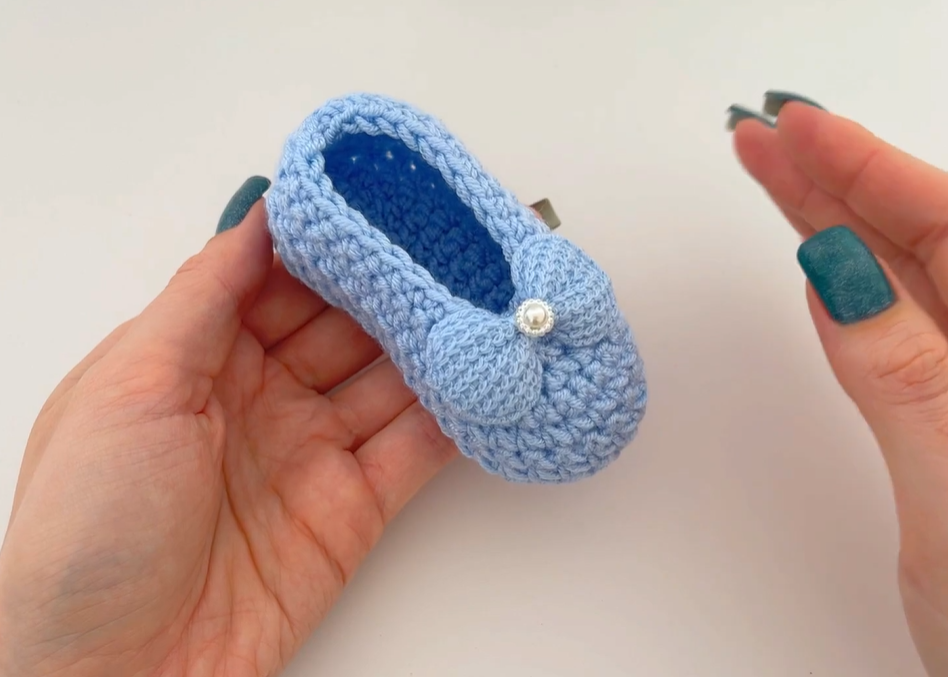
There’s nothing quite as special as a handmade gift for a new baby. The love and care woven into every stitch create a keepsake that will be treasured for years to come. This detailed pattern, inspired by a wonderful tutorial, guides you through crafting a beautiful pair of baby shoes perfect for a newborn. Featuring a unique stitch pattern, a simple construction, and a decorative ribbon, this project is a joy to make and even more so to give. It’s an ideal project for a beginner looking to create something truly unique and adorable.
Skill Level: Advanced Beginner
This pattern uses simple stitches and a straightforward construction. While it’s great for beginners, a familiarity with basic stitches and decreases will be helpful.

Finished Size (Approximate):
- Size: 0 to 3 months old.
- The finished piece should measure approximately 7.9 inches (20 cm) in length before assembly.
- Important: The final shoe size can vary based on your yarn choice, hook size, and personal tension.
Materials You’ll Need:
- Yarn: Approximately 10-15g of a baby-appropriate yarn. Look for a yarn that is soft, gentle on a baby’s skin, and machine washable. A sport or light worsted weight yarn is a great choice.
- Crochet Hook: A hook size appropriate for your chosen yarn.
- Tapestry Needle: For sewing the shoe together and neatly weaving in all your yarn tails.
- Scissors
- Ribbon: For a decorative touch and to help the shoes stay on the baby’s feet.
- Pre-made bow with pearl (Optional): For a decorative touch.
Gauge:
Achieving consistent gauge is essential for creating a pair of booties that will fit correctly. The goal is to have a fabric that is firm enough to hold its shape but not so tight that it feels stiff. Before you begin, you can crochet a small swatch to check your tension. If your fabric is too loose, try going down a hook size.
Abbreviations (US Crochet Terms):
- ch: chain
- sl st: slip stitch
- sc: single crochet
- st(s): stitch(es)
- FO: Fasten off
Let’s Crochet Your Baby Shoes!
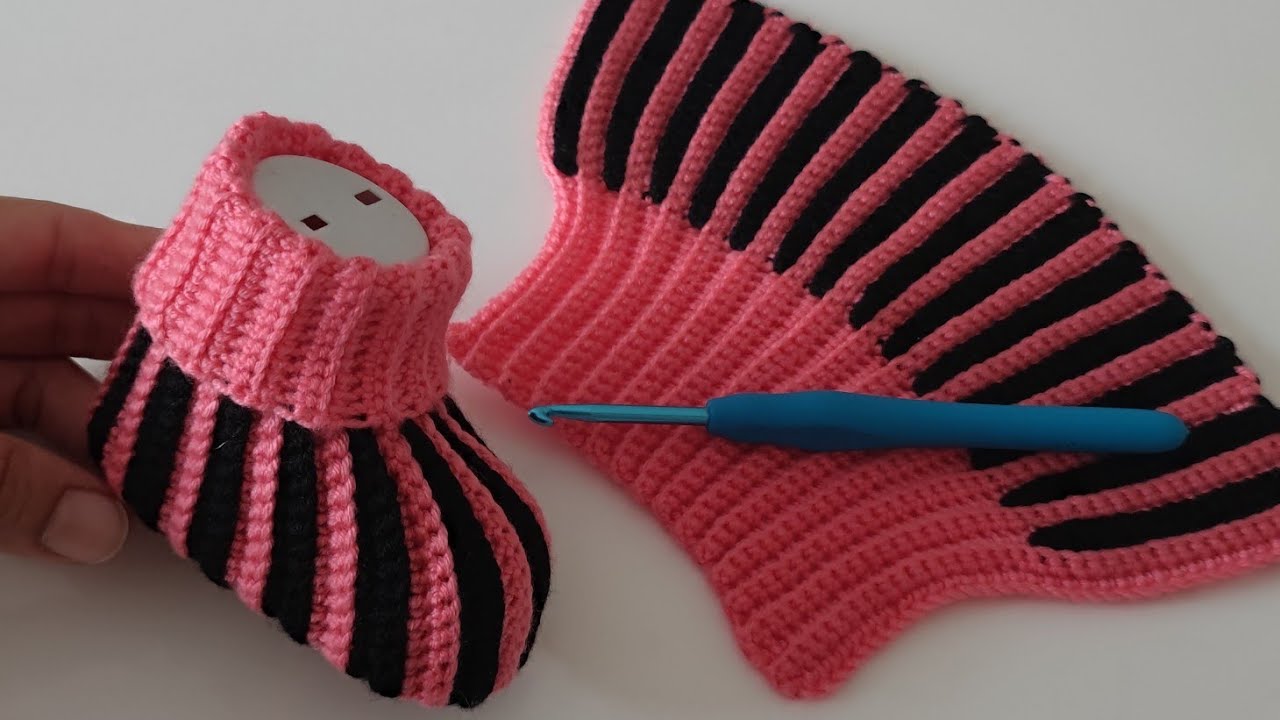
This baby shoe is constructed by first crocheting a flat rectangular piece and then folding and sewing it to form the final shoe shape. The number of initial stitches is determined by measuring the length of the baby’s foot and doubling that measurement. For a size that fits a 0 to 3-month-old baby, the instructor starts with 39 initial chains, which should measure approximately 20 cm.
Part 1: The Shoe Piece
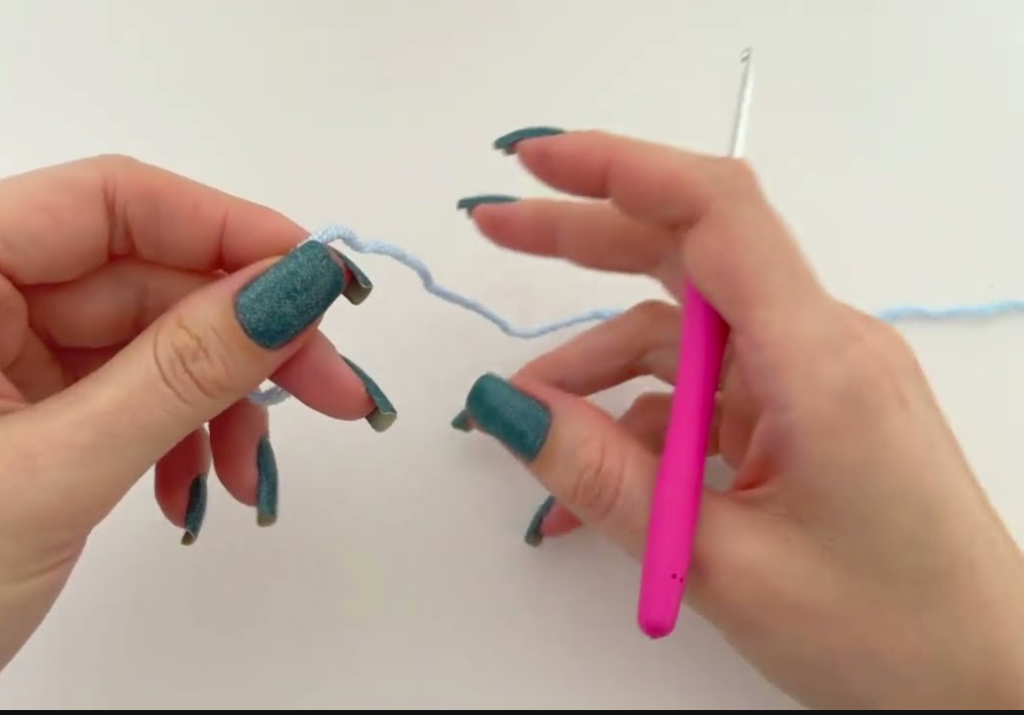
- Start: Ch 39. This will be the length of the shoe.
- Row 1: Sc in the second ch from the hook and in each ch across. (38 sc)
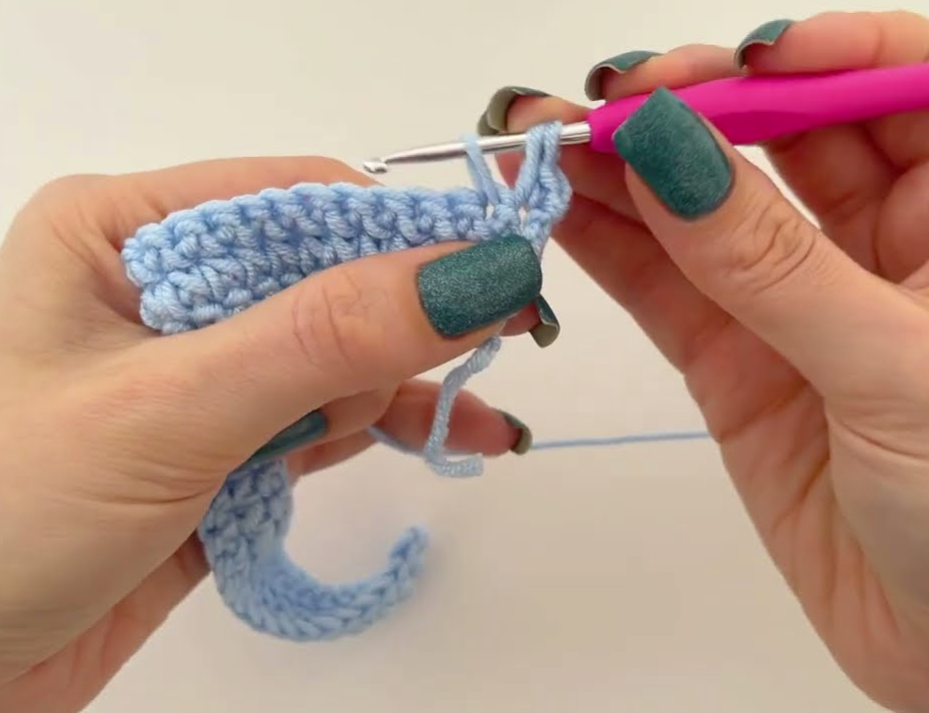
- Continue crocheting rows: The video then demonstrates a unique stitch pattern that is repeated for an approximate height of 2 inches (5 cm).
- FO: Cut the yarn, leaving a long tail for sewing.
Part 2: Decreases & Shaping
- Start Decreasing: The video explains how to make a series of decreases to shape the top part of the shoe. This involves making 11 sc stitches, followed by eight decreases, and then sc stitches until the end of the row.
- Continue Decreasing: This is followed by another row of sc and a subsequent row with 10 sc and five decreases.
- FO: Cut the yarn, leaving a long tail for sewing.
Part 3: Assembly
This is where the flat piece magically transforms into a baby shoe!
- Fold the Piece: Fold the entire rectangular piece in half, lengthwise, with the wrong side facing out. The two shorter sides will now be together.
- Sew the Edges: Thread your tapestry needle with the long tail. Sew the back seam, starting from the heel, and shaping the back to make it rounded. Sew the bottom of the shoe together to give it its shape.
- Weave in all ends: Use your tapestry needle to neatly weave in any remaining loose yarn tails inside the shoe.
Part 4: Final Touches
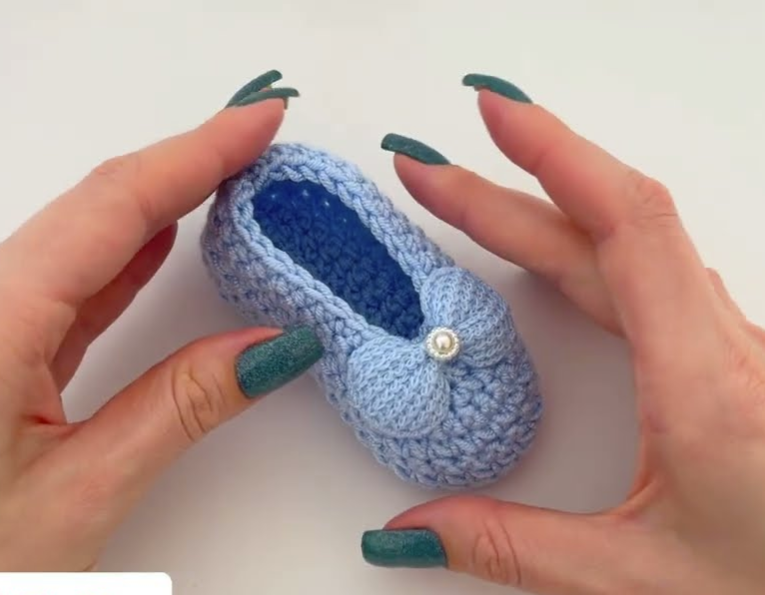
- Turn the Shoe: Carefully turn the shoe right side out. Use your fingers to gently push out the seams and shape the shoe.
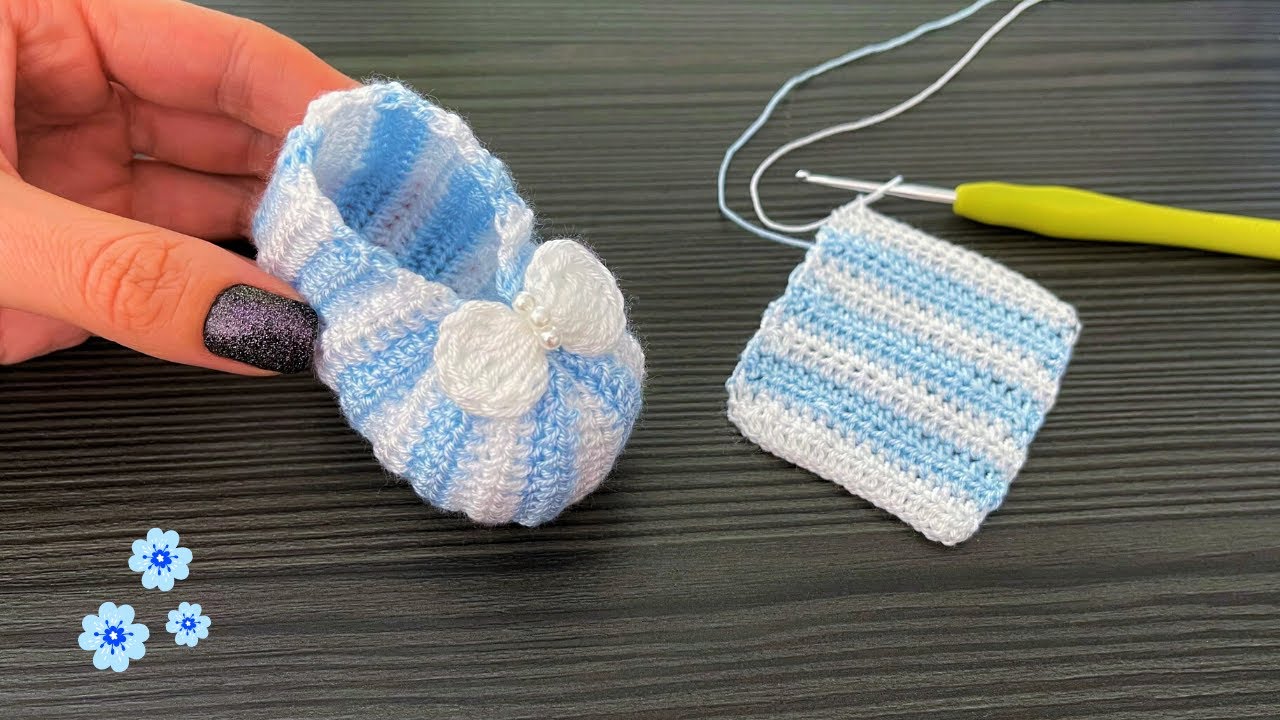
- Add the Ribbon & Bow: Weave a thin ribbon through the stitches of the upper part of the shoe and tie a bow to help the shoe stay on the baby’s foot. The video also shows how to add a pre-made bow with a pearl for decoration.
Video tutorial
Versatile Uses for Your Baby Shoes:
- Everyday Wear: Keep those tiny toes warm and cozy.
- Photo Prop: A beautiful handmade prop for baby photos.
- Gift: A thoughtful and impressive handmade baby shower or new baby gift.
Customization & Tips:
- Size Adjustment: The video provides a clear guide on how to adjust the size for bigger feet. You can start with a longer foundation chain and add more rows.
- Yarn Choice: Experiment with different yarn types and colors. A solid color would look classic, while a variegated yarn would create a fun, striped effect.
- Decoration: You can also add a small crocheted flower, a ribbon, or a different kind of embellishment for a personalized touch.
Enjoy crocheting your own beautiful, practical, and unique baby shoes! It’s a fantastic way to create a personalized accessory that’s sure to become a favorite.