 by
by 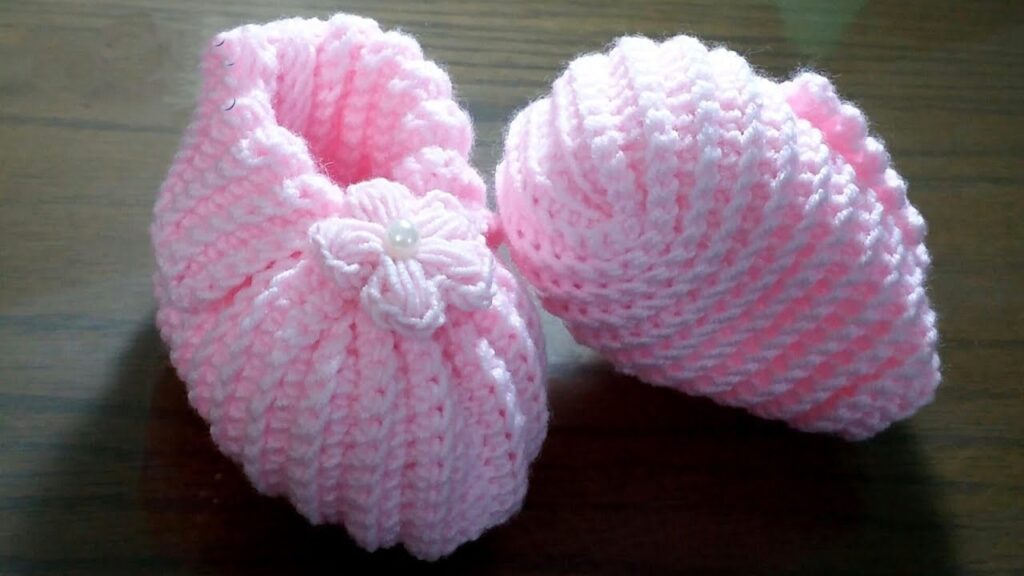
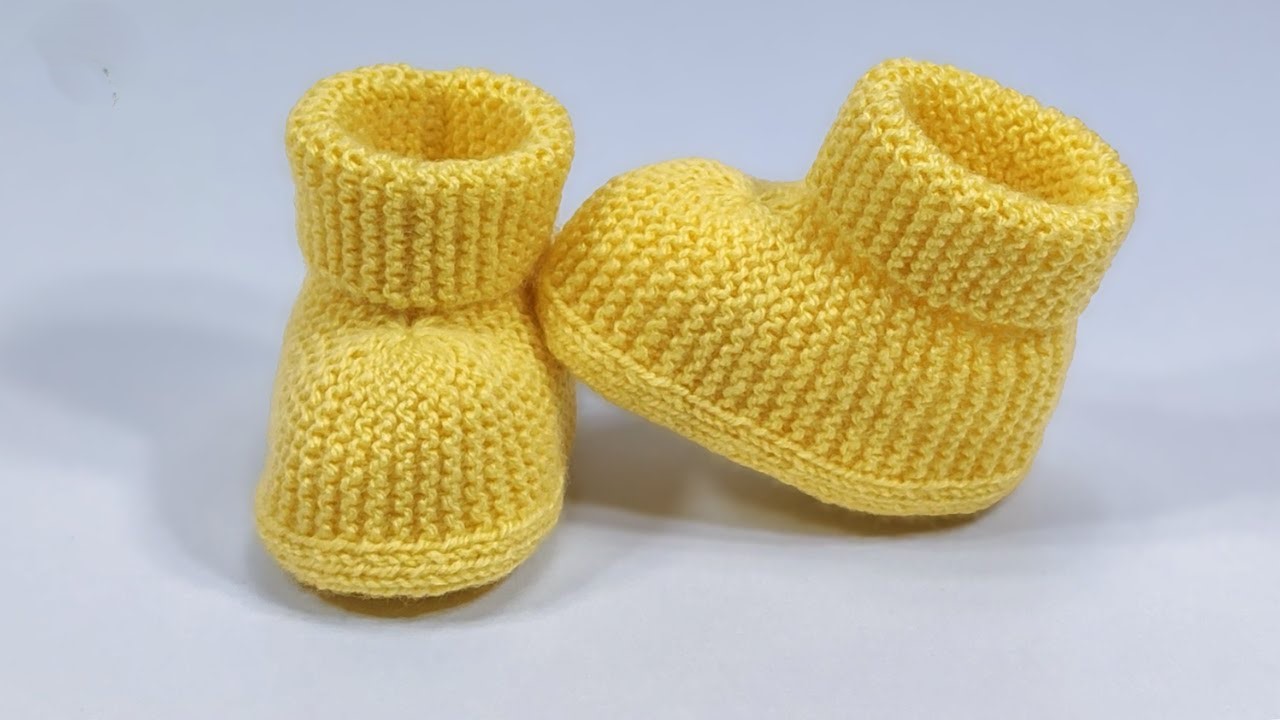
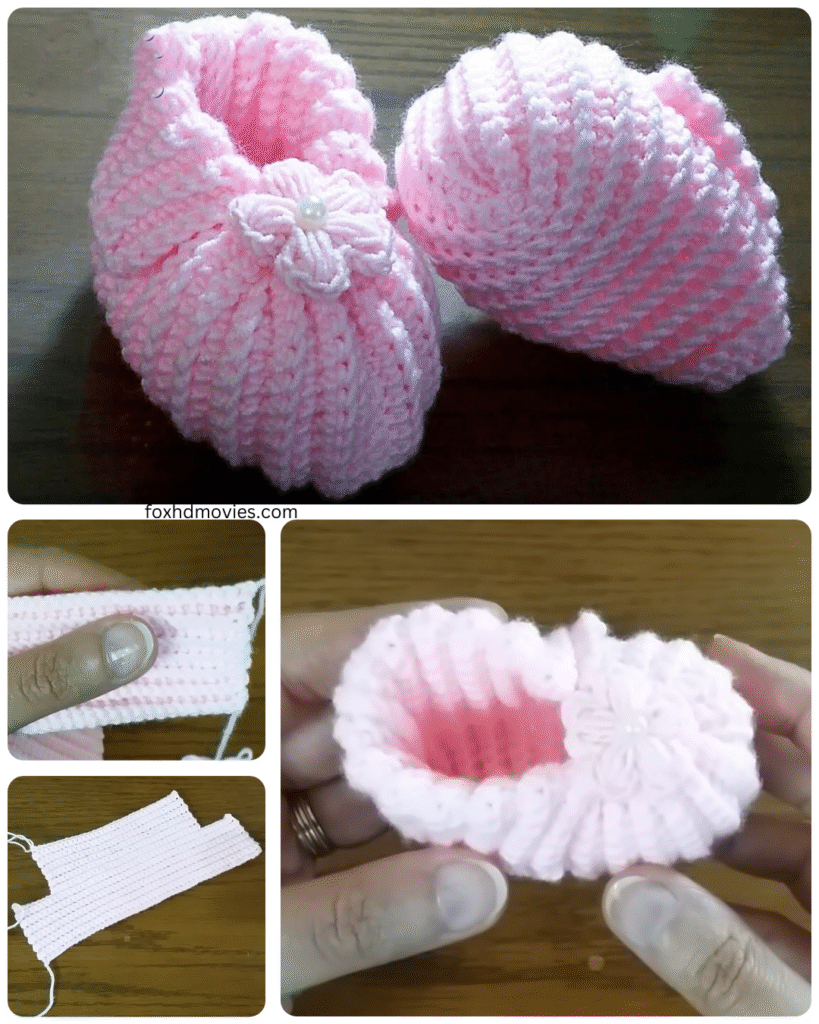
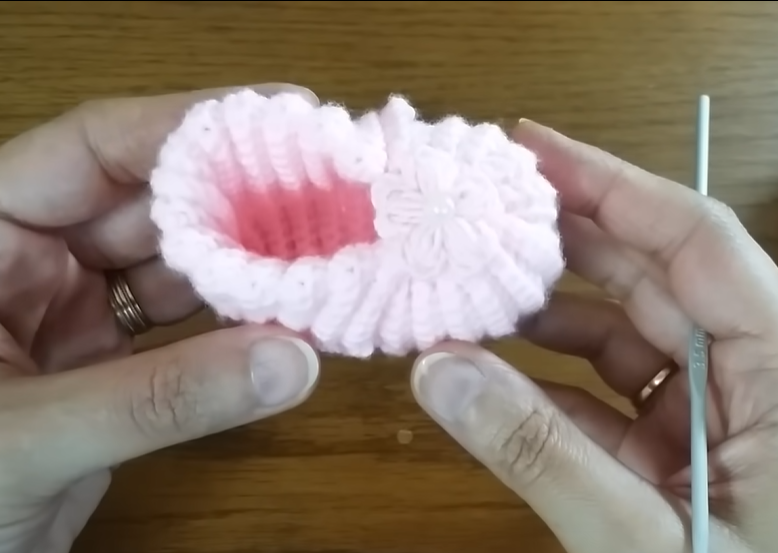
There’s something incredibly special about handmade items for babies, and tiny crochet booties are high on that list! They’re quick to work up, use minimal yarn, and make for a heartfelt gift. Whether you’re expecting, crafting for a loved one, or making for a craft fair, this pattern will guide you through creating sweet, soft booties perfect for tiny toes.
This pattern is designed for a beginner to intermediate crocheter. We’ll be using basic stitches and working in rounds.
Let’s Get Started!
Before we dive into the stitches, gather your supplies.
Materials You’ll Need:
- Yarn: Approximately 50-75 yards of DK or worsted weight yarn. Soft, natural fibers like cotton or bamboo blends are lovely for baby items. Acrylic is also a great, durable, and washable option. Choose a color you love!
- Crochet Hook: One size smaller than recommended on your yarn label. This helps create a denser fabric, perfect for booties that will keep their shape. A common size for DK yarn is 3.5mm or 4mm, and for worsted weight, 4mm or 5mm.
- Tapestry Needle: For weaving in ends.
- Scissors: For cutting yarn.
- Optional: Stitch markers, buttons, ribbon, or appliques for embellishment.
Abbreviations (US Terms):
- ch: chain
- st(s): stitch(es)
- sl st: slip stitch
- sc: single crochet
- hdc: half double crochet
- dc: double crochet
- inc: increase (work two stitches into the same stitch)
- rnd: round
- fo: fasten off
Gauge: Gauge isn’t super critical for baby booties as long as the resulting size works, but for reference, working the sole should give you an idea of the final size. My sole measures approximately 3.5-4 inches long using DK yarn and a 3.5mm hook, which fits a newborn to 3-month-old. You can adjust your hook size to get a different size bootie.
Video tutorial
Let’s Crochet the Booties!
We’ll start by making the sole, then work up the sides to create the body of the bootie.
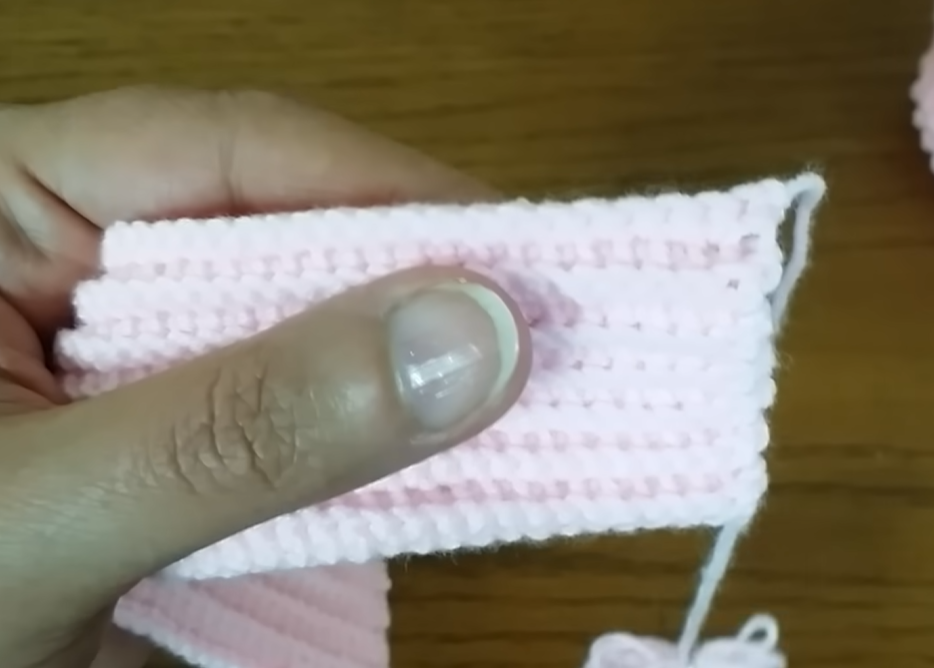
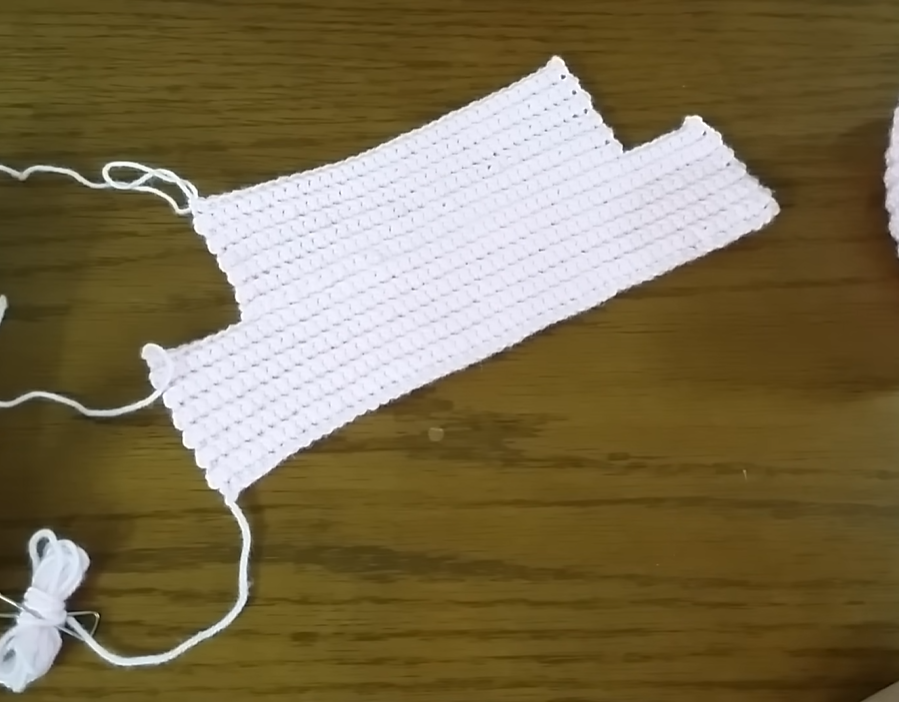
Part 1: The Sole (Make 2)
We’ll be working in prompt The user wants a blog post pattern for crochet baby booties. I have already outlined the introduction, materials, and abbreviations. Now I need to write the instructions for the sole of the bootie. I need to provide clear, round-by-round instructions that are easy for a crocheter to follow. I should specify the stitch count at the end of each round.
rounds to create an oval shape for the sole.
Rnd 1: Ch 11 (or adjust chain length to desired sole length – remember the first chain doesn’t count as a stitch). Hdc in the 2nd chain from the hook and in the next 8 chains. In the last chain, work 5 hdc. Now you’ll be working on the other side of the starting chain. Hdc in the next 8 stitches. In the last stitch (the first chain you worked into), work 4 hdc. Join with a sl st to the top of the first hdc. (26 hdc)
Your work should start to form an oval shape.
Rnd 2: Ch 1. 2 hdc in the first stitch (this is an increase). Hdc in the next 8 stitches. [2 hdc in the next stitch] 5 times. Hdc in the next 8 stitches. [2 hdc in the next stitch] 4 times. Join with a sl st to the top of the first hdc. (39 hdc)
You’ll see the increases are happening at the heel and toe ends of the oval.
Rnd 3: Ch 1. Hdc in the first stitch. 2 hdc in the next stitch. Hdc in the next 9 stitches. [Hdc in the next stitch, 2 hdc in the next stitch] 5 times. Hdc in the next 9 stitches. [Hdc in the next stitch, 2 hdc in the next stitch] 4 times. Join with a sl st to the top of the first hdc. (53 hdc)
This final increase round shapes the sole nicely.
You have completed the sole! Repeat these steps to make a second sole. Do not fasten off the second sole, as we will continue directly into making the upper part of the bootie. For the first sole, fasten off and weave in your ends.