 by
by 
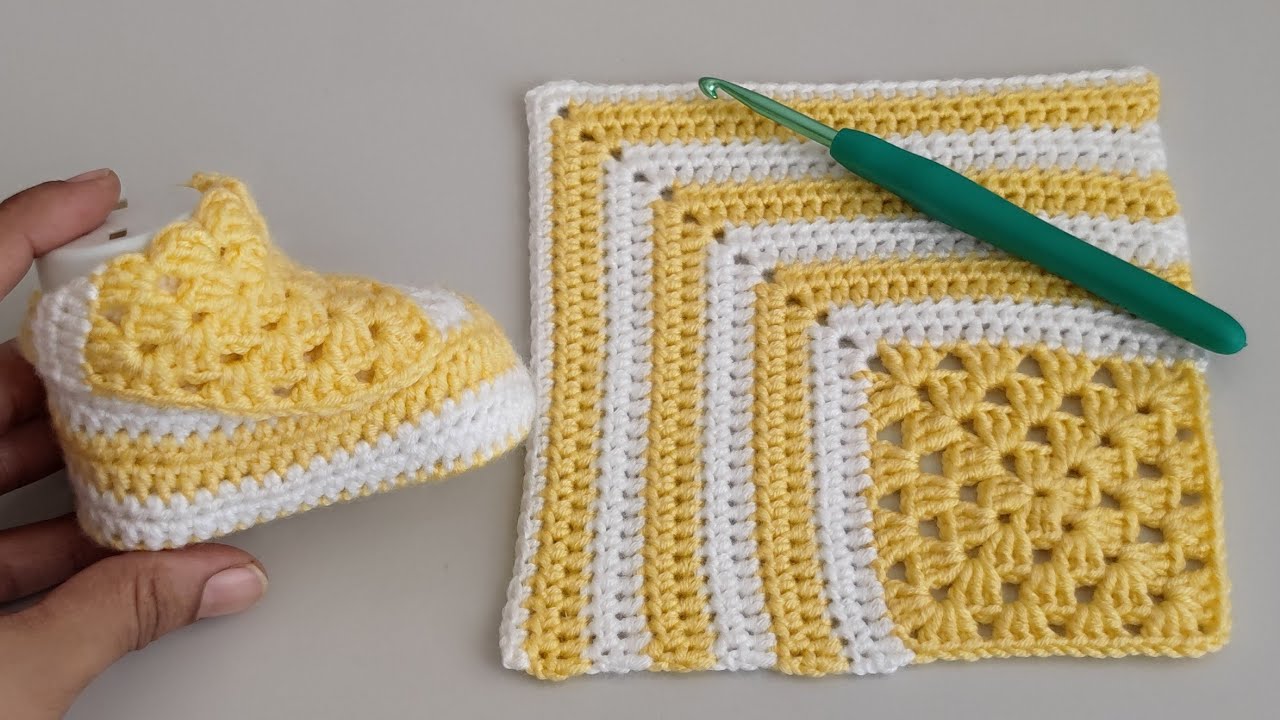
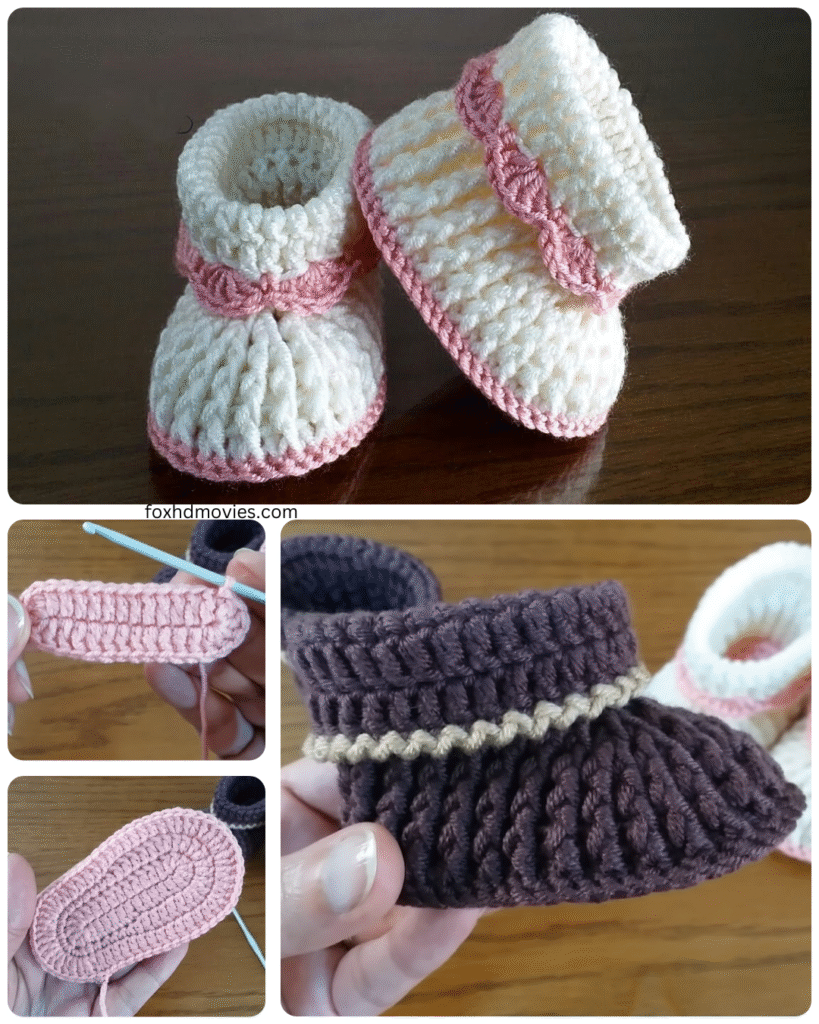
There’s something incredibly special about handmade items for a new arrival, and these sweet crochet baby booties are the perfect project to welcome a little one. Whether you’re a seasoned crocheter or just picking up a hook for the first time, this pattern is designed to be simple, quick, and utterly adorable.
Crafting for babies requires a little extra thought, especially when it comes to materials and construction. We’ll cover everything you need to know to create booties that are not only cute but also safe and comfortable for delicate baby feet.
Why Crochet Baby Booties?
- Quick to Make: Most baby bootie patterns work up in just a few hours, making them ideal for last-minute gifts or when you want the satisfaction of a completed project without a huge time commitment.
- Great for Beginners: Many patterns use basic stitches, offering a fantastic way to practice fundamental crochet techniques like chains, single crochet, and half double crochet.
- Heartfelt Gift: Handmade items carry a unique charm and show the recipient how much you care.
- Customizable: Easily change colors, add simple embellishments (with safety in mind!), or adjust the height to create unique variations.
Choosing Your Materials Wisely
When crocheting for babies, the yarn you choose is paramount. Look for fibers that are:
- Soft: Baby skin is sensitive, so a soft yarn is essential for comfort.
- Hypoallergenic: This is particularly important as you may not know if the baby has any fiber sensitivities.
- Washable: Let’s be realistic – baby items need to be easily cleaned! Opt for machine washable yarns.
- Durable: The booties should hold up to a bit of wiggling and perhaps even some early attempts at crawling.
Popular choices include soft acrylics, cotton, bamboo, or blends of these fibers. Avoid论 yarn with excessive fuzz, sequins, or small, easily detachable embellishments that could pose a choking hazard.
For this pattern, a light worsted weight (DK) or worsted weight (#3 or #4) yarn is recommended. This weight creates a lovely fabric that’s not too bulky but still provides warmth.
As for your hook, the yarn label will usually recommend a size, but a good starting point for DK or worsted weight yarn is typically a 3.75 mm to 4.5 mm hook. The goal is to create a fabric that is dense enough to be durable but still has a nice drape.
Other essential tools:
- Scissors: For cutting yarn.
- Tapestry Needle: A blunt needle for weaving in ends and stitching seams.
- Stitch Marker: Helpful for marking the beginning of rounds, especially when working in a spiral.
Let’s Get Crocheting! (Newborn Size)
This pattern is for a basic newborn-sized bootie. We’ll be working in rounds to create the sole and then building up the sides.
Abbreviations (US Terms):
- ch: chain
- sl st: slip stitch
- sc: single crochet
- hdc: half double crochet
- inc: increase (work 2 stitches into the same stitch)
- st(s): stitch(es)
Video tutorial
Pattern Notes:
- Chain 1 at the beginning of a round does NOT count as a stitch unless otherwise specified.
- Join rounds with a slip stitch to the first stitch of the round.
The Sole:
We’ll start by creating an oval shape for the sole.
Round 1: Ch 9. Hdc in the 2nd chain from the hook and in the next 6 chains. Work 5 hdc in the last chain. Now you’ll work down the other side of the starting chain. Hdc in the next 7 stitches. (20 hdc)
Round 2: Ch 1. Inc in the first stitch. Hdc in the next 6 stitches. Inc in the next 5 stitches. Hdc in the next 6 stitches. Inc in the last stitch. Join with a sl st to the first hdc. (28 hdc)
Round 3: Ch 1. Hdc in the first stitch. Inc in the next stitch. Hdc in the next 6 stitches. (Inc in the next stitch, hdc in the next stitch) 5 times. Hdc in the next 6 stitches. (Inc in the next stitch, hdc in the next stitch) twice. Join with a sl st to the first hdc. (36 hdc)
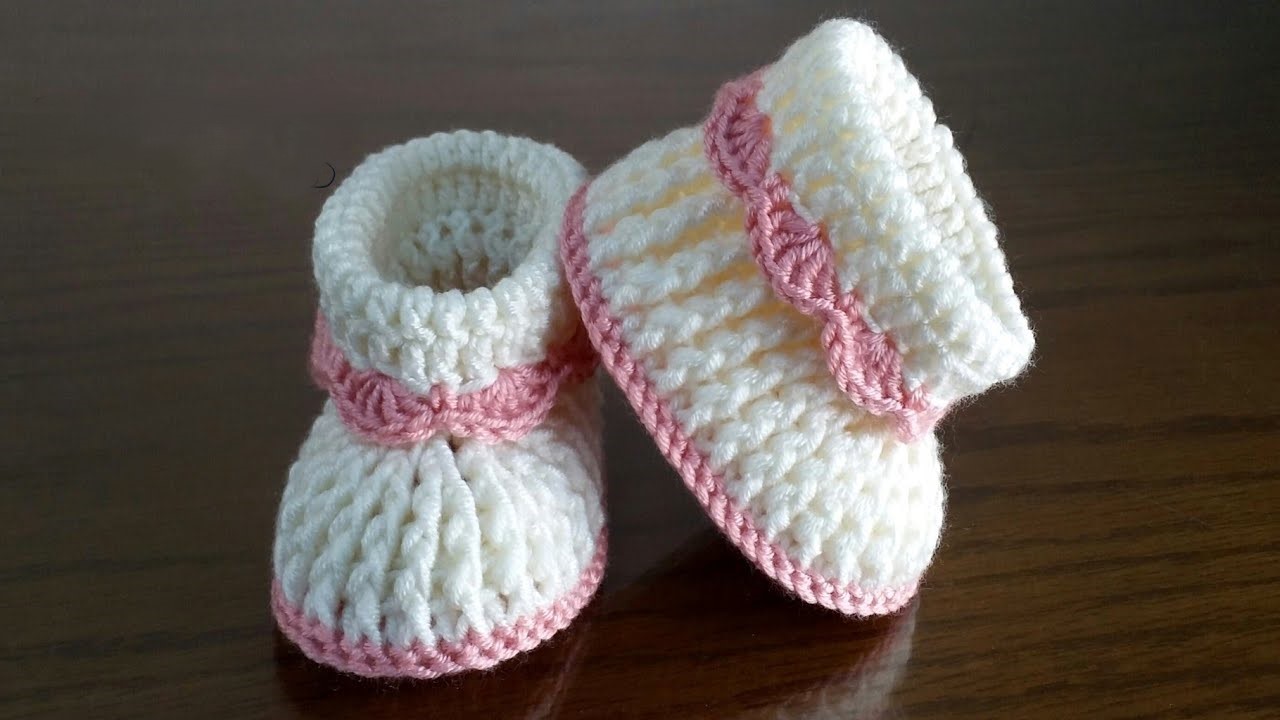
You have now completed the sole of the bootie! It should have a nice oval shape.

Building the Sides:
Now we’ll work without increasing to create the sides of the bootie.
Round 4: Ch 1. Working in the back loop only for this round, hdc in each stitch around. Join with a sl st to the first hdc. (36 hdc)
Working in the back loop creates a defined edge that helps the sole take shape.
Rounds 5-7: Ch 1. Hdc in each stitch around. Join with a sl st to the first hdc. (36 hdc)
You should now see the sides of the bootie forming.
Shaping the Toe:
Now we’ll decrease stitches to create the rounded toe.
Round 8: Ch 1. Hdc in the first 8 stitches. Hdc2tog (half double crochet two together) 8 times. Hdc in the remaining 12 stitches. Join with a sl st to the first hdc. (28 hdc)
Round 9: Ch 1. Hdc in the first 8 stitches. Hdc2tog 4 times. Hdc in the remaining 12 stitches. Join with a sl st to the first hdc. (24 hdc)
Creating the Ankle Opening:
We’ll now work in rows to create the opening for the ankle.
Row 10: Ch 1. Hdc in the first 20 stitches. Leave the remaining stitches unworked. Turn. (20 hdc)
Rows 11-12: Ch 1. Hdc in each stitch across. Turn. (20 hdc)

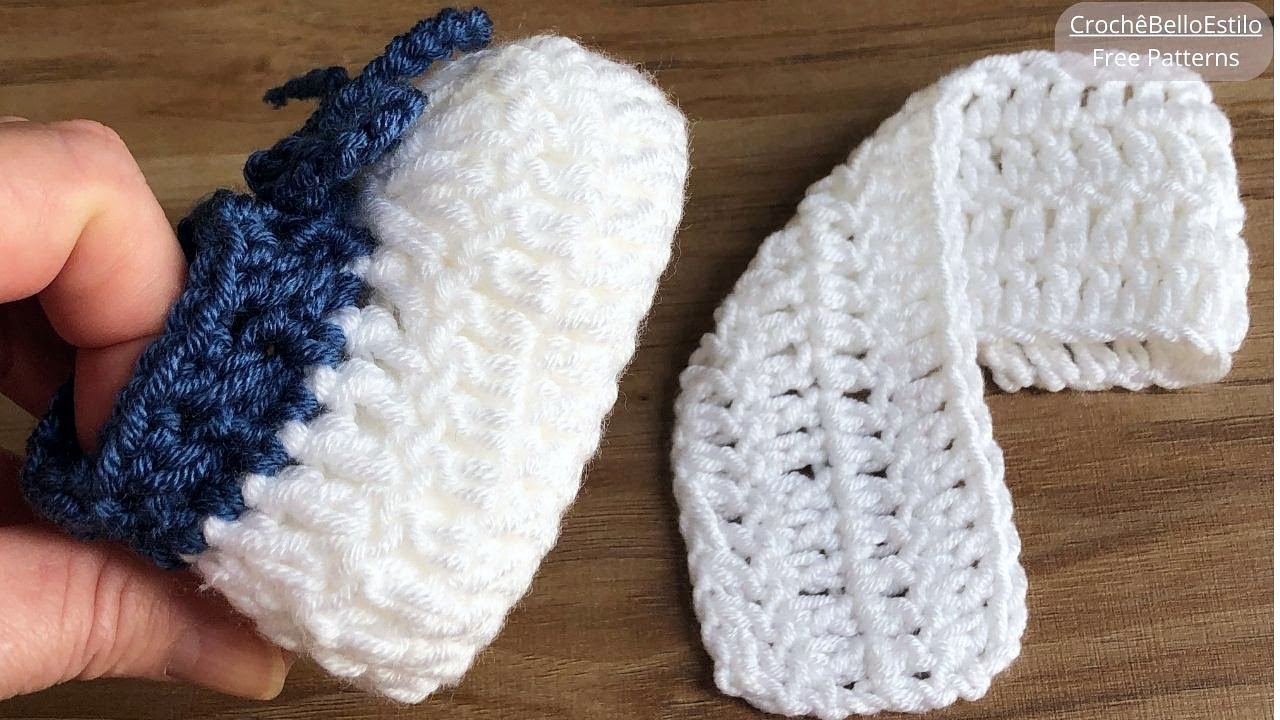
Finishing:
Fasten off, leaving a tail of about 8-10 inches for sewing the back seam.
Assembly:
- Thread the yarn tail onto your tapestry needle.
- Fold the bootie so the edges of the last few rows meet at the back of the heel.
- Whip stitch or use your preferred sewing method to seam the back of the bootie together neatly.
- Weave in all remaining ends securely on the inside of the bootie.
Repeat all steps to make a second bootie!
Adding Embellishments (Optional and with Caution!)
If you’d like to add embellishments, consider these safety tips:
- Buttons: If using buttons, ensure they are very securely sewn on with strong thread. Consider sewing them on the outside of the ankle area where they are less likely to be in the baby’s mouth.
- Ribbons/Drawstrings: Keep these short to avoid any strangulation risk.
- Appliques: Sew these on firmly, ensuring no small parts can detach.
- Embroidery: Embroidering simple designs is a safe way to add detail.
Caring for Your Booties
Since you chose washable yarn, caring for these booties is easy! Machine wash on a gentle cycle with cool water and mild detergent. Reshape and lay flat to dry.
Sharing Your Creation
We’d love to see your finished baby booties! Share photos on social media and tag us (if you have a blog or social media presence you’d like to promote, add your handle here!).