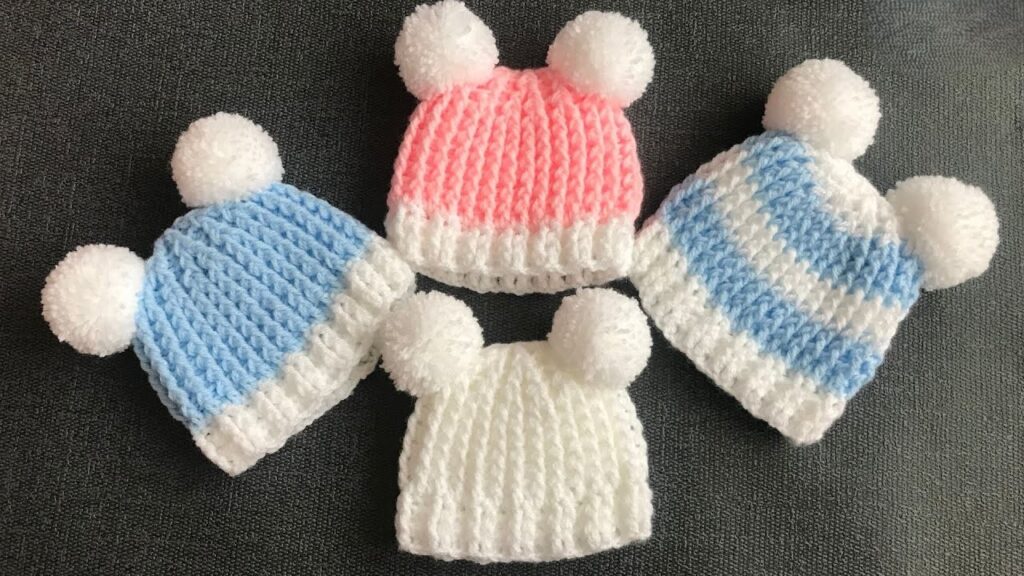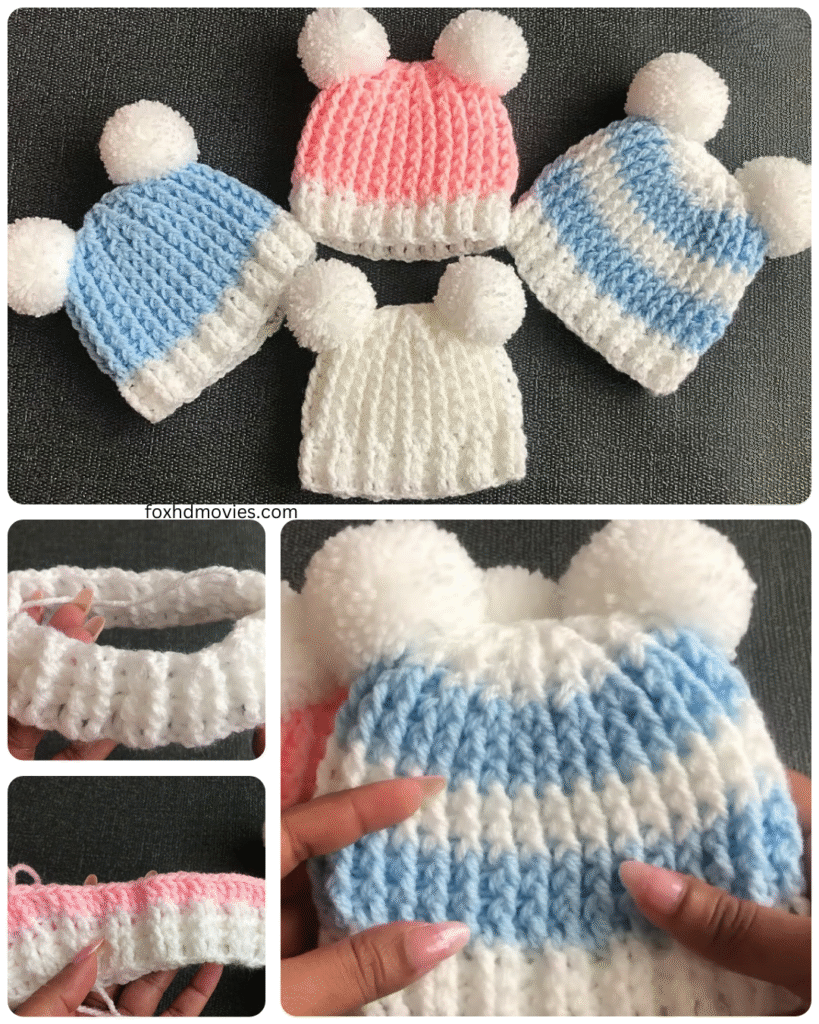
Welcome, new crocheter, to the wonderful world of yarn and hooks! There’s nothing quite as rewarding as creating something with your own hands, especially for a precious little one. If you’ve been wanting to try crocheting but felt intimidated, this pattern is for you! We’re going to make an adorable and practical baby hat that’s so easy and fast, you’ll be hooked in no time (pun intended!).
This pattern uses basic stitches and a simple construction, making it perfect for your very first project or a quick gift. Let’s gather your supplies and get started!

What You’ll Need:
- Yarn: About 50-100 grams of soft worsted weight (Aran) yarn. Look for yarn specifically labeled as “baby yarn” or a soft acrylic or cotton blend. Choose a light color so you can easily see your stitches.
- Crochet Hook: A size H/8 (5.0 mm) crochet hook. Check your yarn label for a recommended hook size, and don’t be afraid to go up or down a size if your stitches are too tight or too loose.
- Scissors: To cut your yarn.
- Tapestry Needle: A blunt needle with a large eye to weave in ends.
- Stitch Marker (Optional but Recommended): A small clip or piece of scrap yarn to mark the beginning of your rounds if working in the round.

Understanding the Basics (Don’t worry, it’s simple!):
For this hat, we’ll primarily use one basic stitch:
- Single Crochet (sc): Insert your hook into the stitch, yarn over (yo), pull up a loop (2 loops on hook), yarn over (yo), pull through both loops on hook (1 loop on hook).
We’ll also use:
- Chain (ch): Yarn over, pull through the loop on your hook. This creates a foundation row or adds height at the beginning of a row/round.
- Slip Stitch (sl st): Insert your hook into the stitch, yarn over, pull through the stitch and the loop on your hook. Used to join stitches or finish off.

Choosing Your Construction:
There are a few ways to crochet a hat, but for beginners, two of the easiest are:
- Working Flat: You’ll crochet a flat rectangle and then seam the sides together to form a tube, closing one end for the top of the hat.
- Working in the Round: You’ll start at the crown and work in a spiral or in joined rounds, increasing until the hat is the desired size, then working even for the body.
For this pattern, we’ll go with a simple Working Flat method as it’s often easier for beginners to keep track of stitches and rows.
Let’s Get Crocheting!
This pattern is for a baby hat around 3-6 months, but I’ll give you tips on how to adjust the size.
Gauge: (Optional, but helps ensure sizing) 14 single crochet stitches and 16 rows should measure approximately 4×4 inches (10×10 cm). If your swatch is smaller, try a larger hook. If it’s larger, try a smaller hook.
Video tutorial
Pattern:
- Foundation Chain: Chain 36 (This will be the height of your hat. For a smaller hat, chain fewer stitches; for a larger hat, chain more). Make sure your chain isn’t too tight.
- Row 1: Single crochet in the second chain from the hook and in each chain across. (35 sc)
- Beginner Tip: The loop on your hook does NOT count as a stitch. The second chain from the hook is the one just after the one your hook is in.
- Row 2: Chain 1 (this turning chain does NOT count as a stitch), turn your work. Single crochet in the first stitch and in each stitch across. (35 sc)
- Repeat Row 2: Continue repeating Row 2 until your rectangle measures approximately 13-14 inches wide (for 3-6 months). To adjust the size, crochet more or fewer rows until the width is roughly the circumference of the baby’s head. The fabric should be slightly stretchy.

Assembling the Hat:
- Fold and Seam: Fold your rectangle in half lengthwise, bringing the two shorter ends together.
- Seaming: You can seam the sides together using a slip stitch or a tapestry needle and a length of yarn.
- Slip Stitch Seam (Crocheted Seam): Make sure you are working on the wrong side of the fabric (the side you want to be the inside of the hat). Insert your hook through the loops of both layers and slip stitch across the entire side.
- Tapestry Needle Seam (Sewn Seam): Thread your tapestry needle with a long piece of yarn. overcast stitch or whip stitch the two sides together neatly.
- Closing the Top: Thread your tapestry needle with a long piece of yarn. Weave the needle in and out through the top edge of the seamed tube. Pull the yarn tight to gather the top of the hat closed. Stitch back and forth a few times to secure the top.
- Weave in Ends: Use your tapestry needle to weave in any loose yarn tails on the inside of the hat. Trim any excess yarn.
Ta-Da! Your First Crochet Baby Hat!
You’ve done it! You’ve created a lovely, cozy baby hat. You can add a pom-pom to the top for extra cuteness if you like.

Tips for Success:
- Don’t panic about perfection: Your first project might not be absolutely perfect, and that’s okay! The important thing is that you’re learning and creating.
- Watch videos: If you’re a visual learner, search for videos on how to do the single crochet stitch and how to seam crochet pieces together.
- Practice makes perfect: The more you crochet, the more consistent your tension will become.
- Have fun! Crochet should be enjoyable.


