by
by 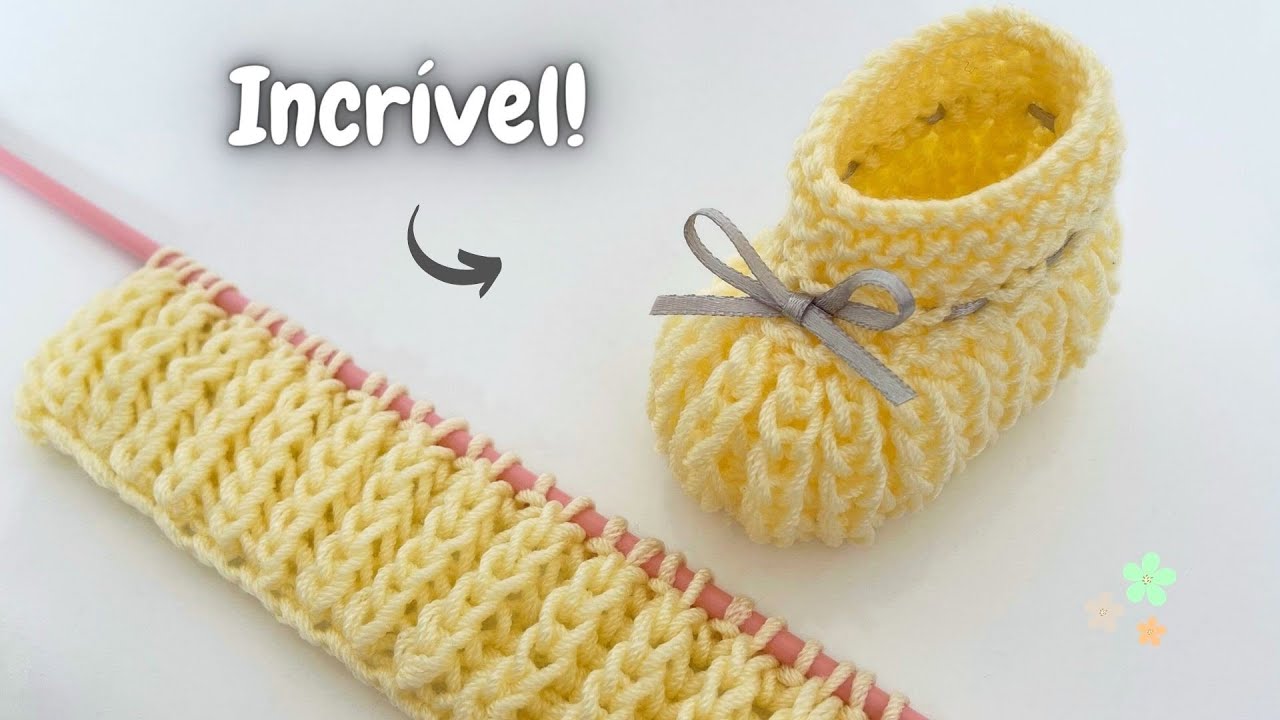
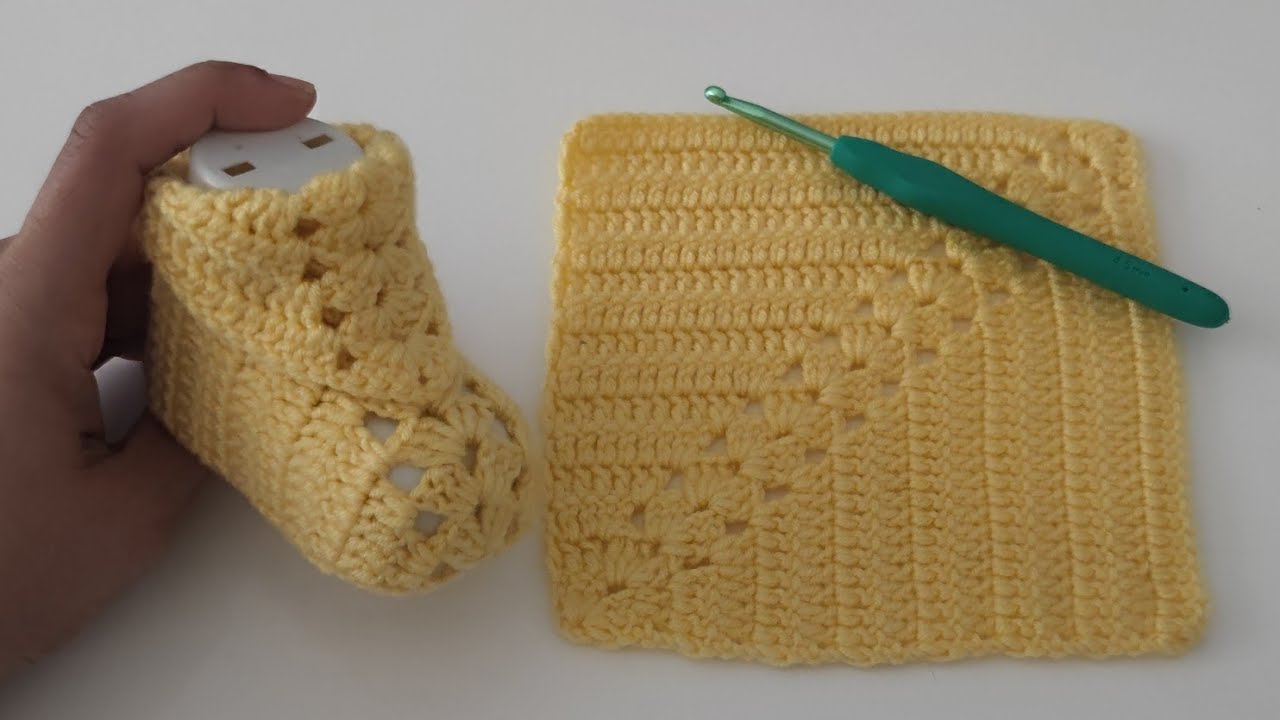
let’s get those little feet cozy! Here’s a super straightforward pattern for beginner knitters to make adorable baby booties. We’ll work in garter stitch (knit every row), which is nice and simple and creates a lovely textured fabric.
Materials You’ll Need:
- One ball of soft baby yarn (worsted weight or DK weight works well)
- A pair of knitting needles appropriate for your yarn weight (usually size US 6-8 or 4-5 mm)
- A tapestry needle for weaving in ends
Gauge: Don’t worry too much about exact gauge for a beginner project like this, but aim for something around 4-5 stitches per inch in garter stitch.
Abbreviations:
- K: Knit
- St(s): Stitch(es)
Let’s Get Knitting!

Part 1: The Sole
- Cast On: Cast on 31 stitches.
- Rows 1-25: Knit every row (garter stitch). You’ll have a rectangular piece.
Part 2: Shaping the Toe
- Row 26: K10, knit 2 stitches together (K2tog), K7, K2tog, K10. (29 stitches)
- Row 27: Knit all stitches.
- Row 28: K9, K2tog, K7, K2tog, K9. (27 stitches)
- Row 29: Knit all stitches.
- Row 30: K8, K2tog, K7, K2tog, K8. (25 stitches)
- Row 31: Knit all stitches.
- Row 32: K7, K2tog, K7, K2tog, K7. (23 stitches)
- Row 33: Knit all stitches.
- Row 34: K6, K2tog, K7, K2tog, K6. (21 stitches)
- Row 35: Knit all stitches.

Part 3: Forming the Upper
- Row 36: Knit all stitches.
- Rows 37-50: Knit every row (garter stitch). You’ll now have a longer piece extending from the shaped toe.
Part 4: Shaping the Ankle Cuff
- Row 51: K6, cast off the next 9 stitches, K6. (You’ll have two sets of 6 stitches on your needle with a gap in between).
- Row 52: Knit the 6 stitches, cast on 9 stitches using the backward loop method (this bridges the gap), knit the remaining 6 stitches. (21 stitches)
- Rows 53-65: Knit every row (garter stitch).
Part 5: Finishing and Sewing
- Cast Off: Cast off all 21 stitches.
- Assembly:
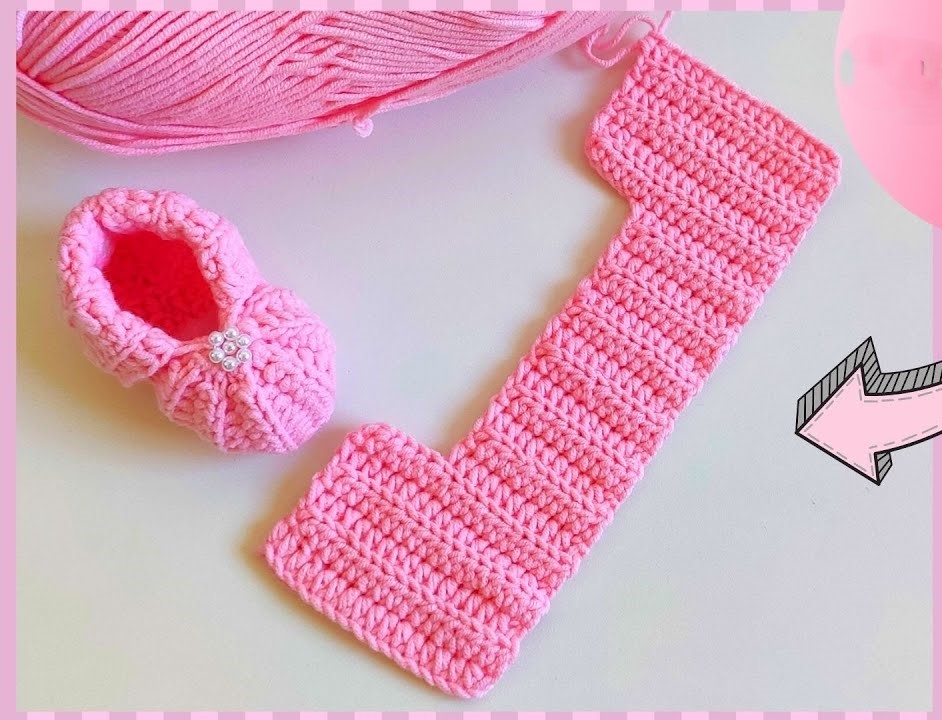
- Lay your knitted piece flat. The toe shaping will be at one end, and the ankle cuff will be at the other.
- Fold the sole section (the first 25 rows) in half lengthwise. Sew the cast-on edge to the last few rows of the sole using your tapestry needle. This creates the bottom seam of the shoe.
- Now, bring the sides of the upper section (the longer part after the toe shaping) together and sew them from the beginning of the upper shaping up to where the ankle cuff begins. Do this on both sides of the shoe. This forms the sides and back of the bootie.
- The cast-off edge of the ankle cuff will be the top of the bootie. You can fold this down if you like.
- Weave in Ends: Securely weave in all loose yarn ends.
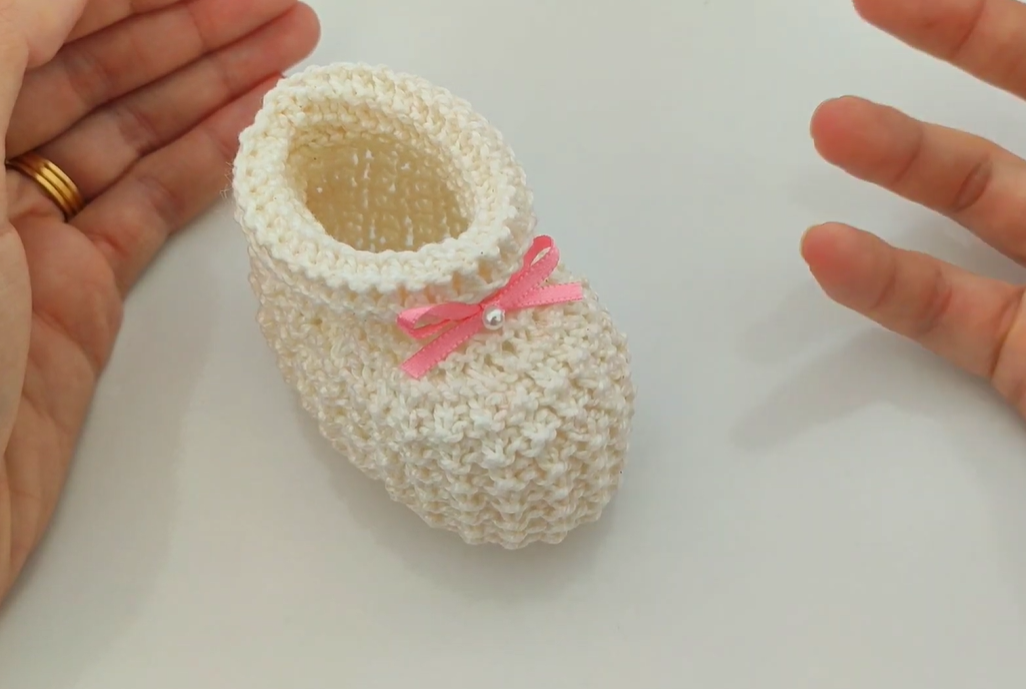
You’ve made a baby bootie! Knit another one to make a pair. You can embellish these with buttons, ribbons, or small embroidered details once you’re comfortable with the basic pattern.
Video tutorial