by
by 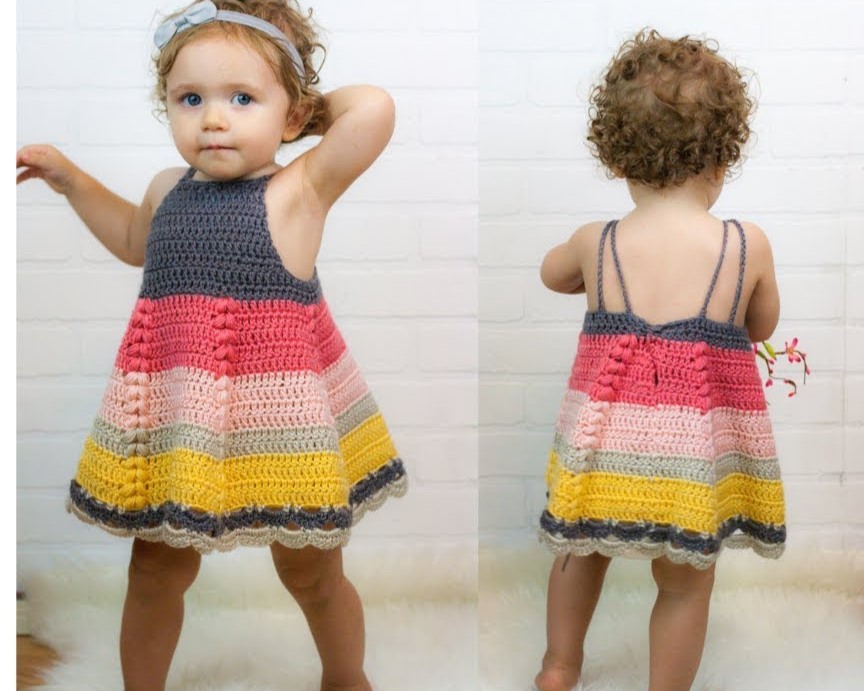
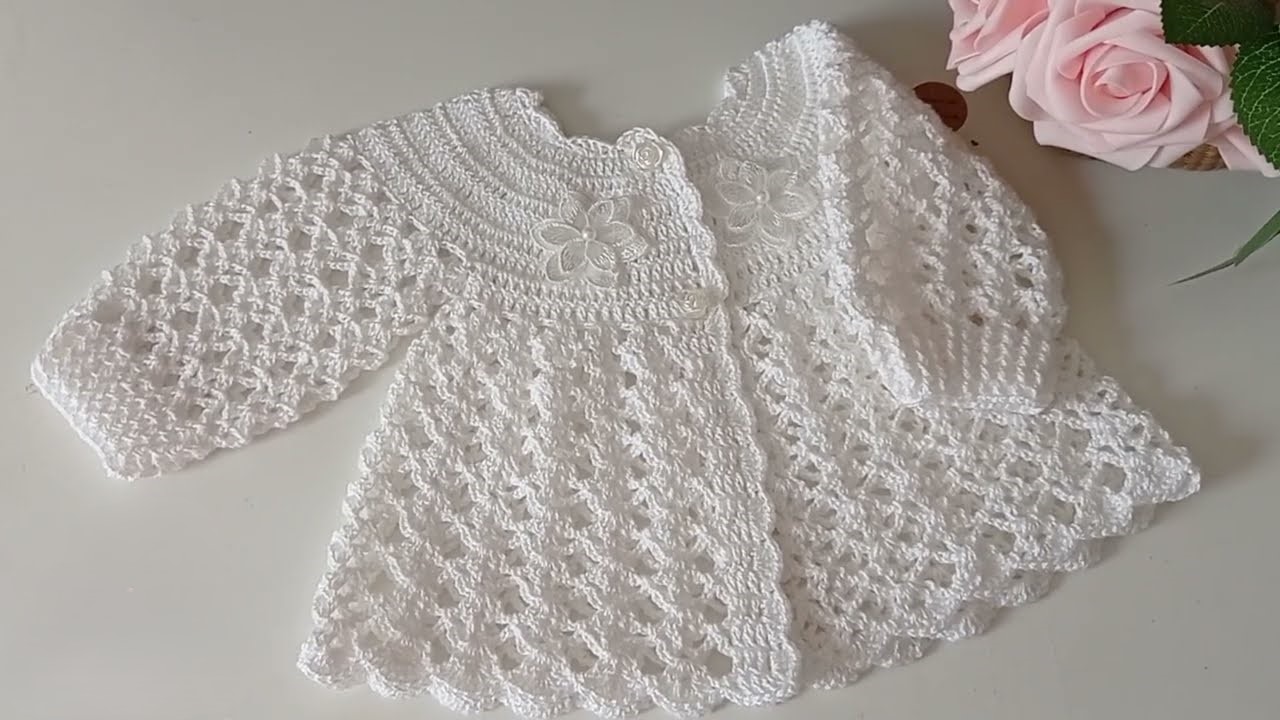
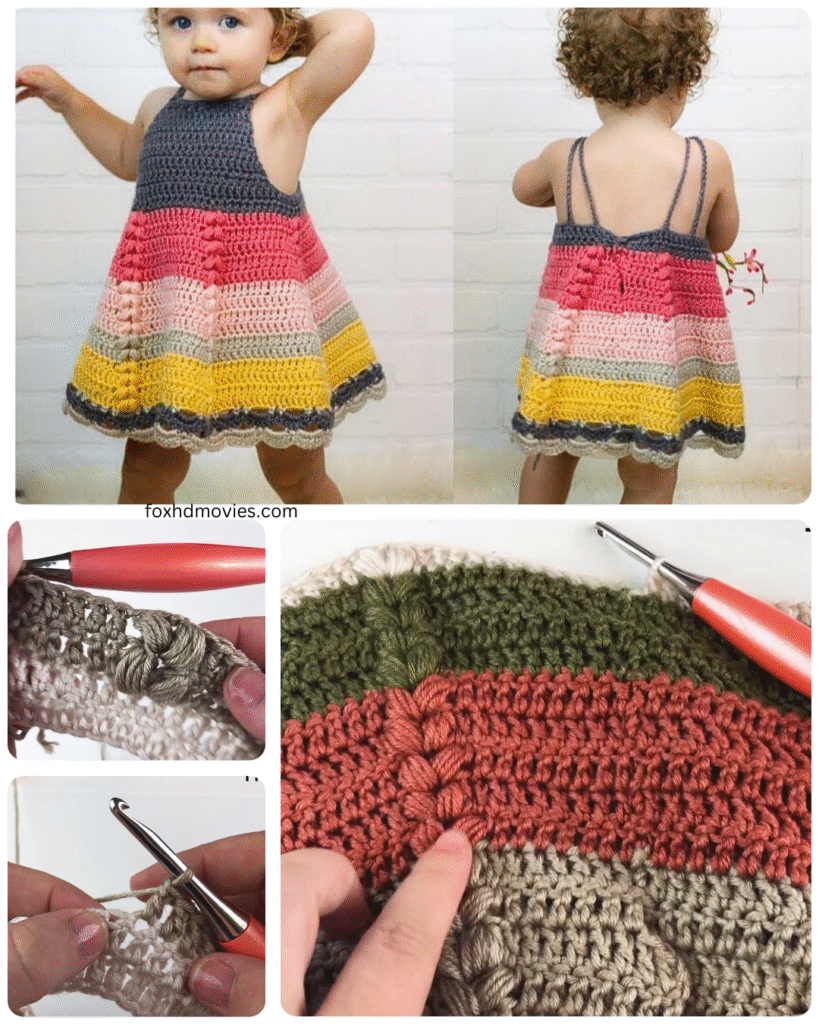
Hello crafty friends! Are you ready to create something truly special for a little one in your life? Today, we’re embarking on a delightful journey to crochet an adorable toddler dress featuring the charming puff stitch. This stitch adds a wonderful texture and a touch of playful elegance to any garment, making it perfect for your little princess.
This pattern is designed to be relatively straightforward, even for confident beginners who are familiar with basic crochet stitches. We’ll break it down step-by-step, ensuring you have a clear path to creating a dress that’s both beautiful and comfortable for a toddler to wear. So, gather your softest yarn and your favorite hook, and let’s bring this whimsical creation to life!
What You’ll Need:
- Soft Worsted Weight Yarn: Choose a yarn that’s gentle on delicate skin. Cotton, a soft acrylic, or a blend are excellent choices. The amount will depend on the size you’re making (see sizing notes below).
- Crochet Hook Size H/8 (5.0 mm): Adjust the hook size if needed to achieve the desired gauge.
- Scissors: For snipping your yarn.
- Yarn Needle: For weaving in ends neatly.
- Stitch Markers: Helpful for marking the beginning of rounds and for dividing sections.
- Measuring Tape: To check your gauge and measurements as you go.
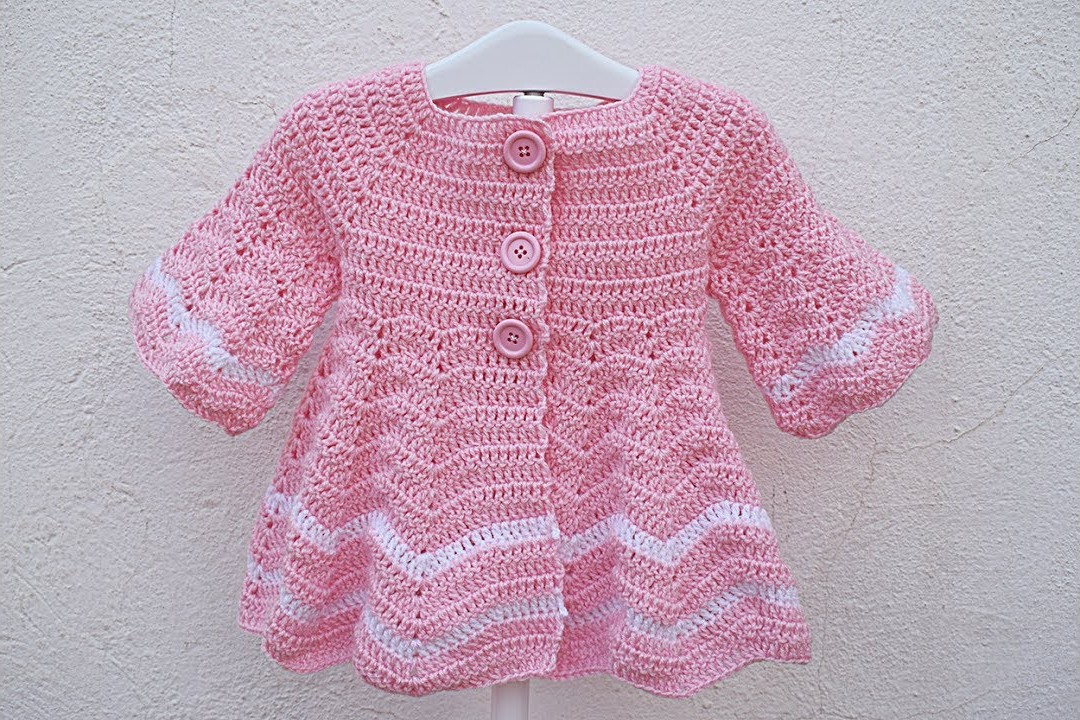
- Buttons (optional): For the back closure, if desired.
Sizing Notes:
This pattern is written for an approximate toddler size of 2T (around 2 years old). Adjustments for smaller or larger sizes will involve changing the initial chain, the number of rounds, and potentially the hook size.
- Approximate Chest Circumference (2T): 20-21 inches
- Approximate Dress Length (shoulder to hem – adjustable): 18-20 inches
Gauge:
While gauge isn’t critical for this project, aiming for approximately 14 single crochet (sc) stitches and 16 rows in 4 inches will help you achieve a similar size. Crochet a small swatch of single crochet to check your gauge and adjust your hook size if necessary.
Abbreviations:
- ch = chain
- sl st = slip stitch
- sc = single crochet
- puff st = puff stitch (see special stitch instructions below)
- dc = double crochet
- inc = increase (work 2 sc in the same stitch)
- dec = decrease (sc2tog – single crochet two stitches together)
- sk = skip
- st(s) = stitch(es)
- rep = repeat
- rnd(s) = round(s)
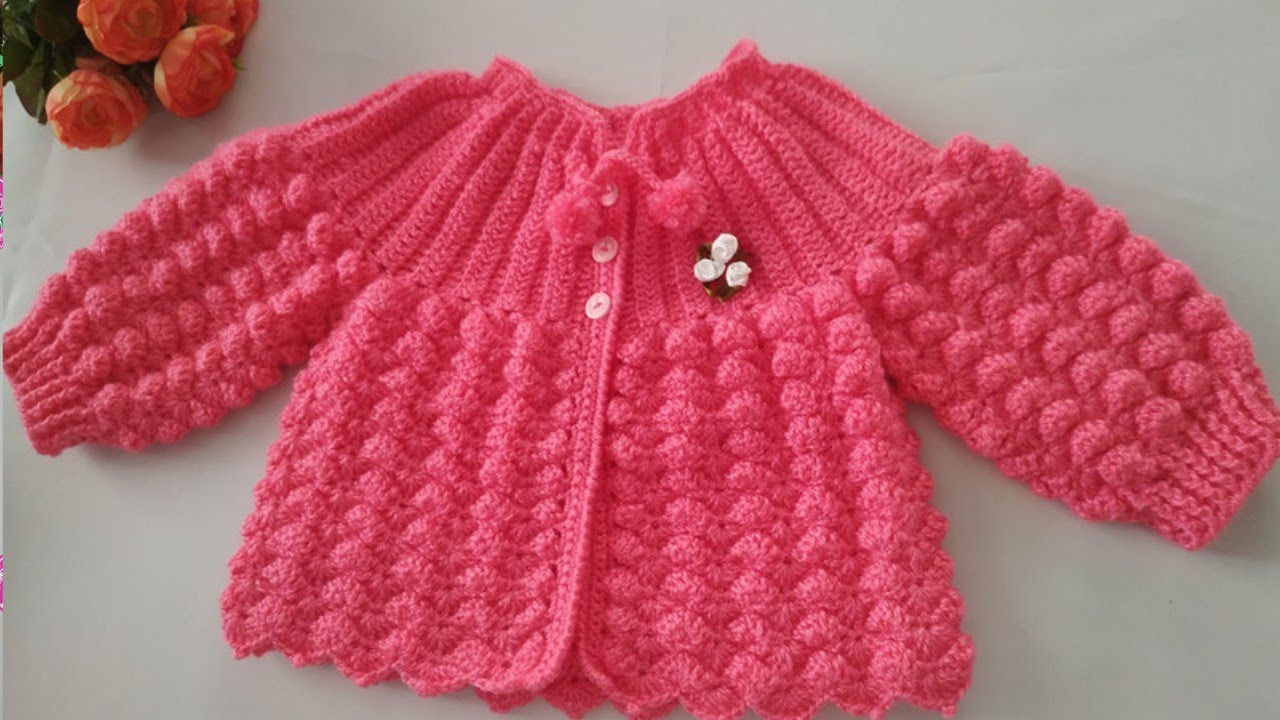
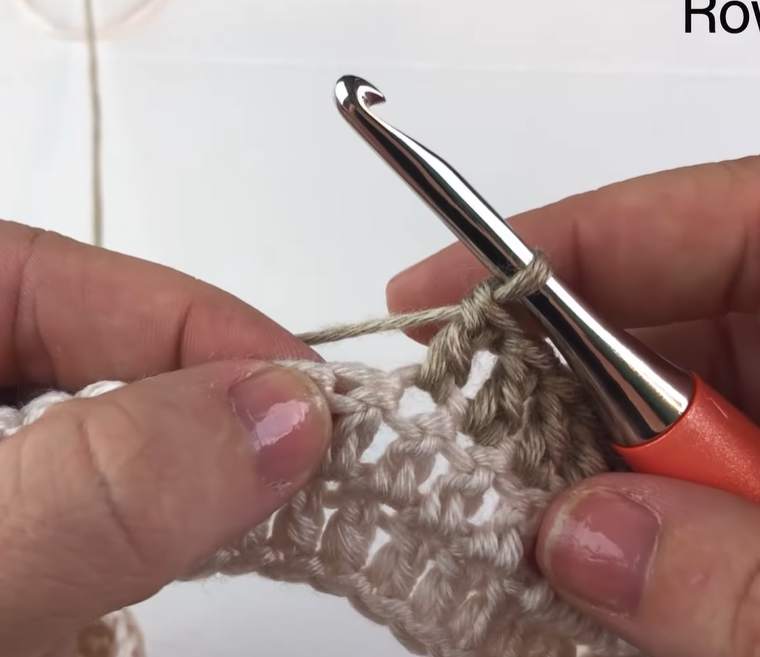
Special Stitch: Puff Stitch (puff st)
- Yarn over (yo).
- Insert your hook into the indicated stitch.
- Yo and pull up a loop (you now have 3 loops on your hook).
- Repeat steps 1-3 two more times (you will have 7 loops on your hook).
- Yo and pull through all 7 loops.
- Chain 1 to secure the puff stitch.
Video tutorial
Pattern Instructions:
Part 1: The Yoke (Worked in Rounds)
- Foundation Chain: Chain 70 (adjust this number if needed for a smaller or larger neck opening. Ensure it’s a multiple of 2 for even distribution). Slip stitch (sl st) to the first chain to form a ring. Be careful not to twist the chain.
- Round 1: Chain 1 (does not count as a stitch), single crochet (sc) in each chain around. Slip stitch (sl st) to the first sc to join. (70 sc)
- Round 2: Chain 1, sc in each sc around. Sl st to join. (70 sc)
- Round 3 (Raglan Increases): Chain 1, sc in the first 10 sc, mark this stitch (right front). Chain 1, sc in the next sc repeat 10 times (sleeve). Mark the last sc of this section. Chain 1, sc in the next 20 sc, mark this stitch (back). Chain 1, sc in the next sc repeat 10 times (sleeve). Mark the last sc of this section. Chain 1, sc in the remaining 20 sc (left front). Sl st to join. (70 sc and 4 chain-1 spaces)
- Round 4: Chain 1, sc in each sc up to the first marker. Slip the marker. Chain 2 (this forms the armhole space), skip the stitches in the marked sleeve section, sc in the next sc after the marker. Mark this stitch. Sc in each sc up to the next marker. Slip the marker. Chain 2 (second armhole space), skip the stitches in the marked sleeve section, sc in the next sc after the marker. Mark this stitch. Sc in each remaining sc around. Sl st to join. (50 sc and 2 chain-2 spaces)
- Round 5: Chain 1, sc in each sc and each chain-2 space around. Sl st to join. (54 sc)
- Rounds 6-10: Chain 1, sc in each sc around. Sl st to join. (54 sc) Adjust the number of rounds here to achieve the desired yoke depth.
Part 2: The Skirt (Worked in Rounds)
- Round 1 (Setting up for Puff Stitches): Chain 1, sc in each sc around. Sl st to join. (54 sc)
- Round 2: Chain 1, sc in the first sc, chain 1, skip the next sc, sc in the next sc repeat around. Sl st to join. (27 sc, 27 ch-1 spaces)
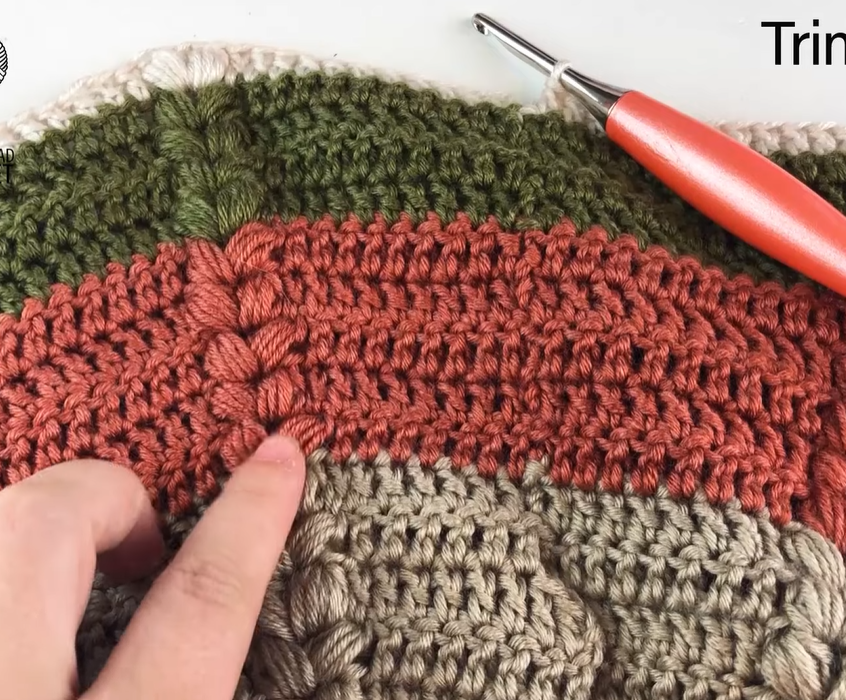
- Round 3: Chain 1, sc in the first sc, puff st in the next chain-1 space, sc in the next sc repeat around. Sl st to join. (27 puff st, 27 sc)
- Round 4: Chain 1, sc in each sc and the chain-1 securing each puff stitch around. Sl st to join. (54 sc)
- Round 5: Repeat Round 2.
- Round 6: Chain 1, sc in the first sc, puff st in the next chain-1 space, sc in the next sc repeat around. Sl st to join.
- Rounds 7- (Continue for desired skirt length): Repeat Rounds 4-6. You can adjust the number of repeats to make the skirt longer or shorter.
- Optional Ruffle Hem:
- Next Round: Chain 1, 2 sc in each sc around. Sl st to join.
- Following Round: Chain 1, sc in the next sc, chain 2, skip the next sc repeat around. Sl st to join.
- Final Round: Chain 1, sc in the next sc, 3 sc in the chain-2 space repeat around. Sl st to join.
Part 3: Sleeves (Worked in Rounds)
- Join Yarn: With the right side facing, join your yarn in one of the armhole spaces.
- Round 1: Chain 1, sc evenly around the armhole opening. You might need to work a few extra stitches to close any gaps. Mark the beginning of the round.
- Round 2: Chain 1, sc in each sc around. Sl st to join.
- Rounds 3-6 (or desired sleeve length): Repeat Round 2.
- Optional Ruffle Cuff:
- Next Round: Chain 1, 2 sc in each sc around. Sl st to join.
- Following Round: Chain 1, sc in the next sc, chain 1, skip the next sc repeat around. Sl st to join.
- Final Round: Chain 1, sc in the next sc, 2 sc in the chain-1 space repeat around. Sl st to join.
- Fasten off and weave in ends.
- Repeat Steps 1-6 for the other armhole.
Part 4: Back Closure (Optional)
If you prefer a closed back, you can skip this section. For a button closure:
- Divide the Back: On the back section of the yoke, mark the center.
- Create Button Loops (one side): With the wrong side facing, join yarn at one edge of the back opening. Chain a few stitches (enough to fit your button), skip the corresponding number of stitches on the yoke, and slip stitch to the next stitch. Repeat for the desired number of button loops.
- Create Button Band (other side): Work a few rows of single crochet along the other edge of the back opening, creating a sturdy band to sew your buttons onto.
- Sew on your buttons to correspond with the button loops.
Finishing Touches:
- Weave in all loose ends securely using your yarn needle.
- Block the dress gently if desired to help the stitches lay flat and even.
Tips and Variations:
- Color Blocking: Use different colors for the yoke, skirt, and sleeves for a fun, vibrant look.
- Stripes: Incorporate stripes into the skirt or yoke for added visual interest.
- Embellishments: Add small crocheted flowers, appliques, or ribbon accents to personalize your dress.
- Adjusting Size: To make the dress smaller, start with fewer chains for the yoke and work fewer rounds in each section. To make it larger, increase the initial chain and the number of rounds. Remember to adjust the armhole and sleeve sections accordingly.