by
by 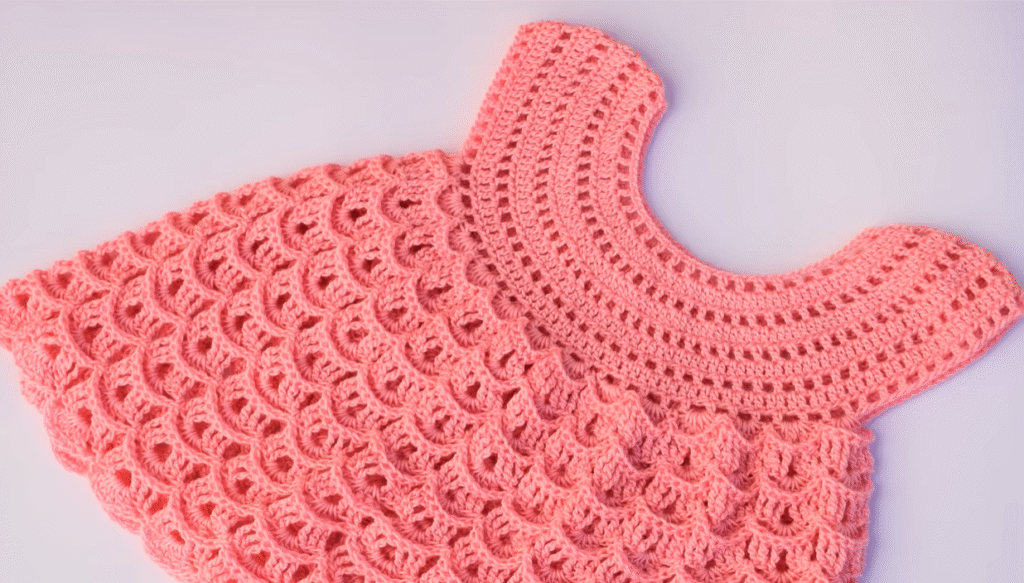
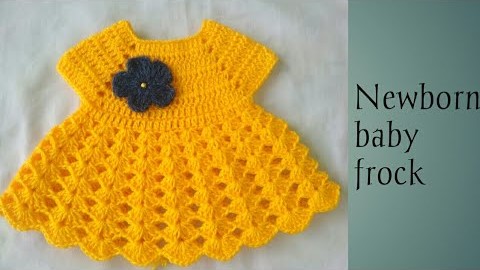
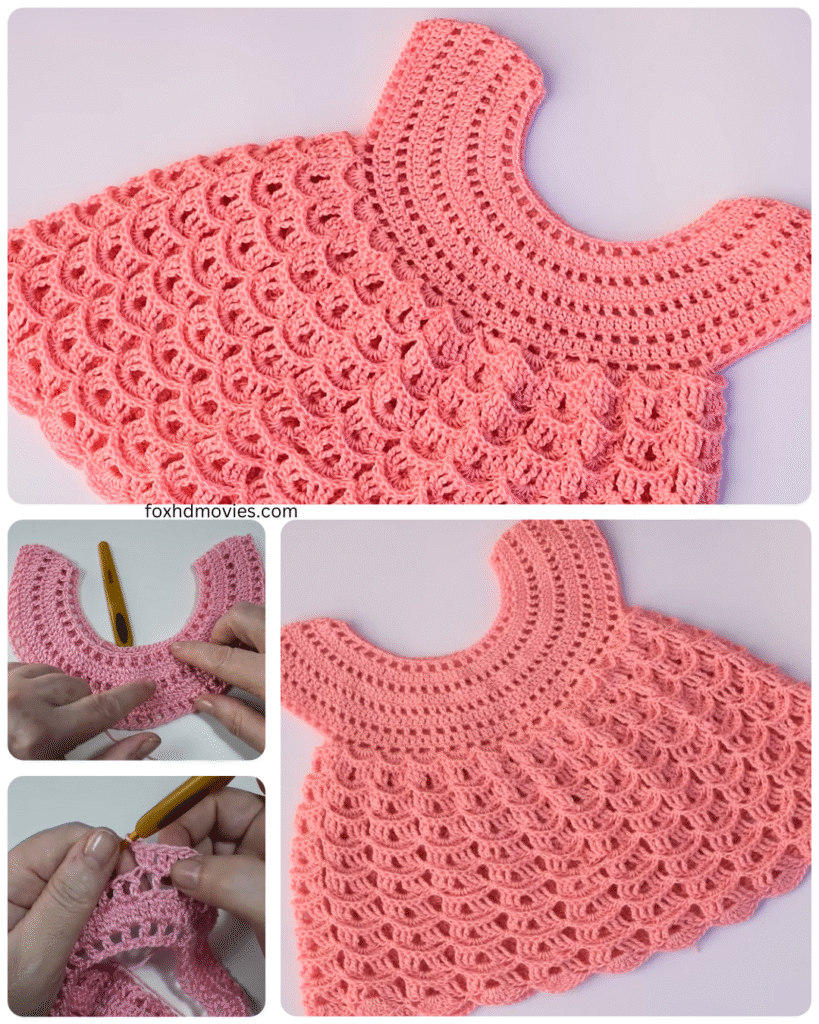
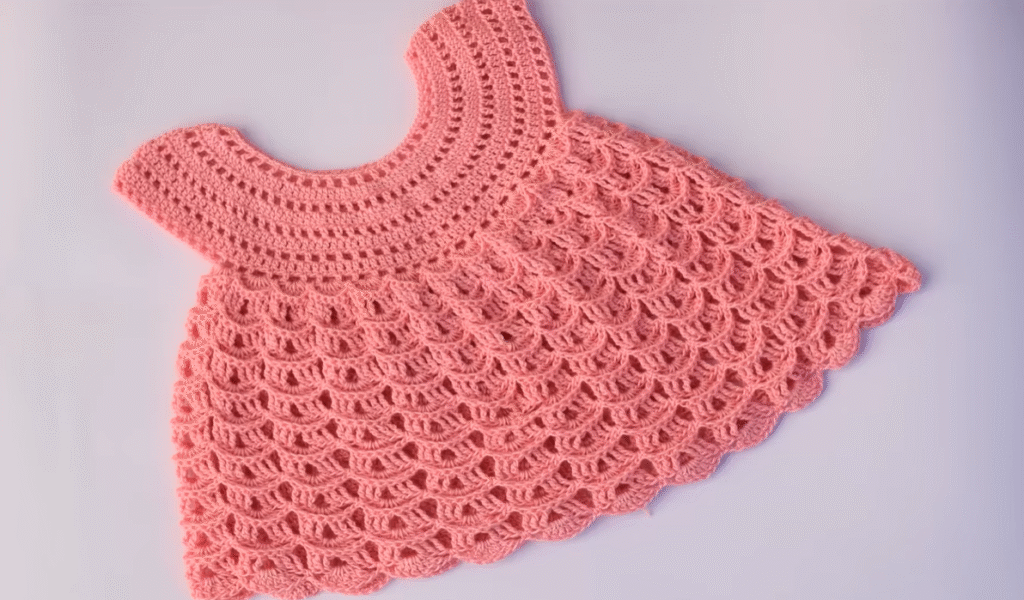
Welcome, crafty friends! Are you looking for a heartwarming project that’s both adorable and beginner-friendly? Today, we’re diving into the delightful world of crochet baby clothes with a pattern for a super easy baby girl dress. This sweet creation works up quickly, uses basic stitches, and makes a wonderful gift for a new arrival or a cherished little one in your life.
Imagine the joy of dressing a precious baby in something you lovingly made with your own hands. This pattern is designed to be accessible to crocheters of all levels, so even if you’re just starting out, you can create this charming little dress. Let’s gather our supplies and bring this sweet design to life!
What You’ll Need:
- Soft Worsted Weight Yarn: Choose a soft and gentle yarn suitable for babies, such as cotton, bamboo, or a baby-friendly acrylic blend. Approximately 300-400 yards should be sufficient for a small size (0-3 months). Adjust yardage for larger sizes. Consider using two contrasting colors for the yoke and skirt, or stick with one beautiful shade.
- Crochet Hook Size H/8 (5.0 mm): Or the size recommended for your chosen yarn.
- Scissors: For snipping your yarn.
- Yarn Needle: For weaving in ends.
- Stitch Markers (optional but helpful): To mark the armhole openings.
- Measuring Tape: To check sizing as you go.
- Buttons (2-3): For the back closure (choose cute, baby-safe buttons).
Understanding the Basics: Simple Stitches, Sweet Results
This easy baby dress pattern primarily uses these fundamental crochet stitches:
- Chain (ch): The foundation of our project.
- Single Crochet (sc): Creates a neat and close fabric.
- Half Double Crochet (hdc): A taller stitch that works up faster than sc but is still relatively dense.
- Double Crochet (dc): A taller stitch used for the skirt to give it a bit more drape and length.
- Slip Stitch (sl st): Used for joining rounds.
We’ll be working in rounds for the yoke and then separating for the sleeves before continuing in rounds for the skirt. The back opening will be secured with buttons for easy dressing.
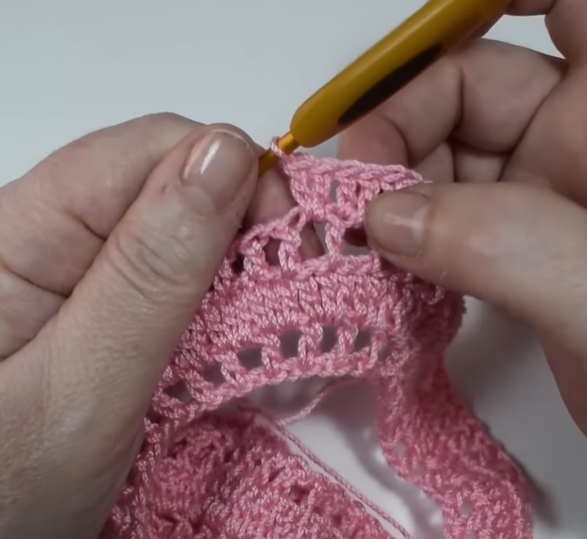
Video tutorial
The Pattern: Stitch by Stitch to a Tiny Dress
Let’s get crocheting! This pattern is written for a 0-3 month size. Adjustments for larger sizes will be noted.
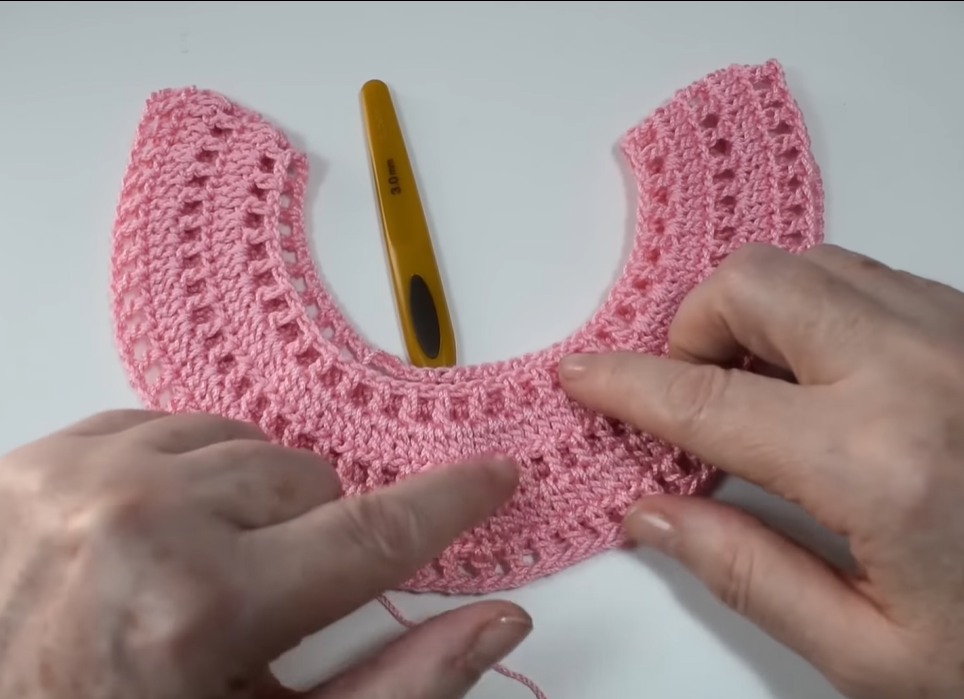
Yoke:
- Foundation Chain: Chain 60 (adjust this number in multiples of 4 for a different neck circumference. For a larger size, try ch 68, 72, etc.). Join with a slip stitch to the first chain to form a ring, being careful not to twist the chain.
- Round 1: Chain 2 (does not count as a stitch here and throughout), hdc in each chain around. Join with a slip stitch to the first hdc. (60 hdc)
- Round 2: Chain 2, hdc in each stitch around. Join with a slip stitch to the first hdc. (60 hdc)
- Round 3 (Raglan Increases): Chain 2, hdc in the next 8 sts, (hdc, ch 1, hdc) in the next st repeat from * to * 4 times. Join with a slip stitch to the first hdc. (68 hdc, 4 ch-1 spaces)
- For a larger size, adjust the number of hdc between the increases. For example, for 3-6 months, you might do hdc in the next 9 or 10 sts.
- Round 4: Chain 2, hdc in each hdc to the ch-1 space, (hdc, ch 1, hdc) in the ch-1 space repeat from * to * 4 times. Join with a slip stitch to the first hdc. (76 hdc, 4 ch-1 spaces)
- Round 5: Chain 2, hdc in each hdc to the ch-1 space, (hdc, ch 1, hdc) in the ch-1 space repeat from * to * 4 times. Join with a slip stitch to the first hdc. (84 hdc, 4 ch-1 spaces)
- Round 6: Chain 2, hdc in each hdc to the ch-1 space, (hdc, ch 1, hdc) in the ch-1 space repeat from * to * 4 times. Join with a slip stitch to the first hdc. (92 hdc, 4 ch-1 spaces)
- Continue increasing in this manner (adding 8 hdc in each round) until the yoke measures approximately 4-5 inches from the neckline to the underarm for a 0-3 month size. For larger sizes, add more rounds.
Separating for Sleeves and Creating the Body:
- Round 7 (Separation): Chain 2, hdc in the next (number of hdc before first ch-1 space) stitches. Chain 3 (for the armhole). Skip all the stitches between the first and second ch-1 spaces. Hdc in the next (number of hdc between second and third ch-1 spaces) stitches. Chain 3 (for the armhole). Skip all the stitches between the third and fourth ch-1 spaces. Hdc in the remaining stitches. Join with a slip stitch to the first hdc.
- Place stitch markers in the center of each ch-3 armhole space if desired.
- Round 8: Chain 2, hdc in each hdc around, and work 3 hdc in each of the ch-3 armhole spaces. Join with a slip stitch to the first hdc.
- Round 9: Chain 2, hdc in each stitch around. Join with a slip stitch to the first hdc.
- Continue working rounds of hdc until the yoke and upper body measure your desired length before starting the skirt (approximately 6-7 inches from the neckline for 0-3 months).
Skirt:
- Round 1 (Change to skirt color if desired): Chain 3 (counts as first dc), dc in each stitch around. Join with a slip stitch to the top of the beginning chain-3.
- Round 2: Chain 3, dc in each stitch around. Join with a slip stitch to the top of the beginning chain-3.
- Continue working rounds of double crochet until the skirt reaches your desired length (approximately 6-8 inches for 0-3 months). You can add more rounds for a longer dress. For a slightly flared skirt, you can increase evenly in some rounds (e.g., dc in the next 3 sts, 2 dc in the next st repeat around).
Creating the Back Opening:
- Next Round: Chain 1, sc in the next (approximately half the number of skirt stitches). Turn.
- Row 1: Chain 1, sc in each stitch across. Turn.
- Repeat Row 1 for about 1-1.5 inches to create the back opening flap. Fasten off.
- Repeat Steps 1-3 on the other half of the skirt stitches to create the second back opening flap.
Sleeves (Optional):
- Join yarn in one of the armhole openings.
- Chain 2, hdc evenly around the armhole. Join with a slip stitch to the first hdc.
- Work 2-3 rounds of hdc, decreasing slightly if desired to create a gentle taper. Fasten off and weave in ends. Repeat for the other armhole.
Finishing Touches:
- Weave in all loose ends neatly using your yarn needle.
- Sew on buttons to one of the back opening flaps, aligning them with the spaces in the other flap.
- Optional Edging: You can add a simple single crochet or picot edging around the neckline, armholes, and the bottom of the skirt for a more polished look.
Tips and Variations:
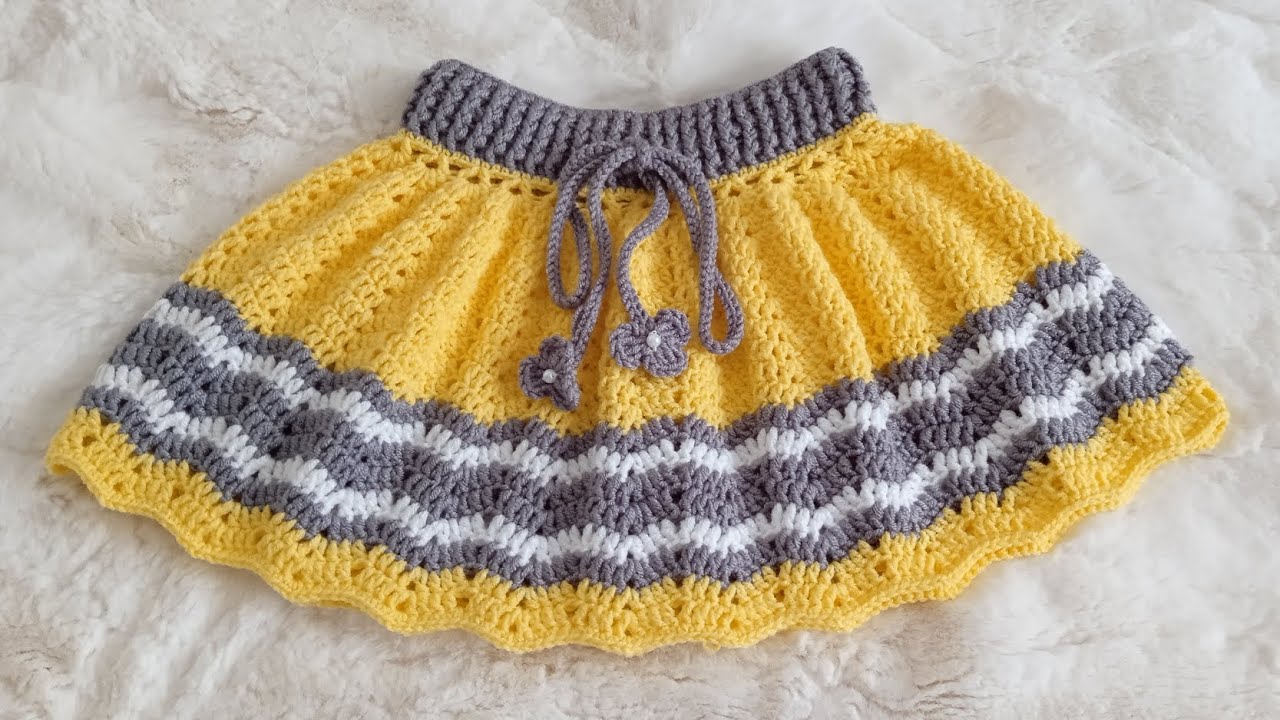
- Ruffle Skirt: For a cute ruffle, increase more frequently in the skirt rounds (e.g., 2 dc in each st for a few rounds).
- Color Blocking: Use different colors for the yoke, skirt, and even the sleeves for a playful look.
- Embellishments: Add small crocheted flowers, bows, or appliques to the yoke or skirt for extra sweetness.
- Lace Details: Incorporate simple lace stitches into the skirt or as an edging.
- Button Placement: Adjust the number and placement of buttons as needed.
Care Instructions:
Always check the care label of your chosen yarn. Generally, hand washing or a gentle machine wash is recommended for baby items. Lay flat to dry to maintain the shape.
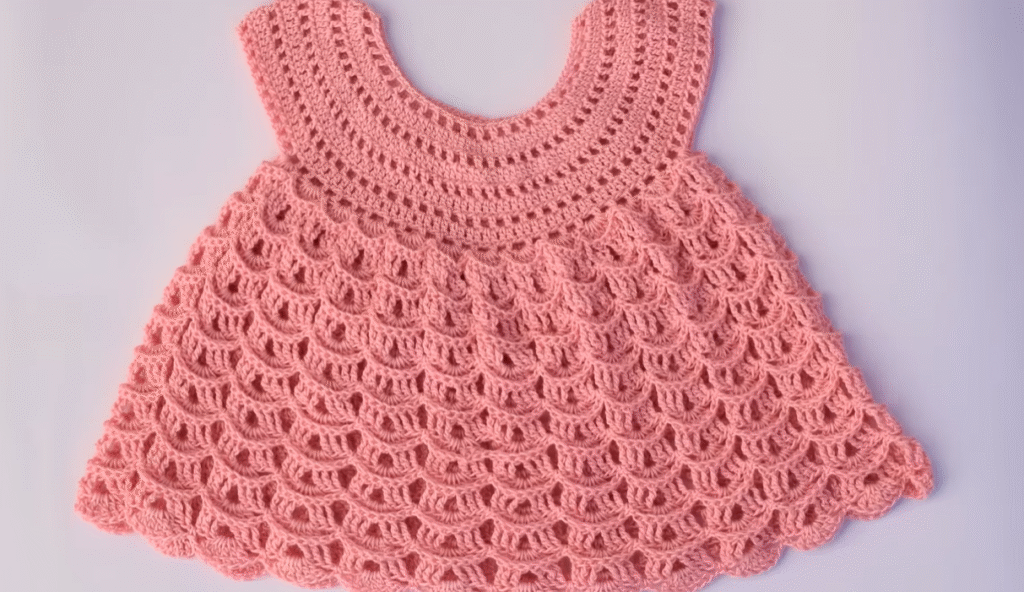
Share Your Tiny Masterpieces!
Congratulations on creating your adorable crochet baby girl dress! This easy pattern is a wonderful way to express your creativity and make something special for a little one.