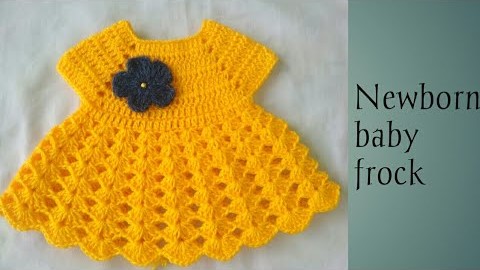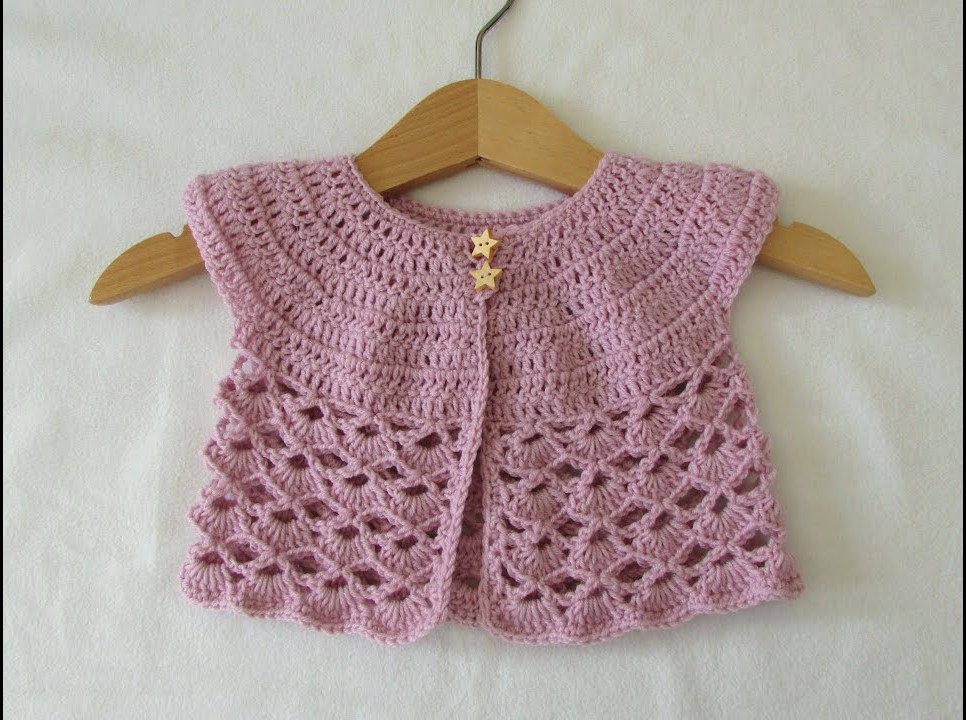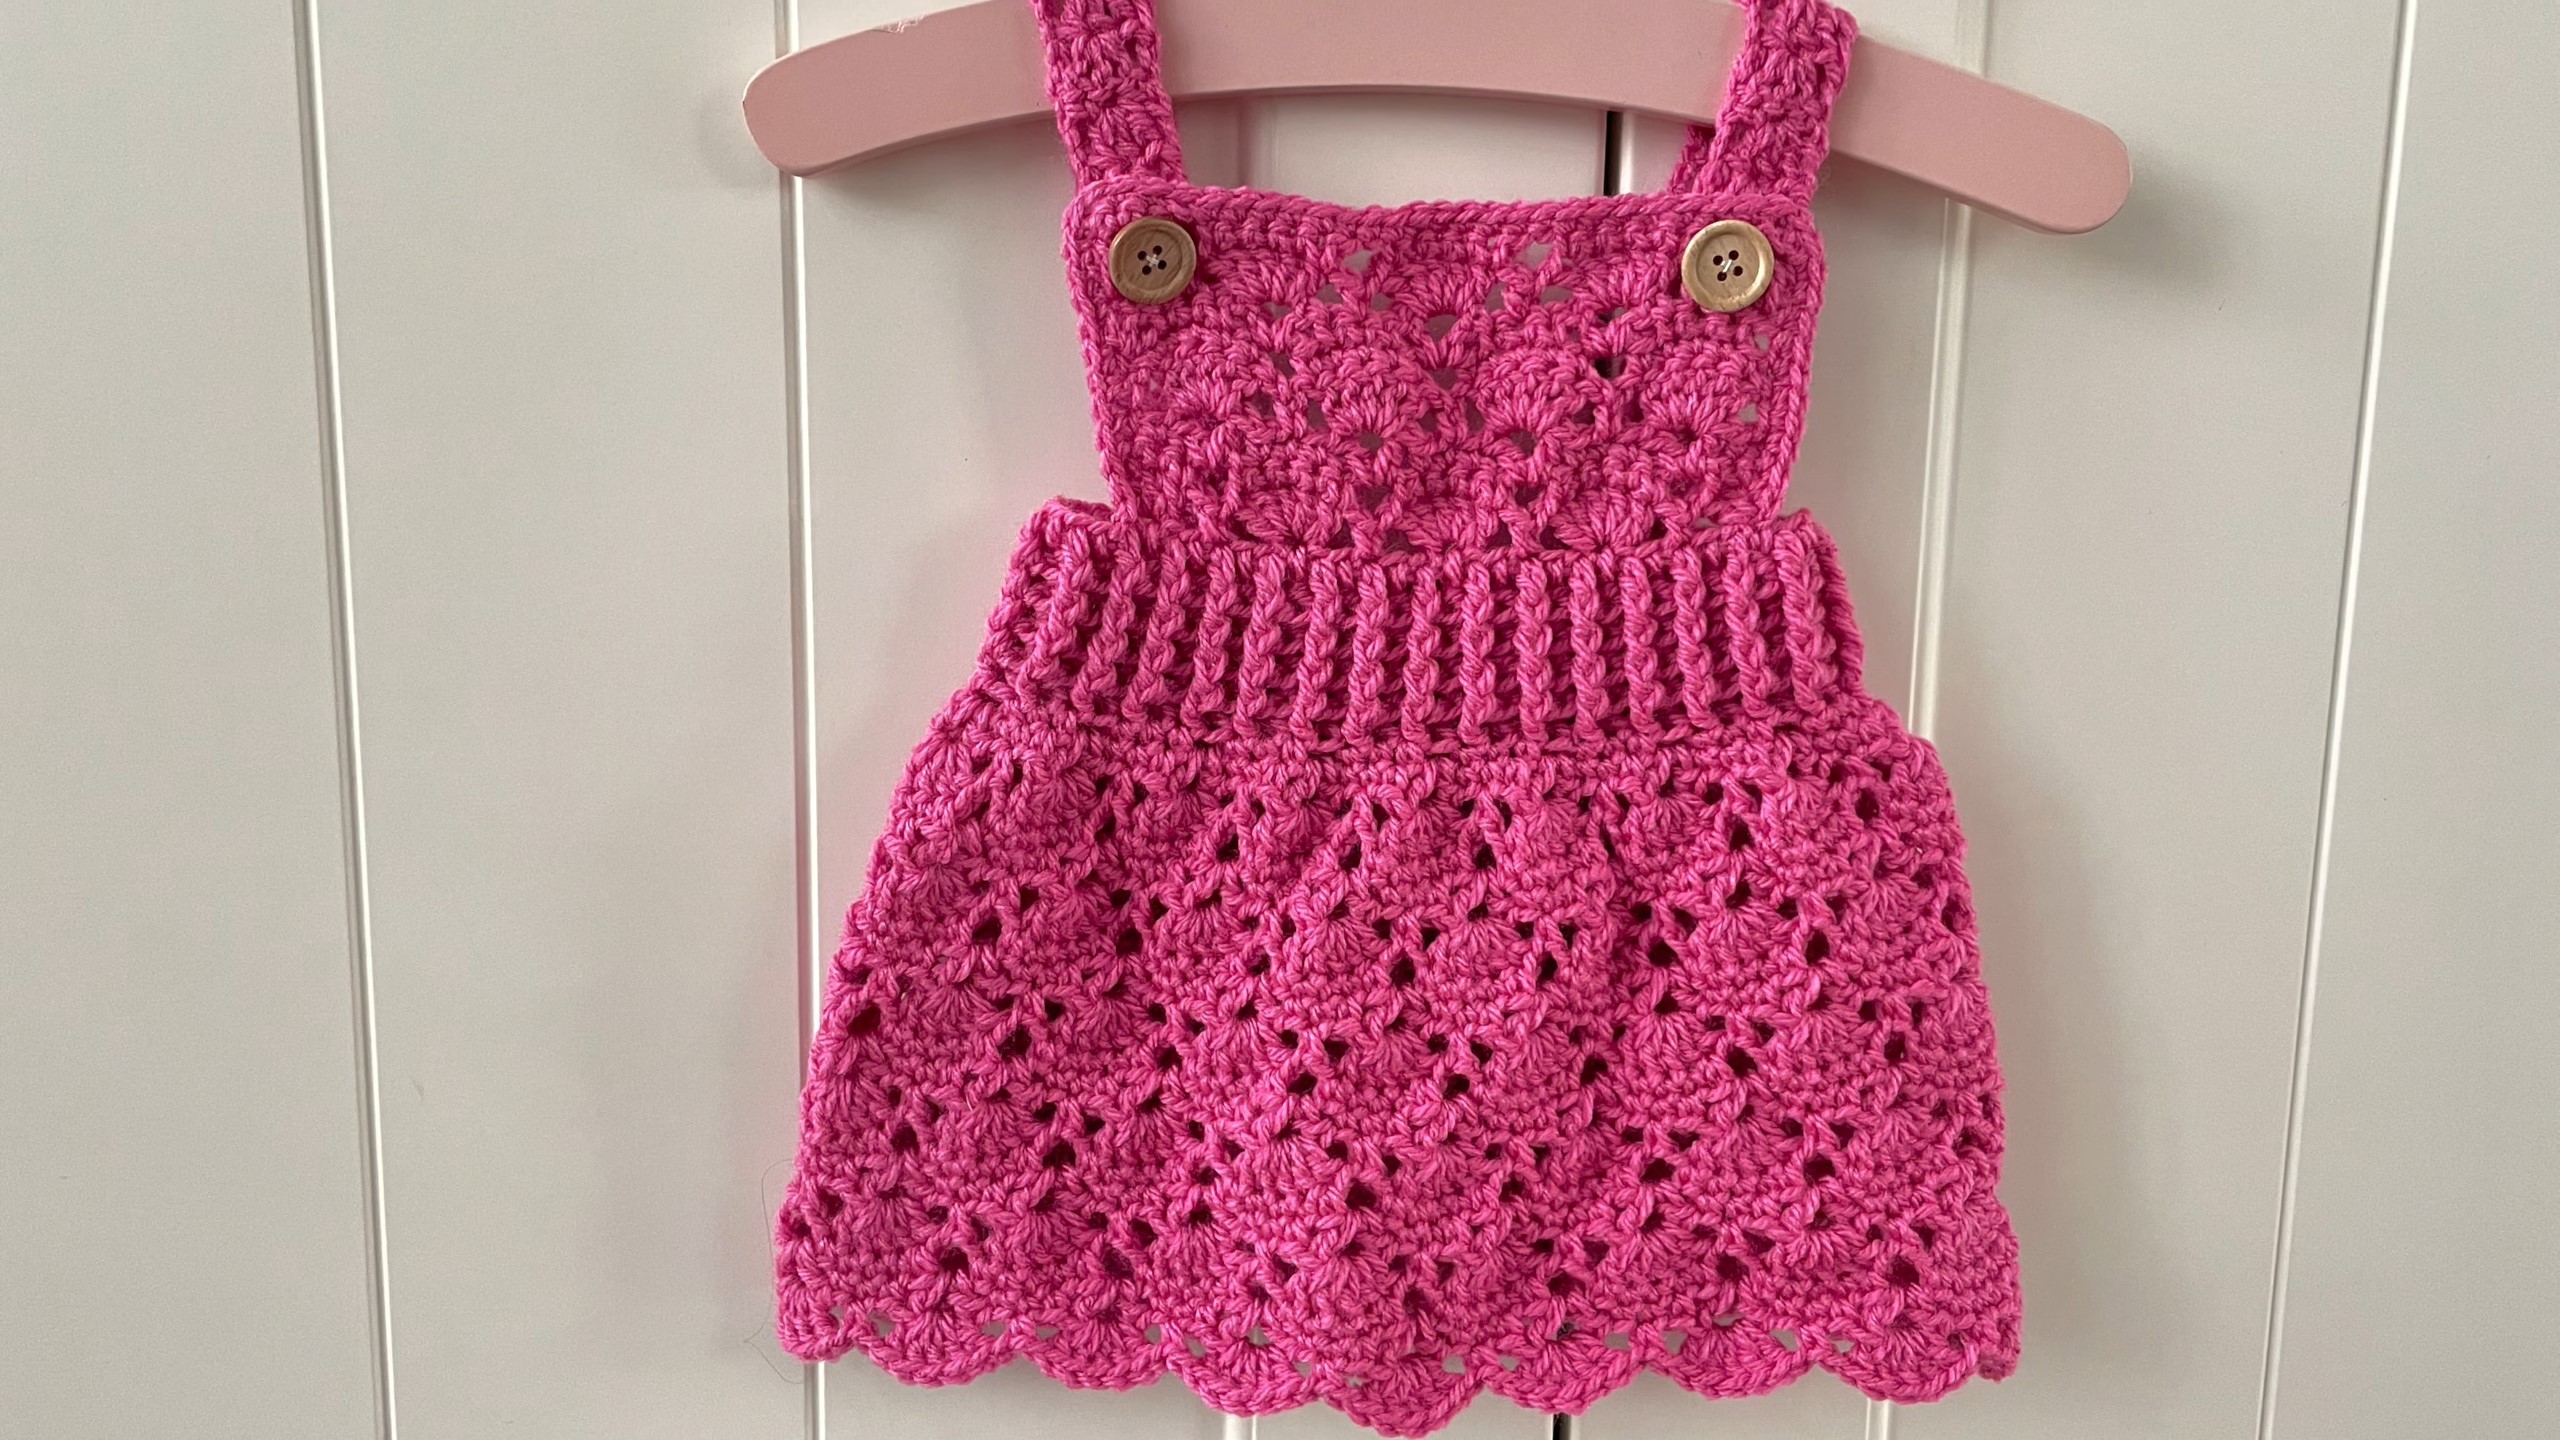
 by
by 
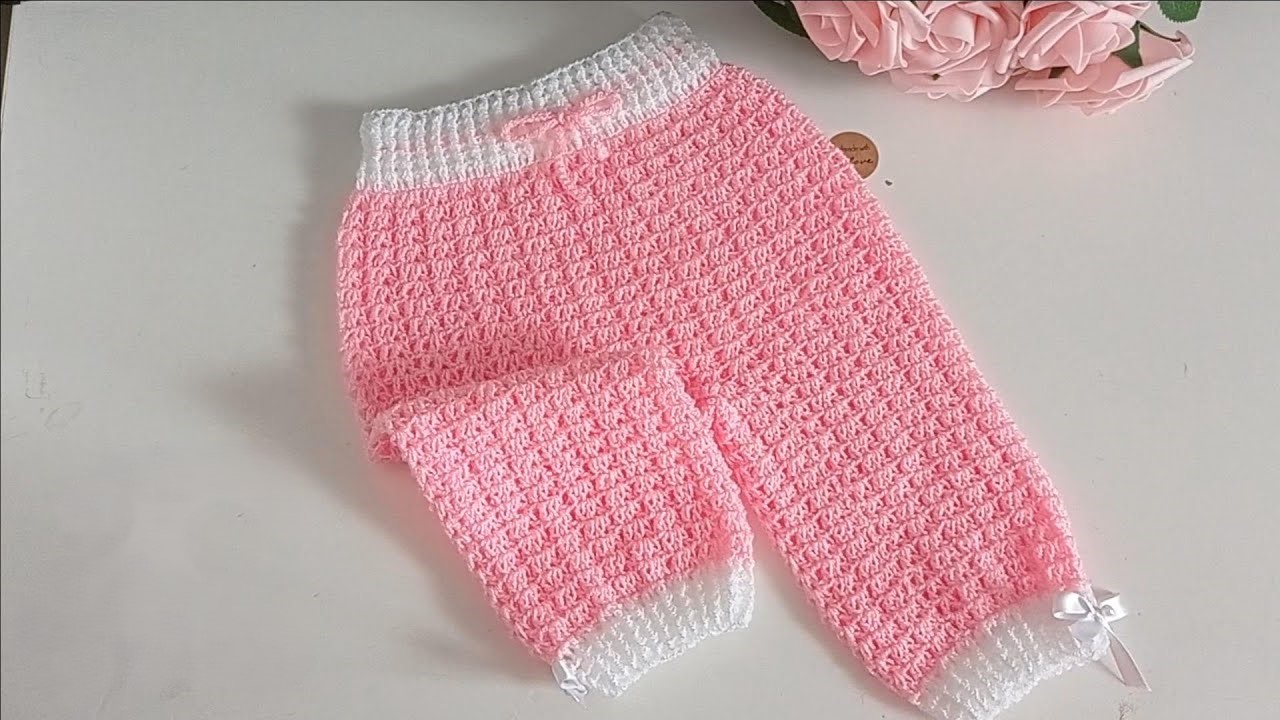
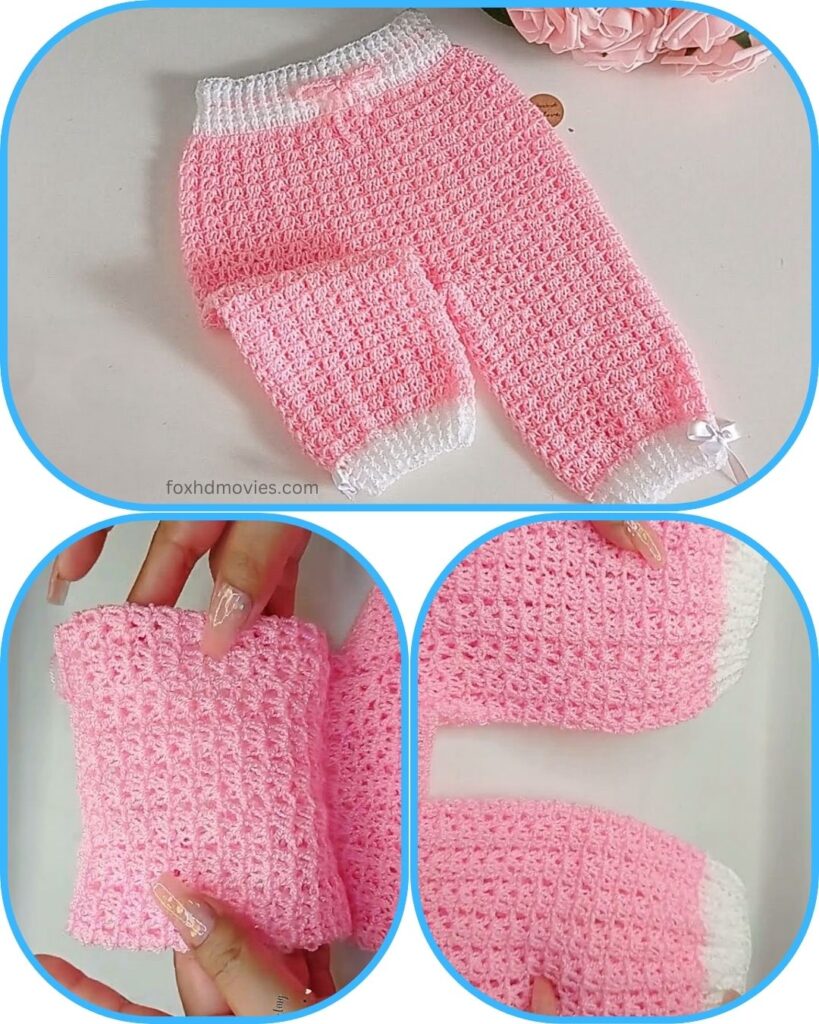
Keep your little one comfy and cute with these adorable crochet baby pants! Inspired by the soft pink and white design in the picture, this pattern features a lovely textured stitch for the main body, a stretchy ribbed waistband, and charming ribbed cuffs with dainty bows. Perfect for everyday wear, playtime, or snuggling up.
Skill Level: Intermediate (Familiarity with basic stitches, working in rounds, increasing, and ribbed stitches is helpful).
Materials:
- Yarn: DK (Light Worsted) weight yarn. A soft baby acrylic or cotton blend is highly recommended for comfort and drape.
- Main Color (MC): Pink (or your chosen primary color) – approx. 150-250 yards, depending on size.
- Contrast Color (CC): White (for waistband and cuffs) – approx. 30-50 yards.
- Crochet Hook: Size G/6 (4.0 mm) or size needed to obtain gauge.
- Yarn Needle: For weaving in ends and assembling.
- Scissors
- Stitch Markers: Very helpful for marking the beginning of rounds.
- Small Ribbon: Approx. 1/8 to 1/4 inch wide.
- Pink (or MC color) for waistband bow – approx. 12-15 inches.
- White (or CC color) for ankle bows – approx. 6-8 inches per bow (total 12-16 inches).
Gauge (Crucial!):
Achieving the correct gauge is essential for the pants to fit properly.
- Body Stitch Gauge: 4 rows of the textured stitch should measure approximately 1 inch.
- Hdc Gauge: 4 hdc stitches should measure approximately 1 inch.
- Adjust your hook size if necessary to meet these gauges.
Finished Size (Approximate, 6-12 Months):
- Waist Circumference: 18-20 inches (unstretched)
- Inseam: 8-9 inches
- Adjustments for other sizes: Guidance will be provided.
Abbreviations (US Crochet Terms):
- ch: chain
- sl st: slip stitch
- sc: single crochet
- hdc: half double crochet
- dc: double crochet
- BLO: back loop only
- FLO: front loop only
- st(s): stitch(es)
- rep: repeat
- inc: increase (work 2 sts in the same st)
- MC: Main Color (Pink)
- CC: Contrast Color (White)
- ( ): repeat instructions in parentheses a specified number of times
- [ ]: total stitches at the end of the round
Special Stitches (for Texture):
The main body of the pants appears to be worked in a textured stitch, possibly a variation of the bean stitch, puff stitch, or a simple cluster. For simplicity and to mimic the look, we will use a textured half double crochet stitch:
- Textured Hdc (often called “Camel Stitch” or “Half Double Crochet in 3rd Loop”): Work hdc into the horizontal bar (often called the 3rd loop) that forms behind the V of the stitch from the previous row/round. This pushes the V of the stitch forward, creating a ribbed, knit-like texture. If this is too complex, a simple hdc will also work, though the texture will be slightly different.
Pattern for Sweet Dreams Crochet Baby Pants
Part 1: The Waistband (Worked in Rows, then joined)
Using Contrast Color (CC – White):
Row 1: Ch 8. Hdc in 3rd ch from hook and in each ch across. [6 hdc] This creates the height of your waistband.
Row 2 (Ribbing): Ch 2 (counts as hdc). Turn. Hdc in BLO of each hdc across. [6 hdc]
Repeat Row 2 until the band measures approximately 18-20 inches long (unstretched) for the 6-12 month size, or to fit your desired waist circumference. Sl st the first and last rows together to form a loop. Do not fasten off.

Part 2: The Body (Worked from Waistband, Top Down)
Using Main Color (MC – Pink):
Round 1 (Transition to Body): Ch 1. Working along the long edge of the waistband, sc evenly around, working 1 sc into the end of each hdc row. Sl st to first sc to join. [Adjust total sc count to be an even number, approximately 72-80 sc, or whatever your waistband length allows. Ensure it’s a multiple for your textured stitch if you choose a specific pattern.] This round is crucial for the fit. It should fit snugly but not too tight around the waist.
Round 2 (Textured Stitch Foundation): Ch 2 (counts as hdc). Hdc in each sc around. Sl st to join.
Round 3 (Textured Stitch): Ch 2 (does NOT count as a st). Hdc in the 3rd loop (the horizontal bar behind the V of the stitch) of each hdc around. Sl st to join. This creates the horizontal ribbing seen in the picture.
Repeat Round 3 for approximately 8-10 more rounds, or until the pants reach just above where you want the crotch division to be (this is before you split for the legs).
Part 3: Crotch Division
Using MC (Pink):
Next Round: Fold your pants in half so the start of the round is at the back seam. Use a stitch marker to mark the center of the front. Sc in the first 2-3 stitches (to move to the start of the first leg). Ch 2 (this creates the crotch seam). Sk half of the total stitches of the body. Join with a sl st to the next stitch, creating the first leg opening.

Part 4: The Legs (Make 2)
Leg 1:
Round 1: Ch 2 (does NOT count as a st). Hdc in the 3rd loop of each hdc around the leg opening and also into the 2 chs you made for the crotch. Sl st to join. [Total stitches around the leg will be half of your body stitches plus the 2 chain stitches].
Repeat Round 1 (working hdc in 3rd loop) until the leg reaches your desired length, ending approximately 1 inch before the ankle (where the cuff will begin).
Fasten off MC and weave in ends.
Leg 2: Join MC (Pink) to the other side of the crotch ch-2. Repeat the instructions for Leg 1. Fasten off MC and weave in ends.
Part 5: Ankle Cuffs (Make 2)
Using Contrast Color (CC – White):
Join CC to the bottom edge of one leg opening.
Round 1 (Foundation): Ch 1. Sc evenly around the bottom edge of the leg opening. Sl st to join. [Ensure your stitch count is even or a multiple of your ribbing repeat.]
Round 2 (Ribbing): Ch 2 (counts as hdc). Hdc in BLO of each sc around. Sl st to join.
Repeat Round 2 for 2-3 more rounds, or until the cuff reaches your desired height (approx. 0.75 – 1 inch). Fasten off CC, leaving a tail for weaving. Weave in ends.

Repeat for the second ankle cuff.
Part 6: Finishing & Embellishments
- Weave in all remaining yarn ends securely.
Waistband Ribbon:
- Take your pink ribbon. Thread it through the stitches of the waistband, weaving it in and out, approximately in the middle of the white band. Tie a neat little bow at the center front of the waistband.
Ankle Bows:
- Take your white ribbon. For each ankle, cut a piece approximately 6-8 inches long. Tie it into a small, neat bow.
- Securely sew one white bow to the center front of each ankle cuff. Ensure they are very securely attached for baby safety.
Final Touches:
- Gently block the pants if desired to even out the stitches and shape.
Congratulations! You’ve just created a cozy and adorable pair of Sweet Dreams Crochet Baby Pants. These are sure to be a comfortable and charming addition to any baby’s wardrobe!