by
by 
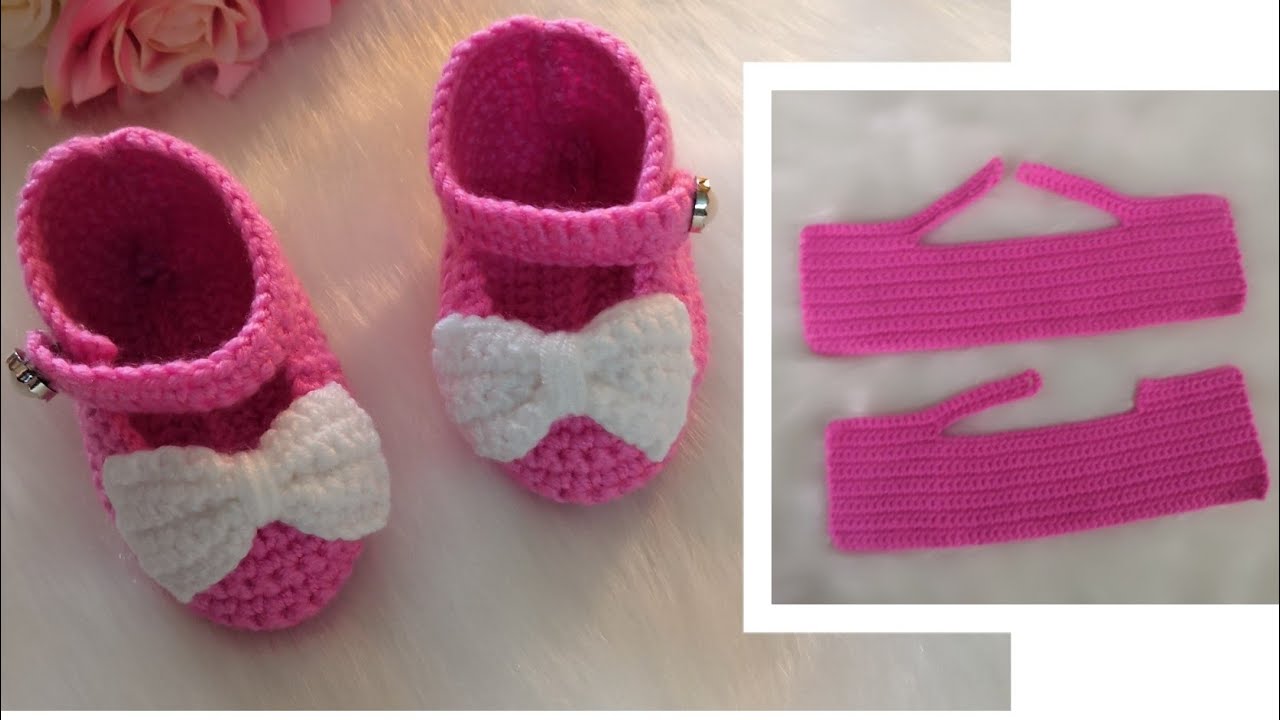
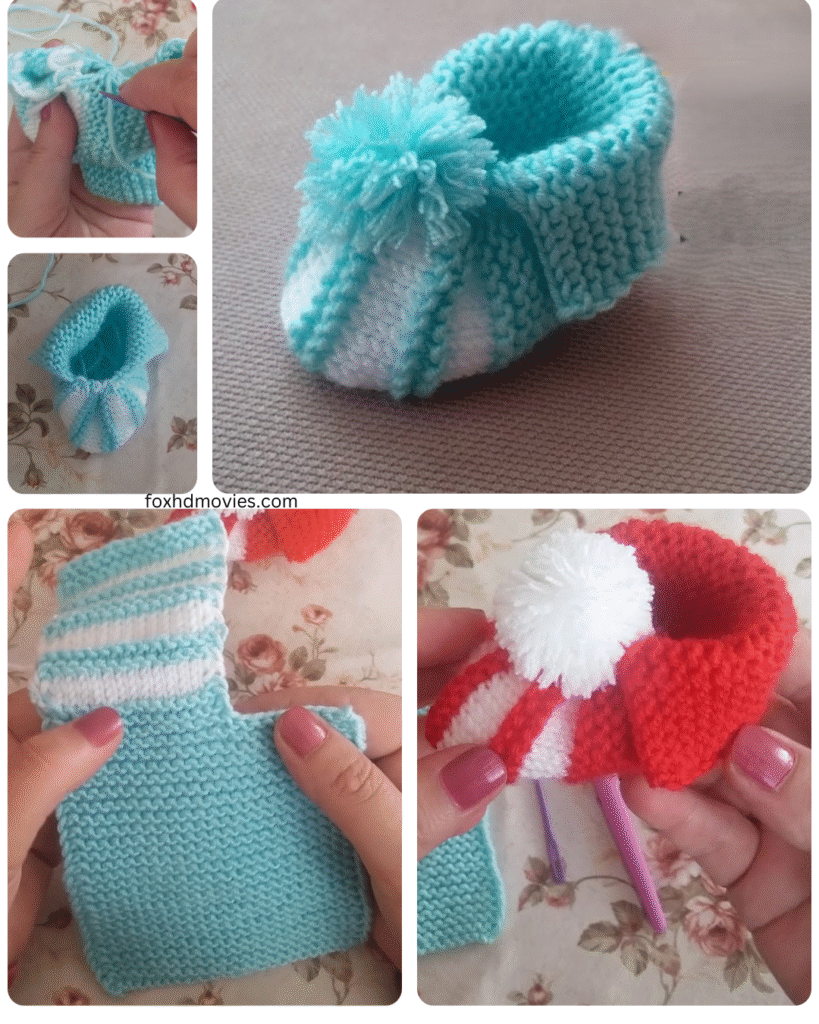
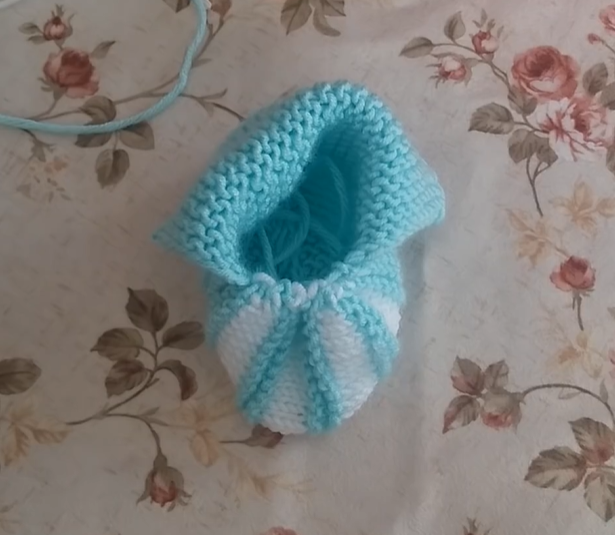
watermelon slice baby booties! What a fun and summery idea! These booties are knit in the shape of a watermelon slice, complete with a green rind and little black “seeds.” Here’s a detailed pattern to bring this juicy design to life:
Skill Level: Intermediate Beginner (requires basic knit, purl, increase, decrease, color changes, and picking up stitches)
Materials:
- Yarn:
- Red or Pink DK weight yarn (approximately 50 yards) for the main body of the watermelon.
- White DK weight yarn (approximately 20 yards) for the inner rind.
- Green DK weight yarn (approximately 20 yards) for the outer rind.
- Small amount of black yarn (DK or embroidery floss) for the seeds.
- Needles: US size 4 (3.5 mm) straight or circular needles (circular needles can be easier for working in the round for the sole, but straight needles work too).
- Double-Pointed Needles (DPNs): US size 4 (3.5 mm) – optional, for working the heel if you prefer.
- Stitch Markers: 4
- Tapestry Needle: For weaving in ends and embroidering seeds.
Gauge: Approximately 22 stitches and 30 rows in 4 inches (10 cm) in stockinette stitch using the main color. Gauge is not critical for this project, but variations will affect the finished size.
Finished Size: This pattern is written for approximately 0-3 months (sole length about 3.5 inches). Adjust needle size and yarn weight for different sizes.
Abbreviations:
- k: knit
- p: purl
- st(s): stitch(es)
- RS: right side
- WS: wrong side
- inc: increase (knit into the front and back of the same stitch)
- k2tog: knit two stitches together (decrease)
- ssk: slip, slip, knit (decrease)
- sl st: slip stitch
- rem: remaining
- CC: change color
Bootie Construction: The bootie is worked in three main parts: the sole, the upper, and the rind. The seeds are added at the end with embroidery.
Part 1: Sole (Make 2)
Using Red/Pink yarn, cast on 9 stitches.
- Row 1 (RS): kfb, k to last st, kfb (11 sts)
- Row 2 (WS): Purl
- Row 3 (RS): kfb, k3, m1, k1, m1, k3, kfb (15 sts)
- Row 4 (WS): Purl
- Row 5 (RS): kfb, k5, m1, k1, m1, k5, kfb (19 sts)
- Row 6 (WS): Purl
- Row 7 (RS): kfb, k7, m1, k1, m1, k7, kfb (23 sts)
- Row 8 (WS): Purl
- Row 9 (RS): kfb, k9, m1, k1, m1, k9, kfb (27 sts)
- Row 10 (WS): Purl
- Row 11 (RS): kfb, k11, m1, k1, m1, k11, kfb (31 sts)
- Row 12 (WS): Purl
- Row 13 (RS): kfb, k13, m1, k1, m1, k13, kfb (35 sts)
- Row 14 (WS): Purl
- Rows 15-25: Work in stockinette stitch (knit on RS, purl on WS).
- Row 26 (WS): Purl
- Row 27 (RS): ssk, k to last 2 sts, k2tog (33 sts)
- Row 28 (WS): Purl
- Row 29 (RS): ssk, k to last 2 sts, k2tog (31 sts)
- Row 30 (WS): Purl
- Row 31 (RS): ssk, k to last 2 sts, k2tog (29 sts)
- Row 32 (WS): Purl
- Row 33 (RS): ssk, k to last 2 sts, k2tog (27 sts)
- Row 34 (WS): Purl
- Row 35 (RS): ssk, k to last 2 sts, k2tog (25 sts)
- Row 36 (WS): Purl
- Row 37 (RS): ssk, k to last 2 sts, k2tog (23 sts)
- Row 38 (WS): Purl
- Row 39 (RS): ssk, k to last 2 sts, k2tog (21 sts)
- Row 40 (WS): Purl
- Row 41 (RS): ssk, k to last 2 sts, k2tog (19 sts)
- Row 42 (WS): Purl
- Row 43 (RS): ssk, k to last 2 sts, k2tog (17 sts)
- Row 44 (WS): Purl
- Row 45 (RS): ssk, k to last 2 sts, k2tog (15 sts)
- Row 46 (WS): Purl
- Row 47 (RS): ssk, k to last 2 sts, k2tog (13 sts)
- Row 48 (WS): Purl
- Row 49 (RS): ssk, k to last 2 sts, k2tog (11 sts)
- Row 50 (WS): Purl
- Row 51 (RS): ssk, k to last 2 sts, k2tog (9 sts)
- Bind off all stitches.

Part 2: Upper (Make 2)
Using Red/Pink yarn, cast on 35 stitches.
- Rows 1-10: Work in garter stitch (knit every row).
- Row 11 (RS): Knit 10, place marker, knit 15, place marker, knit 10.
- Row 12 (WS): Purl.
- Row 13 (RS): Knit to marker, slip marker, ssk, k to 2 sts before next marker, k2tog, slip marker, knit to end (33 sts).
- Row 14 (WS): Purl.
- Row 15 (RS): Knit to marker, slip marker, ssk, k to 2 sts before next marker, k2tog, slip marker, knit to end (31 sts).
- Row 16 (WS): Purl.
- Row 17 (RS): Knit to marker, slip marker, ssk, k to 2 sts before next marker, k2tog, slip marker, knit to end (29 sts).
- Row 18 (WS): Purl.
- Row 19 (RS): Knit to marker, slip marker, ssk, k to 2 sts before next marker, k2tog, slip marker, knit to end (27 sts).
- Row 20 (WS): Purl.
- Row 21 (RS): Knit to marker, slip marker, ssk, k to 2 sts before next marker, k2tog, slip marker, knit to end (25 sts).
- Row 22 (WS): Purl.
- Row 23 (RS): Knit to marker, slip marker, ssk, k to 2 sts before next marker, k2tog, slip marker, knit to end (23 sts).
- Row 24 (WS): Purl.
- Row 25 (RS): Knit to marker, slip marker, ssk, k to 2 sts before next marker, k2tog, slip marker, knit to end (21 sts).
- Row 26 (WS): Purl.
- Row 27 (RS): Knit to marker, slip marker, ssk, k to 2 sts before next marker, k2tog, slip marker, knit to end (19 sts).
- Row 28 (WS): Purl.
- Bind off all stitches.

Part 3: Rind
Inner White Rind (Make 2)
With RS facing, and using White yarn, pick up and knit stitches along the cast-on edge of the Upper piece (35 stitches).
- Rows 1-4: Work in garter stitch (knit every row).
- Bind off all stitches.
Outer Green Rind (Make 2)
With RS facing, and using Green yarn, pick up and knit stitches along the bound-off edge of the White Rind (35 stitches).
- Rows 1-4: Work in garter stitch (knit every row).
- Bind off all stitches.
Assembly:
- Sew the Sole to the Upper: With the WS facing, align the cast-on edge of the Sole to the toe edge of the Upper. Sew the Sole to the bottom edge of the Upper using the tapestry needle and the mattress stitch or your preferred seaming method. Start at one side, go around the toe, and continue to the other side.
- Sew the Heel: Fold the Upper in half lengthwise, aligning the bound-off edges. Sew the back seam (heel) together using the tapestry needle.
- Attach the Rind: Align the cast-on edge of the White Rind to the cast-on edge of the Red/Pink part of the Upper. Sew it securely using the tapestry needle. Repeat with the Green Rind, aligning its cast-on edge to the bound-off edge of the White Rind.
- Embroider the Seeds: Using the black yarn or embroidery floss and the tapestry needle, embroider small “seed” shapes onto the Red/Pink part of the bootie. Scatter them randomly for a realistic watermelon look. Secure the ends on the inside of the bootie.
- Weave in all loose ends.
Video tutorial
Tips and Variations:
- Sizes: To adjust the size, you can use thicker or thinner yarn and correspondingly larger or smaller needles. You may also need to adjust the number of cast-on stitches for the sole and upper.
- Seed Placement: You can use small black beads instead of embroidery for the seeds, but ensure they are securely attached for safety.
- Stripes: For a more detailed rind, you could work thin stripes of a lighter green within the main green rind section.
- Cuff: You can add a few more rows of garter stitch to the Green Rind to create a small cuff.