 by
by 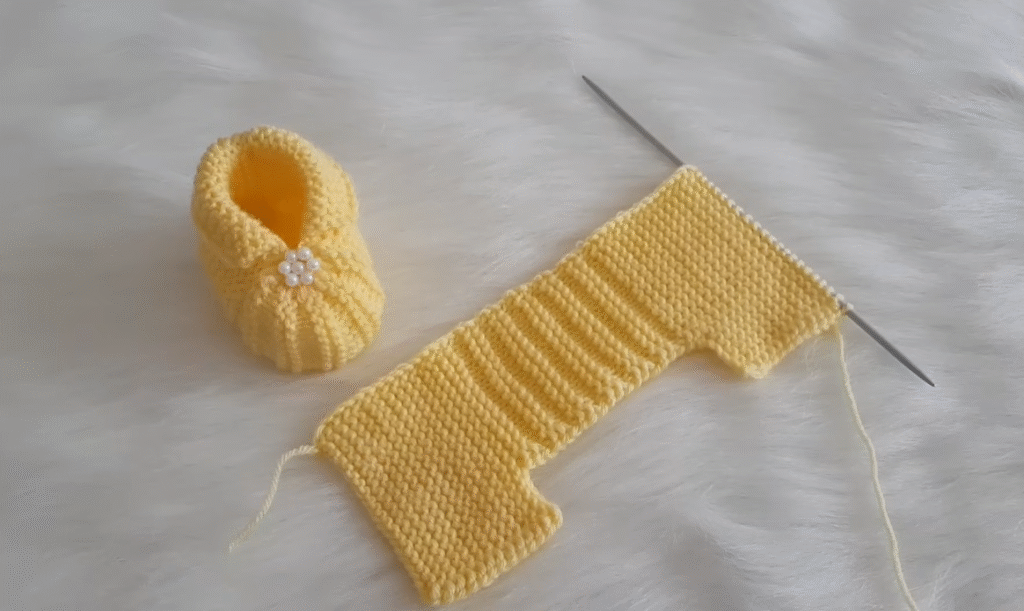
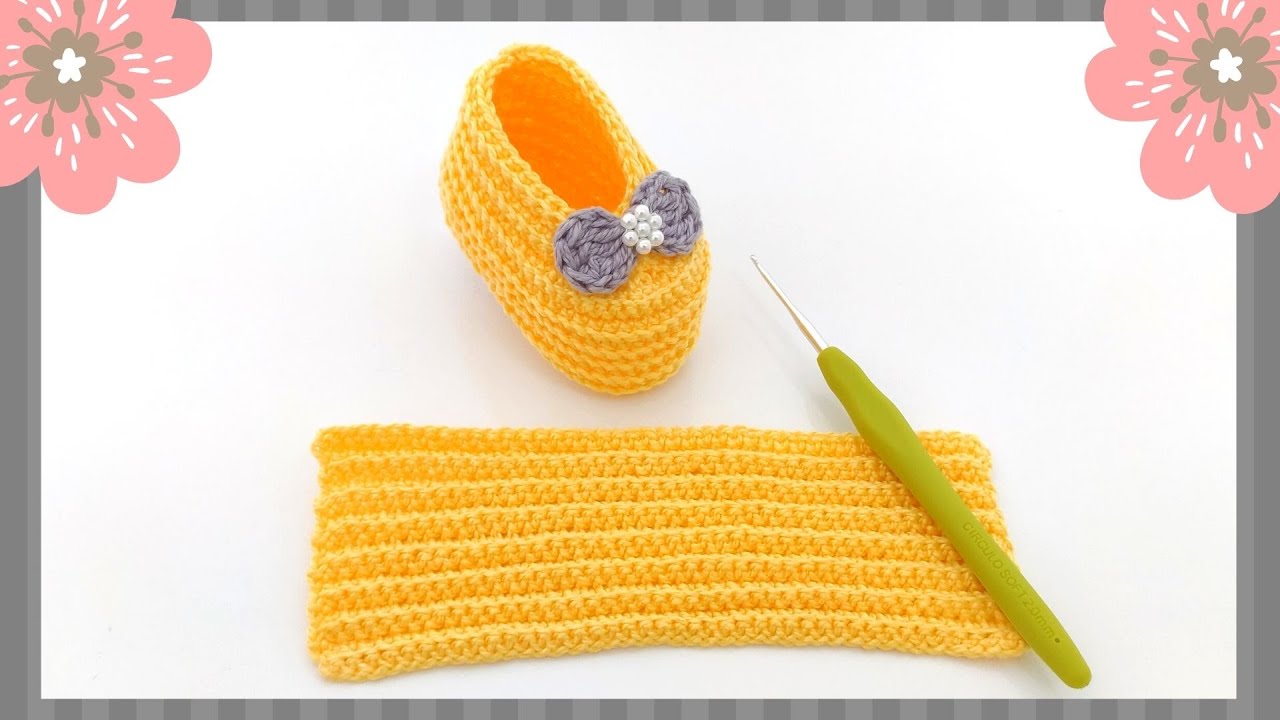
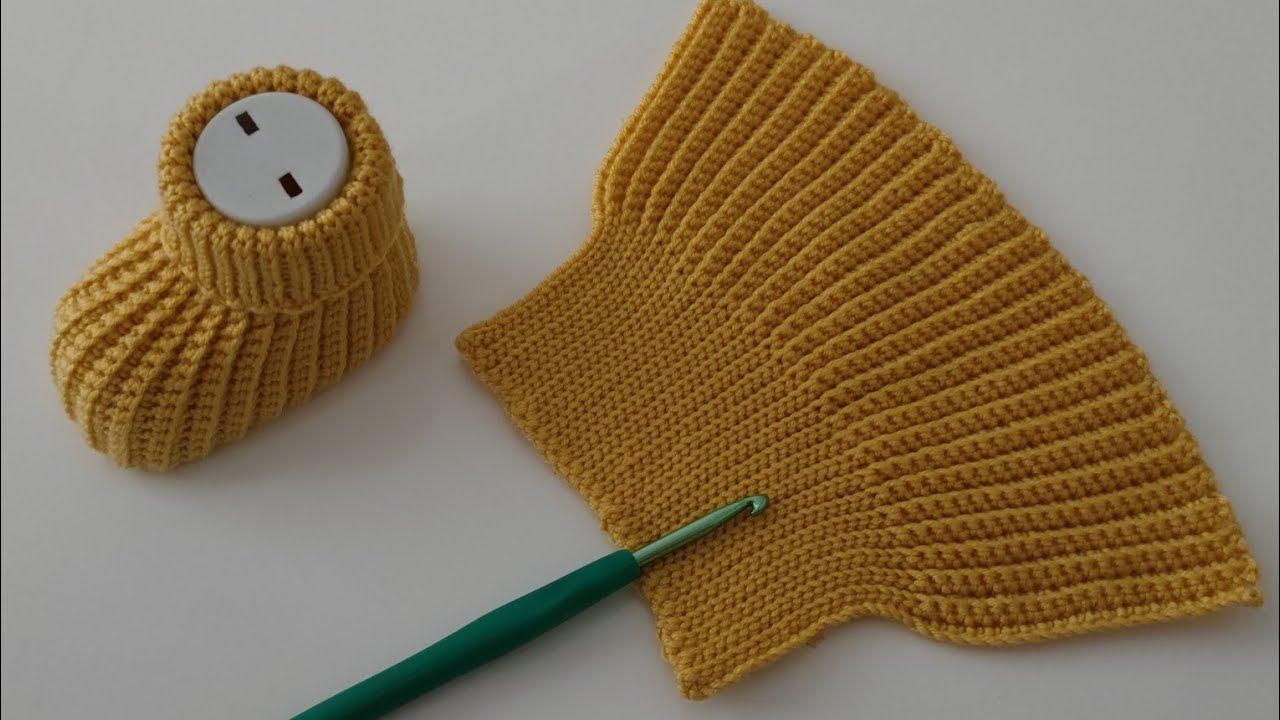
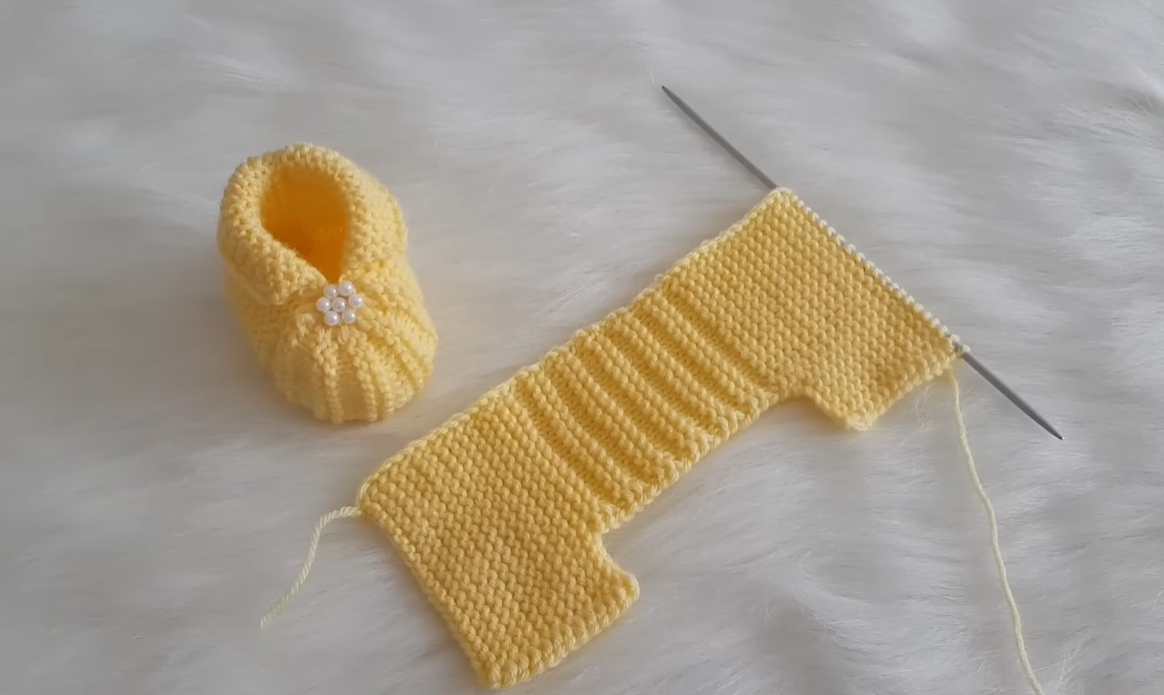
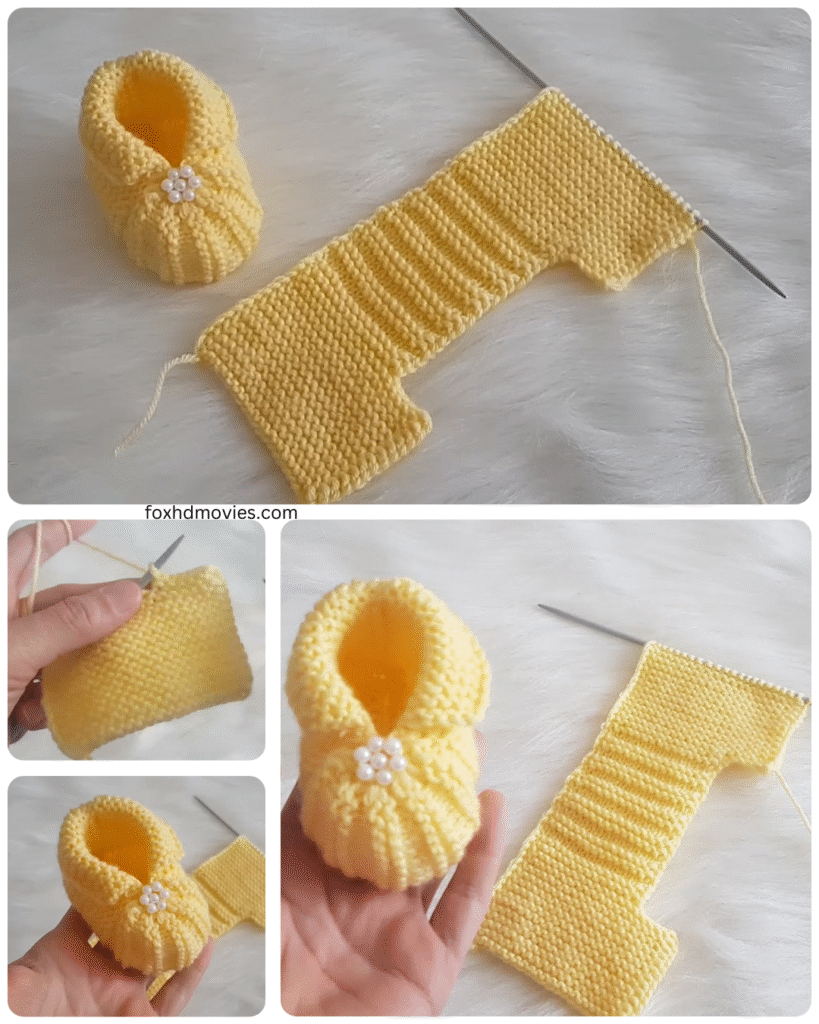
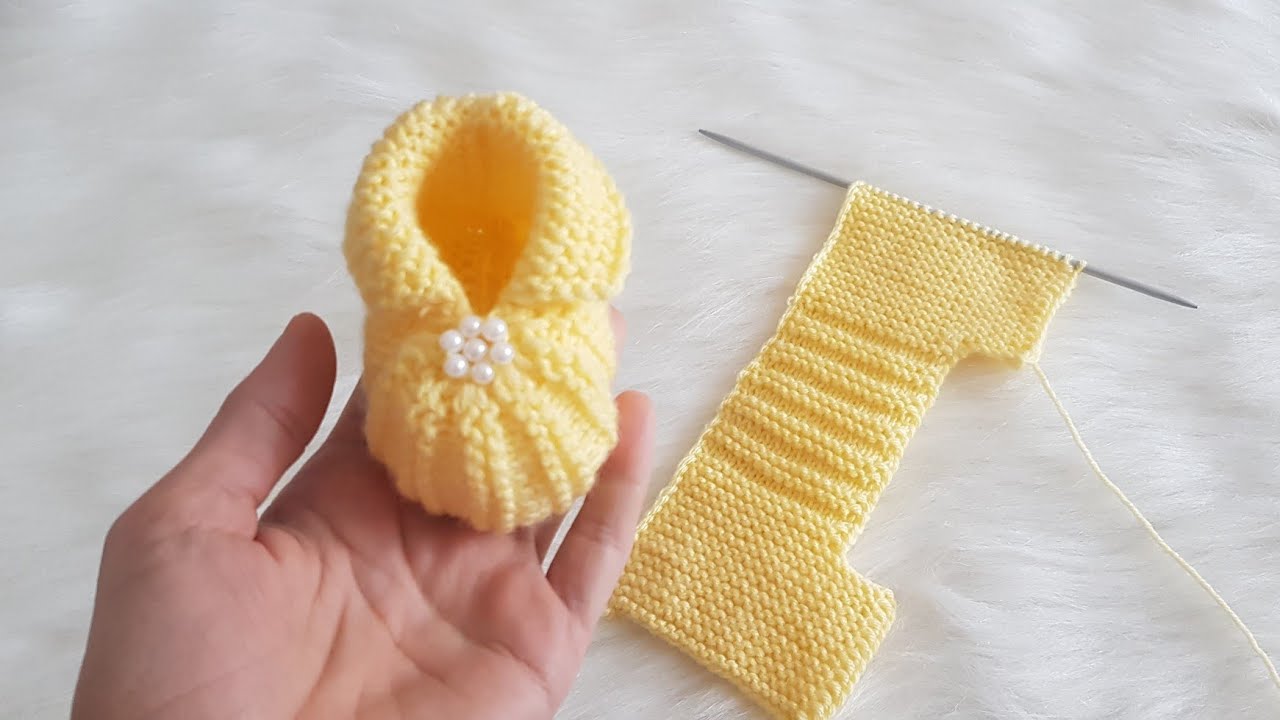
Here’s a pattern for some very simple knit baby booties, designed to be as easy as possible for beginner knitters!
Skill Level: Beginner
Materials:
- Yarn: Approximately 50 yards of DK weight yarn (a soft, baby-friendly yarn is best)
- Needles: US size 6 (4.0 mm) knitting needles
- Tapestry Needle: For weaving in ends
Gauge: Gauge isn’t too important for this project, but approximately 20 stitches = 4 inches in garter stitch.
Finished Size: Newborn (approximately 3 inches sole length). You can adjust the size by using thicker yarn and larger needles for a bigger bootie, or thinner yarn and smaller needles for a smaller one.

Abbreviations:
- k: knit
- k2tog: knit two stitches together
Pattern Notes:
- These booties are knit flat and then seamed.
- Garter stitch (knit every row) is used throughout, making it very simple.
Instructions:
- Cast On: Cast on 34 stitches.
- Knit Sole: Knit every row (garter stitch) for 14 rows. This forms the sole of the bootie.
- Shape the Toe:
- Row 15: K2tog, knit to the end of the row.
- Row 16: K2tog, knit to the end of the row.
- Row 17: Cast off 3 stitches, knit to the end of the row.
- Row 18: Cast off 3 stitches, knit to the end of the row. (26 stitches remain)
- Knit the Upper: Knit every row (garter stitch) for 20 rows. This makes the upper part of the bootie.
- Cast Off: Cast off all stitches, leaving a long tail of yarn (about 12 inches) for seaming.
Finishing:
- Fold and Seam: Fold the knitted piece in half lengthwise. The cast-off edge of the toe section will meet the cast-on edge.
- Seam the Sole and Back: Use the tapestry needle and the long yarn tail to sew the seam, starting from the toe and going along the bottom of the foot (the sole) and then up the back of the bootie. Use a mattress stitch or a simple running stitch.
- Weave in Ends: Weave in all loose ends of yarn to the inside of the bootie.
- Turn Right Side Out: Turn the bootie right side out.