by
by 
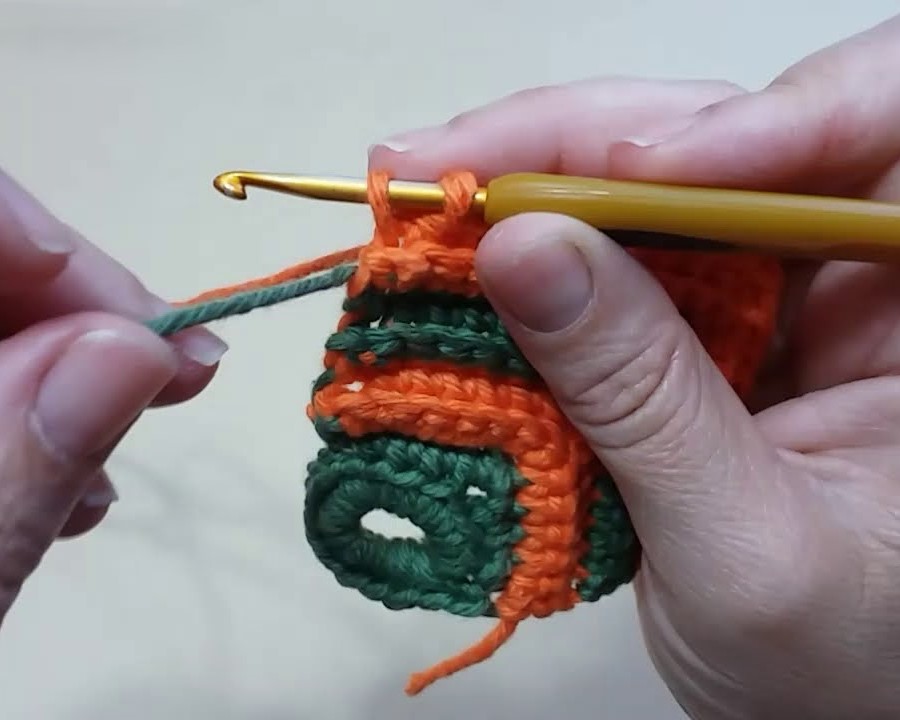
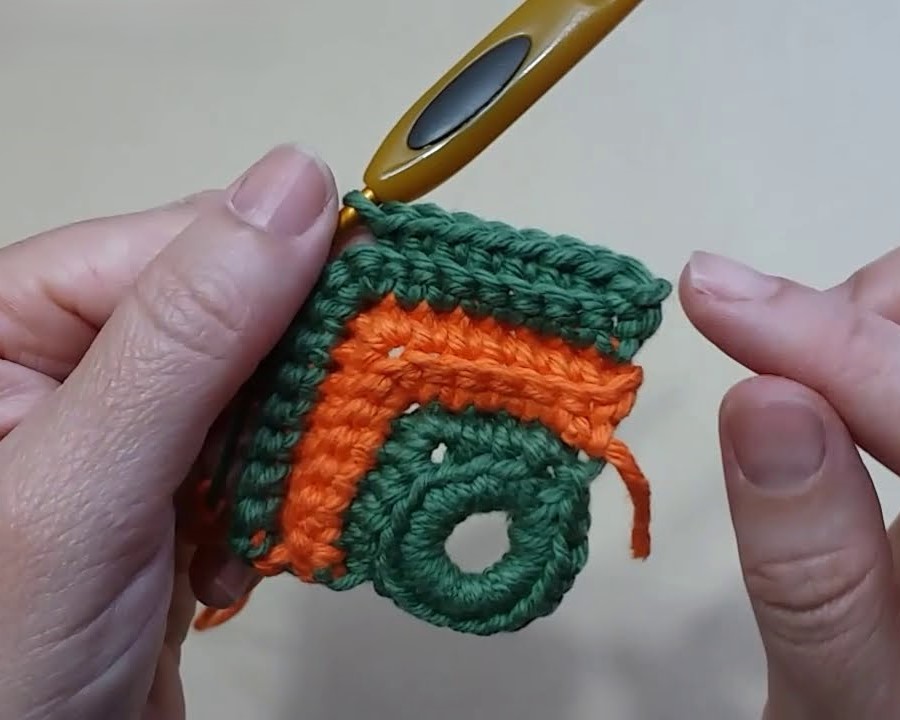
a lovely project for a relaxing afternoon! Here’s a detailed pattern for a simple and elegant crochet rectangle coaster. It’s designed to be easy for beginners but still yields a beautiful and functional result.
Finished Size: Approximately 4 inches by 5 inches (adjust hook size or number of rows/chains for different sizes).
Materials:
- Worsted weight cotton yarn (cotton is recommended for absorbency and durability). You won’t need much – scraps work perfectly!
- Crochet hook size H/8 (5.0 mm) or the size recommended on your yarn label.
- Scissors
- Yarn needle
Abbreviations (US Crochet Terms):
- ch = chain
- sc = single crochet
- hdc = half double crochet
- sl st = slip stitch
- st(s) = stitch(es)
- rep = repeat
- RS = right side
- WS = wrong side
Gauge: While gauge isn’t critical for a coaster, aim for approximately 4 sc stitches and 4 rows in 1 inch.
Instructions:
Foundation Chain:
- Chain 17. (This will determine the longer side of your rectangle. Adjust the number of chains for a different length.)
Row 1 (RS):
- Sc in the second ch from the hook and in each ch across. (16 sc)
Row 2 (WS):
- Ch 1 (does not count as a stitch). Turn.
- Sc in the first st and in each st across. (16 sc)
Row 3 – Row 18 (or until desired width):
- Ch 1 (does not count as a stitch). Turn.
- Sc in the first st and in each st across. (16 sc)
- Note: Repeating rows 2 and 3 creates a simple single crochet fabric. You can adjust the number of rows here to make your coaster wider or narrower.
Optional Border:
Adding a border gives the coaster a neat and finished look.
- Do not fasten off after the last row.
- Ch 1. Turn your work 90 degrees clockwise so you are working along the side edge.
- Work approximately 1 sc in the end of each row down the side. Aim for an even number of stitches to keep the border consistent. (Approx. 18 sc)
- At the corner, ch 1 and continue working along the bottom edge.
- Work 1 sc in each of the foundation chains across. (16 sc)
- At the next corner, ch 1 and continue working up the other side edge.
- Work approximately 1 sc in the end of each row up the side. (Approx. 18 sc)
- At the final corner, ch 1 and join with a sl st to the first sc of the border.
Finishing:
- Fasten off your yarn, leaving a tail of about 6-8 inches.
- Thread the yarn needle with the tail.
- Weave the tail through the stitches on the wrong side of the coaster to secure it.
- Trim any excess yarn.
Video tutorial
Variations and Tips:
- Color Changes: Get creative with colors! Change colors every few rows for stripes or use different colors for the main body and the border.
- Stitch Variations: Once you’re comfortable with single crochet, you can experiment with other basic stitches like half double crochet (hdc) or even a simple textured stitch like the moss stitch (alternating sc and ch 1).
- Size Adjustments: To make a longer or shorter coaster, adjust the number of chains in the foundation row. To make a wider or narrower coaster, adjust the number of rows you work.
- Blocking: For a perfectly flat coaster, you can gently block it. Lightly dampen the coaster, pin it to a flat surface in the desired shape, and let it air dry.
- Care: Cotton coasters are generally machine washable. It’s best to wash them in a gentle cycle and lay them flat to dry.