by
by 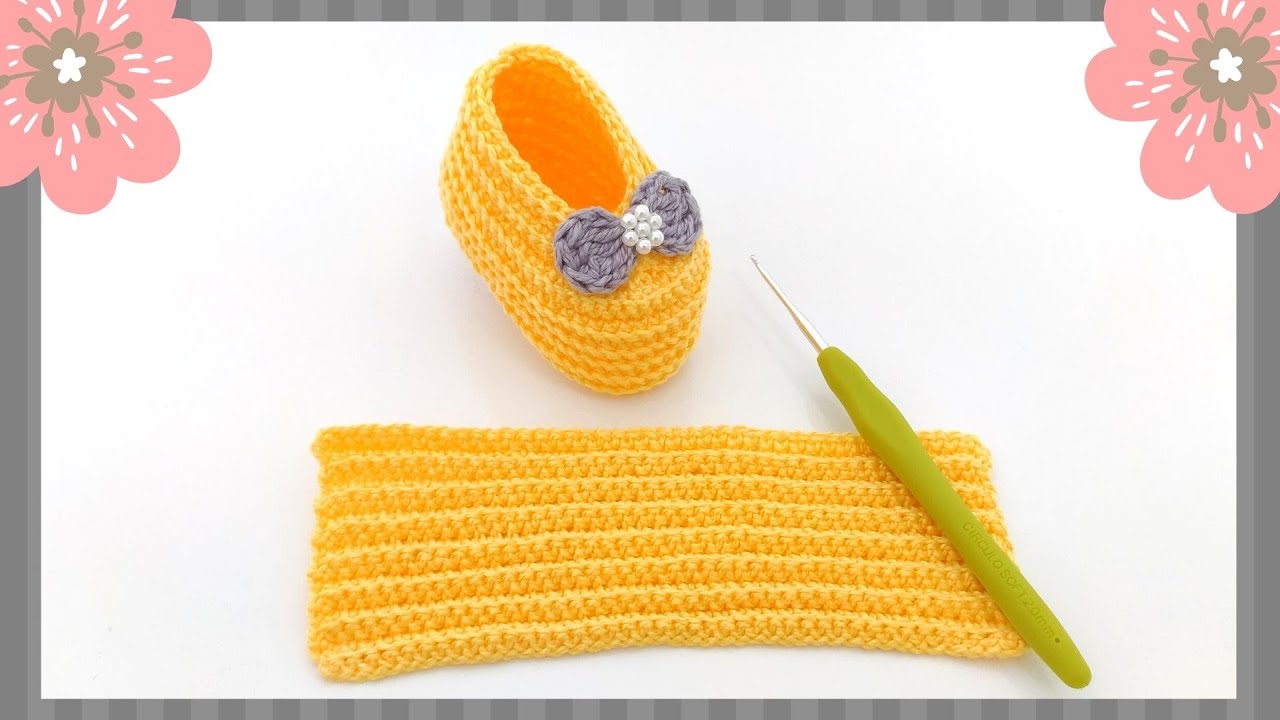
Here is a detailed pattern designed to be very easy for beginners, creating a simple baby bootie:
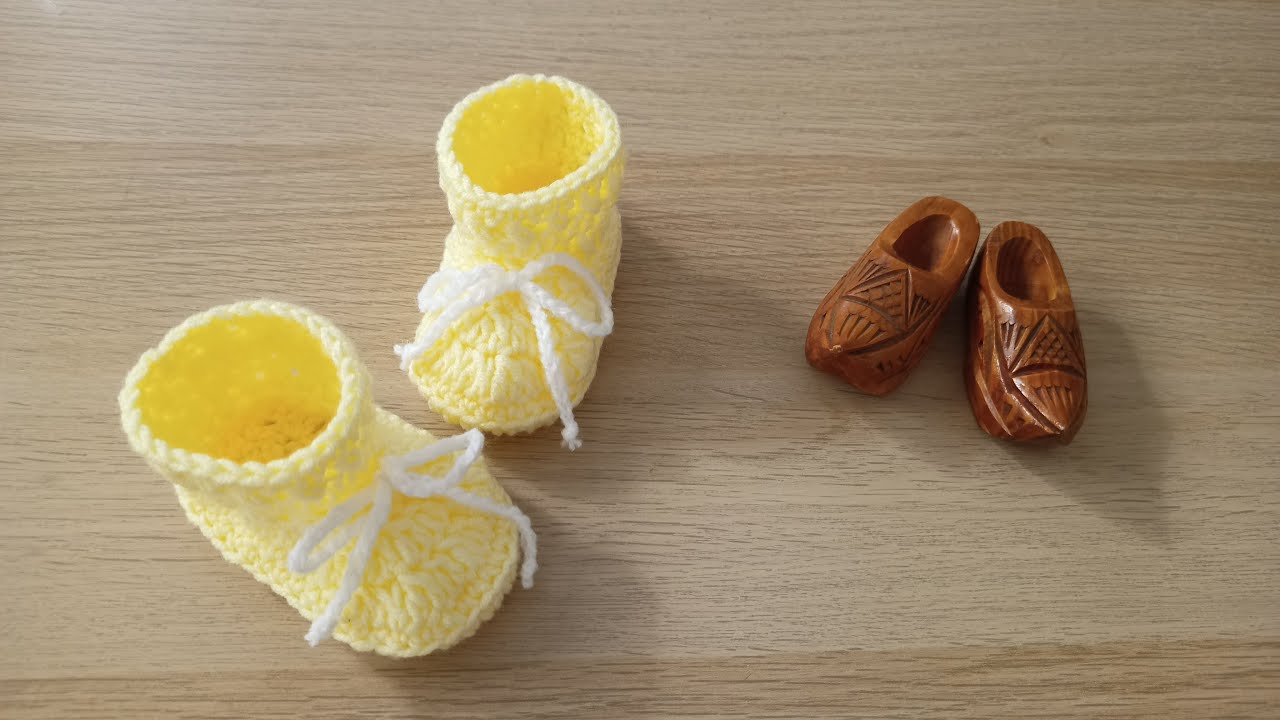
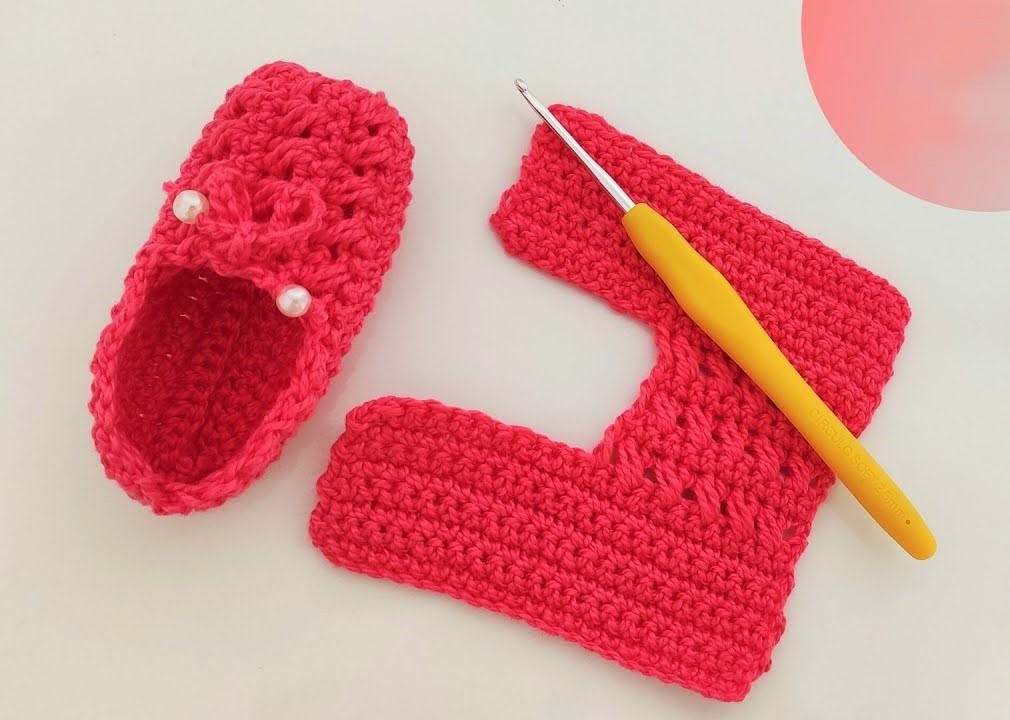
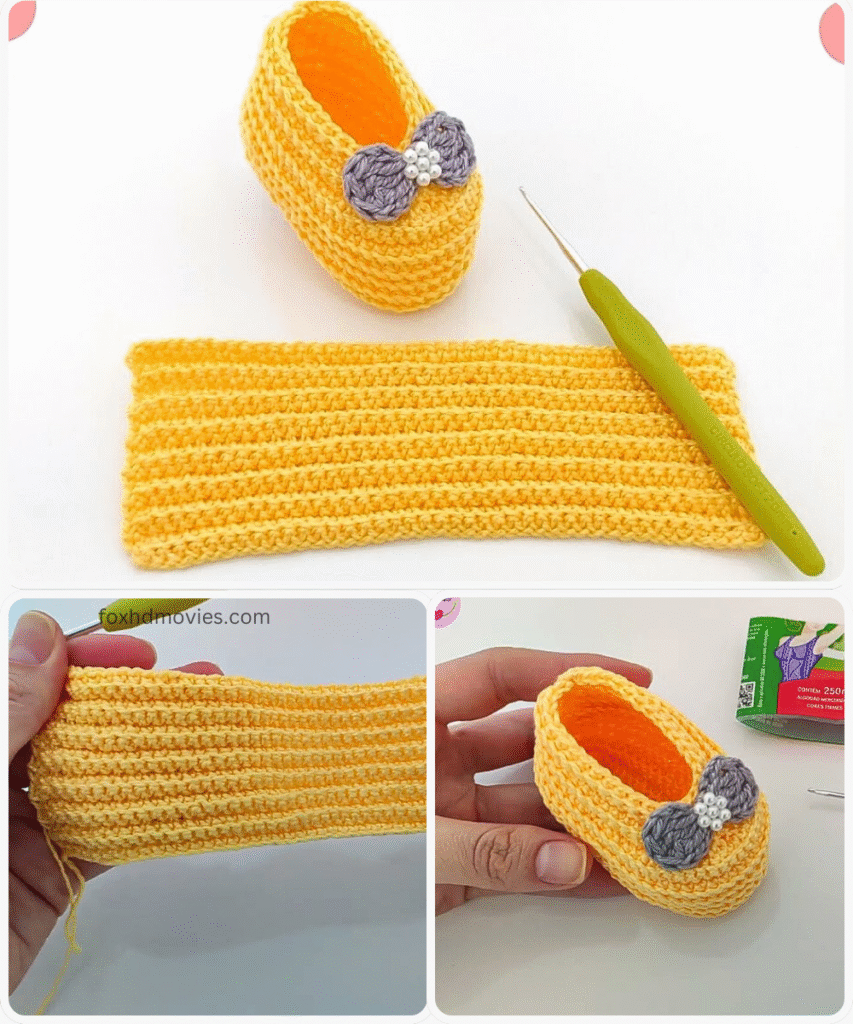
Very Easy Baby Crochet Boot Pattern
This pattern is designed for beginners and uses basic stitches to create a simple and quick baby bootie.
Skill Level: Beginner
Size: 3-6 Months (approx. 4 – 4.25 inches sole length)
Note: To adjust the size, change the number of stitches in the initial chain for the sole. Each extra chain stitch at the beginning will add roughly 0.25-0.3 inches to the length of the sole.
Materials:
- Worsted weight or DK weight yarn (Choose soft yarn suitable for babies). Approximately 70-100 yards per pair.
- Crochet hook size G/6 (4.0 mm) or size needed to obtain gauge.
- Tapestry needle for weaving in ends.
- Scissors
- Stitch marker (optional, helpful for marking the start of rounds)

Gauge:
16 single crochet stitches and 18 rows = 4 inches (10 cm) in sc.
Note: Checking your gauge is recommended to achieve the correct size.
Abbreviations:
- ch: chain
- st(s): stitch(es)
- sl st: slip stitch
- sc: single crochet
- inc: increase (work 2 sc in the same stitch)
- FO: Fasten off
- BLO: Back loop only
Notes:
- The sole is worked in the round.
- The boot upper/leg is worked in continuous rounds (do not join with a sl st at the end of each round unless instructed). Use a stitch marker.

Pattern Instructions:
Make 2 (for a pair)
Part 1: The Sole
We start by making a simple oval sole.
Round 1: Ch 10 (adjust chain length for desired size). Sc in the 2nd ch from the hook and in the next 7 chs. 3 sc in the last ch. Now working on the opposite side of the starting chain, sc in the next 7 chs. 2 sc in the last ch. Do NOT join. Place stitch marker in the first sc to mark the beginning of the round. (20 sc)
Round 2: Inc in the first st. Sc in the next 7 sts. Inc in the next 3 sts. Sc in the next 7 sts. Inc in the next 2 sts. Do NOT join. Move stitch marker to the new first st. (26 sc)
Round 3: Sc in the first st. Inc in the next st. Sc in the next 7 sts. (Sc in next st, inc in next st) 3 times. Sc in the next 7 sts. (Sc in next st, inc in next st) 2 times. Do NOT join. Move stitch marker. (32 sc)

Part 2: Base of the Boot (Creating the Side Wall)
This round creates the base that the rest of the boot leg will grow from.
Round 4: Sc in the BLO in each st around. Do NOT join. Move stitch marker. (32 sc)
Working in the back loop only creates a nice edge for the sole to sit below the upper.
Part 3: Boot Height (The Leg)
Now we work straight up to create the height of the boot. Continue working in continuous rounds (do not join), moving your stitch marker each round.
Round 5 – 12: Sc in each st around. Do NOT join. Move stitch marker. (32 sc)
Note: For a taller boot, add more rounds here. For a shorter boot, work fewer rounds.
Part 4: Top Edge
This round finishes the top opening of the boot.
Round 13: Sl st in each st around. Join with a sl st to the first sl st. (32 sl sts)
FO and weave in the end securely.
Optional: Simple Tie
- Ch 40-50 (depending on how long you want the tie).
- Sl st in the second ch from the hook and in each chain across.
- FO, leave a tail, and weave in ends.
- Weave the tie through the stitches on Round 11 or 12 of the boot using your tapestry needle. Tie a bow.
Video tutorial
Finishing:
- Weave in all remaining loose ends on both boots using your tapestry needle.
- Make sure ends are secure, especially on baby items.
Repeat all steps to make the second boot.