 by
by 
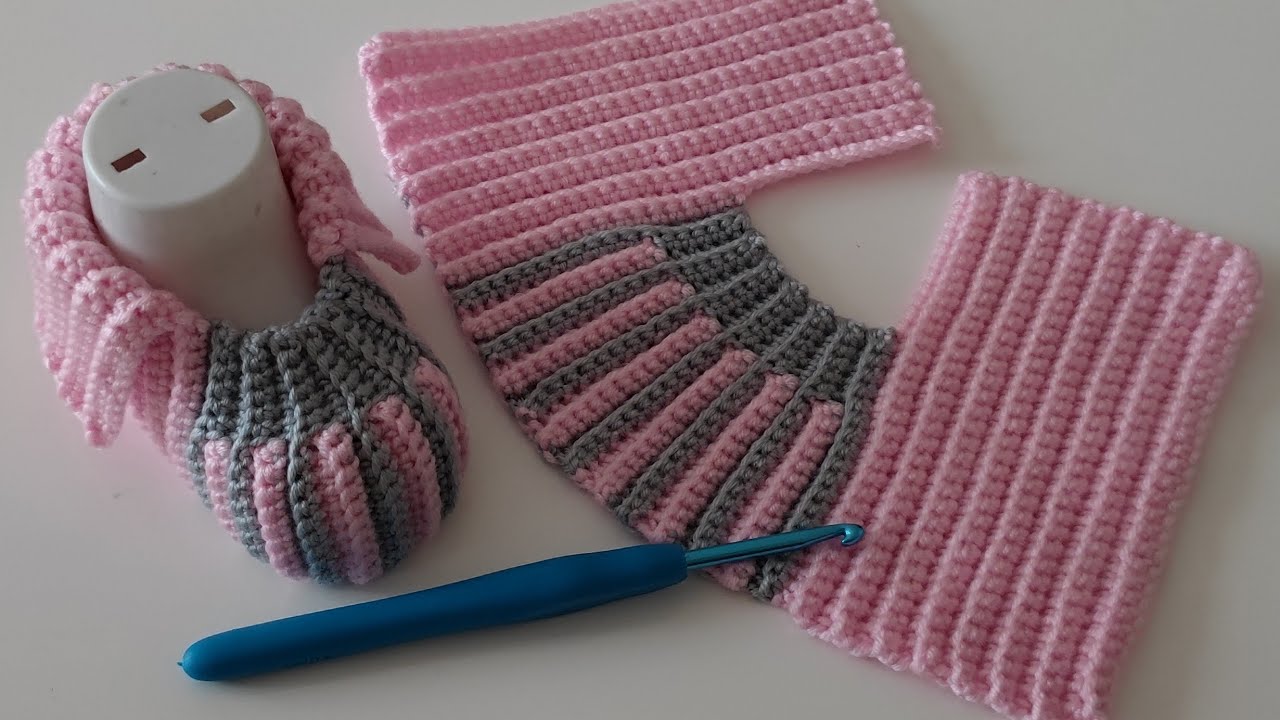
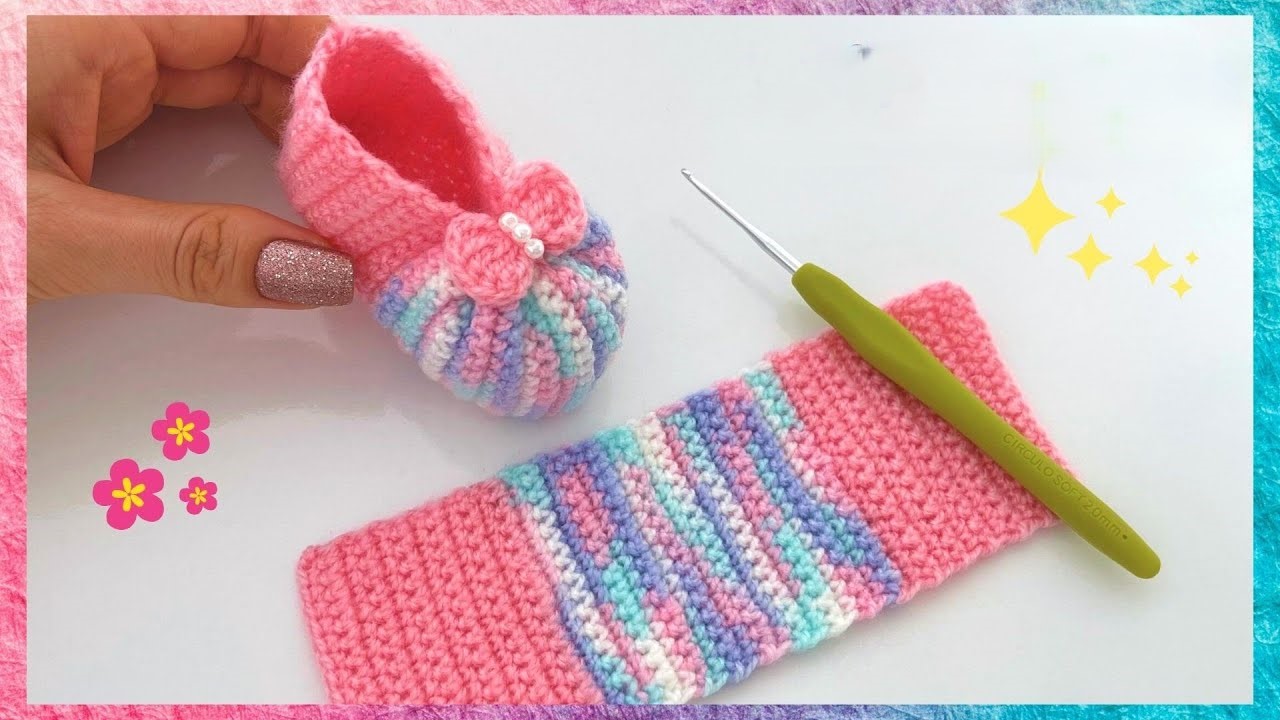
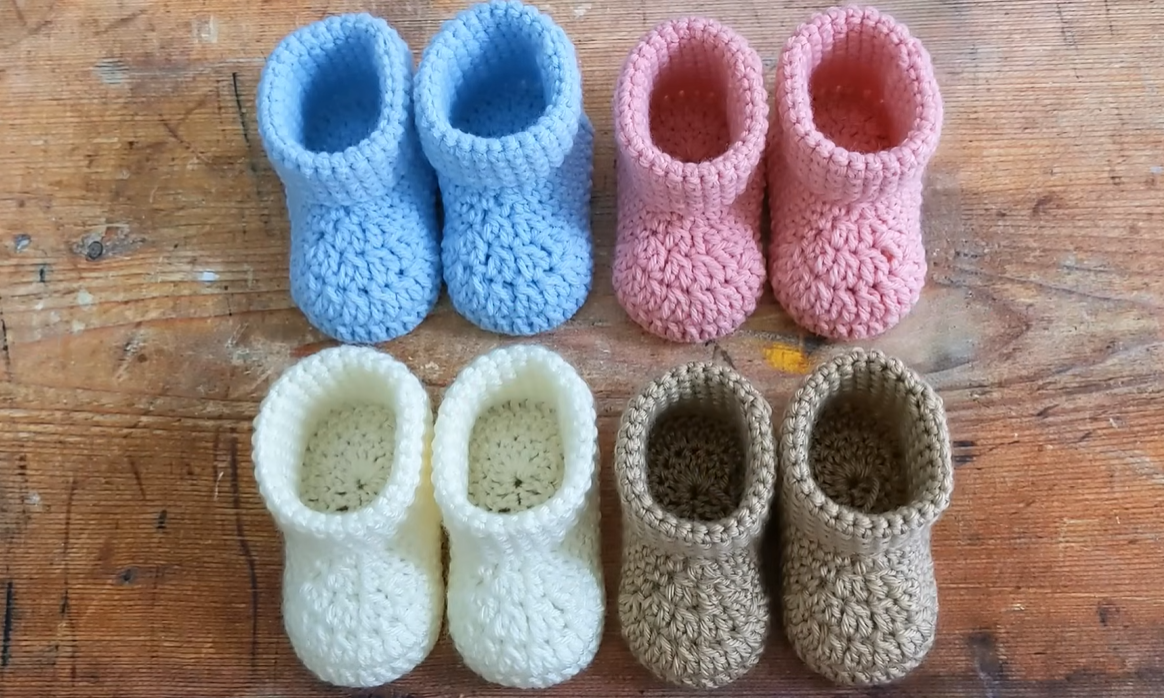
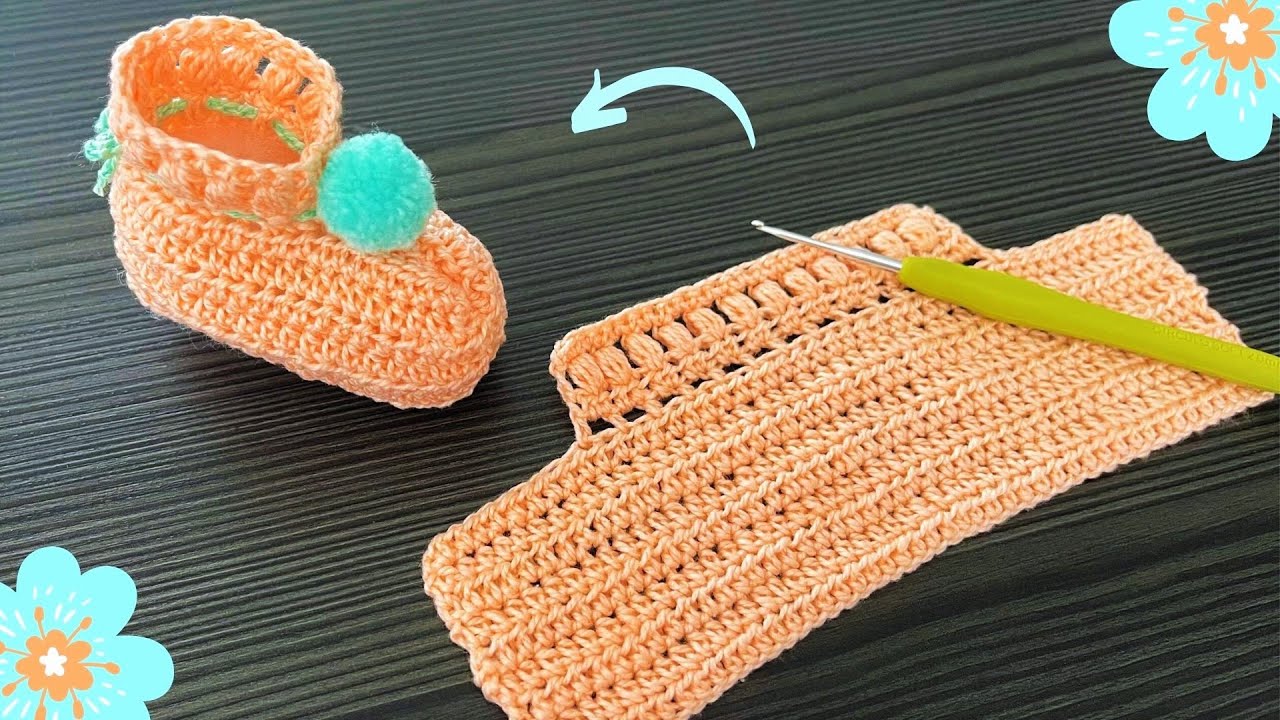
Easy Crochet Baby Shoe Pattern
This pattern is designed to be simple and quick, perfect for making a cute and easy baby shoe or bootie. It uses basic stitches and minimal shaping.
Skill Level: Beginner
Size: 0-3 Months (approx. 3.5 – 3.75 inches sole length)
Note: To adjust the size, you will primarily change the number of stitches in the initial chain for the sole and potentially the number of rounds for the upper. For instance, for 3-6 months, add a couple more chains to the starting chain and maybe one more increase round on the sole.
Materials:
- Approximately 50-70 yards of DK weight yarn in your main color.
- Crochet hook size E/4 (3.5 mm) or size needed to obtain gauge.
- Tapestry needle for weaving in ends.
- Scissors
- Stitch marker (optional, but helpful)
Gauge:
18 single crochet stitches and 20 rows = 4 inches (10 cm) in sc.
Note: Gauge is less critical for a baby item than adult sizing, but aiming for this gauge will get you close to the intended size.
Abbreviations:
- ch: chain
- st(s): stitch(es)
- sl st: slip stitch
- sc: single crochet
- inc: increase (work 2 sc in the same stitch)
- sc2tog: single crochet 2 stitches together (a simple decrease)
- FO: Fasten off
- BLO: Back loop only
Notes:
- The sole is worked in the round.
- The upper is worked in rounds directly onto the sole.
- This pattern uses simple stitches and minimal shaping for ease.

Pattern Instructions:
Make 2 (for a pair)
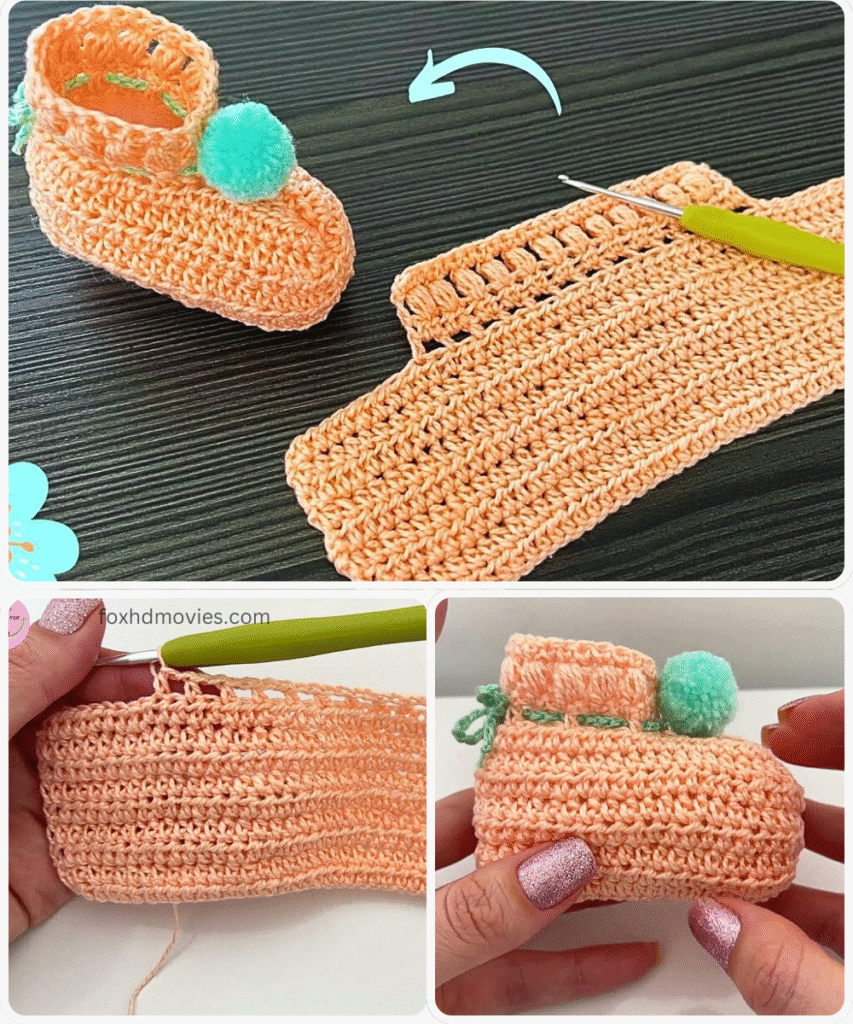
Part 1: The Sole
We will create a simple oval sole.
Round 1: Ch 9. Sc in the 2nd ch from the hook and in the next 6 chs. 3 sc in the last ch. Now working on the opposite side of the starting chain, sc in the next 6 chs. 2 sc in the last ch. Join with a sl st to the first sc. (18 sc)
Round 2: Ch 1 (does not count as a st). Inc in the first st. Sc in the next 6 sts. Inc in the next 3 sts. Sc in the next 6 sts. Inc in the next 2 sts. Join with a sl st to the first sc. (24 sc)
Round 3: Ch 1 (does not count as a st). Sc in BLO in each st around. Join with a sl st to the first sc. (24 sc)
Working in the back loop only for this round creates a slight ridge, making it easier to work the upper into.

Part 2: The Upper
Now we will build up the sides of the shoe. We will work in joined rounds for simplicity.
Round 4: Ch 1 (does not count as a st). Sc in each st around. Join with a sl st to the first sc. (24 sc)
Round 5: Ch 1 (does not count as a st). Sc in each st around. Join with a sl st to the first sc. (24 sc)
Round 6: Ch 1 (does not count as a st). Sc in the first 8 sts. Sc2tog 4 times. Sc in the remaining 8 sts. Join with a sl st to the first sc. (20 sc)
This round creates a simple toe shape.
Round 7: Ch 1 (does not count as a st). Sc in the first 7 sts. Sc2tog 3 times. Sc in the remaining 7 sts. Join with a sl st to the first sc. (17 sc)
Part 3: The Ankle/Cuff
This creates the opening for the foot.
Round 8: Ch 1 (does not count as a st). Sc in each st around. Join with a sl st to the first sc. (17 sc)
Round 9: Ch 1 (does not count as a st). Sc in each st around. Join with a sl st to the first sc. (17 sc)
FO and weave in ends securely.
Video tutorial
Finishing:
- Weave in all remaining loose ends using your tapestry needle on the inside of the shoe.
- Repeat all steps to make the second shoe.
Your easy crochet baby shoes are now complete!