 by
by 
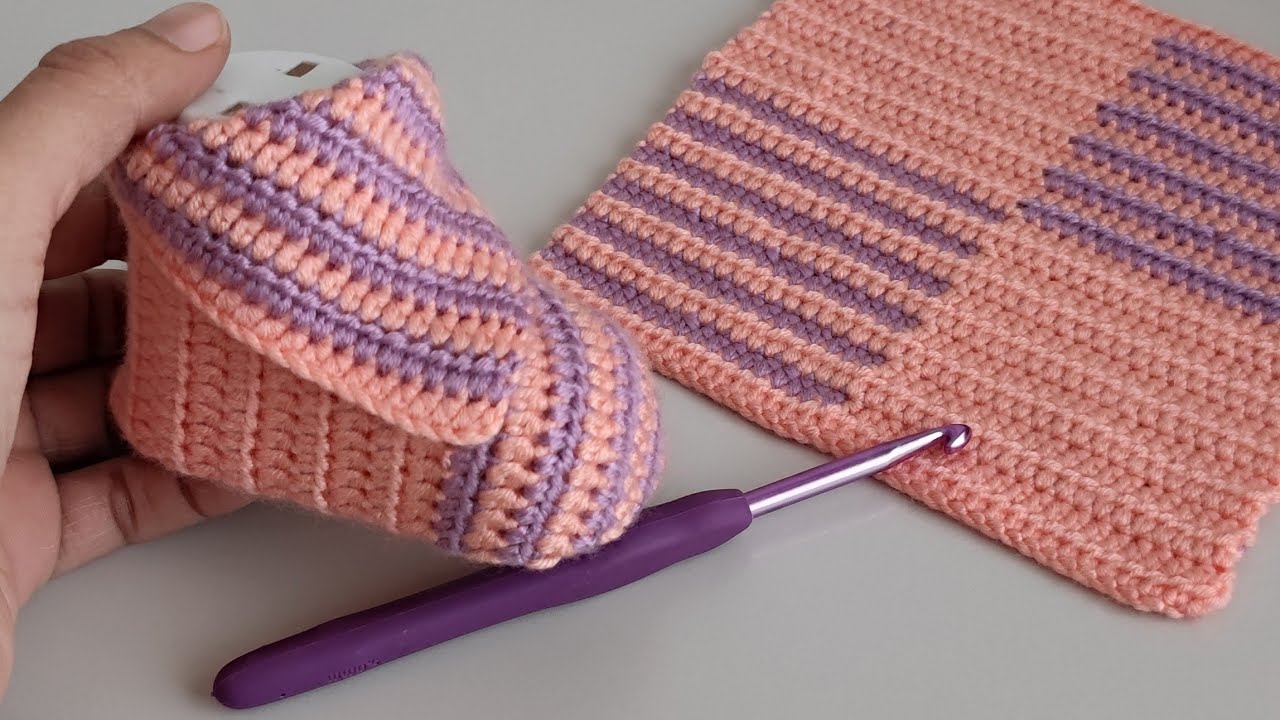
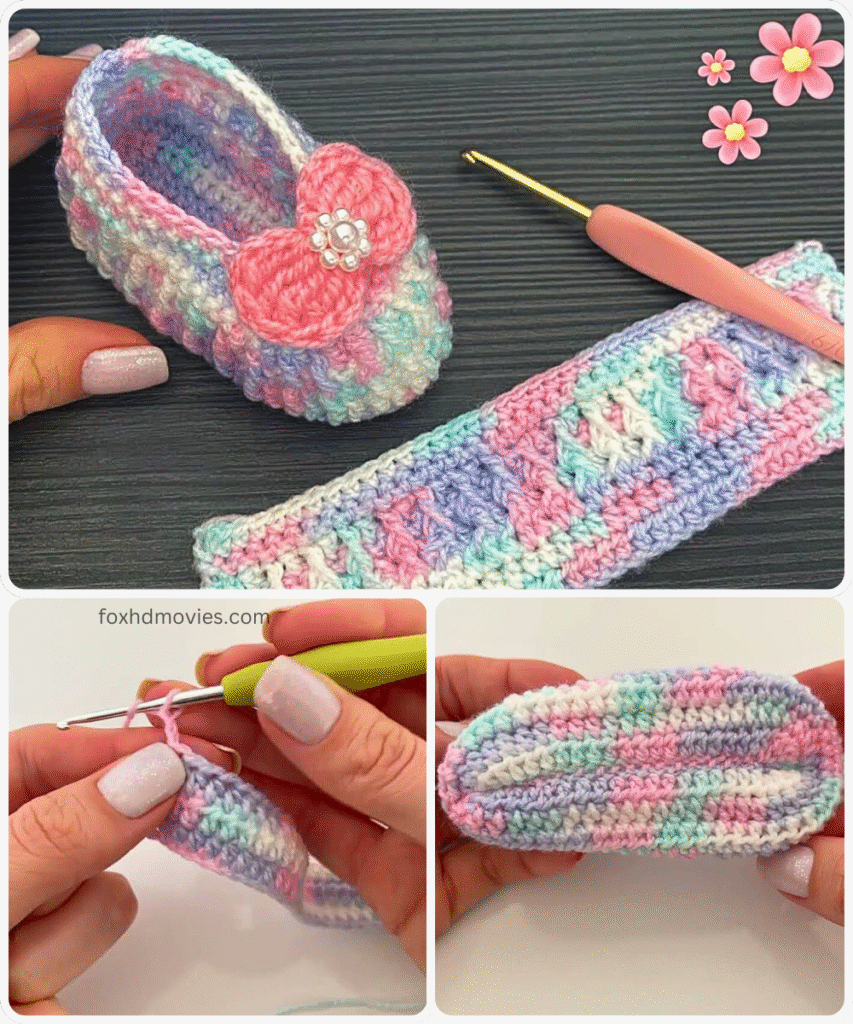
Here is a detailed pattern designed to be relatively easy while still resulting in a lovely shoe. We’ll use simple stitches but incorporate a slightly textured look for appeal.
Beautiful and Easy Crochet Shoe Pattern
This pattern creates a stylish and comfortable shoe using basic crochet techniques, suitable for advanced beginners or intermediate crocheters.
Skill Level: Advanced Beginner / Intermediate
Size: Women’s Medium (approx. US size 7-8 / 9.5 – 10 inches sole length)
Note: To adjust the size, you will modify the starting chain length for the sole and potentially the number of rounds for the upper.
Materials:
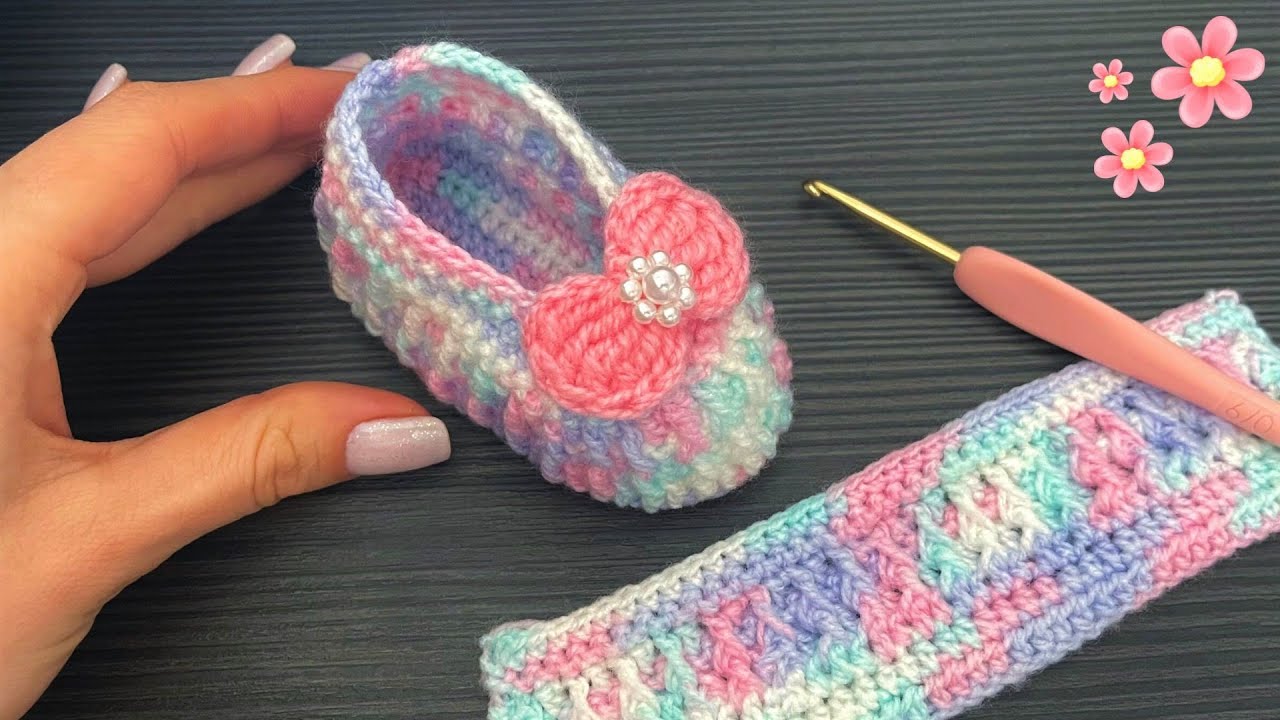
- Worsted weight yarn (approx. 150-200 yards per pair) – Choose a yarn with good stitch definition for the texture.
- Crochet hook size H/8 (5.0 mm) or size needed to obtain gauge.
- Tapestry needle for weaving in ends.
- Scissors
- Stitch marker (optional)
Gauge:
15 hdc stitches and 12 rounds = 4 inches (10 cm) in hdc (for the sole). The texture stitch gauge will vary.
Note: Checking your gauge is recommended for accurate sizing.
Abbreviations:
- ch: chain
- st(s): stitch(es)
- sl st: slip stitch
- sc: single crochet
- hdc: half double crochet
- inc: increase (work 2 hdc in the same stitch)
- dec: decrease (hdc2tog – half double crochet 2 stitches together)
- FO: Fasten off
- BLO: Back loop only
- rep: repeat
Notes:
- The sole is worked in the round.
- The upper is worked in rounds directly onto the sole, using a simple textured stitch pattern.
- We will use the Moss Stitch (or Linen Stitch) for the upper, which is made by alternating sc and ch 1.

Pattern Instructions:
Make 2 (for a pair)
Part 1: The Sole
We will create an oval sole.
Round 1: Ch 23 (adjust chain length for desired shoe length – see Sizing). Hdc in the 2nd ch from the hook and in the next 20 chs. 3 hdc in the last ch. Now working on the opposite side of the starting chain, hdc in the next 20 chs. 2 hdc in the last ch. Join with a sl st to the first hdc. (46 hdc)
Round 2: Ch 1 (does not count as a st). Inc in the first st. Hdc in the next 20 sts. Inc in the next 3 sts. Hdc in the next 20 sts. Inc in the next 2 sts. Join with a sl st to the first hdc. (52 hdc)
Round 3: Ch 1 (does not count as a st). Hdc in the first st. Inc in the next st. Hdc in the next 20 sts. (Hdc in next st, inc in next st) 3 times. Hdc in the next 20 sts. (Hdc in next st, inc in next st) 2 times. Join with a sl st to the first hdc. (58 hdc)
Round 4: Ch 1 (does not count as a st). Hdc in BLO in each st around. Join with a sl st to the first hdc. (58 hdc)

Working in the back loop only for this round creates a defined edge to work into for the upper.
Part 2: The Upper (Moss Stitch)
We will now build up the sides using the Moss Stitch (sc, ch 1, skip 1). The first round is slightly different to establish the pattern.
Round 5: Ch 2 (counts as a sc + ch 1). Skip the next st. Sc in the next st, ch 1, skip the next st. Rep from * around. Sl st into the first sc (which is the 2nd ch of the starting ch 2). (29 sc and 29 ch-1 spaces)
Round 6: Ch 2 (counts as a sc + ch 1). Sc in the first ch-1 space of the previous round. Ch 1, skip the next sc, sc in the next ch-1 space. Rep from * around. Ch 1, skip the last sc. Join with a sl st into the first sc (which is the 2nd ch of the starting ch 2). (29 sc and 29 ch-1 spaces)
Rounds 7 – 10: Rep Round 6.

Note: To make the shoe taller, add more rounds here, continuing to repeat Round 6.
Part 3: Shaping the Toe (Simple Decreases)
We will now add some simple decreases at the front to shape the toe. We’ll approximate the front center.
Round 11: Ch 2 (counts as a sc + ch 1). Sc in the next ch-1 space. Ch 1, skip next sc, sc in next ch-1 space. Rep from * 10 more times. (You should be near the front center). Now, Ch 1, hdc2tog (working over the next sc and the sc after the next ch-1 space). Rep from * 4 times. Ch 1, skip next sc, sc in next ch-1 space. Rep from * to the end of the round. Ch 1, skip the last sc. Join with a sl st into the first sc (which is the 2nd ch of the starting ch 2). (Approximately 25 sc, 4 hdc2tog, and ch-1 spaces) – Note: The stitch count will be less precise due to the hdc2tog over ch-1 spaces.
Round 12: Ch 2 (counts as a sc + ch 1). Sc in the first ch-1 space or st. Ch 1, skip next st/space, sc in next st/space. Rep from * around, working sc into the hdc2tog stitches and the sc/ch-1 spaces, trying to maintain the pattern as best as possible over the decreased section. Join with a sl st into the first sc. (Approximately 29 sc and 29 ch-1 spaces, or slightly less depending on how decreases lined up).
Part 4: The Ankle/Cuff
This creates the opening for the foot.
Round 13: Ch 1 (does not count as a st). Sc in each sc and in each ch-1 space around. Join with a sl st to the first sc. (Approximately 58 sc)
Round 14: Ch 1 (does not count as a st). Sl st in each st around. Join with a sl st to the first sl st. (Approximately 58 sl sts)
FO and weave in end securely.
Video tutorial
Finishing:
- Weave in all remaining loose ends using your tapestry needle.
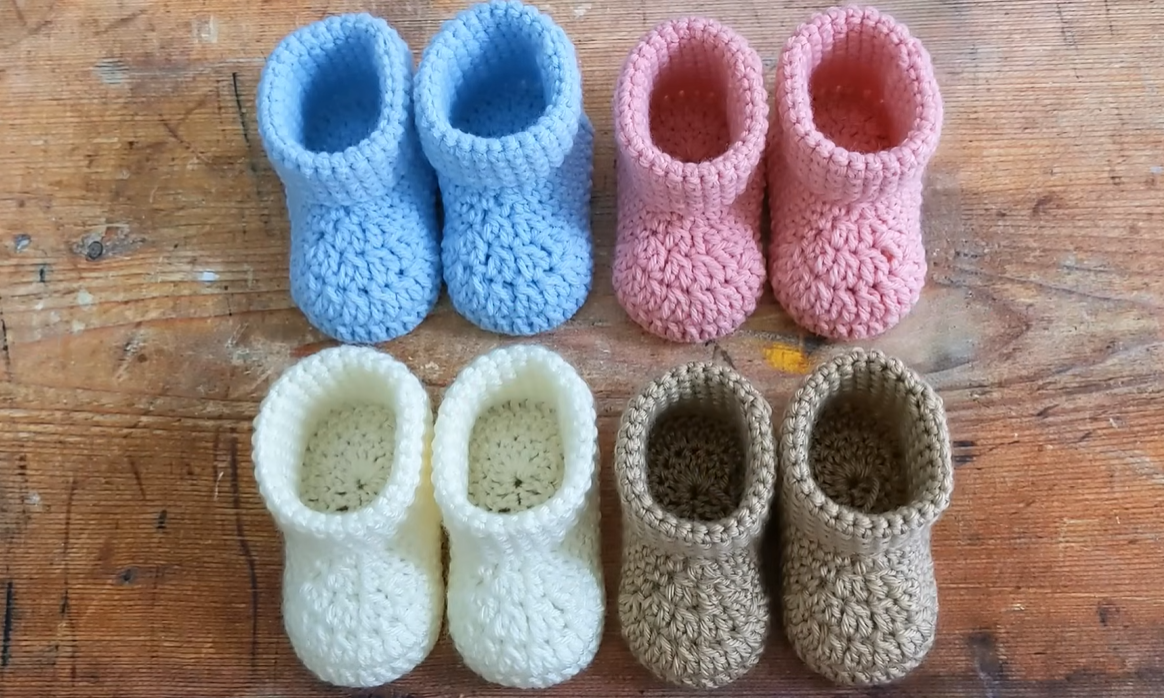
- Repeat all steps to make the second shoe.
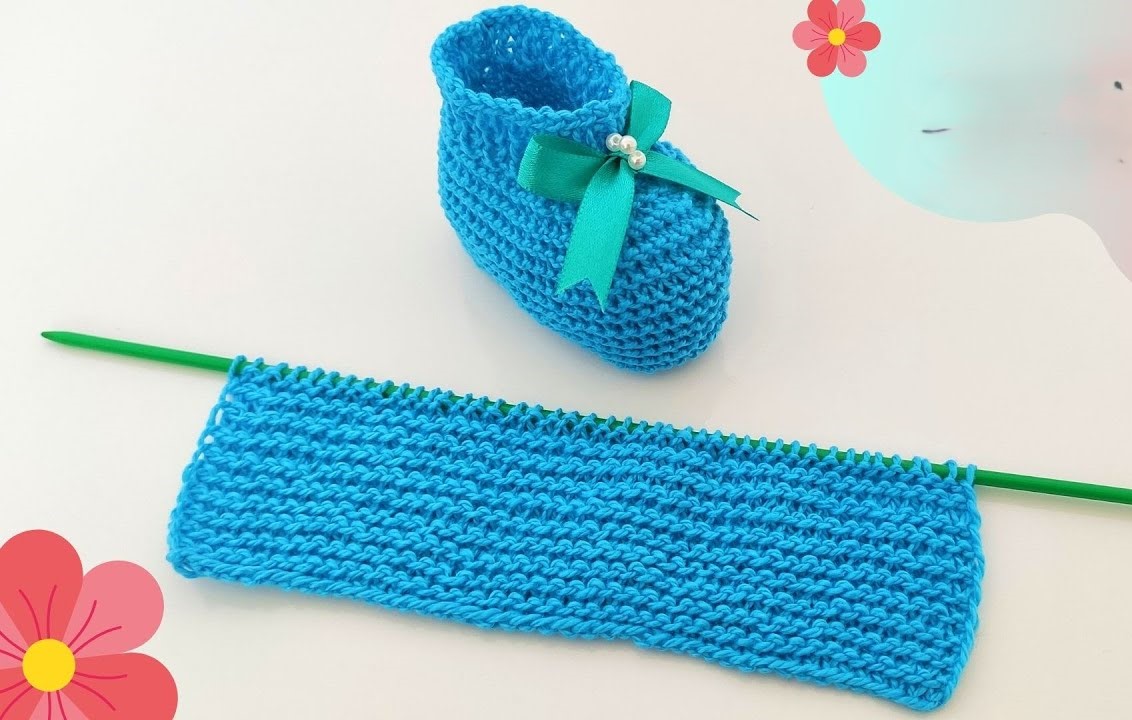
- (Optional): Thread a ribbon or crocheted chain through the stitches of Round 13 to create a tie.
Your beautiful and easy crochet shoes are now complete!