 by
by Here is the pattern:

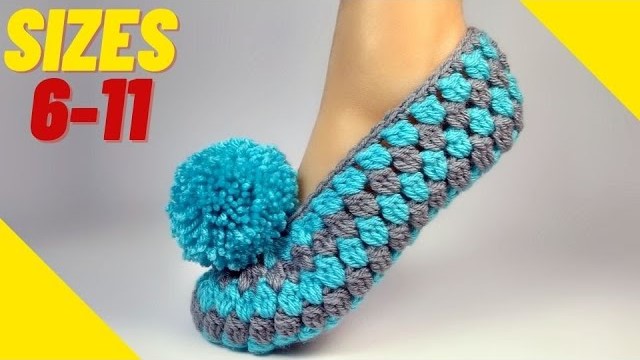
Crochet Shoe Pattern (No Decreases)
This pattern creates a simple, comfortable crochet shoe or slipper without using any decrease stitches. The shaping is achieved through the initial chain length and the number of rows worked. This pattern is written for a women’s medium size, but instructions are included for adjusting the size.
Skill Level: Easy
Materials:
- Worsted weight yarn (approximately 150-200 yards per pair) – Choose a durable yarn suitable for footwear.
- Crochet hook size H/8 (5.0 mm) or size needed to obtain gauge.
- Tapestry needle for weaving in ends and seaming.
- Scissors
- Stitch marker (optional, but helpful for marking the beginning of rounds if working in the round)
Gauge:
While gauge is less critical in a pattern without decreases, achieving the recommended gauge will help ensure the intended size. 13 single crochet stitches and 15 rows = 4 inches (10 cm)
Note: Check your gauge before starting. If your swatch is smaller, try a larger hook. If your swatch is larger, try a smaller hook.

Sizing:
This pattern is written for a women’s medium (approx. US size 7-8). To adjust the size:
- Length: Adjust the number of stitches in the initial chain for the sole. Chain should be approximately the length of the bottom of the foot from heel to toe, minus about 1-1.5 inches (2.5-4 cm) as the crochet fabric will stretch.
- Width/Height: Adjust the number of rows worked for the upper part of the shoe. More rows will create a wider/taller shoe; fewer rows will create a narrower/shorter shoe.
Abbreviations:
- ch: chain
- st(s): stitch(es)
- sl st: slip stitch
- sc: single crochet
- hdc: half double crochet
- dc: double crochet
- FO: Fasten off
Notes:
- This pattern is worked flat in rows and then seamed.
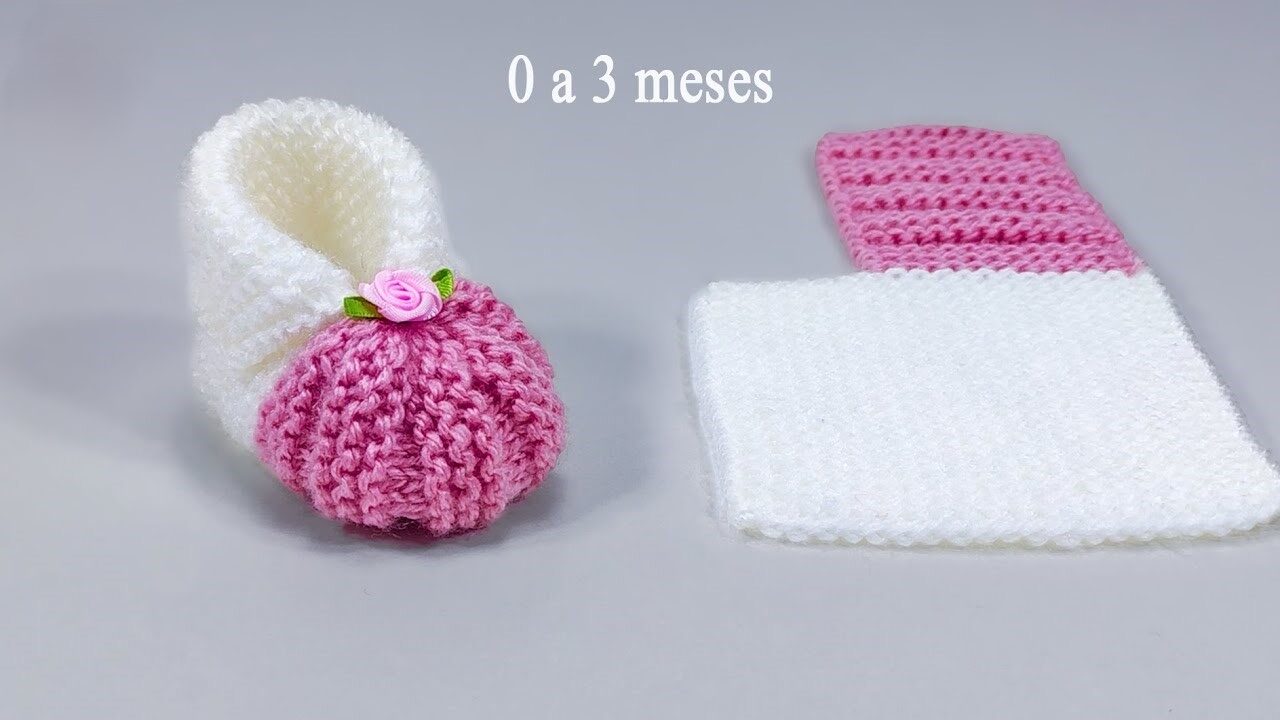
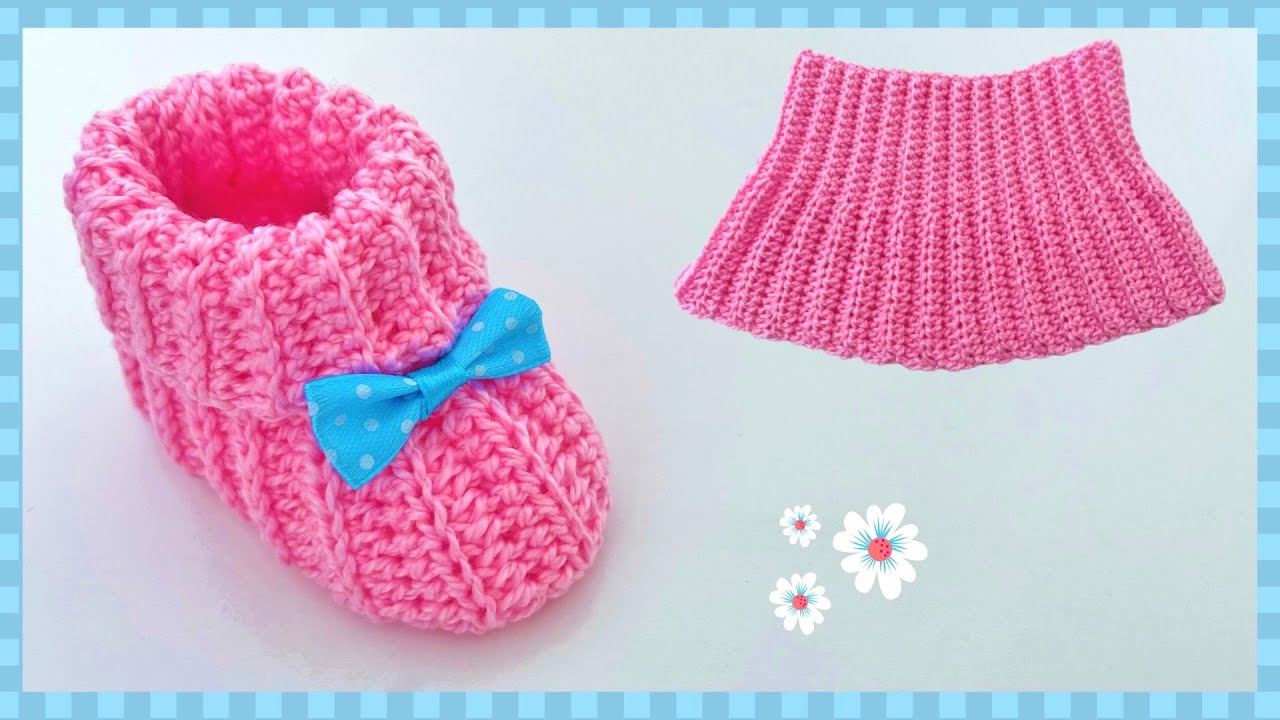
- The entire shoe is made from a single rectangular piece, folded and seamed to create the shoe shape.
- The stitch count will remain constant throughout the rows.

Pattern Instructions:
Make 2 (for a pair)
The Rectangle (Sole and Upper Combined)
The rectangle forms the sole and the entire upper part of the shoe.
Row 1: Ch 30 (adjust chain length for desired shoe length – see Sizing). Sc in the second ch from the hook and in each ch across. (29 sc)
Row 2: Ch 1 (does not count as a stitch), turn. Sc in each st across. (29 sc)
Rows 3 – 40: Ch 1 (does not count as a stitch), turn. Sc in each st across. (29 sc)
Note: Adjust the number of rows (Row 3 – 40) to achieve the desired width/height of the shoe. More rows for a wider/taller shoe, fewer for a narrower/shorter shoe. The goal is to create a rectangle that, when folded, fits around your foot.
After completing the desired number of rows, FO, leaving a long tail (about 20-25 inches) for seaming.

Assembly:
- Lay the rectangle flat.
- Fold the rectangle in half lengthwise. The starting chain edge and the final row edge should be aligned.
- Using the long tail and a tapestry needle, seam the short edges together. This forms the back of the shoe (the heel). Use a whip stitch or mattress stitch for a neat seam.
- Now, you have a tube shape. The seam is the back of the heel. The folded edge is the top of the foot/ankle opening. The raw edges at the other end will form the toe.
- Thread the remaining tail onto your tapestry needle. Starting from one side of the raw edge (the toe end), weave the needle in and out through the stitches along the entire raw edge.
- Once you’ve woven through all the stitches on the raw edge, pull the tail tightly to gather the stitches and close the toe. Cinch it as tightly as possible.
- Secure the gathering by stitching back and forth a few times across the gathered opening.
- Weave in any remaining ends securely on the inside of the shoe.
- Turn the shoe right side out.
Repeat for the second shoe.
Video tutorial
Finishing:
- Weave in all remaining loose ends.
- (Optional) Add a decorative border around the ankle opening using single crochet or slip stitches.
- (Optional) Add a tie or ribbon through stitches around the ankle for a more secure fit.