 by
by 
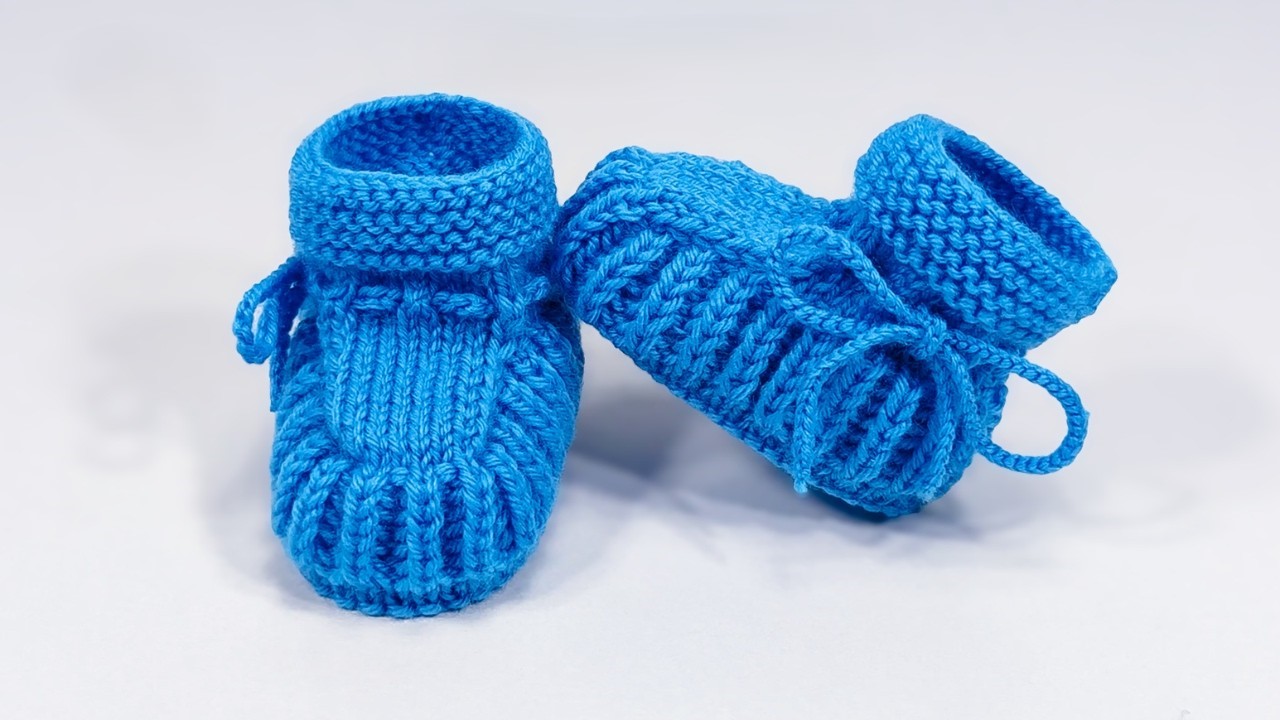
Little feet deserve the best! These gorgeous woolen toddler booties are designed to keep tiny toes warm and snug during cooler weather. Using soft wool yarn, this pattern creates a durable and comfortable bootie with a classic look. They’re perfect for keeping your little one’s feet toasty at home or in their stroller.
Skill Level: Easy to Intermediate (requires basic shaping and working in rounds)
Materials:
- Approximately 100-150 yards of Worsted weight (medium) wool yarn. Choose a soft, non-superwash wool for extra warmth and coziness. (Using 100% wool or a wool blend is highly recommended for warmth and slight felting properties which help with durability).
- Crochet hook size H/8 (5.0 mm) or size needed to obtain gauge.
- Yarn needle for weaving in ends and seaming.
- Scissors.
- Stitch markers (optional, but helpful for marking rounds and key stitches).
- Optional: Small buttons, toggles, or ties for decoration/fastening.
Gauge:
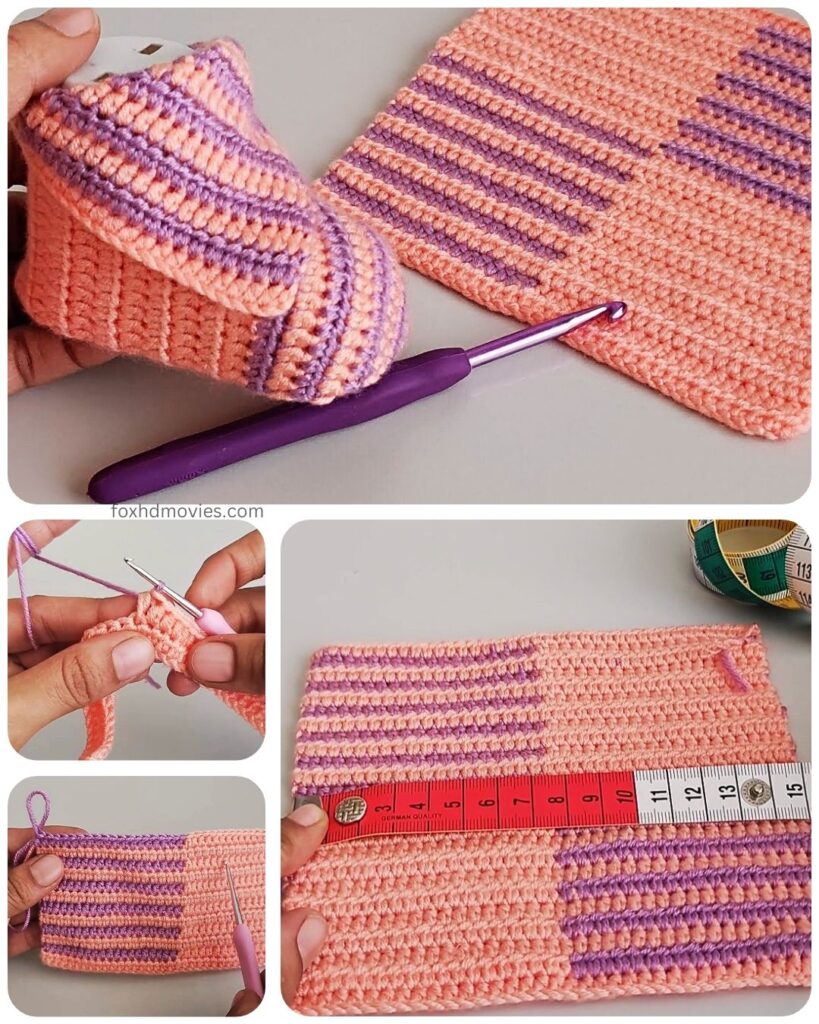
Achieving the correct gauge is important for sizing! 4 rows of half double crochet (hdc) should measure approximately 1 inch in height. 4 hdc stitches should measure approximately 1 inch in width.Work a gauge swatch to check your tension and adjust your hook size if necessary.
Finished Size:
This pattern is written for approximately 12-18 months (finished sole length about 5 inches). Guidance for adjusting the size is included at the end.
Abbreviations (US Crochet Terms):
- ch: chain
- sl st: slip stitch
- sc: single crochet
- hdc: half double crochet
- dc: double crochet
- st(s): stitch(es)
- beg: beginning
- rep: repeat
- inc: increase (work 2 stitches in the same stitch)
- dec: decrease (work 2 stitches together)
- BLO: back loop only
- FLO: front loop only
Let’s Begin! (Make 2 Booties)
Part 1: The Sole
We’ll create a sturdy oval sole first. We’ll work in rounds around a starting chain.

Round 1: Ch 12. Work 2 hdc in the 2nd ch from the hook (this is your first increase at the heel end). Hdc in the next 9 ch. Work 5 hdc in the last ch (this is your toe end). Now, working along the other side of the starting chain, hdc in the next 9 ch. Work 3 hdc in the last ch (same as your first st). Sl st to the top of the first hdc to join. (30 sts)
Round 2: Ch 1 (does not count as a stitch). Work 2 hdc in the same st (first increase). Hdc in the next st. 2 hdc in the next st (second increase). Hdc in the next 9 sts. (2 hdc in the next st, hdc in the next st) repeat 2 times. 2 hdc in the next st. Hdc in the next 9 sts. (Hdc in the next st, 2 hdc in the next st) repeat 2 times. Sl st to the top of the first hdc. (38 sts)
Round 3: Ch 1 (does not count as a stitch). Work 2 hdc in the same st (first increase). Hdc in the next 2 sts. 2 hdc in the next st (second increase). Hdc in the next 10 sts. (2 hdc in the next st, hdc in the next 2 sts) repeat 2 times. 2 hdc in the next st. Hdc in the next 10 sts. (Hdc in the next 2 sts, 2 hdc in the next st) repeat 2 times. Sl st to the top of the first hdc. (46 sts)
Part 2: Creating the Sides of the Bootie
Now we’ll turn the corner upwards to create the sides.

Round 4: Ch 1 (does not count as a stitch). Working in the BLO for this round only, sc in each stitch around. Sl st to the top of the first sc. (46 sts) Working in the BLO creates a defined edge for the sole.
Round 5: Ch 1 (does not count as a stitch). Sc in each stitch around. Sl st to the top of the first sc. (46 sts)
Part 3: Shaping the Toe
We’ll now start decreasing stitches at the front to form the rounded toe.
Round 6: Ch 1 (does not count as a stitch). Hdc in the next 15 sts. (Hdc dec over the next 2 sts) repeat 8 times. Hdc in the remaining 15 sts. Sl st to the top of the first hdc. (38 sts) To work a hdc dec: Yarn over, insert hook into first st, yarn over and pull up a loop (3 loops on hook). Insert hook into next st, yarn over and pull up a loop (4 loops on hook). Yarn over and pull through all 4 loops on hook.
Round 7: Ch 1 (does not count as a stitch). Hdc in the next 12 sts. (Hdc dec over the next 2 sts) repeat 7 times. Hdc in the remaining 12 sts. Sl st to the top of the first hdc. (31 sts)
Round 8: Ch 1 (does not count as a stitch). Hdc in the next 10 sts. (Hdc dec over the next 2 sts) repeat 5 times. Hdc in the remaining 11 sts. Sl st to the top of the first hdc. (26 sts)
Part 4: Building the Ankle and Cuff
We’ll now work even rounds and then create a simple cuff.

Round 9: Ch 1 (does not count as a stitch). Hdc in each stitch around. Sl st to the top of the first hdc. (26 sts)
Round 10: Ch 1 (does not count as a stitch). Hdc in each stitch around. Sl st to the top of the first hdc. (26 sts)
Round 11 (Start of Cuff): Ch 1 (does not count as a stitch). Sc in each stitch around. Sl st to the top of the first sc. (26 sts)
Round 12 (Cuff Edge – Optional): Ch 1 (does not count as a stitch). Work a round of reverse single crochet (crab stitch) for a neat, rope-like edge. Alternatively, just work another round of sc. Sl st to the top of the first st. (26 sts) To work reverse single crochet: Insert hook into the stitch to your right, yarn over and pull up a loop, yarn over and pull through both loops on hook.
Fasten off and weave in all ends securely.
Finishing Touches and Customization:
- Weaving Ends: Take your time to weave in all yarn ends neatly on the inside of the bootie.
- Second Bootie: Repeat all steps to make the second bootie.
- Cuff Height: You can add more rounds of hdc or sc before the cuff rounds if you want a taller bootie.
- Folding Cuff: The sc cuff rounds are often designed to be folded down, creating a double layer of warmth around the ankle.
- Fastenings/Decoration:
- Sew a small button or toggle onto the side of the bootie and create a small loop on the opposite side of the cuff using a few chain stitches to fasten.
- Thread a ribbon or crocheted tie through the stitches around the ankle for a decorative and adjustable closure.
- Add a small crocheted flower or applique.
Adjusting the Size:
- For a Smaller Size (e.g., 6-12 months, 4.5 inch sole):
- Start with a shorter chain (e.g., Ch 10).
- Work fewer increase rounds on the sole (e.g., only 2 increase rounds instead of 3).
- Adjust the number of stitches for the toe shaping decreases proportionally.
- Work fewer rounds for the height of the bootie sides.
- Consider using a smaller hook size and/or thinner yarn.
- For a Larger Size (e.g., 18-24 months, 5.5-6 inch sole):
- Start with a longer chain (e.g., Ch 14 or 16).
- Work more increase rounds on the sole, following the established pattern of adding stitches at the ends and corners.
- Adjust the number of stitches for the toe shaping decreases proportionally (you’ll likely start your decreases later in the round and may need more decrease stitches).
- Work more rounds for the height of the bootie sides.
- Consider using a larger hook size and/or slightly thicker yarn.
Video tutorial
General Sizing Tip: The length of the sole should be approximately 0.5 inches longer than the child’s foot to allow for growth and comfort.
These woolen toddler booties are a joy to make and even more joyful to see on little feet! They’re practical, warm, and showcase the love that goes into handmade items. Happy crocheting!