 by
by 
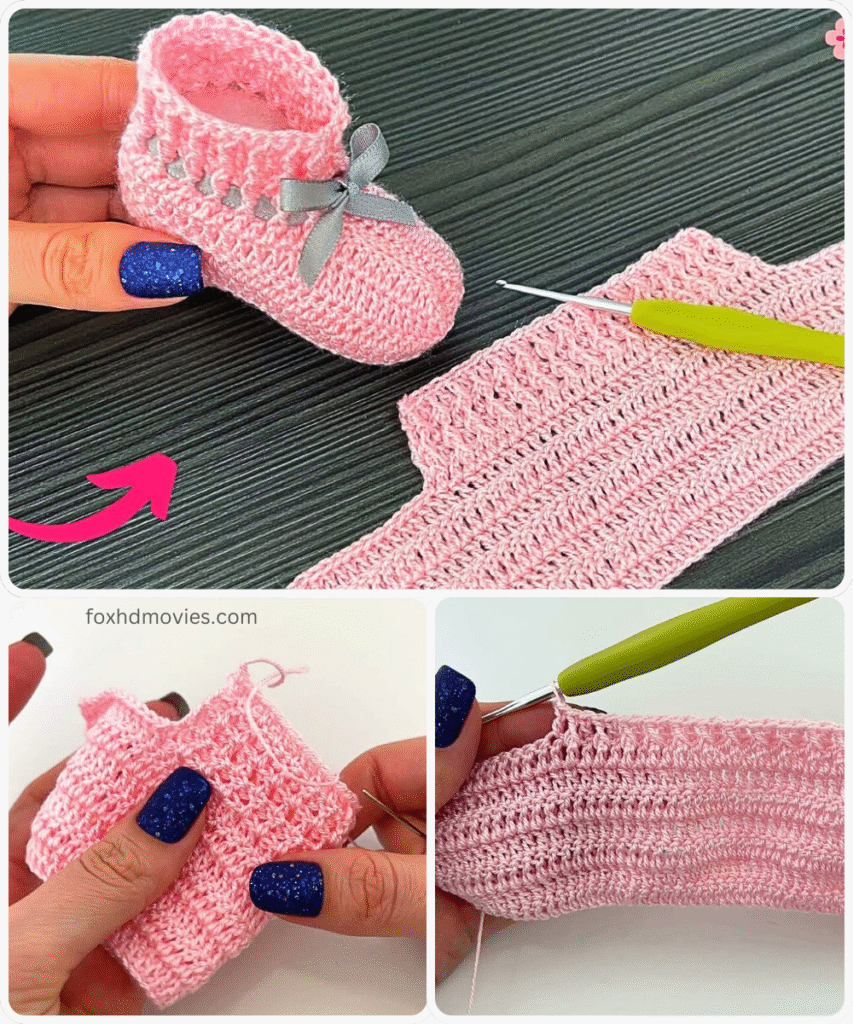
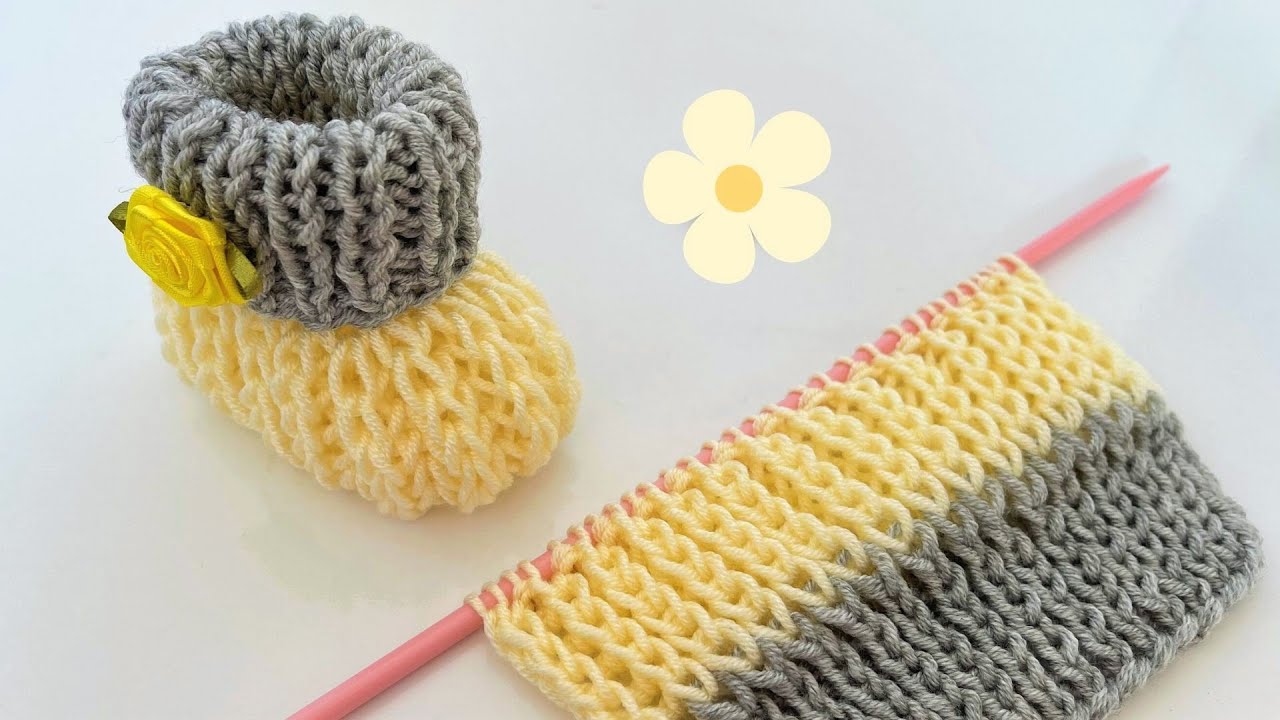
Crocheting baby shoes is such a rewarding experience. Here’s a detailed pattern to guide you through making a sweet pair of baby booties. This pattern is designed for a newborn to approximately 3-month-old baby (sole length approximately 3.5 inches).
Materials You’ll Need:
- Yarn: DK weight yarn in your preferred color(s). A soft, baby-friendly yarn is ideal. You’ll need a small amount.
- Crochet Hook: Size E/4 (3.5 mm) or the size recommended for your yarn.
- Yarn Needle: For weaving in ends.
- Scissors: To snip yarn.
- Stitch Markers: Optional, but helpful for marking rounds.
Abbreviations (US Crochet Terms):
- ch = chain
- sl st = slip stitch
- sc = single crochet
- hdc = half double crochet
- dc = double crochet
- inc = increase (work 2 sc/hdc/dc in the same stitch)
- dec = decrease (sc2tog, hdc2tog, or dc2tog – crochet two stitches together)
- rep = repeat
- rnd = round
- st(s) = stitch(es)
- BLO = back loop only
- FLO = front loop only
Gauge:
While gauge isn’t critical for baby shoes, aim for approximately 5-6 hdc stitches per inch to achieve the intended size.
Pattern:
Part 1: The Sole
We’ll start by creating the oval-shaped sole of the shoe.
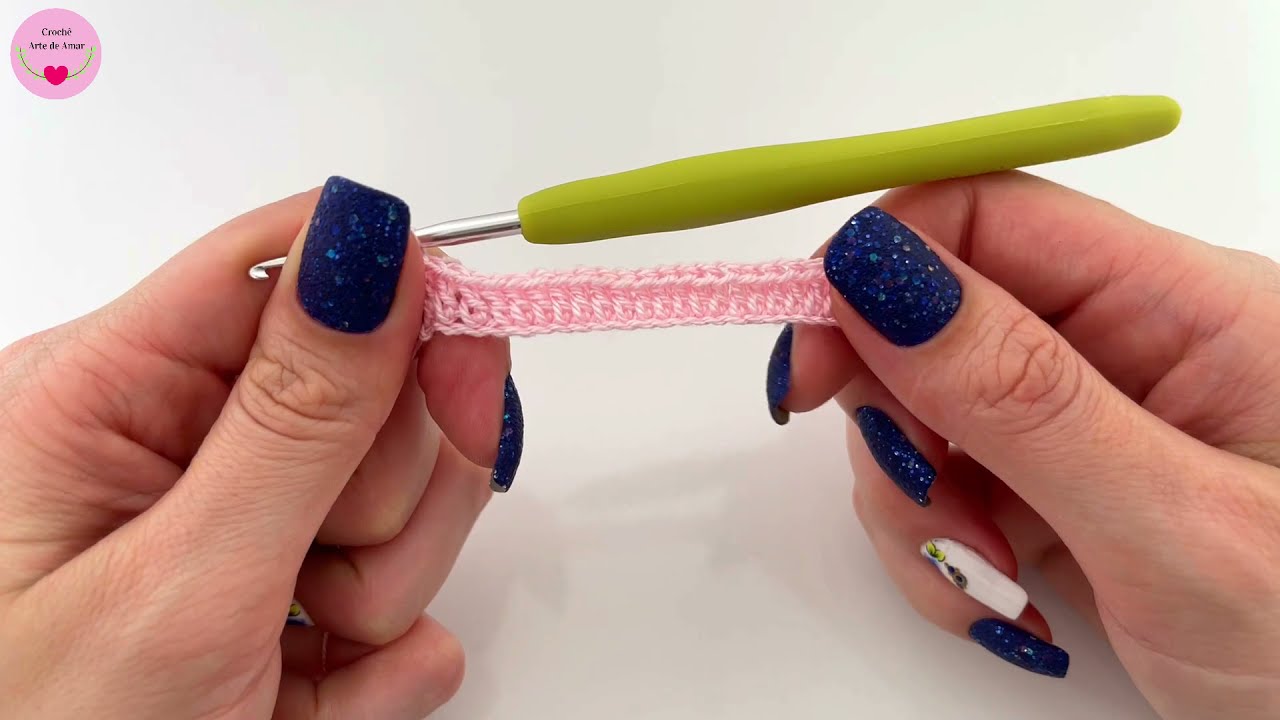
- Foundation Chain: Ch 11.
- Round 1: Sc in the 2nd ch from the hook, sc in the next 8 chs, 3 sc in the last ch. Working on the other side of the chain, sc in the next 8 chs, 2 sc in the last ch. (Total: 22 sts)
- Round 2: Inc in the first st, sc in the next 8 sts, inc in the next 3 sts, sc in the next 8 sts, inc in the last 2 sts. (Total: 28 sts)
- Round 3: Sc in the first st, inc in the next st, sc in the next 8 sts, (sc, inc) rep 3 times, sc in the next 8 sts, inc in the next st, sc in the last st. (Total: 34 sts)
- Round 4: Sc in the first 2 sts, inc in the next st, sc in the next 8 sts, (sc in the next 2 sts, inc) rep 3 times, sc in the next 8 sts, inc in the next st, sc in the last 2 sts. (Total: 40 sts)
- Note: For a slightly larger sole, you can add another increase round, distributing the increases evenly at the toe and heel.
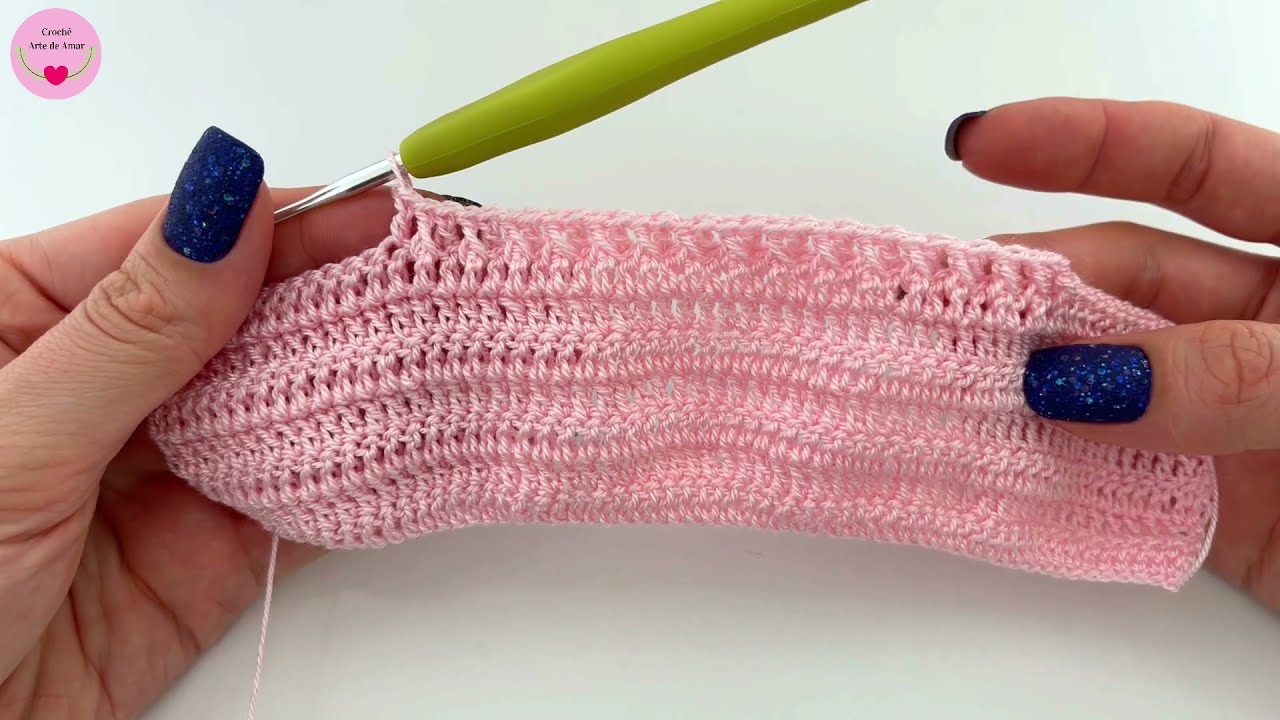
Part 2: The Sides (Upper Part of the Sole)
Now, we’ll work in the back loops only to create a ridge that defines the sole and starts the sides of the shoe.
- Round 5: Working in BLO, sc in each st around. (Total: 40 sts)
Part 3: Shaping the Upper
We’ll now start shaping the upper part of the shoe, creating the toe area.
- Round 6: Sc in the first 12 sts, hdc in the next 4 sts, dc in the next 8 sts, hdc in the next 4 sts, sc in the last 12 sts. (Total: 40 sts)
- Round 7: Sc in the first 11 sts, hdc in the next 4 sts, dc in the next 10 sts, hdc in the next 4 sts, sc in the last 11 sts. (Total: 40 sts)
- Round 8: Sc in the first 10 sts, hdc in the next 4 sts, dc in the next 12 sts, hdc in the next 4 sts, sc in the last 10 sts. (Total: 40 sts)
- Round 9: Sc in the first 10 sts, hdc in the next 3 sts, dc in the next 14 sts, hdc in the next 3 sts, sc in the last 10 sts. (Total: 40 sts)
- Round 10: Sc in the first 10 sts, hdc in the next 3 sts, dc in the next 14 sts, hdc in the next 3 sts, sc in the last 10 sts. (Total: 40 sts)
- Note: You can adjust the number of rounds here to change the height of the shoe’s upper.
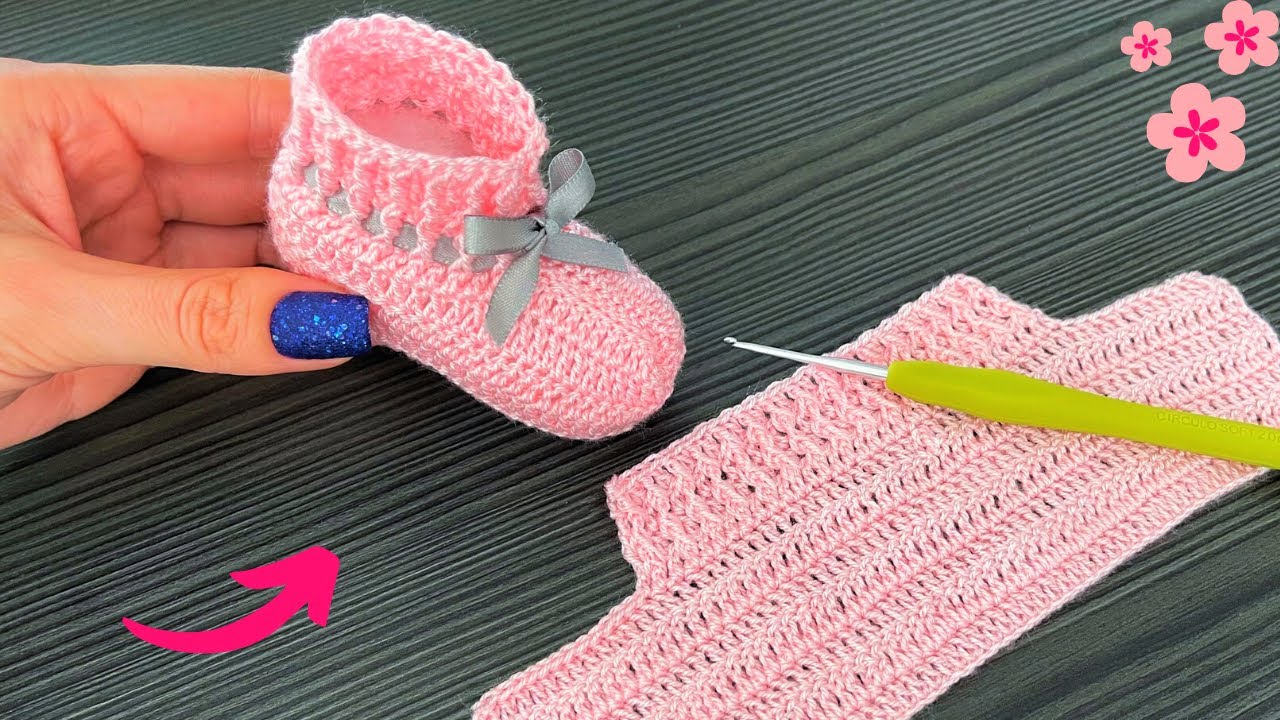
Part 4: Creating the Toe Opening
Now we’ll shape the front opening of the shoe.
- Round 11: Sc in the first 17 sts. Ch 6 (this will form the strap/opening). Skip the next 6 sts. Sc in the last 17 sts. (Total: 40 sc sts and a ch-6 space)
- Round 12: Sc in the first 17 sts, sc in each of the 6 ch sts, sc in the last 17 sts. (Total: 40 sts)
Part 5: The Ankle Strap (Optional)
This creates a strap to help keep the shoe on.
- Round 13: Sl st in the first st. Ch 1, sc in the same st and in the next 16 sts. Ch 10 (or desired length for the strap). Turn your work.
- Row 14: Sc in the 2nd ch from the hook and in each of the next 9 chs, sl st into the next st on the shoe. Fasten off.
- Alternative Closure: You can also create a button loop on one side and attach a small button on the other side of the opening in Round 12. To make a button loop, simply chain a few stitches (depending on the size of your button) instead of the ch 10 in Round 14, and then sl st back into the shoe.
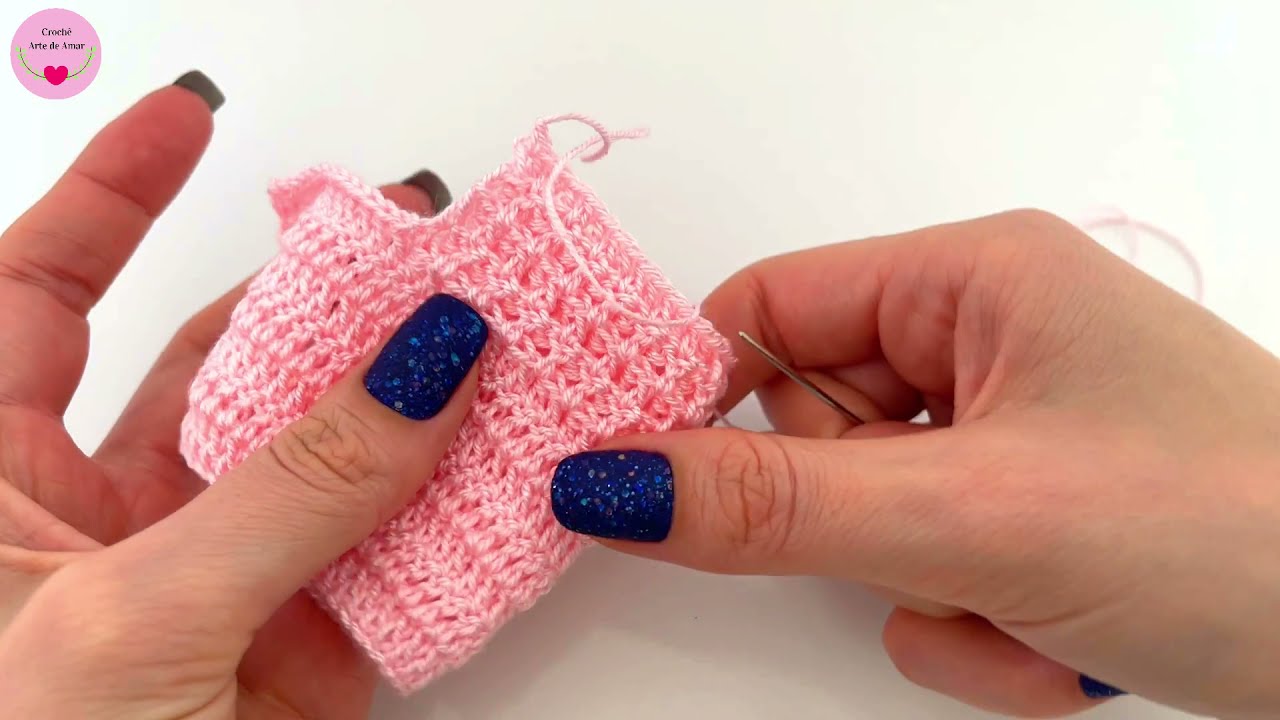
Part 6: Finishing Touches (Make a Second Shoe)
- Weave in all loose ends securely using your yarn needle.
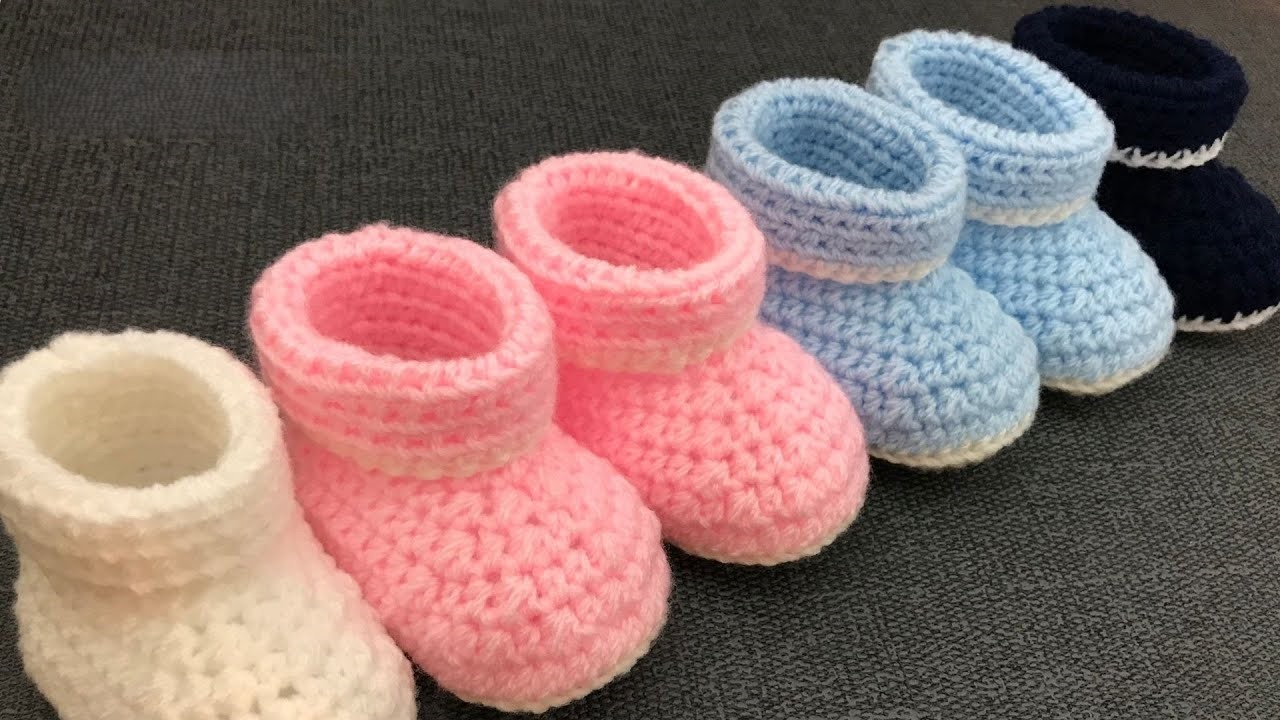
- Repeat the entire pattern to create the second shoe.
Video tutorial
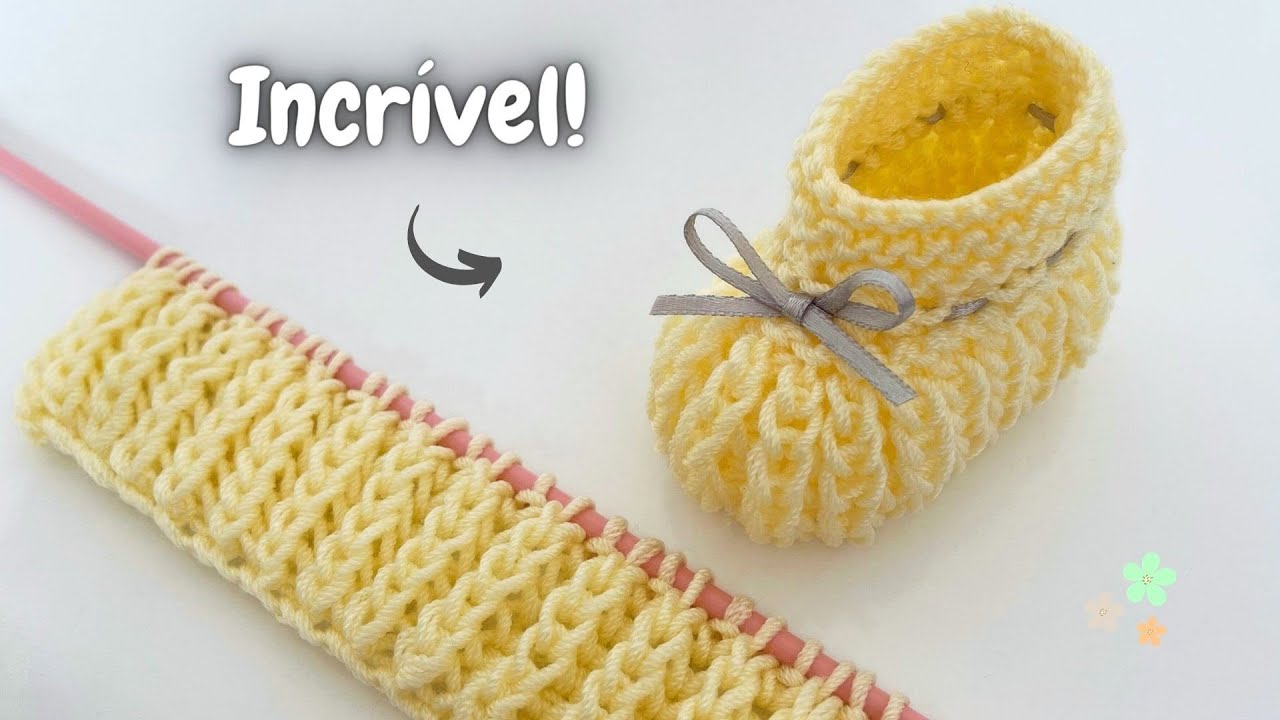
Embellishments (Optional):
- You can add a small crocheted flower, bow, or button to the front or side of the shoe for decoration.
- Change colors between rounds for a striped effect.
- Add a contrasting color for the sole or the top edge.
Tips for Success:
- Keep your tension consistent throughout the project for a neat and even finish.
- Use stitch markers to mark the beginning of rounds, especially in the sole.
- Don’t be afraid to adjust the number of stitches or rounds slightly to achieve the desired size, keeping in mind the proportions of the shoe.
- Refer to online resources or video tutorials if you get stuck on any particular stitch or technique.