 by
by 
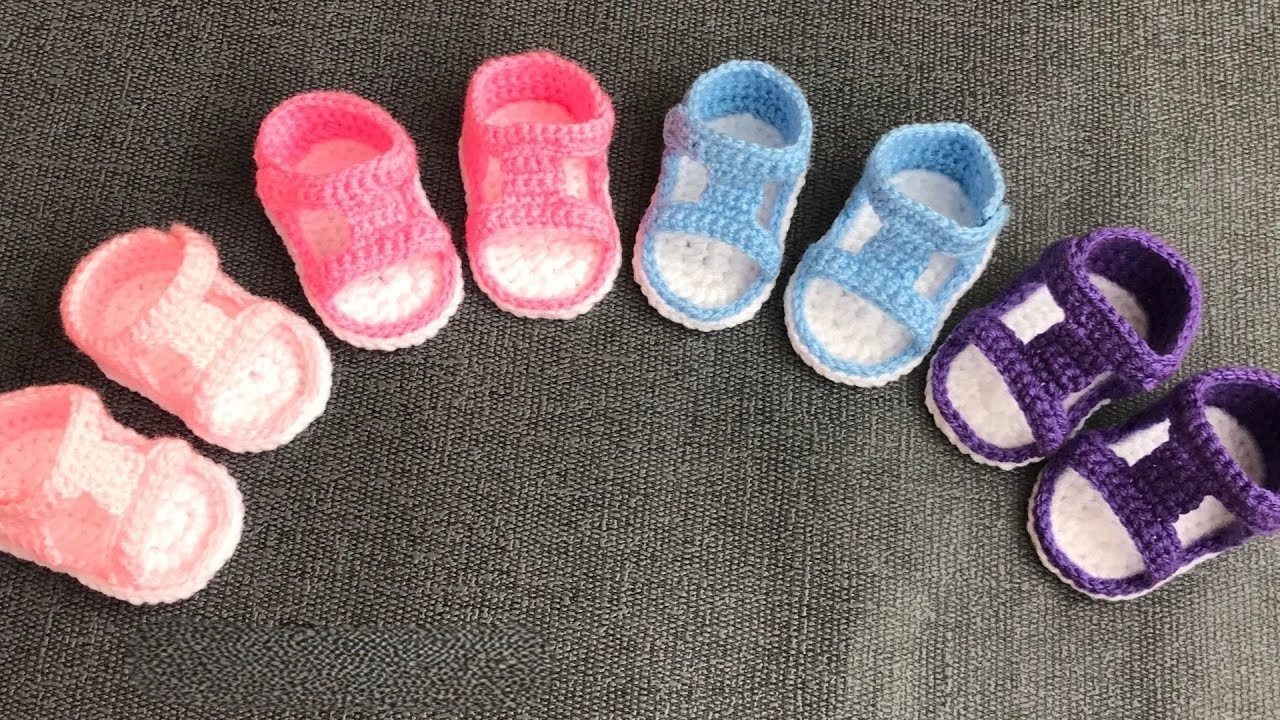
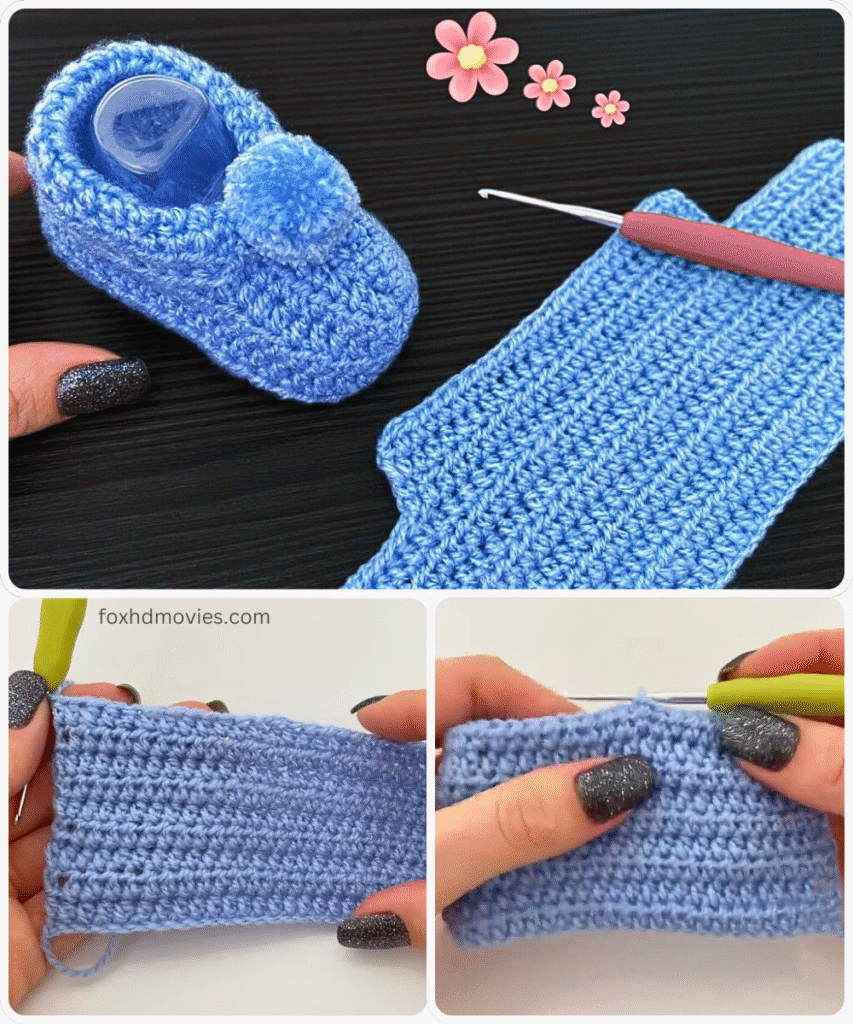
Let’s get those little feet something cozy. Here’s a detailed, easy-to-follow pattern for crocheting a simple baby shoe. I’ve broken it down into clear steps and provided explanations along the way.
Skill Level: Beginner
Materials:
- Worsted weight yarn (soft baby yarn recommended) in your desired color.
- Crochet hook size G/6 (4.0 mm) or the size recommended on your yarn label.
- Scissors
- Yarn needle for weaving in ends
- Stitch markers (optional, but helpful)
Abbreviations (US Crochet Terms):
- ch: chain
- sl st: slip stitch
- sc: single crochet
- hdc: half double crochet
- dc: double crochet
- inc: increase (work 2 sc in the same stitch)
- dec: decrease (sc 2 stitches together)
- st(s): stitch(es)
- rep: repeat
- rnd(s): round(s)
Gauge:
While gauge isn’t critical for baby shoes, aim for approximately 4 sc = 1 inch. This will help you estimate the size.
Finished Size: Approximately 3-4 inches long, suitable for a newborn to 3-month-old baby. You can adjust the length of the initial chain to slightly alter the size.
Pattern:
Sole (Make 2):
- Foundation Chain: Ch 11.
- Round 1: Sc in the 2nd ch from the hook and in each of the next 8 chs. Work 3 sc in the last ch. Now, working on the other side of the chain, sc in each of the next 8 chs. Work 2 sc in the last ch (where you started the first sc of this round). Sl st to the first sc to join the round. (22 sts)
- Explanation: We’re creating an oval shape for the sole. The 3 sc in the end create the toe curve, and the 2 sc at the other end help round out the heel.
- Round 2: Ch 1 (does not count as a st). Sc in the same st. Sc in the next 9 sts. Inc in each of the next 3 sts. Sc in the next 9 sts. Inc in each of the last 2 sts. Sl st to the first sc to join the round. (27 sts)
- Explanation: We’re increasing around the curves to flatten the sole.
- Round 3: Ch 1 (does not count as a st). Sc in the same st. Sc in the next 10 sts. (Sc, inc) 3 times. Sc in the next 10 sts. (Sc, inc) twice. Sl st to the first sc to join the round. (32 sts)
- Explanation: More increases to continue shaping the sole.
- Round 4: Ch 1 (does not count as a st). Sc in the same st. Sc in the next 11 sts. (Sc in the next 2 sts, inc) 3 times. Sc in the next 11 sts. (Sc in the next 2 sts, inc) twice. Sl st to the first sc to join the round. (37 sts)
- Explanation: Final increases for the sole. You should now have a nice oval shape.
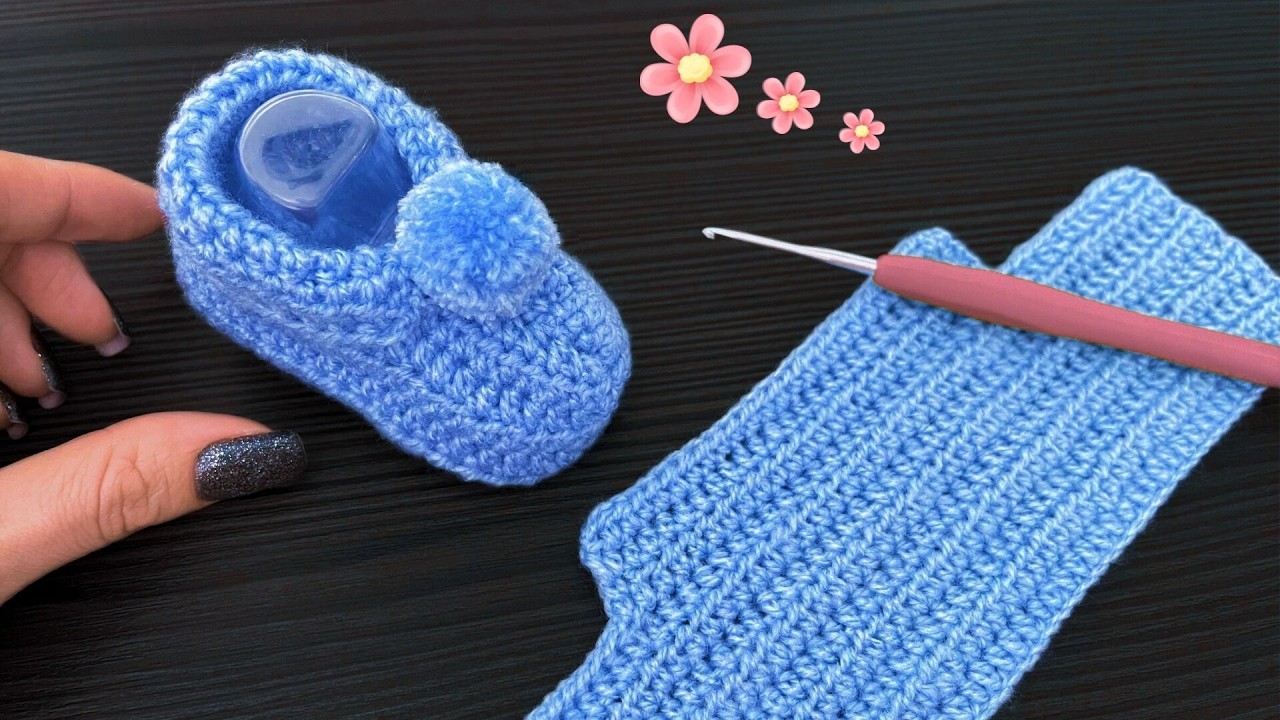
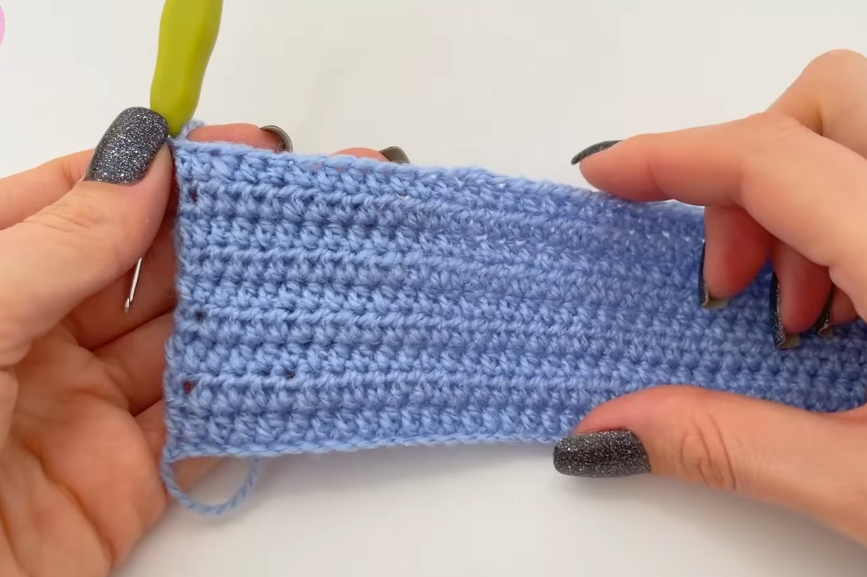
Upper Part of the Shoe (Make 2):
- Round 1: Ch 1 (does not count as a st). Working in the back loops only of the sole, sc in each st around. Sl st to the first sc to join the round. (37 sts)
- Explanation: Working in the back loops only creates a ridge that helps form the sides of the shoe.
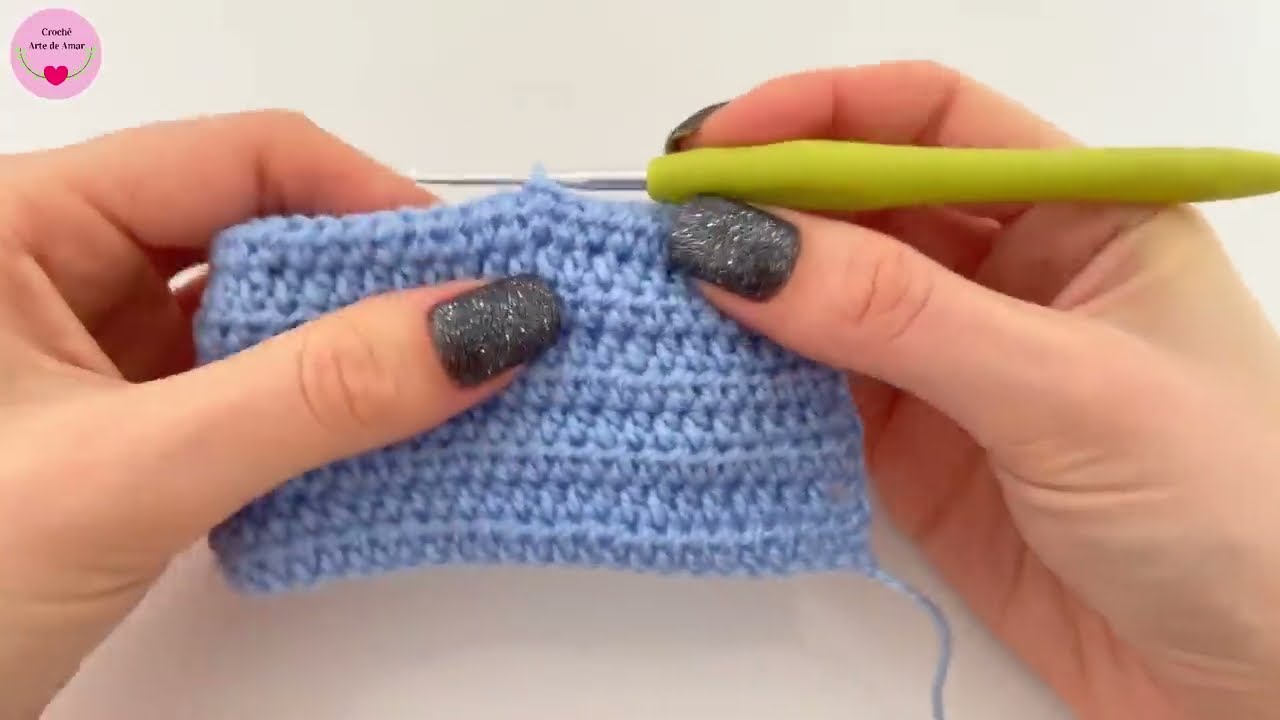
- Round 2: Ch 1 (does not count as a st). Sc in each st around. Sl st to the first sc to join the round. (37 sts)
- Round 3: Ch 1 (does not count as a st). Sc in the next 11 sts. Hdc in the next 15 sts. Sc in the last 11 sts. Sl st to the first sc to join the round. (37 sts)
- Explanation: We’re starting to shape the top of the shoe. The hdc section will form the front.
- Round 4: Ch 1 (does not count as a st). Sc in the next 10 sts. Hdc in the next 17 sts. Sc in the last 10 sts. Sl st to the first sc to join the round. (37 sts)
- Round 5: Ch 1 (does not count as a st). Sc in the next 9 sts. Hdc in the next 19 sts. Sc in the last 9 sts. Sl st to the first sc to join the round. (37 sts)
- Round 6: Ch 1 (does not count as a st). Sc in the next 9 sts. Ch 1, skip the next st. Hdc in the next 17 sts. Ch 1, skip the next st. Sc in the last 9 sts. Sl st to the first sc to join the round. (35 sts, plus 2 ch-1 spaces)
- Explanation: We’re creating the holes for the laces or strap.
- Round 7: Ch 1 (does not count as a st). Sc in the next 9 sts. Sc in the ch-1 space. Hdc in the next 17 sts. Sc in the next ch-1 space. Sc in the last 9 sts. Sl st to the first sc to join the round. (37 sts)
Ankle Strap (Make 2):
- Foundation Chain: Ch 15 (adjust the length as desired).
- Row 1: Sc in the 2nd ch from the hook and in each ch across. (14 sts)
- Row 2-10 (or desired length): Ch 1, turn. Sc in each st across. (14 sts)
- Fasten off, leaving a long tail for sewing.
Assembly:
- Sew the Upper to the Sole: With the wrong side of the upper facing the wrong side of the sole, align the edges. Using your yarn needle and the tail from the last round of the upper, whip stitch or single crochet the upper to the sole. Start at the heel and work your way around. Ensure the front of the upper is centered over the toe of the sole. Repeat for the second shoe.
- Attach the Ankle Strap: Position the ankle strap on the side of the shoe, near the back. Using the long tail, sew one end of the strap securely to the side of the shoe. Repeat on the other side for the second shoe.
- Alternative Closure: Instead of sewing the strap completely, you can sew a button to one side and create a buttonhole on the other end of the strap for closure.
Finishing Touches:
- Weave in all loose ends securely.
- You can add embellishments like small crocheted flowers, buttons, or embroidery to personalize the shoes.
Video tutorial
Tips for Success:
- Keep your tension consistent: This will help ensure both shoes are the same size.
- Use stitch markers: If you’re a beginner, placing stitch markers at the beginning of each round can help you keep track of your stitches.
- Don’t be afraid to adjust: If you feel the shoe is too big or small, you can adjust the initial chain length or hook size for future attempts.
- Have fun! Crocheting for little ones is a rewarding experience.