 by
by 
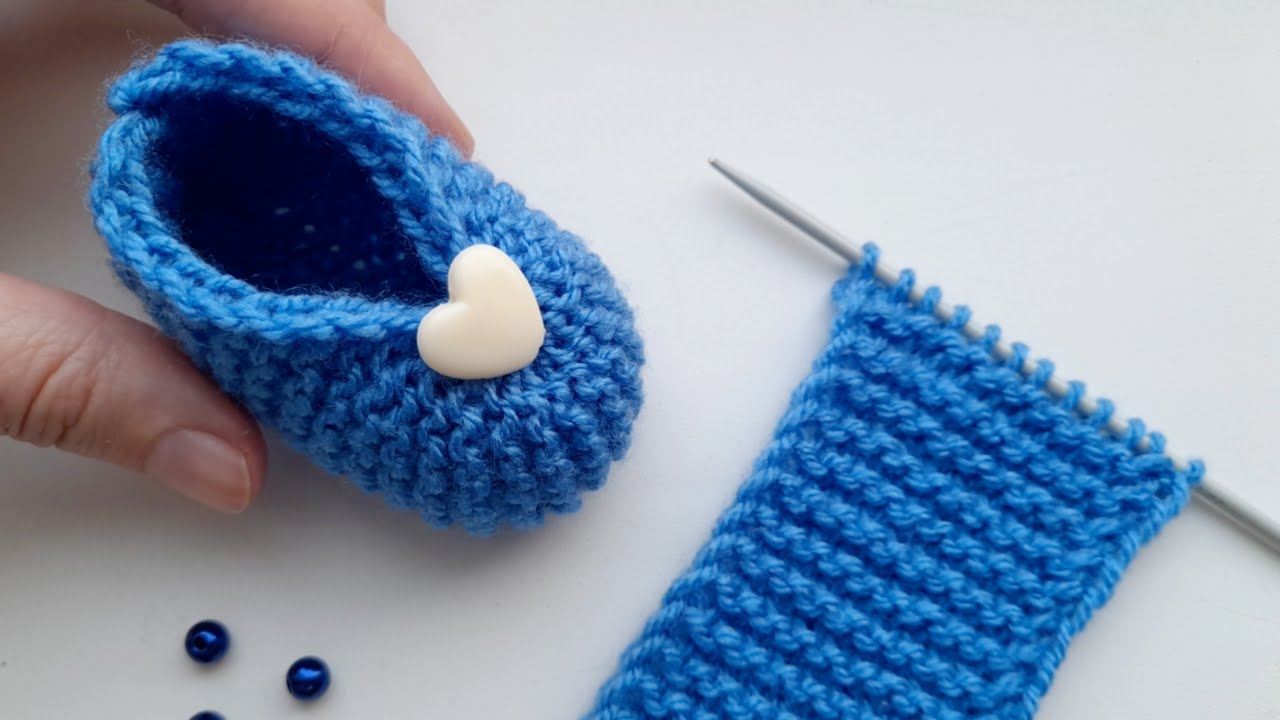
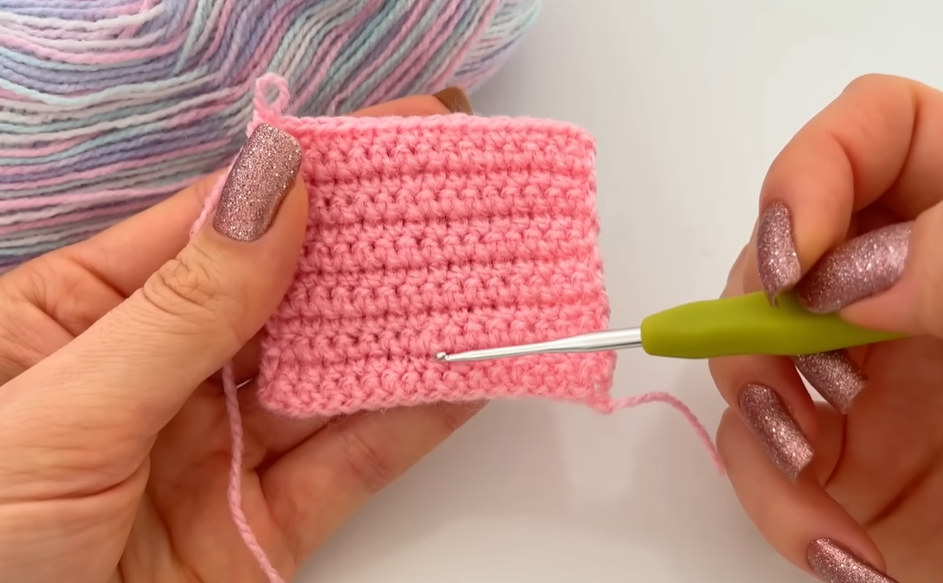
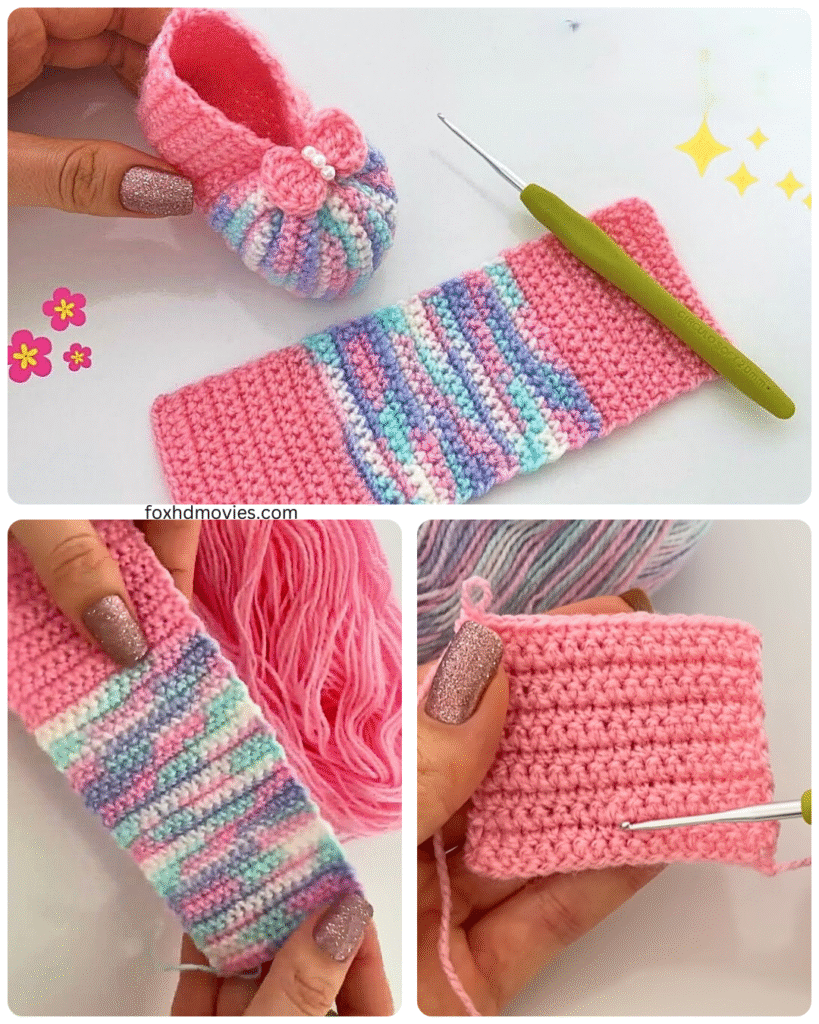
This pattern creates a simple, classic baby bootie. Adjust hook size slightly to change the finished size.
Materials:
- Worsted weight yarn (Category 4) in your desired color(s) – A soft baby yarn is recommended.
- Crochet hook size G/6 (4.00 mm or 4.25 mm)
- Yarn needle (for weaving in ends)
- Scissors
- Optional: Buttons, ribbons, or other embellishments
Gauge:
- Gauge isn’t critical for this pattern, but consistency is key. Aim for approximately 4 single crochet stitches per inch.
Abbreviations (US Terms):
- ch: chain
- st(s): stitch(es)
- sl st: slip stitch
- sc: single crochet
- hdc: half double crochet
- dc: double crochet
- sc inc: single crochet increase (2 sc in the same stitch)
- sc dec: single crochet decrease (crochet 2 sc together)
- hdc dec: half double crochet decrease (crochet 2 hdc together)
- BLO: back loop only
- FLO: front loop only
- […]: repeat instructions within brackets as directed
- (…): stitch count at the end of the round/row
Instructions (Make 2):
Part 1: The Sole
- Round 1: Ch 11.
- Work 2 sc in the 2nd ch from the hook.
- Sc in the next 8 ch.
- Work 5 sc in the last ch (this curves around the end).
- Working down the opposite side of the foundation chain: Sc in the next 8 ch.
- Work 3 sc in the last ch (which was the first ch you worked into).
- Sl st to the top of the first sc to join. (26 sts)
- Round 2: Ch 1 (does not count as a st here and throughout).
- Work 2 sc inc (2 sc in each of the next 2 sts).
- Sc in the next 8 sts.
- Work 2 sc inc in each of the next 5 sts (around the toe).
- Sc in the next 8 sts.
- Work 2 sc inc in each of the next 3 sts (around the heel).
- Sl st to the top of the first sc to join. (36 sts)
- Round 3: Ch 1.
- Sc in the first st. Sc inc in the next st. Repeat [sc in next st, sc inc in next st] once more. (Total of 2 repeats)
- Sc in the next 8 sts.
- Repeat [sc in next st, sc inc in next st] 5 times (around the toe).
- Sc in the next 8 sts.
- Repeat [sc in next st, sc inc in next st] 3 times (around the heel).
- Sl st to the top of the first sc to join. (46 sts)
- Round 4: Ch 1.
- Sc in each st around working in the BLO.
- Sl st to the top of the first sc to join. (46 sts)
- Do not fasten off. This round creates the ridge for the sides of the shoe.

Part 2: The Sides of the Shoe
- Round 5-7 (3 rounds): Ch 1.
- Sc in each st around (working through both loops now).
- Sl st to the top of the first sc to join. (46 sts after each round)
- Do not fasten off after Round 7.
Part 3: Shaping the Top/Toe
- Round 8: Ch 1.
- Sc in the next 14 sts.
- Repeat [hdc dec, hdc in next st] 6 times.
- Sc in the next 14 sts.
- Sl st to the top of the first sc to join. (40 sts)
- Round 9: Ch 1.
- Sc in the next 13 sts.
- Repeat [sc dec] 6 times.
- Sc in the next 15 sts.
- Sl st to the top of the first sc to join. (34 sts)
- Round 10: Ch 1.
- Sc in the next 12 sts.
- Repeat [sc dec] 4 times.
- Sc in the next 14 sts.
- Sl st to the top of the first sc to join. (30 sts)
- Do not fasten off.
Part 4: The Cuff
- Round 11-13 (or desired cuff height): Ch 1.
- Hdc in each st around.
- Sl st to the top of the first hdc to join. (30 sts after each round)
- Final Round (Optional Ruffle/Edge): Ch 1.
- Work [sc, ch 1, sc] in the first st. Skip next st.
- Repeat [[sc, ch 1, sc] in next st, skip next st] around.
- Sl st to the first sc to join.
- Fasten off and weave in all ends securely using the yarn needle.
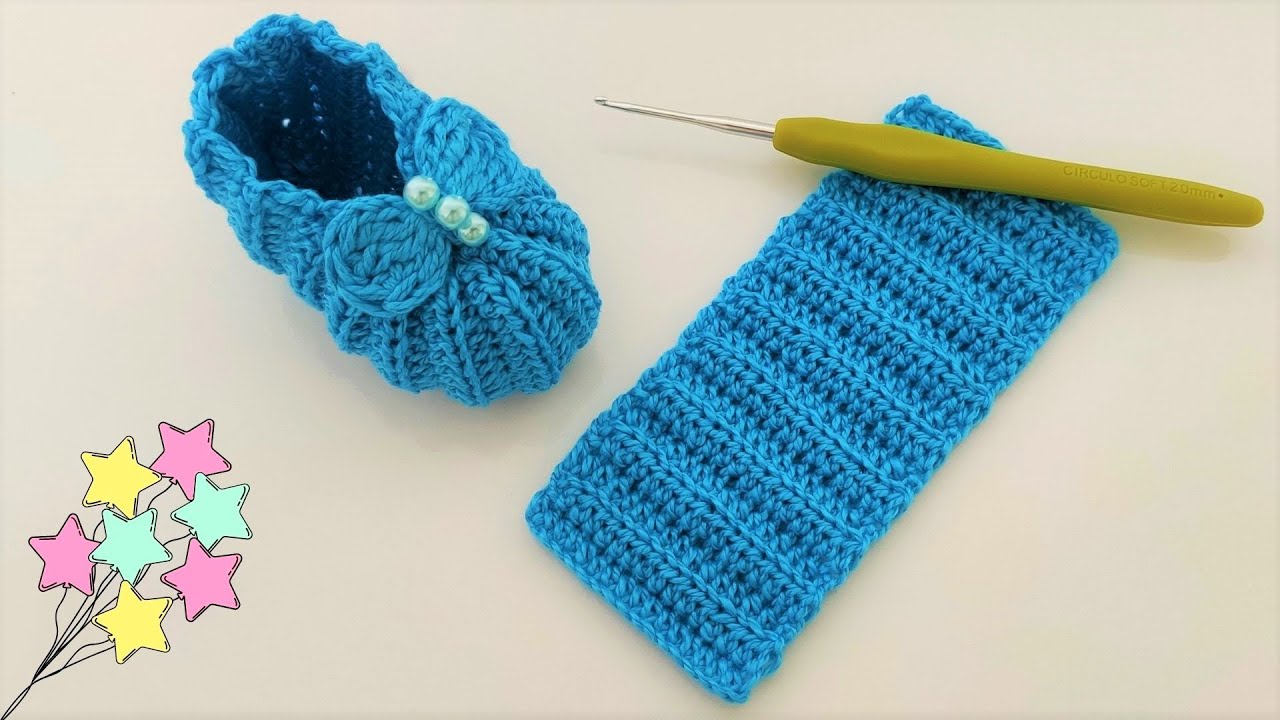
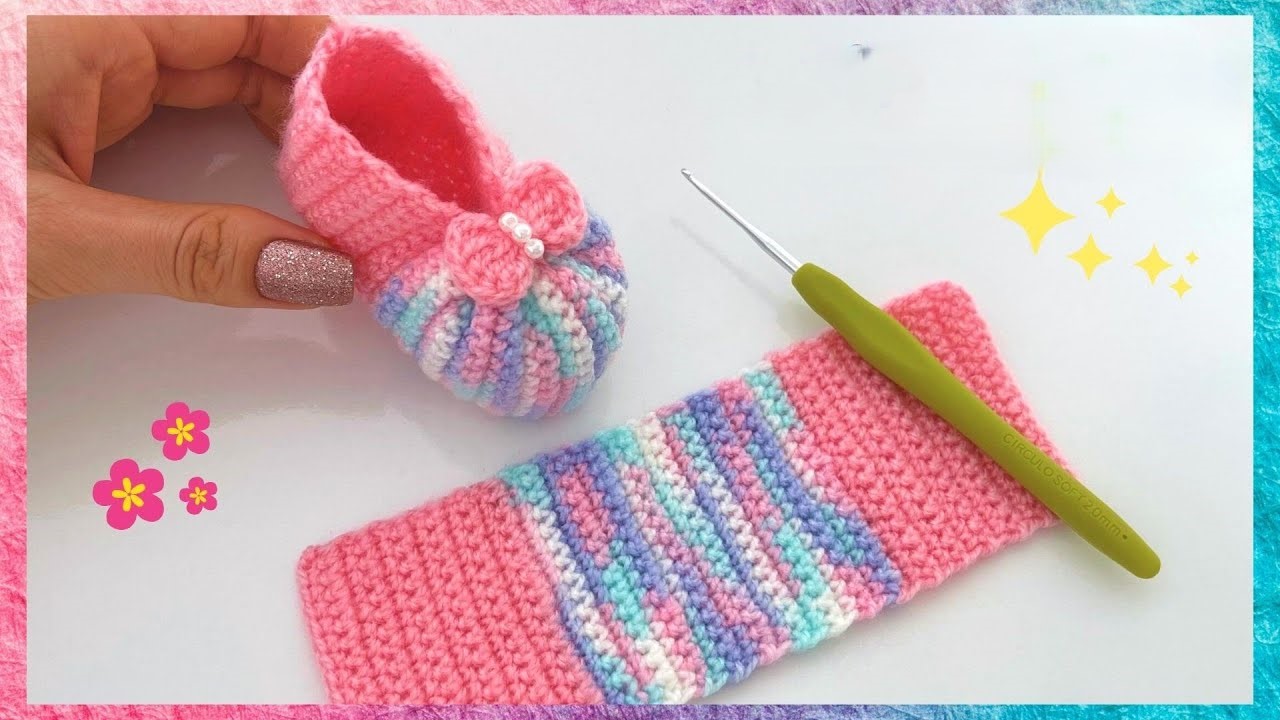
Video tutorial
Finishing:
- Repeat all steps to make the second shoe.
- Weave in any remaining loose ends carefully on the inside of the booties.
- Fold down the cuff if desired.
- Add any embellishments like buttons sewn to the side of the cuff, or weave a ribbon through the stitches of the last hdc round before the cuff edge.