 by
by 
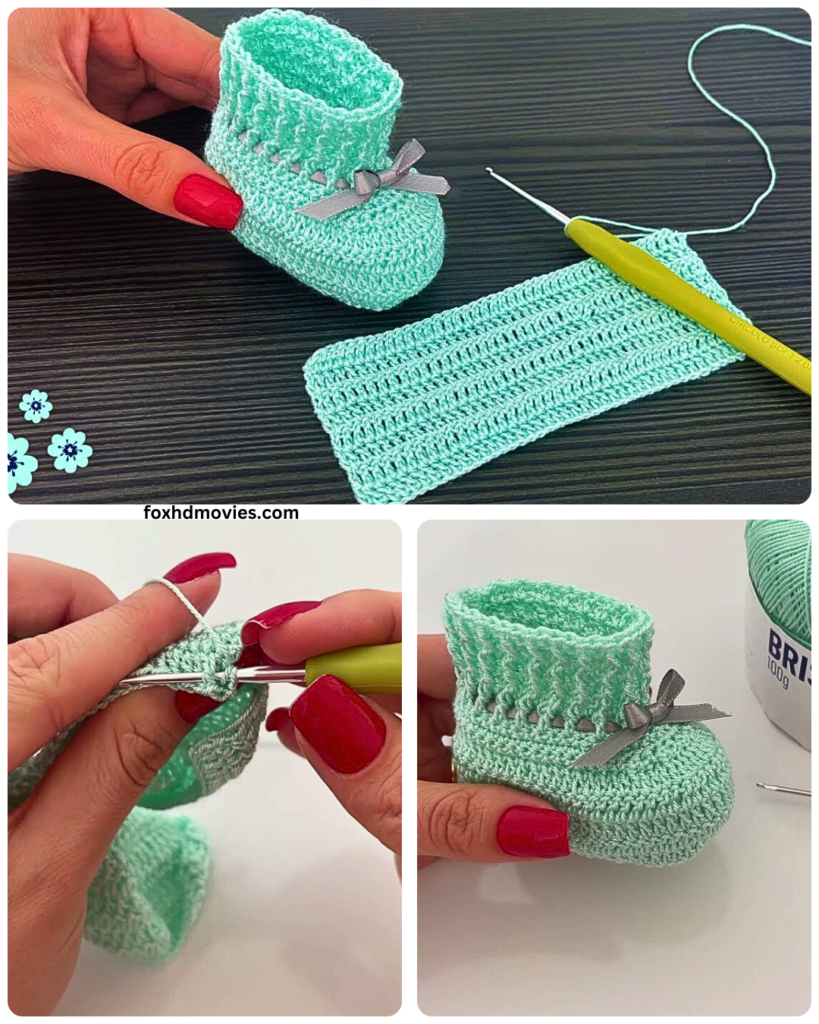
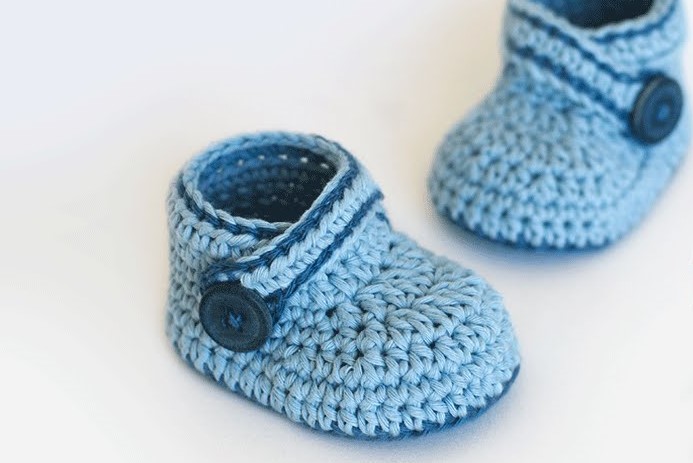
here’s a detailed step-by-step pattern for making easy baby crochet shoes for beginners. This pattern uses basic crochet stitches and is designed to be simple to follow.
Skill Level: Beginner
Materials:
- Worsted weight yarn (soft baby yarn is recommended) in your desired color. You won’t need a lot – scraps are perfect!
- Crochet hook size G/6 (4.0 mm) or the size recommended for your yarn.
- Yarn needle for weaving in ends.
- Scissors.
Abbreviations (US Crochet Terms):
- ch = chain
- sl st = slip stitch
- sc = single crochet
- hdc = half double crochet
- dc = double crochet
Gauge:
- Gauge is not crucial for baby shoes, but for a general idea, aim for approximately 4 single crochet stitches per inch. Consistency in your tension is more important than hitting an exact gauge.
Size:
- This pattern is written for a newborn to 3-month-old baby (approximately 3.5 inches sole length). You can adjust the length of the initial chain to make the sole longer or shorter for different sizes.

Pattern:
Part 1: The Sole (Make 2)
- Start: Chain 10.
- Round 1: In the second chain from the hook, single crochet (sc). Sc in the next 7 chains. In the last chain, work 3 sc. Now, working on the other side of the chain, sc in the next 7 chains. In the last chain (which is the same as the first chain you worked into), work 2 sc. Slip stitch (sl st) to the first sc of the round to join. (Total: 20 sc)
- Explanation: You’re creating an oval shape. The 3 sc at one end and the 2 sc at the other create the rounded ends of the sole.
- Round 2: Chain 1 (does not count as a stitch). Work 2 sc in the first stitch. Sc in the next 7 stitches. Work 2 sc in each of the next 3 stitches. Sc in the next 7 stitches. Work 2 sc in each of the last 2 stitches. Sl st to the first sc of the round to join. (Total: 26 sc)
- Explanation: You’re increasing stitches at the rounded ends to make the oval wider.
- Round 3: Chain 1 (does not count as a stitch). Work 2 sc in the first stitch. Sc in the next 8 stitches. Work 1 sc in the next stitch, 2 sc in the next stitch. Repeat from * to * two more times (total of 3 repeats). Sc in the next 8 stitches. Work 1 sc in the next stitch, 2 sc in the next stitch. Repeat from * to * one more time (total of 2 repeats). Sl st to the first sc of the round to join. (Total: 32 sc)
- Explanation: More increases to continue shaping the sole.
- Round 4 (Optional for slightly larger sole): Chain 1 (does not count as a stitch). Work 2 sc in the first stitch. Sc in the next 9 stitches. Work 1 sc in the next stitch, 2 sc in the next stitch. Repeat from * to * two more times. Sc in the next 9 stitches. Work 1 sc in the next stitch, 2 sc in the next stitch. Repeat from * to * one more time. Sl st to the first sc of the round to join. (Total: 38 sc)
- Explanation: This round adds a little more length and width. Skip if you want a smaller newborn size.
- Fasten off the first sole and weave in the ends. Do not fasten off the second sole.
Part 2: The Sides of the Shoe
- Continue from the second sole: Chain 1 (does not count as a stitch). Work 1 single crochet (sc) in the back loop only of each stitch around. Sl st to the first sc of the round to join. (Total: 32 or 38 sc depending on the sole size)
- Explanation: Working in the back loop only creates a nice ridge that helps form the sides of the shoe.
- Round 6: Chain 1 (does not count as a stitch). Single crochet (sc) in each stitch around. Sl st to the first sc of the round to join. (Total: 32 or 38 sc)
- Round 7: Chain 1 (does not count as a stitch). Single crochet (sc) in each stitch around. Sl st to the first sc of the round to join. (Total: 32 or 38 sc)
- Explanation: These rounds build up the height of the shoe sides. You can add more rounds here if you want a higher shoe.

Part 3: Shaping the Toe
- Round 8: Chain 1 (does not count as a stitch). Single crochet (sc) in the next 10 (or 12 if you did the extra sole round) stitches.
- Explanation: We’re now going to work back and forth to create the toe opening.
- Row 9: Chain 1, turn. Skip the first stitch. Single crochet (sc) in the next 8 (or 10) stitches.
- Row 10: Chain 1, turn. Skip the first stitch. Single crochet (sc) in the next 6 (or 8) stitches.
- Row 11: Chain 1, turn. Skip the first stitch. Single crochet (sc) in the next 4 (or 6) stitches.
- Row 12: Chain 1, turn. Skip the first stitch. Single crochet (sc) in the next 2 (or 4) stitches.
- Row 13: Chain 1, turn. Skip the first stitch. Single crochet (sc) in the last stitch. (You should have 1 or 2 stitches left depending on the sole size).
- Explanation: Each row decreases the number of stitches, creating the rounded shape of the toe.
- Fasten off and weave in the ends.
Part 4: The Ankle Strap (Make 2)
- Attach yarn: With the right side of the shoe facing you, find the middle back of the shoe. Attach your yarn with a slip stitch.
- Chain 12. (Adjust the number of chains for a longer or shorter strap).
- Fasten off and weave in the ends.
Part 5: Finishing
- Sew the strap: On the opposite side of where you attached the strap, find a spot to sew the end of the strap. This will create a loop that can be gently pulled over the ankle to secure the shoe. You can either sew it directly onto the shoe or create a small buttonhole by chaining a few stitches and then slip stitching back. For a beginner-friendly option, simply sew the end of the strap securely to the side of the shoe.
- Alternative Strap Option (Tie Closure): Instead of making a loop, you can make a longer chain (e.g., chain 20) for the strap and tie it around the baby’s ankle. Attach the strap on both sides of the shoe.
- Weave in all remaining loose ends using your yarn needle.
- Repeat all steps to make the second shoe.
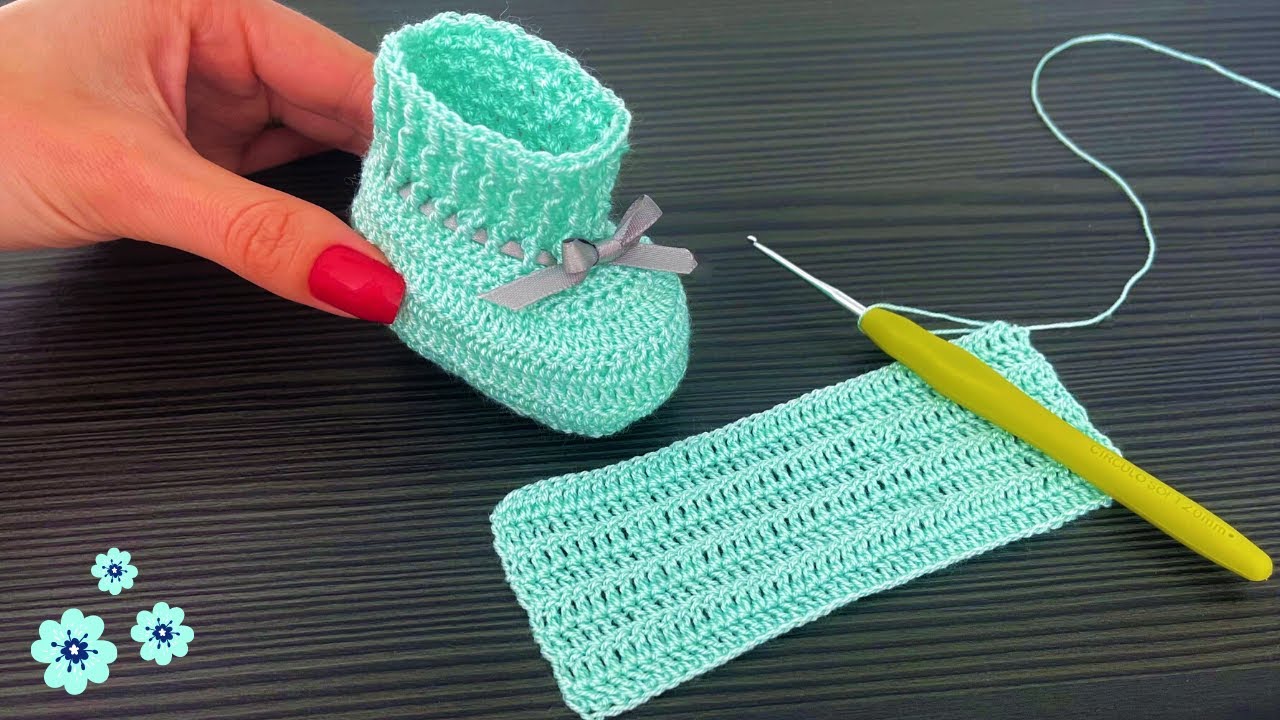
Video tutorial
Tips for Beginners:
- Practice your stitches: Before starting the shoes, practice making chains, single crochets, and slip stitches until you feel comfortable with them.
- Count your stitches: It’s easy to lose track of stitches, especially in the early rounds. Counting after each round can prevent mistakes.
- Don’t pull too tight: Keep your tension relaxed and even. Pulling too tightly can make the shoes too small and stiff.
- Use stitch markers: If you’re having trouble identifying the beginning or end of a round, use a stitch marker.
- Take breaks: If you get frustrated, take a break and come back to it later.
- Watch video tutorials: If you find any part of the pattern confusing, search for video tutorials on YouTube for the specific stitch or technique. There are many great visual resources available.