by
by 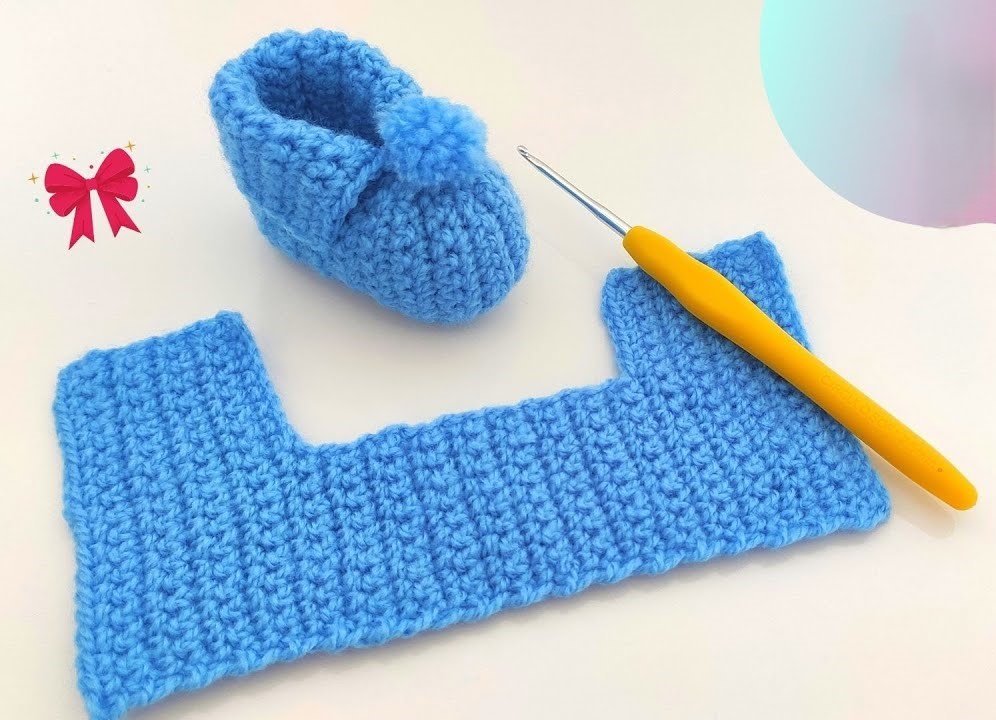
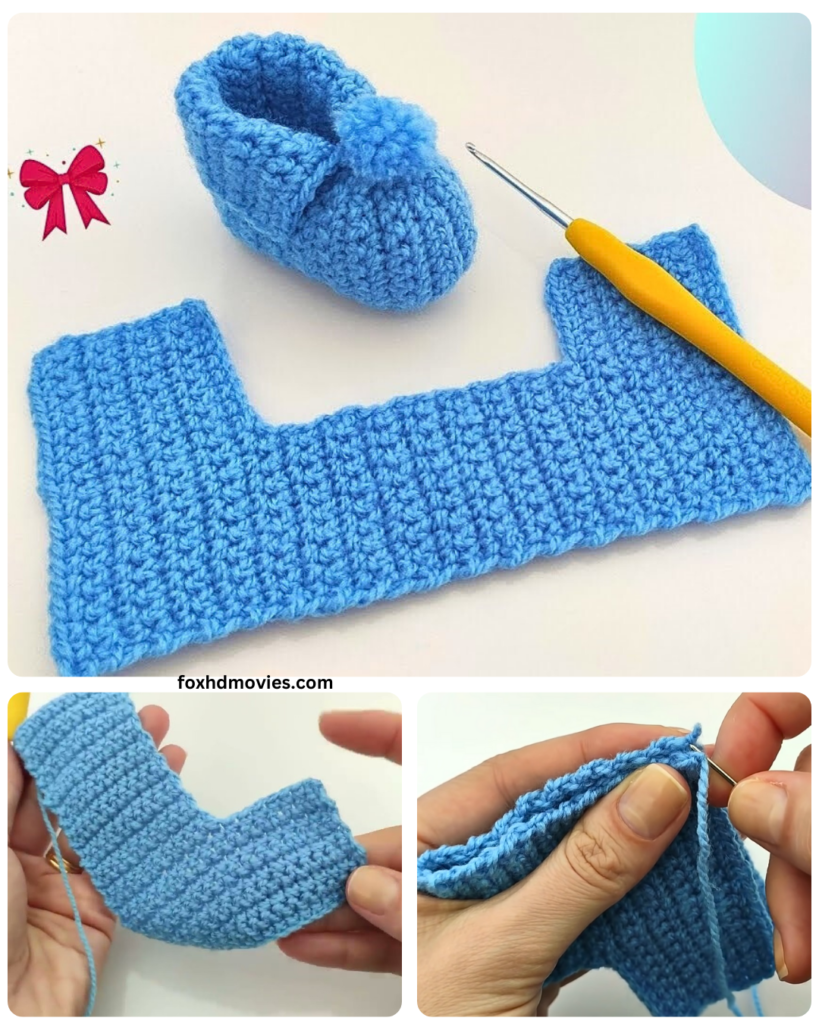
here is a detailed step-by-step pattern for easy baby crochet shoes, perfect for beginners. This pattern makes a small shoe, approximately 3-4 inches long, suitable for a newborn to 3-month-old baby. You can adjust the size by adding or subtracting rounds in the sole.
Materials You’ll Need:
- Yarn: Worsted weight yarn in your desired color (soft baby yarn is recommended). You won’t need much – scraps are perfect!
- Crochet Hook: Size H/8 (5.0 mm) or the size recommended on your yarn label.
- Scissors: To cut the yarn.
- Yarn Needle: For weaving in the ends.
- Optional: A button or ribbon for closure (if you choose to add a strap).
Abbreviations (US Crochet Terms):
- ch: chain
- sl st: slip stitch
- sc: single crochet
- hdc: half double crochet
- dc: double crochet
- inc: increase (make two stitches in the same stitch)
- dec: decrease (crochet two stitches together)
- st(s): stitch(es)
- rep: repeat
- RS: Right Side
- WS: Wrong Side
Gauge:
While gauge isn’t crucial for this small project, it’s good practice to check. Approximately 11 hdc stitches should measure 2 inches.
Let’s Get Started!
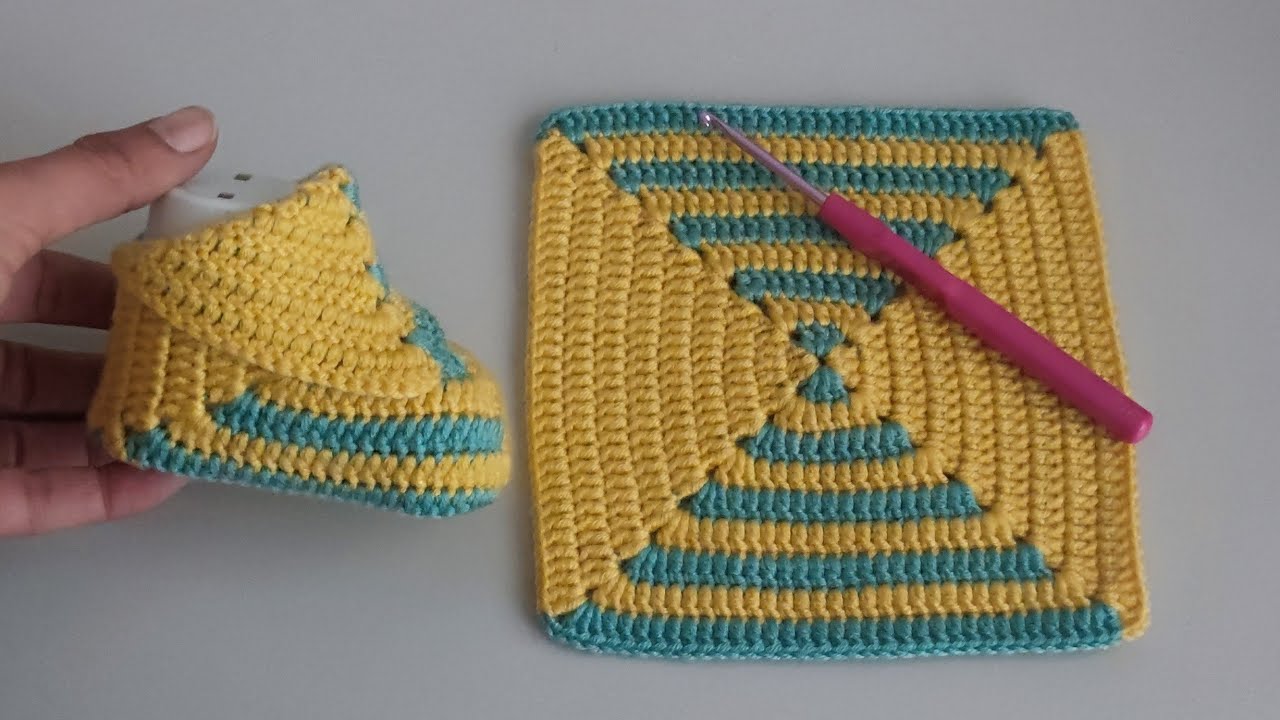
Part 1: The Sole
The sole is worked in rounds, creating an oval shape.
Round 1: Ch 11. In the 2nd ch from the hook, sc 1. Sc in the next 8 ch. In the last ch, make 3 sc. Now, working on the other side of the chain, sc in the next 8 ch. In the last ch (where you started), make 2 sc. Sl st to the first sc to join the round. (22 sts)
Round 2: Ch 1. Sc in the same st. Sc in the next 9 sts. Inc in the next 3 sts. Sc in the next 9 sts. Inc in the last 2 sts. Sl st to the first sc to join the round. (27 sts)
Round 3: Ch 1. Sc in the same st. Sc in the next 10 sts. (Inc, sc) repeat 3 times. Sc in the next 10 sts. Inc in the last 2 sts. Sl st to the first sc to join the round. (32 sts)
Round 4: Ch 2 (counts as the first hdc). Hdc in the same st. Hdc in the next 11 sts. (Inc, hdc) repeat 3 times. Hdc in the next 11 sts. Inc in the last 2 sts. Sl st to the top of the beginning ch-2 to join the round. (37 sts)
Part 2: The Upper
Now we’ll start working on the upper part of the shoe. This section will create the shape around the baby’s foot.
Round 5: Ch 1. Sc in each st around. Sl st to the first sc to join the round. (37 sts)
Round 6: Ch 1. Sc in the back loop only of each st around. This creates a nice ridge. Sl st to the first sc to join the round. (37 sts)
Round 7: Ch 1. Sc in the next 11 sts. Skip the next 8 sts. Sc in the remaining 18 sts. Sl st to the first sc to join the round. (29 sts)
- Explanation: Skipping these 8 stitches will form the toe opening of the shoe.
Round 8: Ch 1. Sc in the next 11 sts. Ch 1. Skip the next skipped 8 sts (this ch-1 will create a small space). Sc in the remaining 18 sts. Sl st to the first sc to join the round. (29 sts + 1 ch-1 space)
Round 9: Ch 1. Sc in the next 11 sts. Sc in the ch-1 space. Sc in the remaining 18 sts. Sl st to the first sc to join the round. (30 sts)
Round 10: Ch 1. Sc in the next 10 sts. Dec 1 (sc two stitches together). Sc in the next 6 sts. Dec 1. Sc in the remaining 10 sts. Sl st to the first sc to join the round. (28 sts)
Round 11: Ch 1. Sc in the next 9 sts. Dec 1. Sc in the next 6 sts. Dec 1. Sc in the remaining 9 sts. Sl st to the first sc to join the round. (26 sts)
Round 12: Ch 1. Sc in the next 8 sts. Dec 1. Sc in the next 6 sts. Dec 1. Sc in the remaining 8 sts. Sl st to the first sc to join the round. (24 sts)
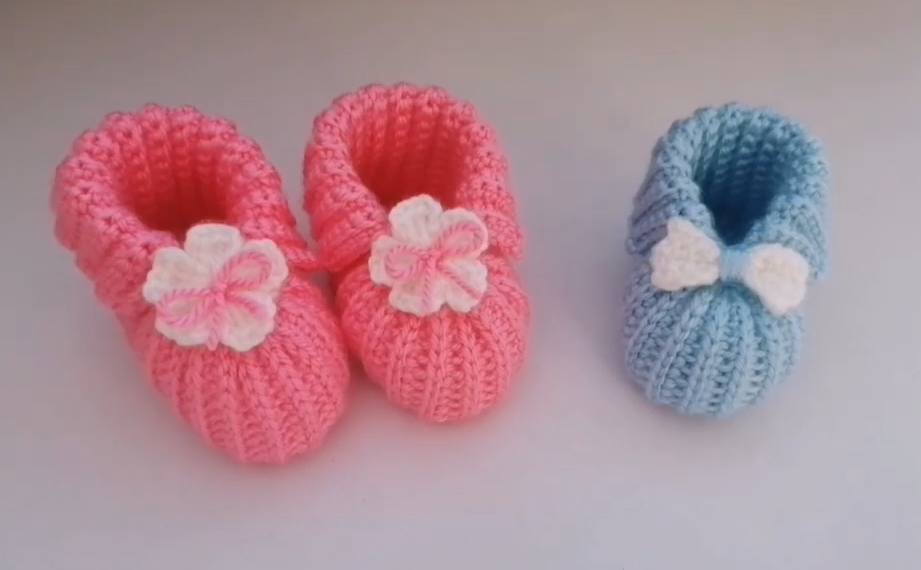
Part 3: The Ankle Cuff (Optional)
This adds a nice finished edge around the ankle.
Round 13: Ch 1. Sc in each st around. Sl st to the first sc to join the round. (24 sts)
You can repeat this round for a slightly taller cuff if desired.
Part 4: The Strap (Optional)
This adds a strap with a button closure to help keep the shoe on.

Option 1: Simple Strap
- Round 14: Ch 1. Sc in the next 12 sts. Ch 8 (or desired length for the strap). Skip the next 12 sts. Sl st to the first sc of the round. (12 sc, 8 ch)
- Round 15: Ch 1. Sc in the next 12 sts. Sc in each of the 8 ch sts. Sl st to the first sc of the round. (20 sts)
- Fasten off and weave in all ends.
- Sew a button onto the side of the shoe opposite the strap, in a position that allows the strap to close comfortably.
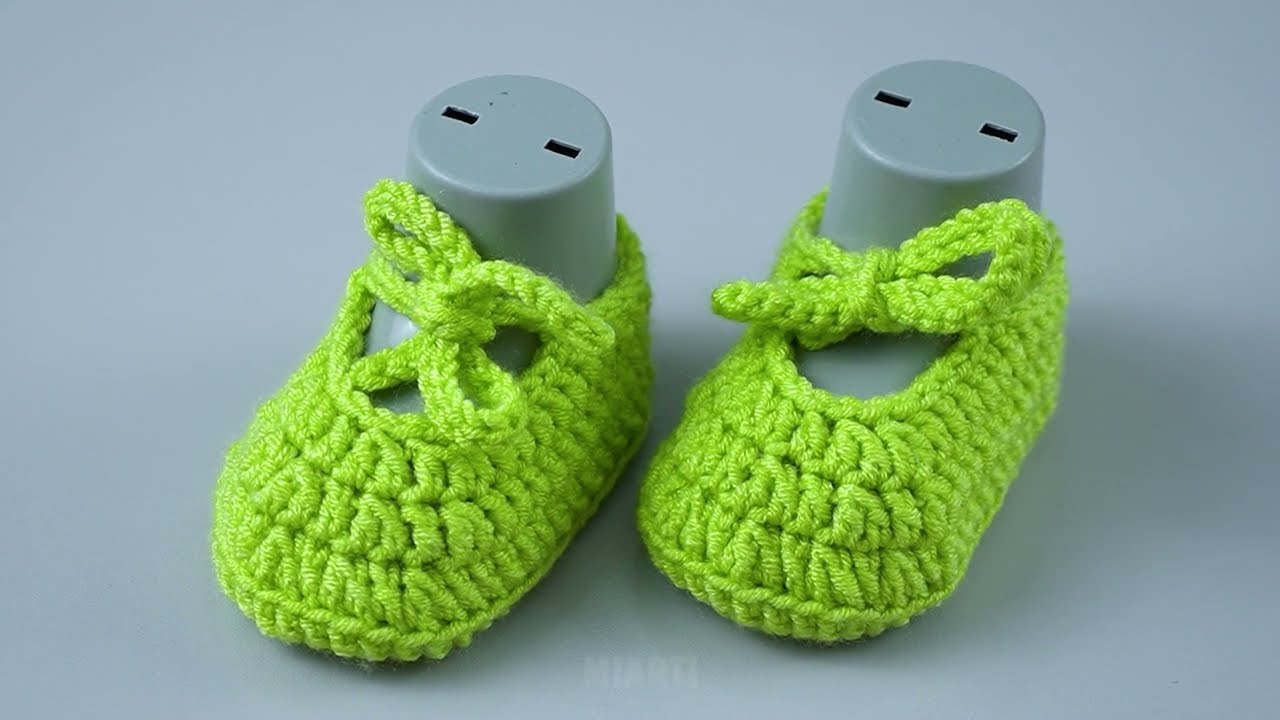
Option 2: Tie Straps
- Round 14: Ch 1. Sc in the next 12 sts. Ch 15 (or desired length for tie). Sl st in the same st. Sc in the next st. Ch 15 (or desired length for tie). Sl st in the same st. Sc in the remaining 10 sts. Sl st to the first sc of the round.
- Fasten off and weave in all ends. You can now tie the straps to secure the shoes.
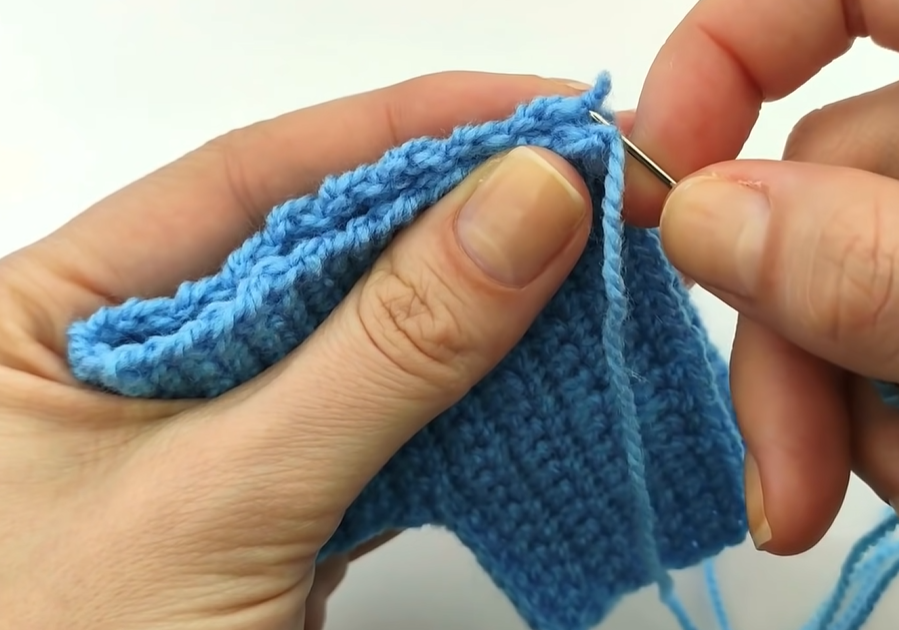
Finishing:
- Fasten off your yarn and cut, leaving a tail.
- Use your yarn needle to weave in all loose ends securely.
Making the Second Shoe:
Repeat all the steps above to make the second shoe. Ensure you are consistent with your tension and stitch counts for both shoes to match.
Video tutorial
Tips for Beginners:
- Practice your basic stitches: Make sure you are comfortable with chain, single crochet, half double crochet, and slip stitch before starting.
- Count your stitches: This is crucial for ensuring your shoe comes out the right shape and size. Count at the end of each round.
- Don’t pull your yarn too tight: This can make your shoe too small and stiff. Aim for a relaxed and even tension.
- Use stitch markers: If you are finding it difficult to keep track of the beginning of your rounds, use a stitch marker.
- Take breaks: If your hands get tired, take a break.
- Watch video tutorials: Sometimes seeing the process can be very helpful. Search for “easy crochet baby shoes for beginners” on YouTube.