 by
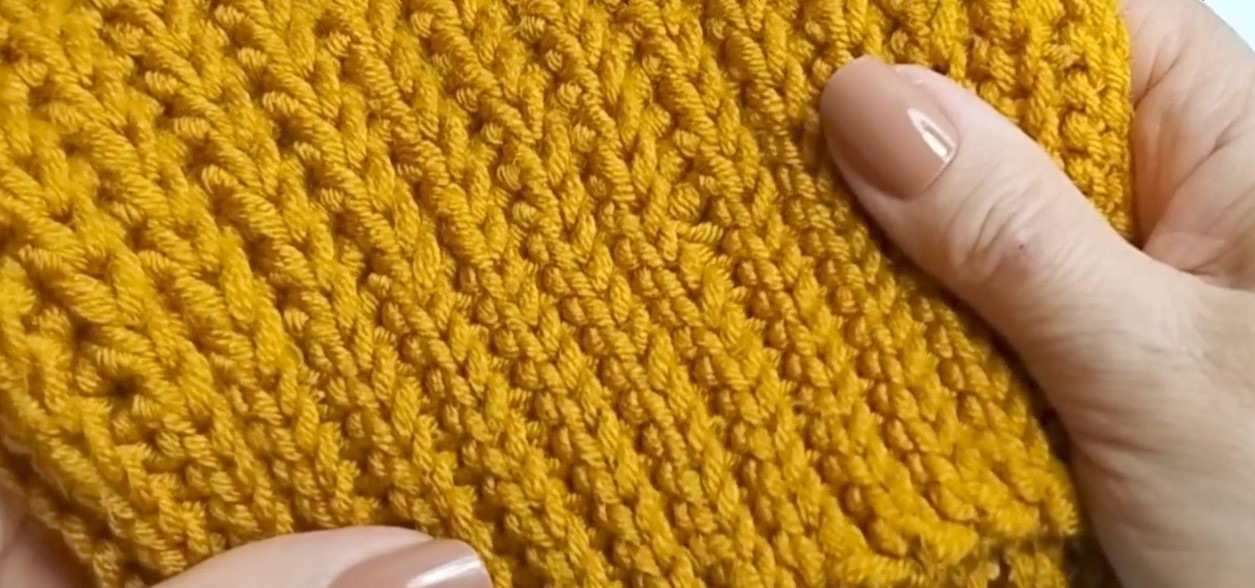
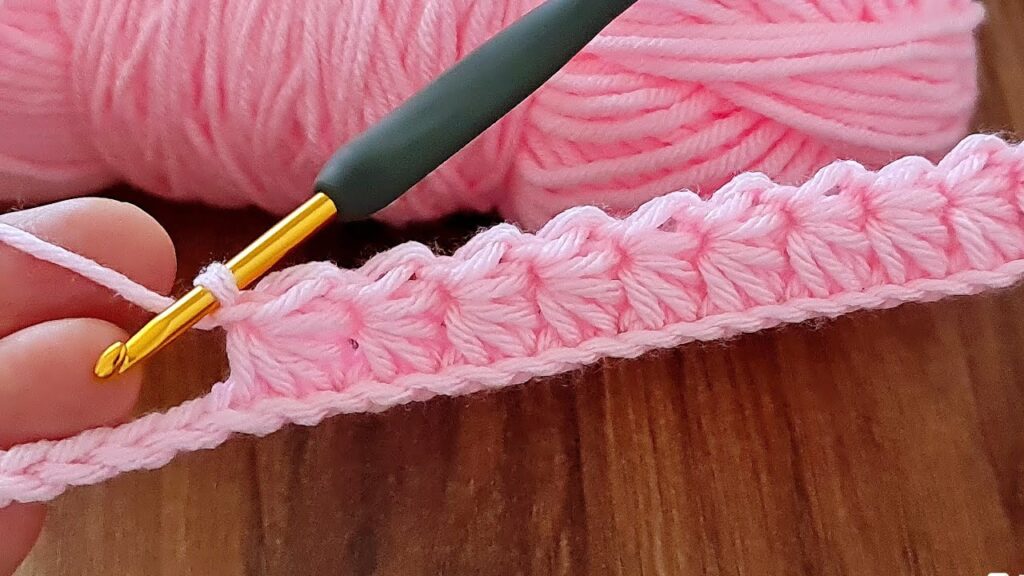
by Alright, let’s create a detailed, step-by-step pattern for a classic and versatile baby blanket stitch. I’ll provide instructions for a simple, textured stitch that’s easy to learn and creates a lovely, cozy fabric. We’ll use a combination of single crochet (sc) and double crochet (dc) stitches.
Materials You’ll Need:
- Yarn: Choose a soft, baby-friendly yarn (e.g., acrylic, cotton, or a blend). The amount will depend on the desired size of your blanket.
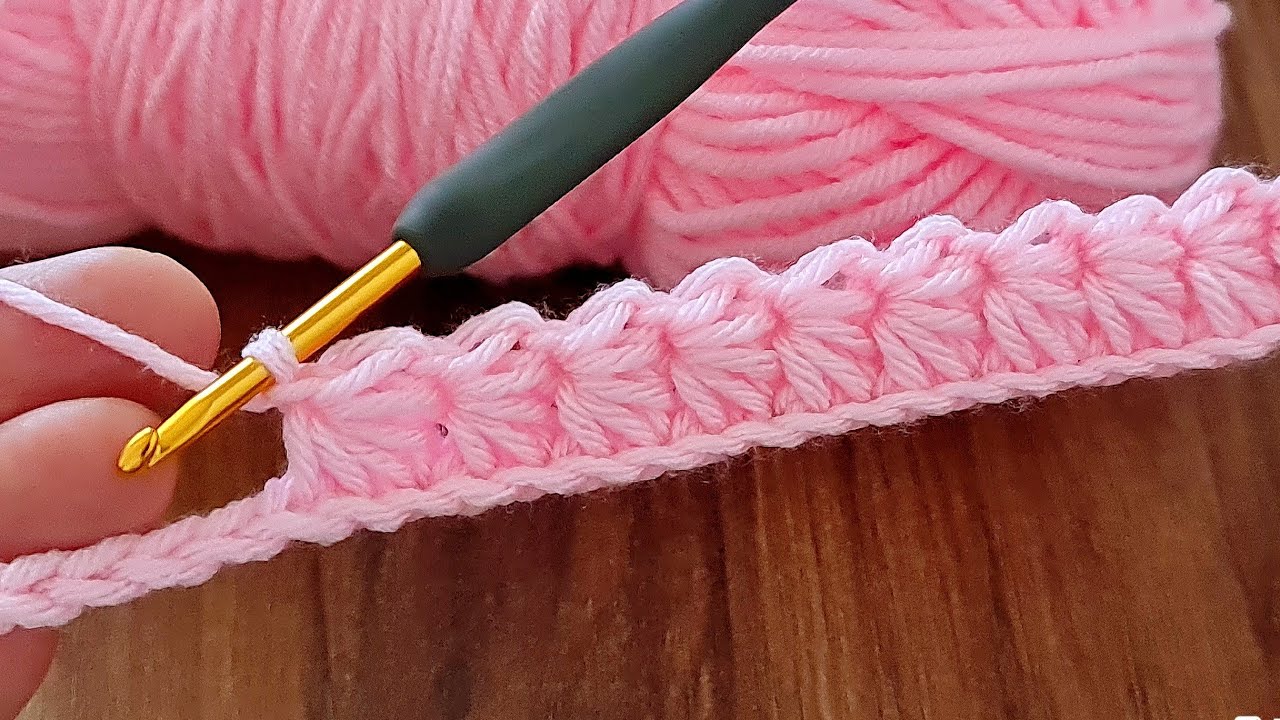
- Crochet Hook: Select a hook size that corresponds to your yarn weight. A common size for baby blankets is an H/8 (5.0 mm) or I/9 (5.5 mm) hook.
- Scissors: For cutting yarn.
- Yarn Needle (Tapestry Needle): For weaving in ends.
Stitches Used (US Terms):
- ch: Chain
- sc: Single Crochet
- dc: Double Crochet
Pattern Instructions:
1. Starting Chain:
- Decide on the desired width of your blanket.
- Chain a number of stitches that is an even number. For a small sample, chain 30. For a larger blanket, chain 100 or more.
- Important: It’s often a good idea to create a swatch (a small sample) to check your tension and see how the stitch looks.
2. Row 1: Foundation Row:
- sc in the 2nd chain from the hook.
- sc in each chain across.
- You’ll have the same number of sc stitches as your initial chain minus one.
- ch 1 and turn. (This turning chain does not count as a stitch.)
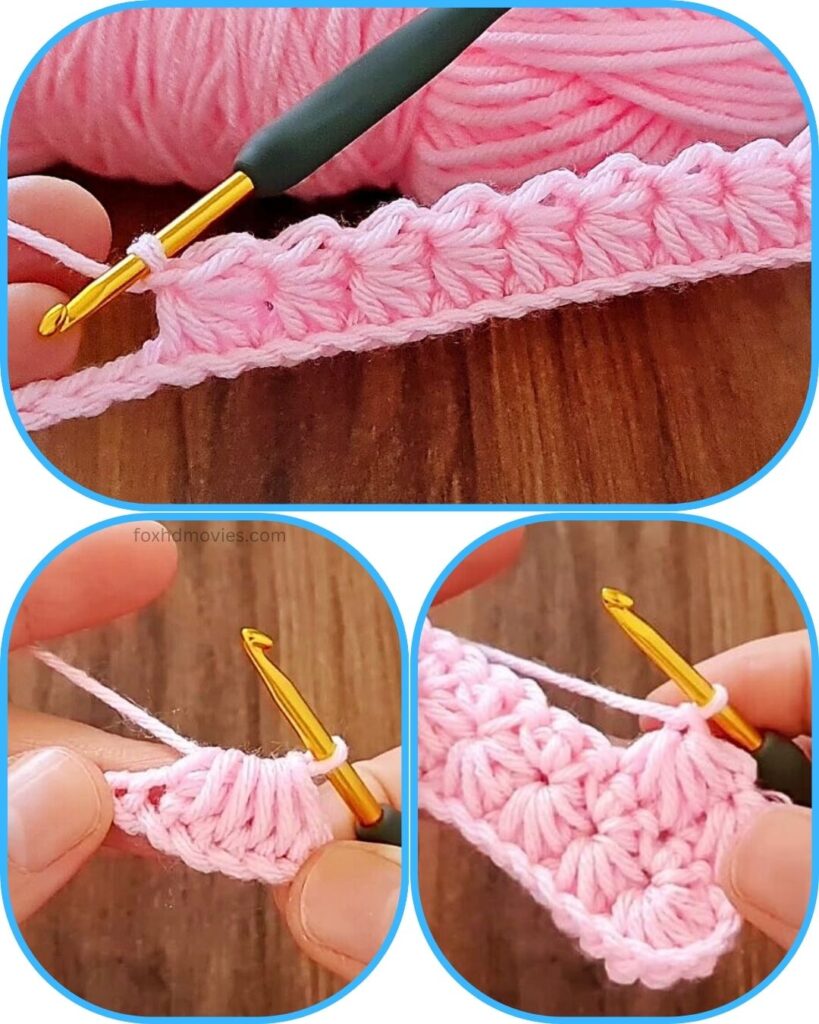
3. Row 2: Pattern Row:
- sc in the first stitch.
- dc in the next stitch.
- Repeat sc in the next stitch, dc in the next stitch across the row.
- sc in the last stitch. (This ensures your edges are even.)
- ch 1 and turn.
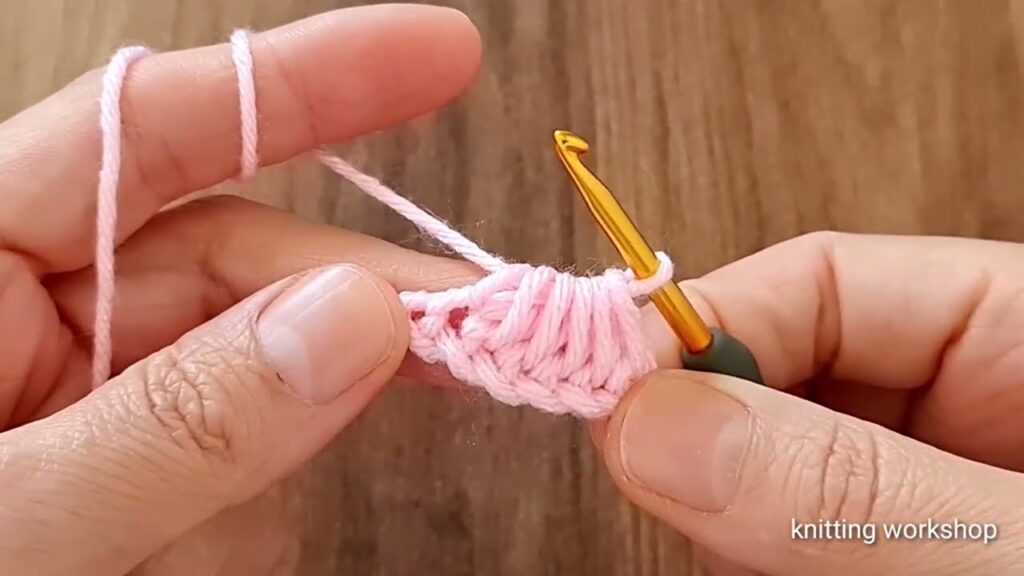
4. Row 3: Pattern Row:
- sc in the first stitch.
- dc in the next stitch.
- Repeat sc in the next stitch, dc in the next stitch across the row.
- sc in the last stitch.
- ch 1 and turn.
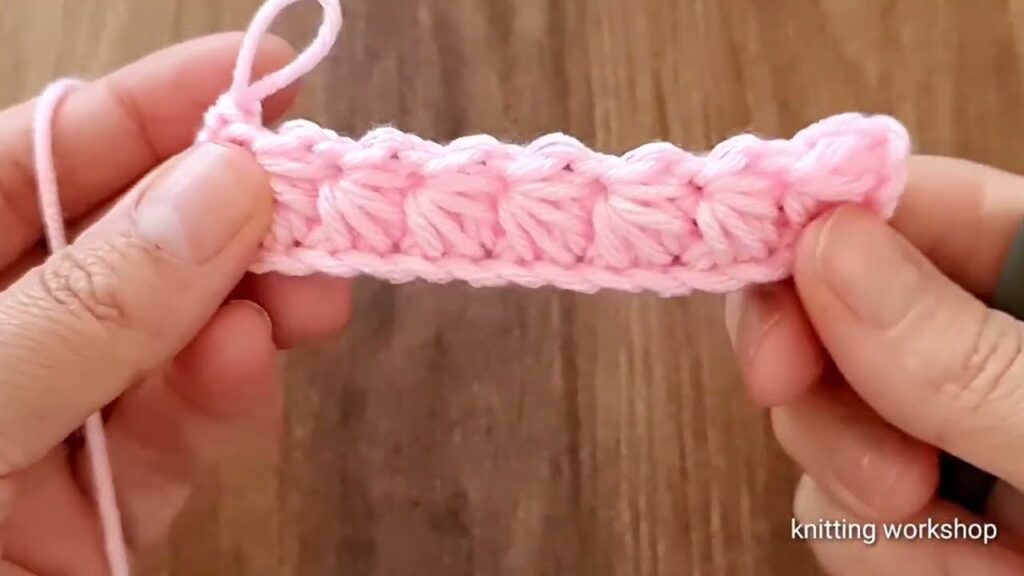
5. Repeating the Pattern:
- Repeat Row 3 until your blanket reaches the desired length.
- Always be sure that your first and last stitches of each row are single crochet stitches. This insures a straight edge.
6. Finishing:
- Once your blanket is the desired length, fasten off your yarn by cutting it and pulling the loop through.
- Use your yarn needle to weave in all loose ends securely.
Tips and Variations:
- Edge Options:
- For a more defined edge, you can add a border of single crochet or double crochet around the entire blanket after finishing.
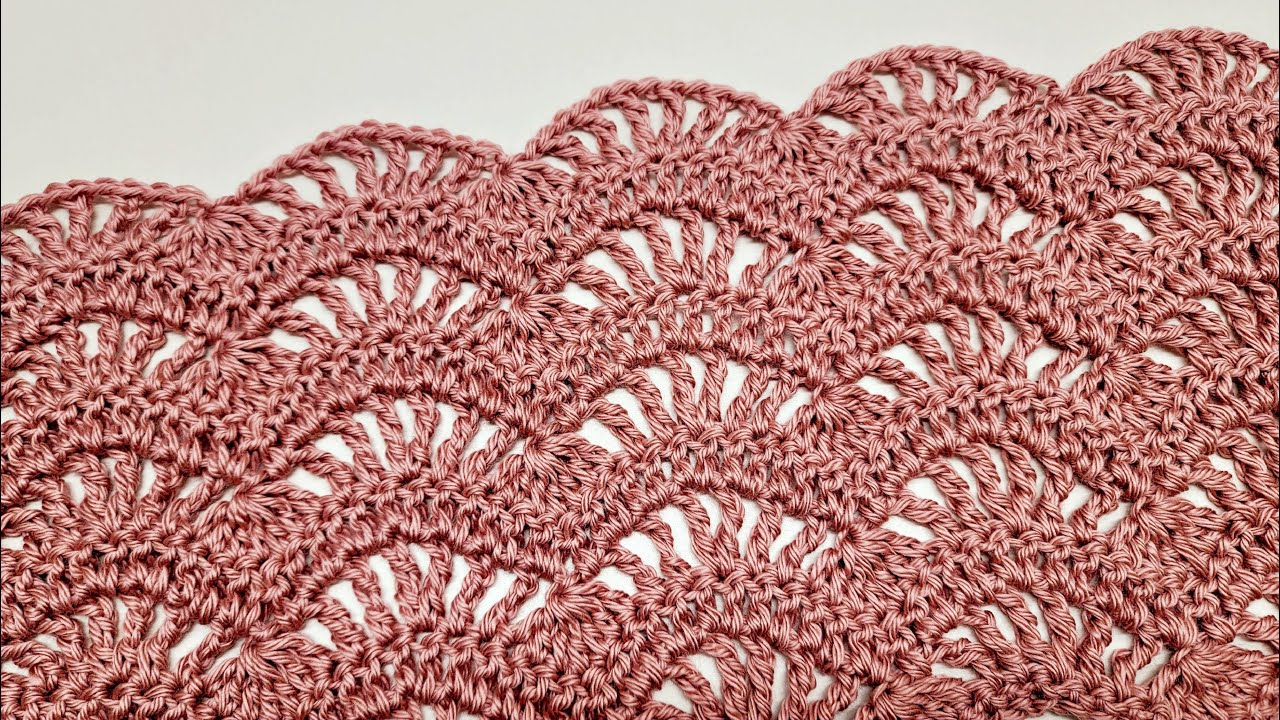
- For a scalloped edge, look up scalloped crochet border instructions.
- Color Changes:
- To add stripes or color blocks, change yarn colors at the end of a row.
- To make stripes, change colors every few rows.
- To make large color blocks, work a section of rows in one color, then switch to another.
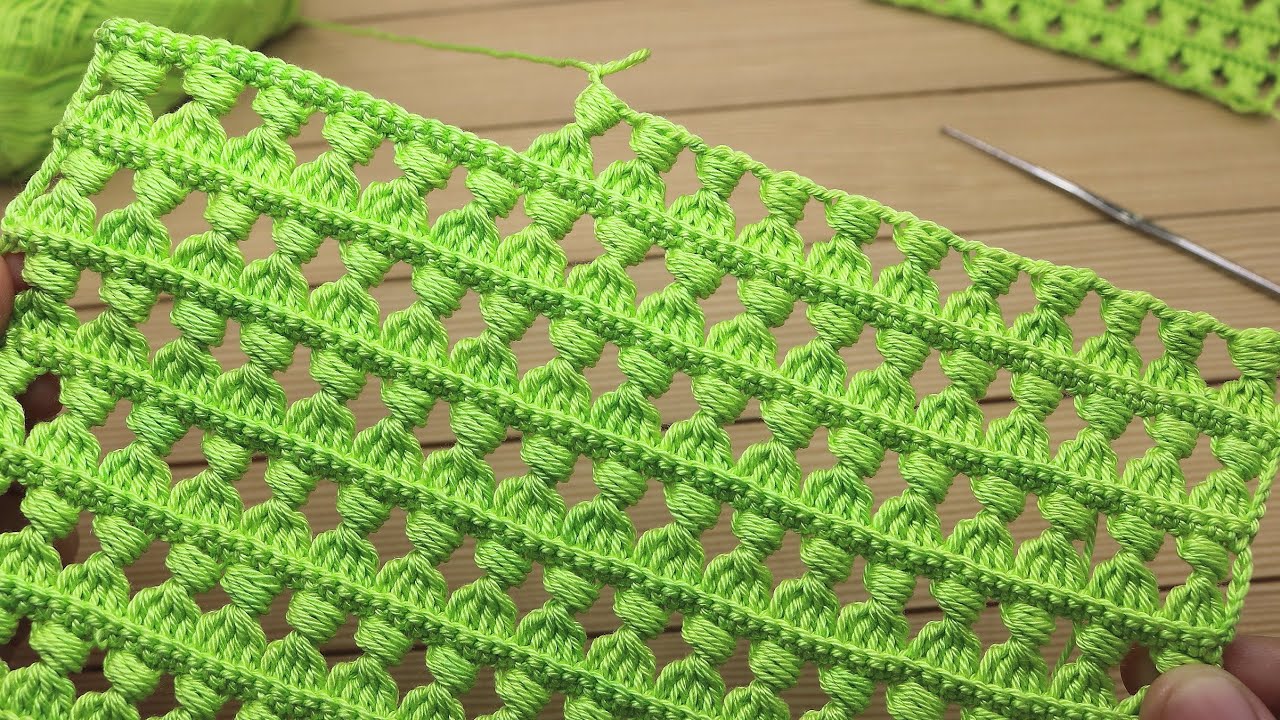
- Yarn Weight and Hook Size:
- Adjust your yarn weight and hook size to create different textures and sizes.
- A thicker yarn and larger hook will create a chunkier blanket.
- A thinner yarn and smaller hook will create a finer, more delicate fabric.
- Tension:
- Maintain consistent tension throughout your project to ensure even stitches and a uniform fabric.
- If your edges are curling, this is usually due to tension issues. Try to relax your grip on the yarn.
Example of Row Repetition:
Let’s say you chained 30, so you have 29 single crochets in row 1.
- Row 1: sc in each of the 29 stitches, ch 1, turn.
- Row 2: sc, dc, sc, dc, sc, dc, sc, dc, sc, dc, sc, dc, sc, dc, sc, dc, sc, dc, sc, dc, sc, dc, sc, dc, sc, dc, sc, dc, sc. ch 1 turn.
- Row 3: sc, dc, sc, dc, sc, dc, sc, dc, sc, dc, sc, dc, sc, dc, sc, dc, sc, dc, sc, dc, sc, dc, sc, dc, sc, dc, sc, dc, sc. ch 1 turn.
- Repeat row 3.
Video tutorial