by
by 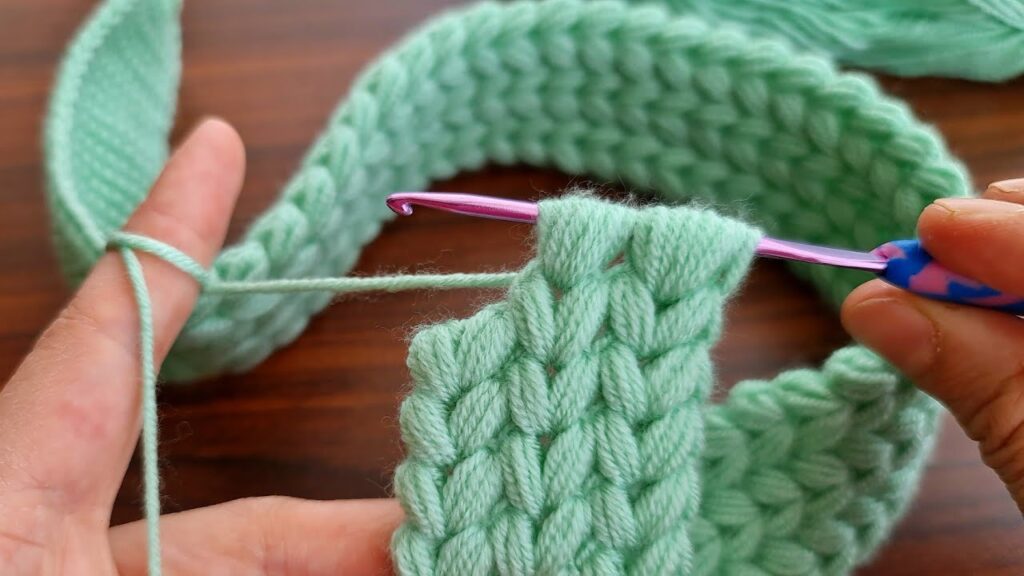
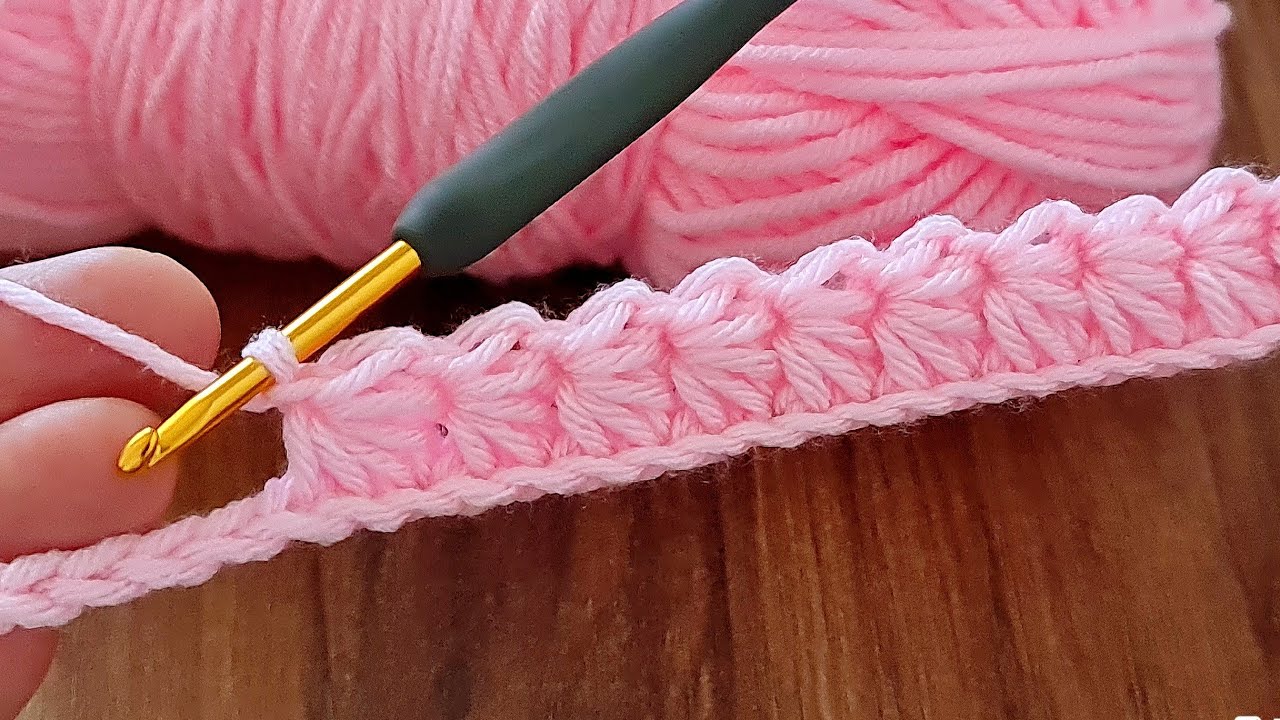
Absolutely! Let’s create a super easy crochet hairband, perfect for beginners. We’ll use simple stitches and a stretchy yarn for comfort.
Materials:
- Yarn: Medium weight (worsted) yarn, preferably a stretchy blend like cotton/elastic or a soft acrylic. You’ll need a small amount.
- Crochet Hook: Size H-8 (5.0 mm) or a size that matches your yarn.
- Scissors: For cutting yarn.
- Yarn Needle: For weaving in ends.
- Measuring Tape (optional): To ensure the correct length.
Abbreviations:
- ch: Chain
- sc: Single crochet
- sl st: Slip stitch
Pattern:
1. Determine the Length:
- Measure the circumference of your head where you want the hairband to sit. Subtract 1-2 inches (2.5-5 cm) for stretch. This will be your desired length.
- Alternatively, if you are making this for a child, use a child size chart for head measurements.
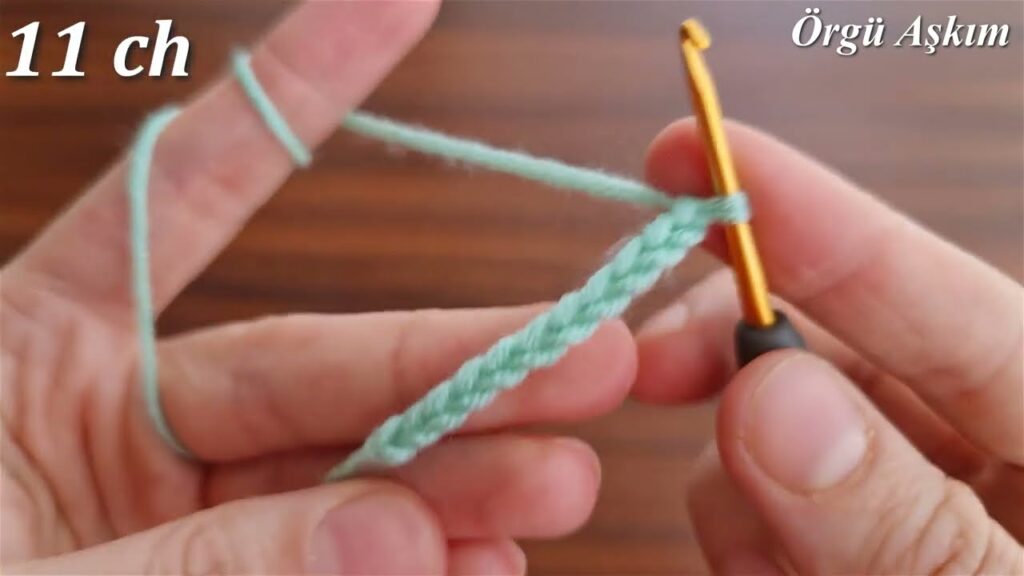
2. Starting Chain:
- Create a slip knot and place it on your hook.
- Chain a length that will give you the desired width of your hairband. For a standard hairband, 5-10 chains is a good starting point. The more chains, the wider the hairband. I will use 8 chains for this example.
- Example: ch 8.
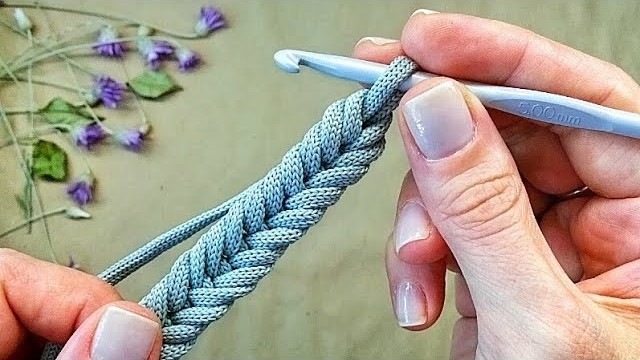
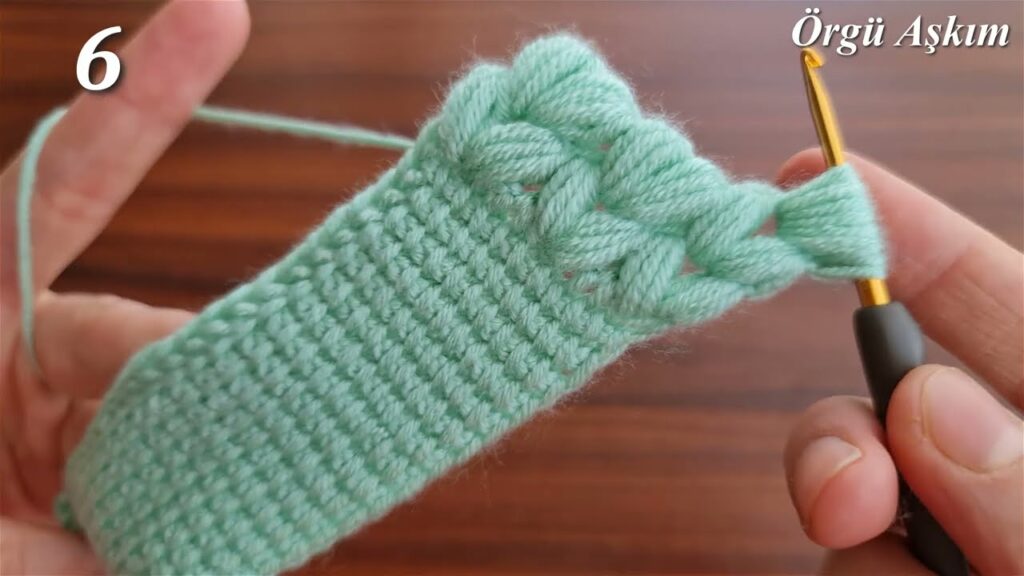
3. Row 1: Single Crochet Across:
- Single crochet (sc) in the second chain from the hook.
- Sc in each chain across.
- Example: sc in 2nd ch from hook and in each ch across. (7 sc)
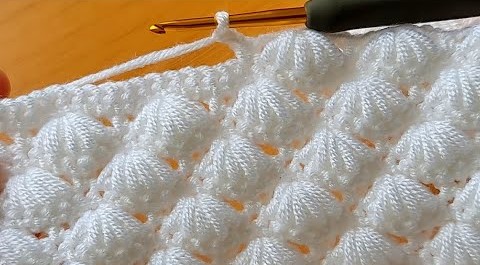
4. Repeat Rows:
- Row 2: Ch 1 (turning chain), sc in each stitch across.
- Repeat Row 2 until your piece reaches the desired length you determined in step 1.
- It is very important to try on the hairband as you go, to ensure proper fit.
- Tip: Keep your tension consistent for an even hairband.
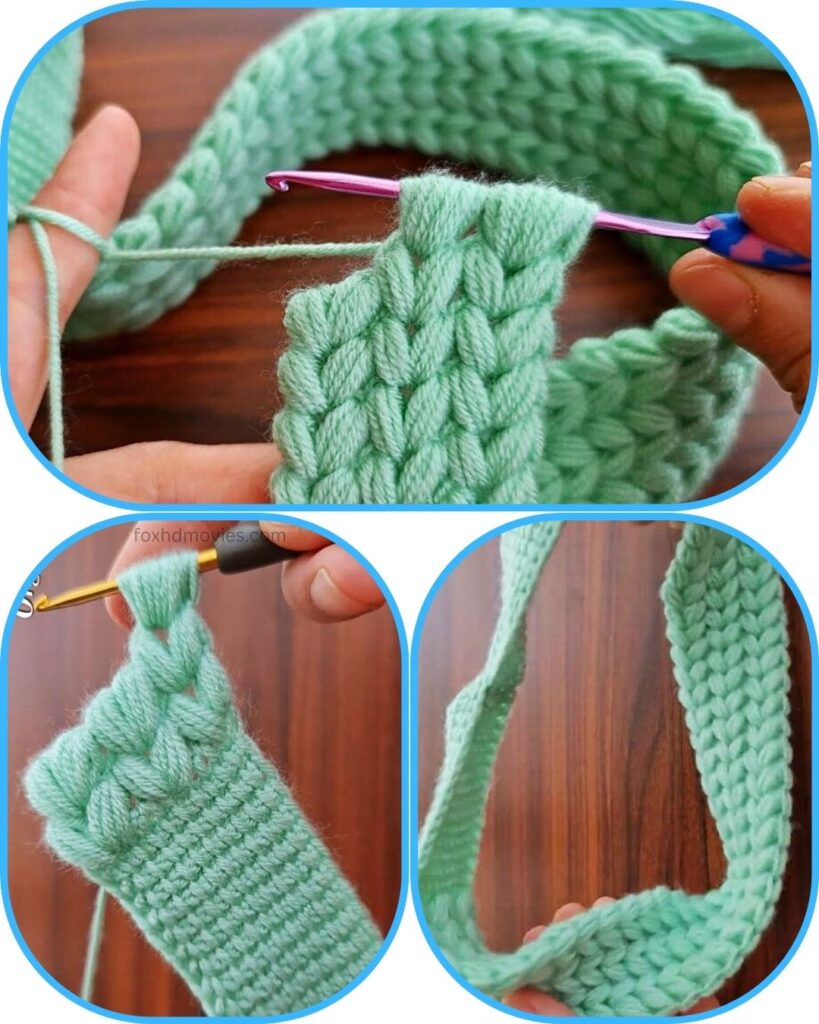
5. Joining the Ends:
- Once your hairband reaches the desired length, cut your yarn, leaving a tail of about 6 inches (15 cm).
- Bring the two short ends of your crochet strip together, making sure they are not twisted.
- Use your yarn needle to sew the two short ends together securely. You can use a whip stitch or a mattress stitch for a neat finish.
- Alternatively, you can slip stitch the two ends together.
- To slip stitch the ends together, after the last row, do not cut the yarn. Hold the two ends together, and slip stitch through both layers of crochet.
6. Weaving in Ends:
- Use your yarn needle to weave in all loose ends securely. This will prevent your hairband from unraveling.
7. Finishing Touches (Optional):
- You can add embellishments like buttons, flowers, or bows to your hairband.
- If you want a thicker hairband, you can crochet two identical strips and sew them together.

Tips for Success:
- Tension: Consistent tension is key for an even and professional-looking hairband.
- Stretchy Yarn: Using a yarn with some stretch will make the hairband more comfortable.
- Try it On: Regularly try on the hairband as you crochet to ensure it fits correctly.
- Experiment: Don’t be afraid to experiment with different yarn colors and widths.
Video Tutorial