by
by 
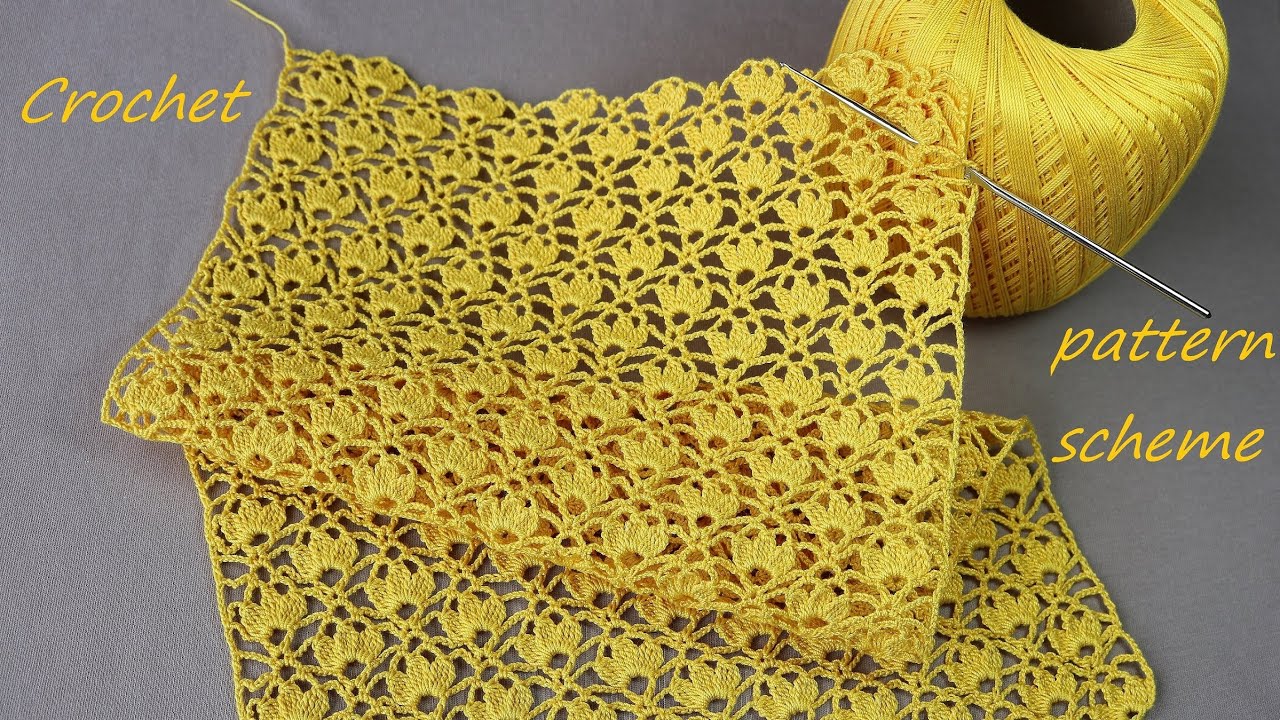
Alright, let’s create a detailed step-by-step pattern for a new and interesting crochet vest stitch, which we’ll call the “Textured Interlocking Loop” stitch. This stitch will create a dense, textured fabric with a unique visual appeal, perfect for a cozy vest.
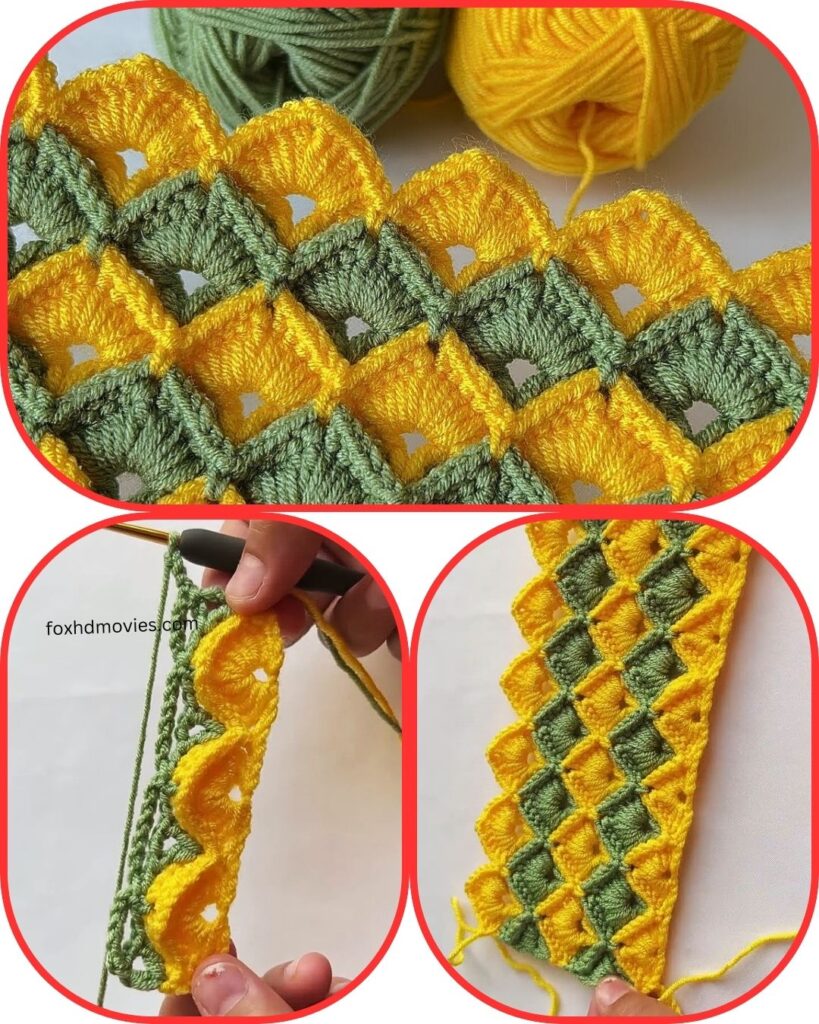
Understanding the Stitch:
The Textured Interlocking Loop stitch is a combination of single crochets (sc), extended single crochets (esc), and strategically placed loops that interlock, creating the texture.
Abbreviations:
- ch: chain
- sc: single crochet
- esc: extended single crochet (insert hook, yarn over, pull up a loop, yarn over, pull through 1 loop, yarn over, pull through 2 loops)
- lp: loop (pull up a long loop, approximately 1 inch, keep it on the hook)
- sk: skip
- st(s): stitch(es)
- rep: repeat
Pattern Instructions:
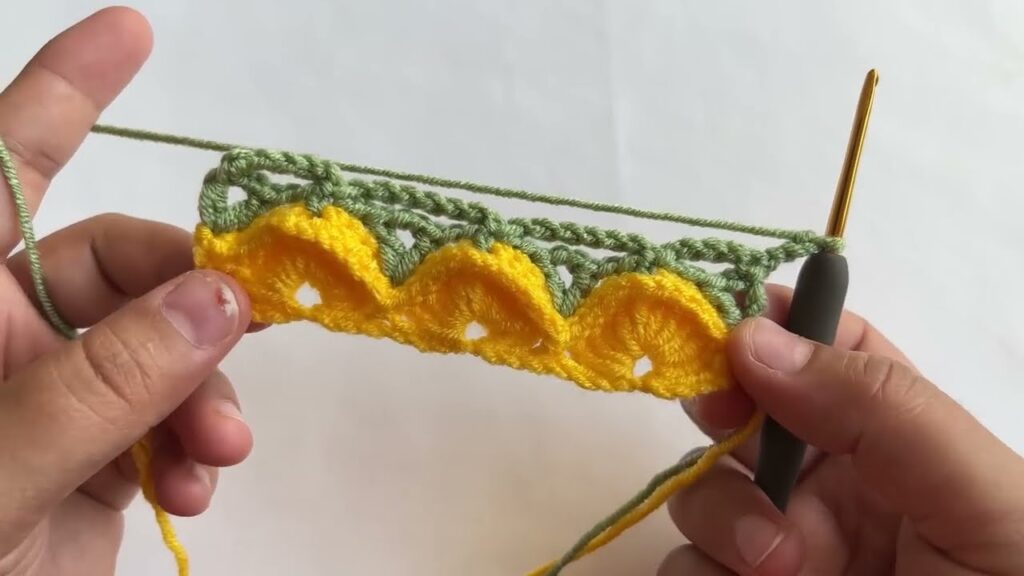
Foundation Row:
- Chain an even number of stitches. (For a sample swatch, ch 30. For a vest, chain the desired width based on your measurements.)
- Sc in the 2nd ch from the hook, and sc in each ch across. Turn.
Row 1 (Base Row):
- Ch 1 (does not count as a st), sc in the first st.
- Esc in the next st, sc in the next st. Rep from * to * across the row. Turn.
Row 2 (Loop Row):
- Ch 1 (does not count as a st), sc in the first st.
- Lp in the next st (the esc from the previous row), sk 1 st, sc in the next st. Rep from * to * across the row. Turn.
Row 3 (Interlock Row):
- Ch 1 (does not count as a st), sc in the first st.
- Esc in the loop from the previous row, sc in the next st. Rep from * to * across the row. Turn.
Row 4 (Repeat Row 2):
- Ch 1 (does not count as a st), sc in the first st.
- Lp in the next st (the esc from the previous row), sk 1 st, sc in the next st. Rep from * to * across the row. Turn.
Row 5 (Repeat Row 3):
- Ch 1 (does not count as a st), sc in the first st.
- Esc in the loop from the previous row, sc in the next st. Rep from * to * across the row. Turn.

Repeating the Pattern:
- Repeat Rows 2 and 3 (or 4 and 5) to create the desired length for your vest.
Creating the Vest:
- Back Panel:
- Start with the foundation chain for the desired width of the back panel.
- Follow the pattern instructions, repeating Rows 2 and 3 until you reach the desired length for the back panel.
- Fasten off and weave in ends.
- Front Panels (2):
- Start with the foundation chain for the desired width of one front panel.
- Follow the pattern instructions, repeating Rows 2 and 3 until you reach the same length as the back panel.
- Repeat for the second front panel.
- Fasten off and weave in ends.
- Shoulder Seams:
- Lay the back panel flat.
- Place the front panels on top, aligning the shoulder edges.
- Sew or crochet the shoulder seams together.
- Side Seams:
- Sew or crochet the side seams, leaving openings for the armholes.
- Edging (Optional):
- You can add a border around the armholes, neckline, and bottom edge using sc, hdc, or any edging stitch you prefer.
- For example a simple sc border would clean up the edges nicely.
- Finishing:
- Weave in all remaining ends.
- Block your vest to even out the stitches and enhance the texture.
Tips and Variations:
- Loop Length: Adjust the length of the loops to create different textures. Longer loops will create a more pronounced texture.
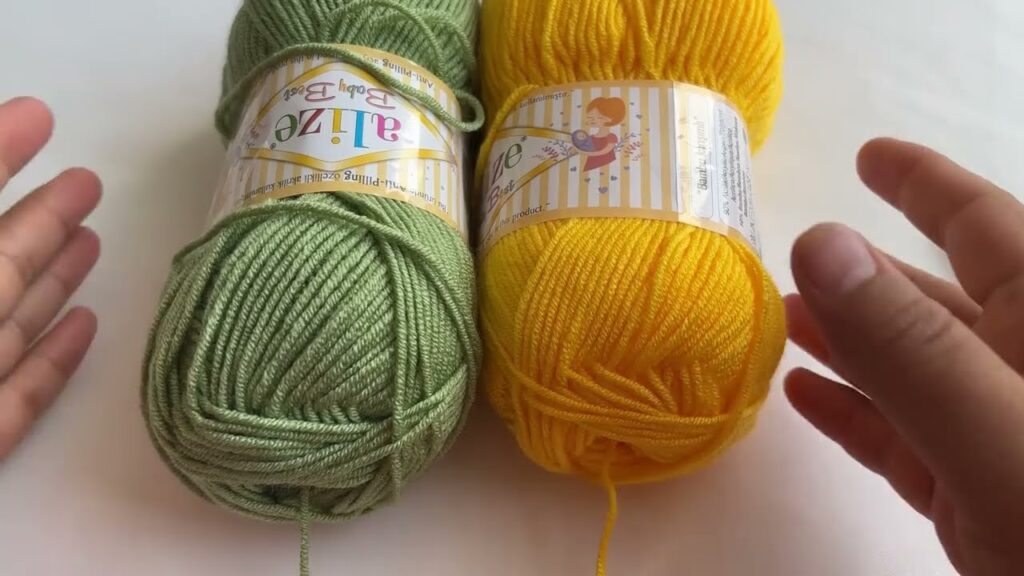
- Yarn Choice: Use a medium-weight yarn for a cozy vest. Thicker yarns will create a more bulky fabric.
- Color Changes: Incorporate color changes in the loop rows to add visual interest.
- Armhole and Neckline Shaping: For a more fitted vest, you can incorporate shaping techniques for the armholes and neckline. Look up crochet armhole and neckline shaping techniques.
Video Tutorial:
Important Notes:
- Practice the stitch pattern on a small swatch before starting your vest.
- Pay attention to your tension to maintain a consistent fabric.
- Adjust the number of starting chains to fit your size.
- Remember to measure often as you work.
This detailed pattern should provide a good foundation for creating your Textured Interlocking Loop crochet vest. Happy crocheting!