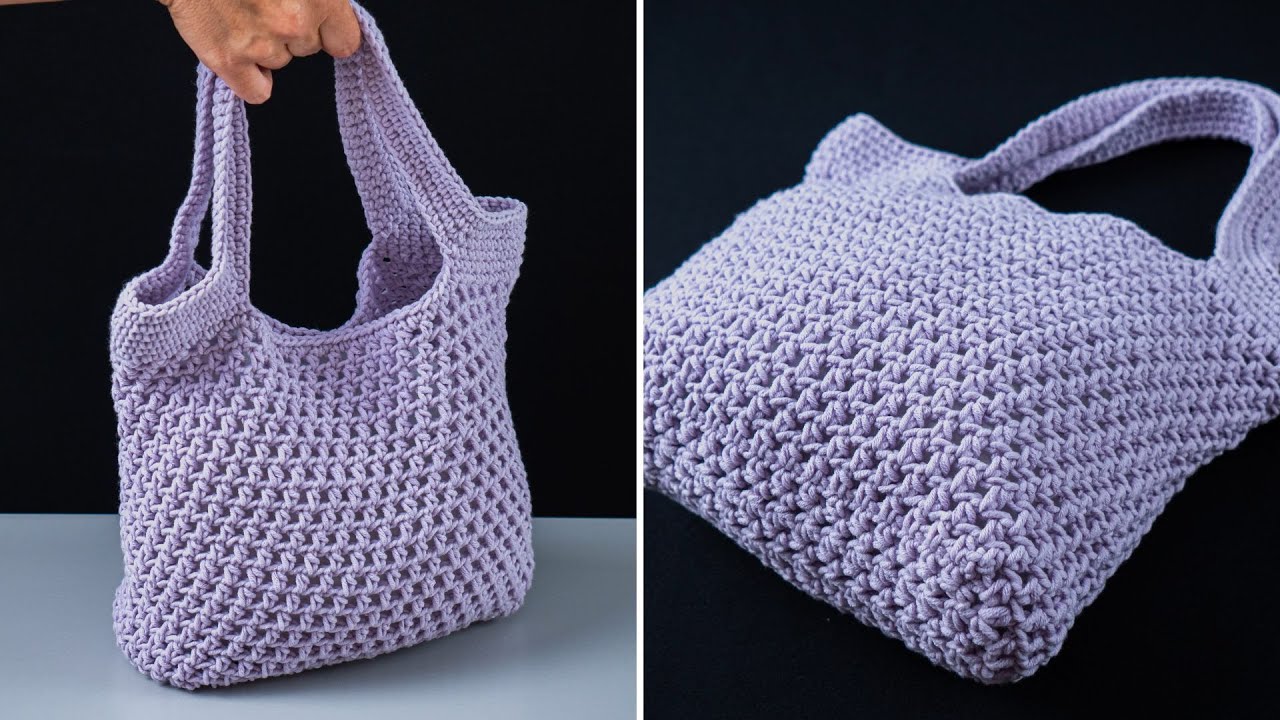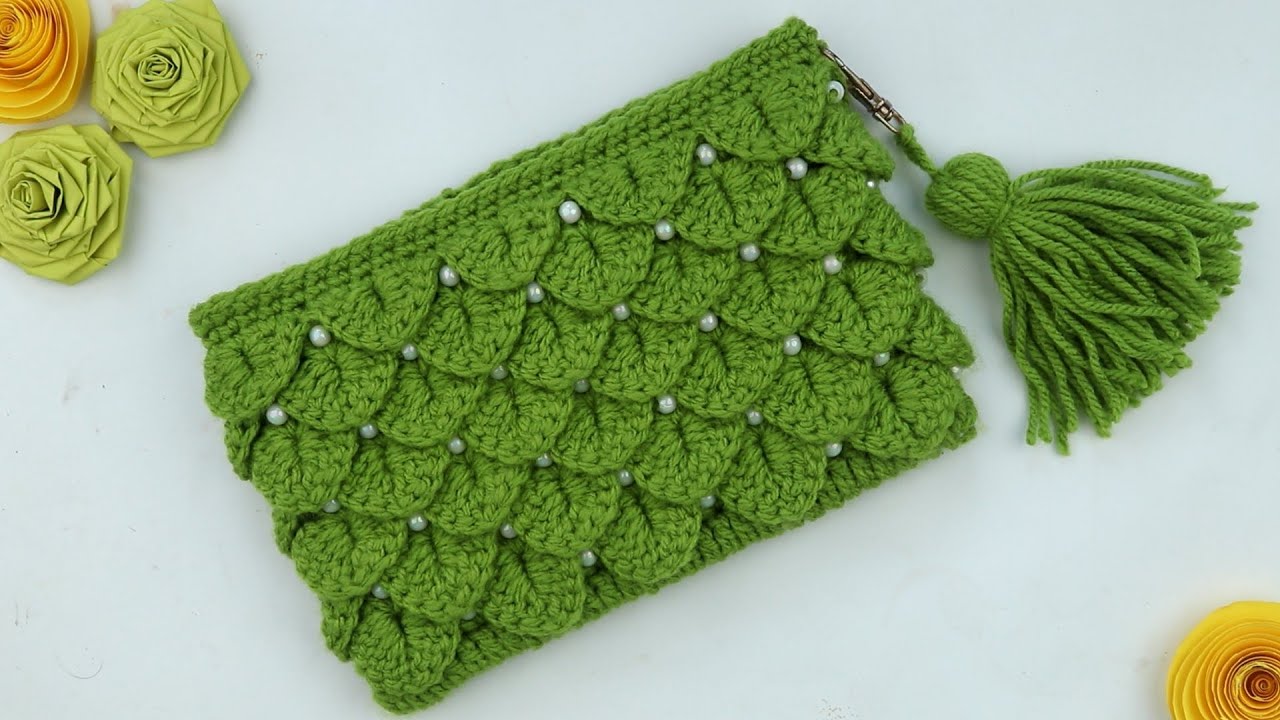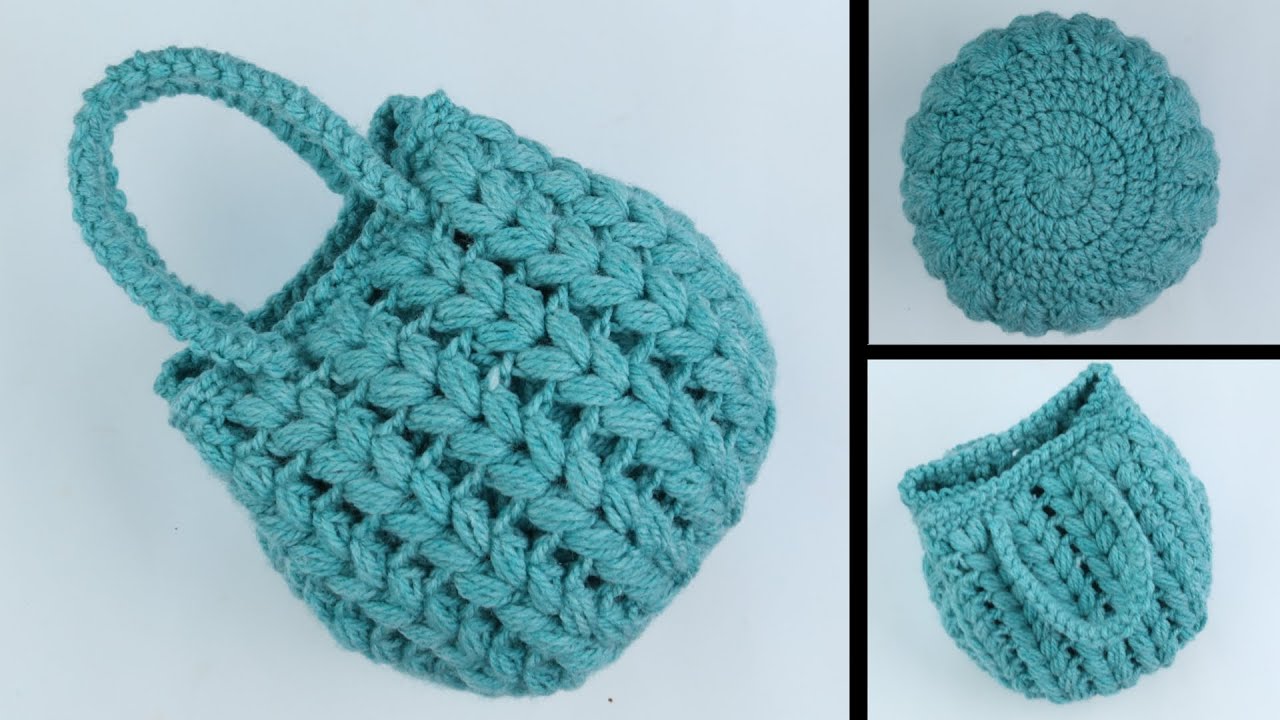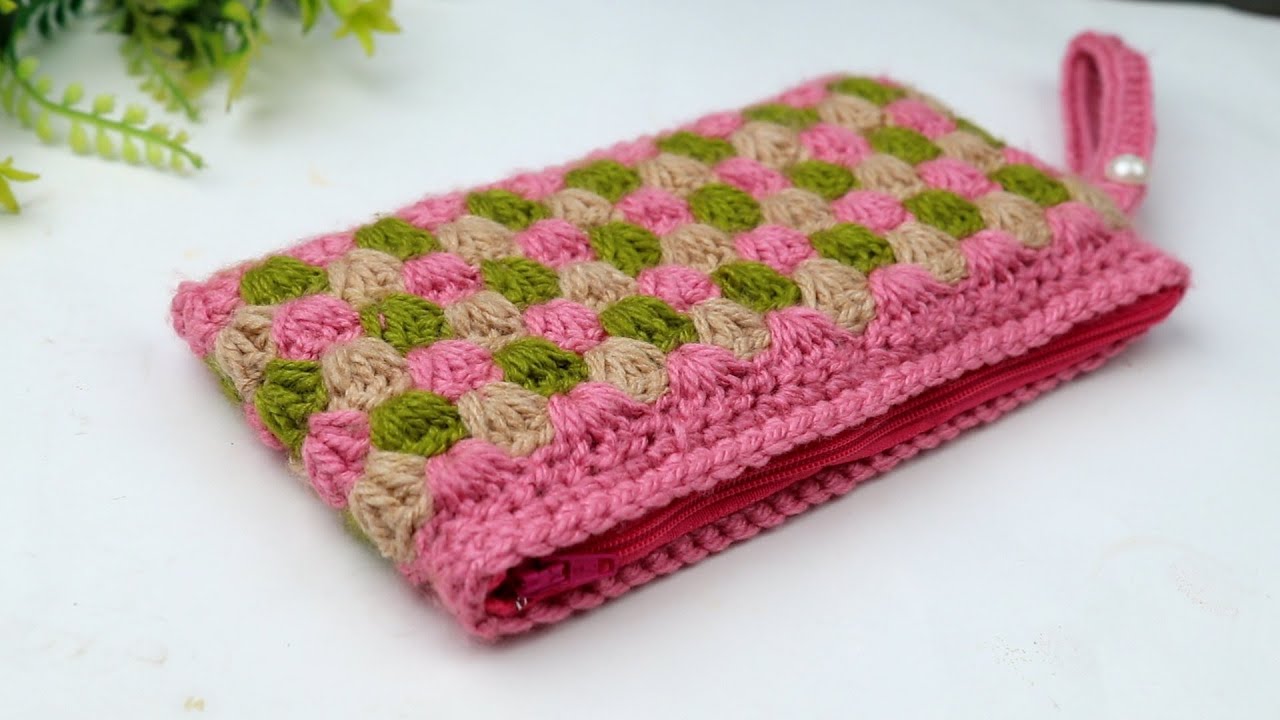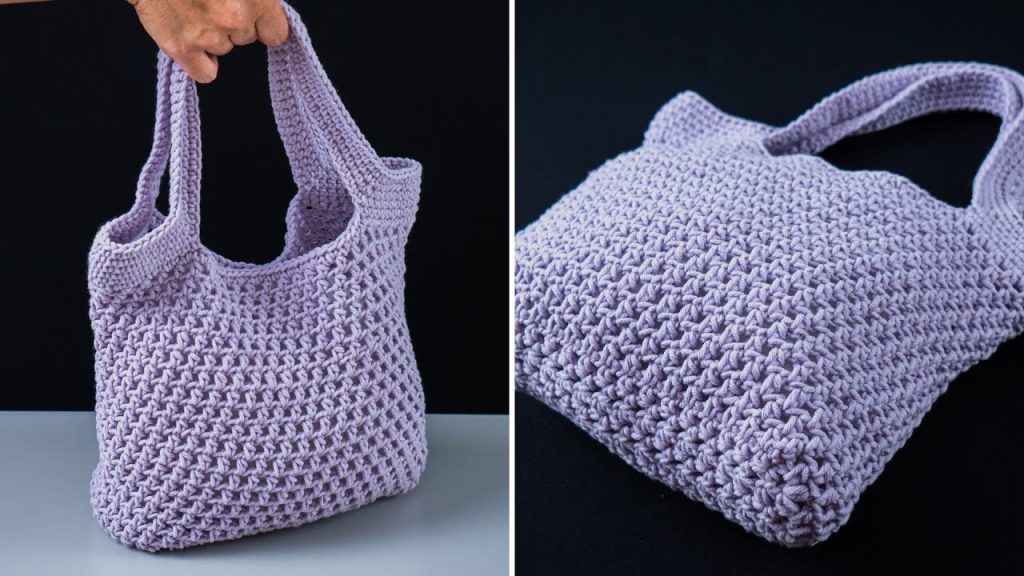
Looking for a bag that’s both durable and stylish? This crocheted tote is the perfect project. The entire bag is made using a unique stitch that creates a dense, ridged fabric, giving it fantastic structure and a luxurious feel. The simple single-color design highlights the stitch work, making this a truly special accessory.
This pattern is worked from the bottom up, starting with a sturdy rectangular base. The body is worked in the round, and the handles are created as a seamless extension of the bag itself.
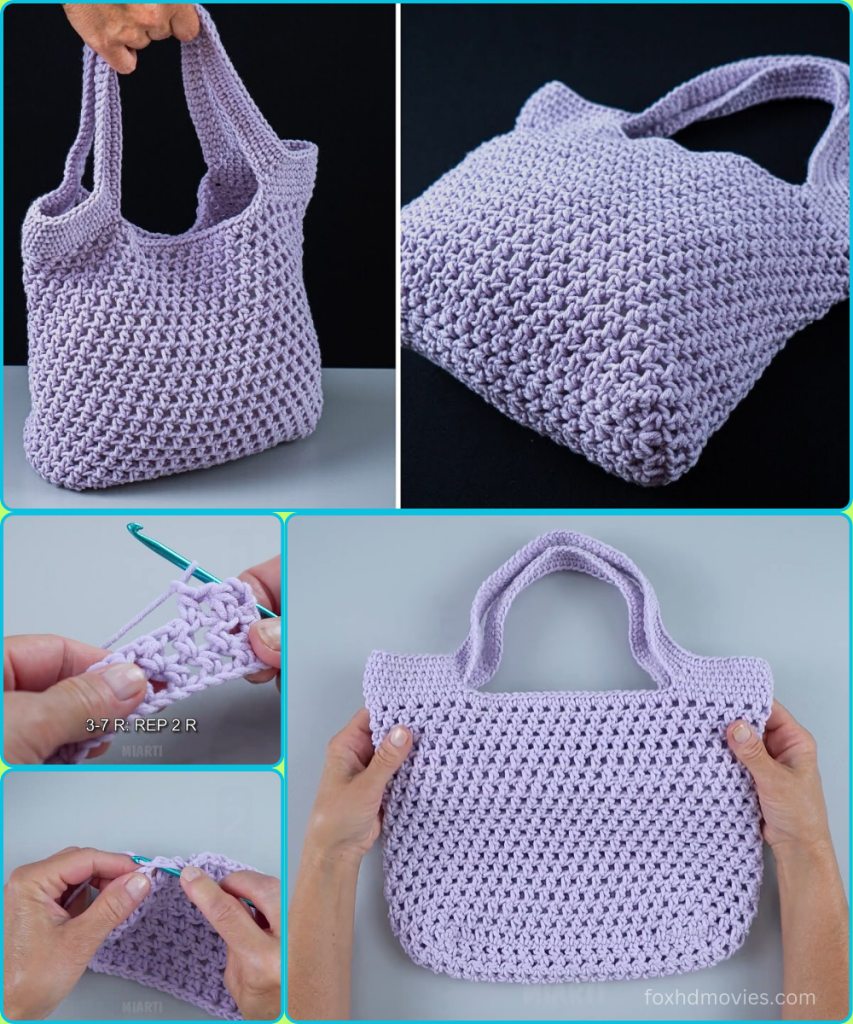
What You’ll Need:
- Yarn: Worsted weight (Aran/10 ply) cotton yarn is highly recommended for its durability and firm fabric.
- Color: A single color for the entire bag (the light purple/lavender in the example). Approximately 300-350 yards.
- Crochet Hook: Size H/5.0mm (or hook size needed to achieve a tight, firm fabric).
- Yarn Needle: For weaving in ends.
- Scissors
- Stitch Marker (optional): To mark the beginning of each round.
Abbreviations Used:
- ch: chain
- sl st: slip stitch
- sc: single crochet
- BLO: back loop only
- FLO: front loop only
- st(s): stitch(es)
- rnd: round
- FO: fasten off
- [ ]: repeat instructions in brackets
- ( ): stitch count at the end of the round
Special Stitch: Raised Rib Single Crochet
This stitch is a two-round repeat that creates the raised, ridged texture.
- Round A: Single crochet in the BLO of each stitch around.
- Round B: Single crochet in the FLO of each stitch from Round A.
Part 1: The Base
We will create a flat, rectangular base by working in the round.

- Ch 25.
- Rnd 1: 3 sc in the 2nd ch from the hook. Sc in the next 22 ch. 3 sc in the last ch. Working along the other side of the foundation chain, sc in the next 22 ch. Join with a sl st to the first sc. (50 sc)
- Rnd 2: Ch 1, 2 sc in the first st. Sc in the next st, 2 sc in the next st. Sc in the next 22 sts. 2 sc in the next st. Sc in the next st, 2 sc in the next st. Sc in the next 22 sts. Join with a sl st to the first sc. (56 sc)
- Rnd 3: Ch 1, sc in each st around. Join with a sl st. (56 sc)
- Repeat Rnd 3 for 2 more rounds, for a total of 5 rounds of single crochet, or until your base measures approximately 28 cm x 10 cm.
Part 2: The Body
We will now build the sides of the bag using the Raised Rib Single Crochet stitch. We will work in continuous rounds, so use a stitch marker to keep track.
- Transition Round: Sc in the BLO of each st around. Do not join at the end of the round. This will start your spiral.
- Rnds 2-25: Repeat the Raised Rib Single Crochet stitch around. This means you will alternate between working a round of sc in the BLO and a round of sc in the FLO of the previous round’s stitches. Continue until your bag reaches the desired height.

Part 3: The Handles
The handles are created as a seamless extension of the bag. The handles in the photo are worked as a loop.
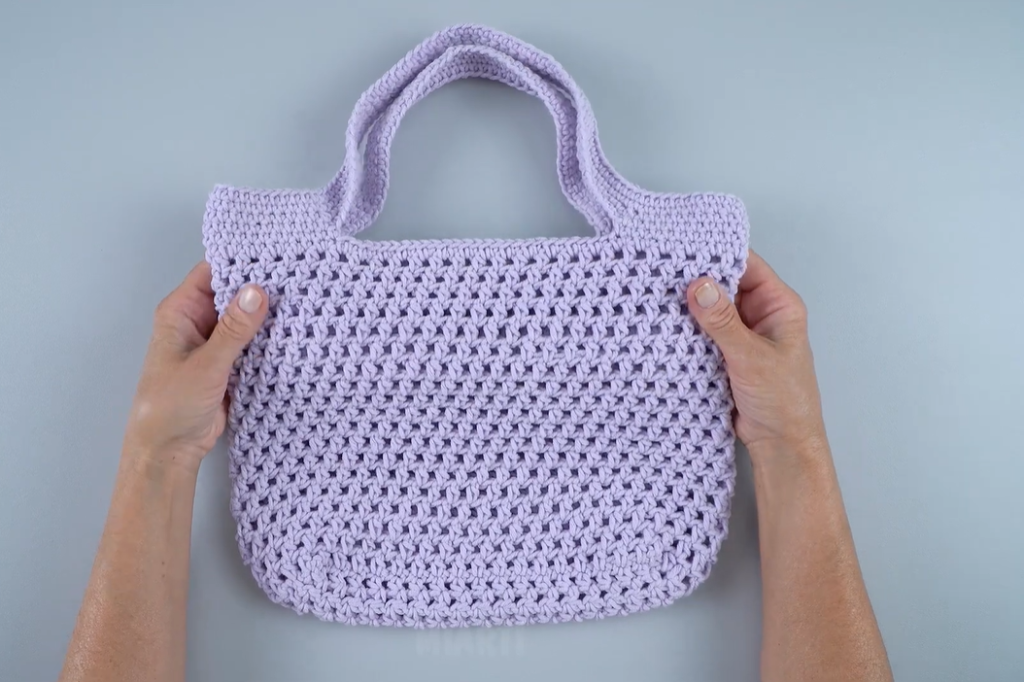
- Preparation: At the end of your last body round, sl st into the next stitch to level off the spiral.
- Rnd 1 (Handles): Ch 1, sc in the first 8 stitches. Ch 20 (or to your desired handle length). Skip the next 12 stitches. Sc in the next 16 stitches (this is the back of the bag). Ch 20. Skip the last 12 stitches. Join with a sl st to the first sc.
- Rnd 2 (Securing Handles): You will now work the Raised Rib Single Crochet stitch into the stitches and chains.
- Work sc in the BLO of the first 8 sc. Sc in the BLO of each of the 20 chains. Sc in the BLO of the next 16 sc. Sc in the BLO of each of the 20 chains. Join with a sl st.
- Rnd 3: Work sc in the FLO of the previous round’s stitches. Repeat this round once more for a total of 2 rounds of sc in the FLO.
- FO and weave in all ends.
Video tutorial
Finishing Touches:
- Weave in all remaining ends securely.
- Blocking (optional but recommended): To help your bag hold its shape, gently steam or spritz it with water. Stuff it with a towel and shape it as it air dries.
You’ve now created a beautiful and unique bag with an amazing texture. Enjoy your new accessory!
