by
by 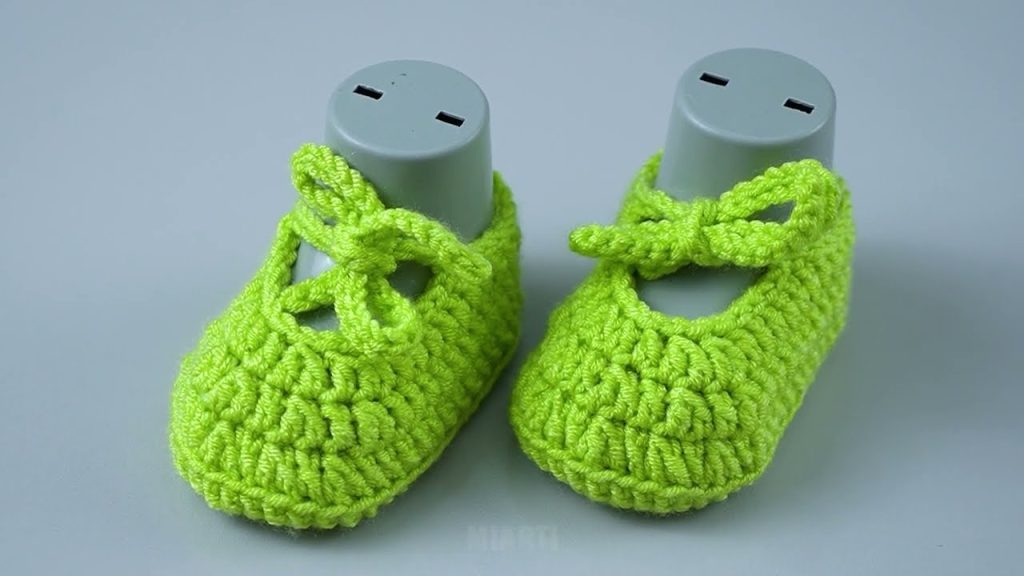
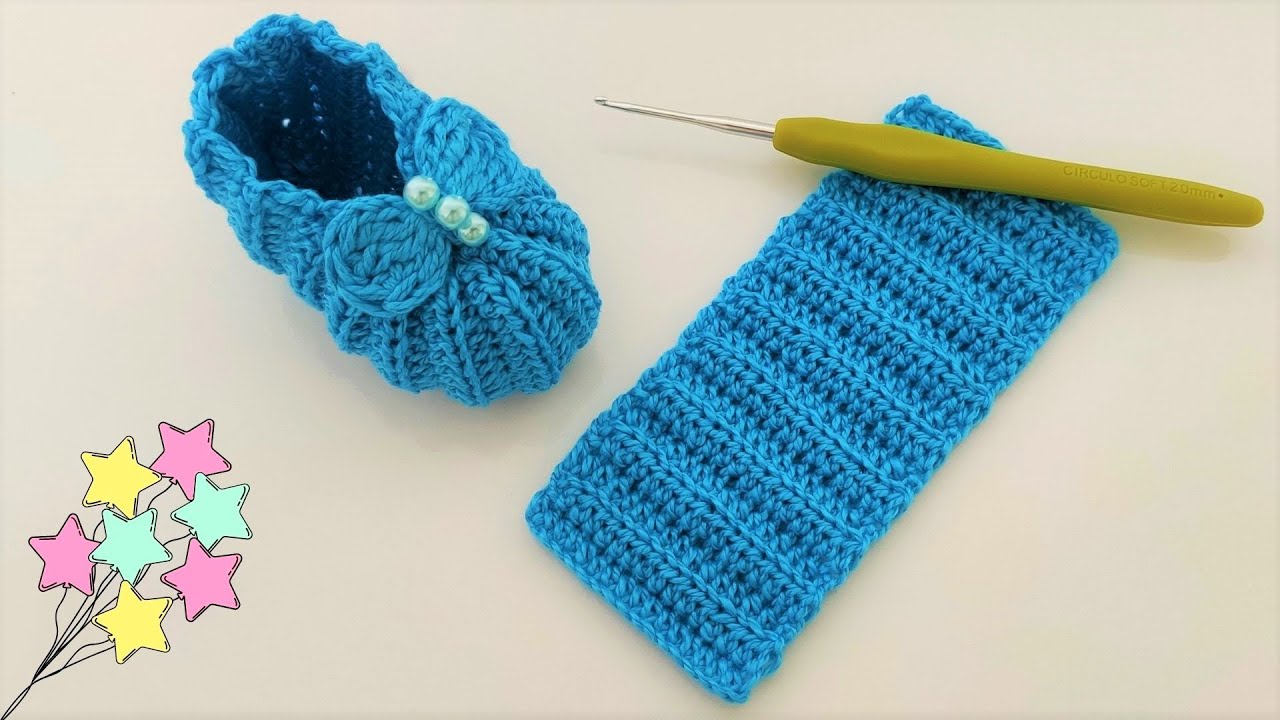
Welcome, crocheters! Ready to create something absolutely adorable for a new baby in your life? These Little Bow Baby Booties are a classic and charming project. Featuring a simple mary-jane style and a sweet, crocheted bow, these booties are a timeless and heartfelt gift. This pattern is designed to be long and detailed, making it perfect for an intermediate beginner ready to tackle a three-dimensional project. The booties are worked from the bottom up, starting with a sturdy sole and then building the sides and bow for a perfect finishing touch.
Materials Needed
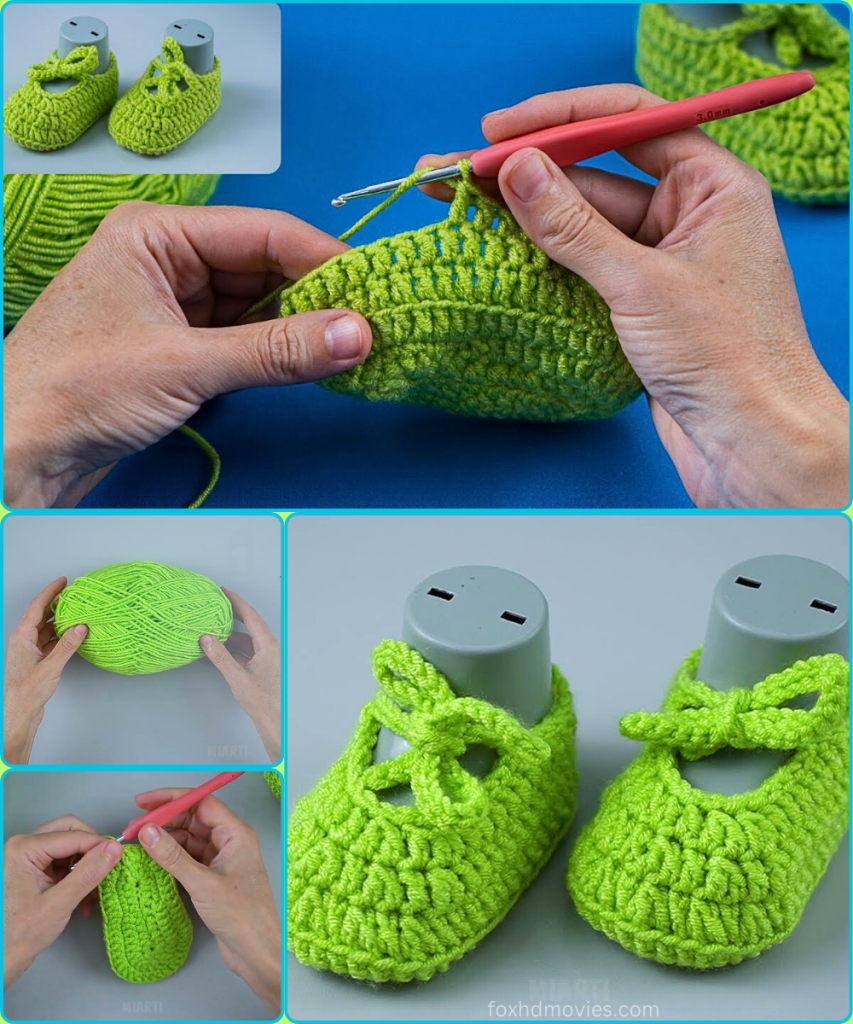
- Approximately 50-70g of DK weight (or light worsted weight) yarn in your chosen color. The image shows a bright neon green. A soft, machine-washable yarn like cotton or acrylic is best for baby items.
- A 4.0mm (G-6) crochet hook.
- Scissors.
- Tapestry needle for weaving in ends.
- Stitch markers (optional but helpful).
Gauge
Gauge is not critical for a project like this, but a consistent tension is important for the size of your sole.
- The finished sole should measure approximately 3.5 inches (9 cm) in length. This is a common size for a newborn to 3-month-old baby.
Stitches and Abbreviations
- ch: chain
- sl st: slip stitch
- sc: single crochet
- hdc: half double crochet
- dc: double crochet
- hdc inc: half double crochet increase (work 2 hdc in the same stitch)
- dc inc: double crochet increase (work 2 dc in the same stitch)
- sc dec: single crochet decrease (sc two stitches together)
- hdc dec: half double crochet decrease (hdc two stitches together)
- […]: repeat instructions within brackets
- (…): number of stitches at the end of the round or row
Construction Overview
These booties are worked in three main parts: the sole, the body, and the bow. The sole is crocheted in the round, and the body is built directly on top of it. The bow is a separate piece that is then sewn on.
Part 1: The Sole
This creates the sturdy, flat bottom of the bootie.

Round 1: Ch 12. Work 2 hdc in the 2nd ch from the hook. Hdc in the next 9 chs. Work 5 hdc in the last ch. Working down the other side of the chain, hdc in the next 9 chs. Work 3 hdc in the last ch. Do not join. Continue in a spiral for the next round. (28 hdc)
Round 2: 2 hdc in each of the first 2 sts. Hdc in the next 9 sts. 2 hdc in each of the next 5 sts. Hdc in the next 9 sts. 2 hdc in each of the last 3 sts. Sl st to the first hdc of the round to join. (38 hdc)
Round 3: Ch 1. 2 hdc in the first st. Hdc in the next st. 2 hdc in the next st. Hdc in the next 10 sts. 2 hdc in the next st. Hdc in the next st. 2 hdc in the next st. Hdc in the next st. 2 hdc in the next st. Hdc in the next st. 2 hdc in the next st. Hdc in the next st. 2 hdc in the next st. Hdc in the next 10 sts. 2 hdc in the next st. Hdc in the next st. 2 hdc in the next st. Hdc in the next st. Sl st to join. (48 hdc)
Part 2: The Bootie Body
Now, we will work in continuous rounds, without increasing, to build the sides of the bootie.

Round 4: Ch 1. Sc in the back loop only of each hdc around. This creates a clean edge and turns the sole upward. Sl st to the first sc to join. (48 sc)
Round 5: Ch 1. Hdc in each sc around. Sl st to join. (48 hdc)
Round 6: Ch 1. Hdc in each hdc around. Sl st to join. (48 hdc)
Round 7 (Toe Shaping): Ch 1. Sc in the first 16 hdc. Hdc dec 8 times. Sc in the next 16 hdc. Sl st to join. (40 sts)
Round 8 (Ankle Strap): Ch 1. Sc in the first 14 sts. Ch 20. Sk the next 12 sts. Sc in the last 14 sts. Sl st to join. (28 sc + 20 chs)
Round 9 (Final Round): Ch 1. Sc in the first 14 sc. Sc in each of the 20 chs of the ankle strap. Sc in the next 14 sc. Sl st to join. Fasten off and weave in ends.
Part 3: The Bow
This creates the separate bow piece that is sewn on for a finishing touch.

Row 1: Ch 12. Hdc in the 2nd ch from the hook and in each ch across. (11 hdc)
Row 2: Ch 1. Turn. Hdc in each hdc across. (11 hdc)
Row 3: Ch 1. Turn. Hdc in each hdc across. (11 hdc)
Fasten off and leave a very long tail for assembly.
Assembly of the Bow: Wrap the yarn tail around the center of the bow a few times, pulling it tight to cinch the middle and create the bow shape. Use the remaining yarn tail to sew the bow onto the ankle strap of the bootie, just above the toe.
Video tutorial
Repeat all steps to create a second, matching bootie.
Your Little Bow Baby Booties are now complete! This is a quick and satisfying project that looks much more complicated than it is. The customizable colors and design make it a perfect go-to gift for any baby shower. Enjoy!