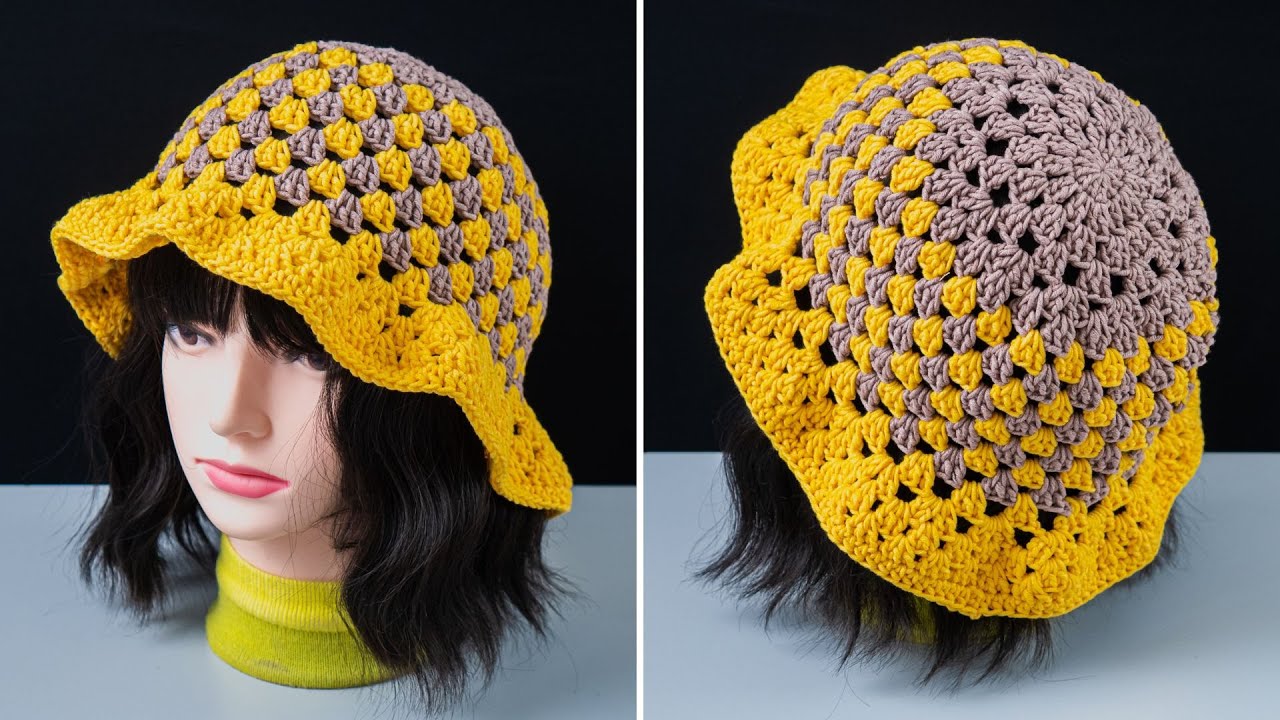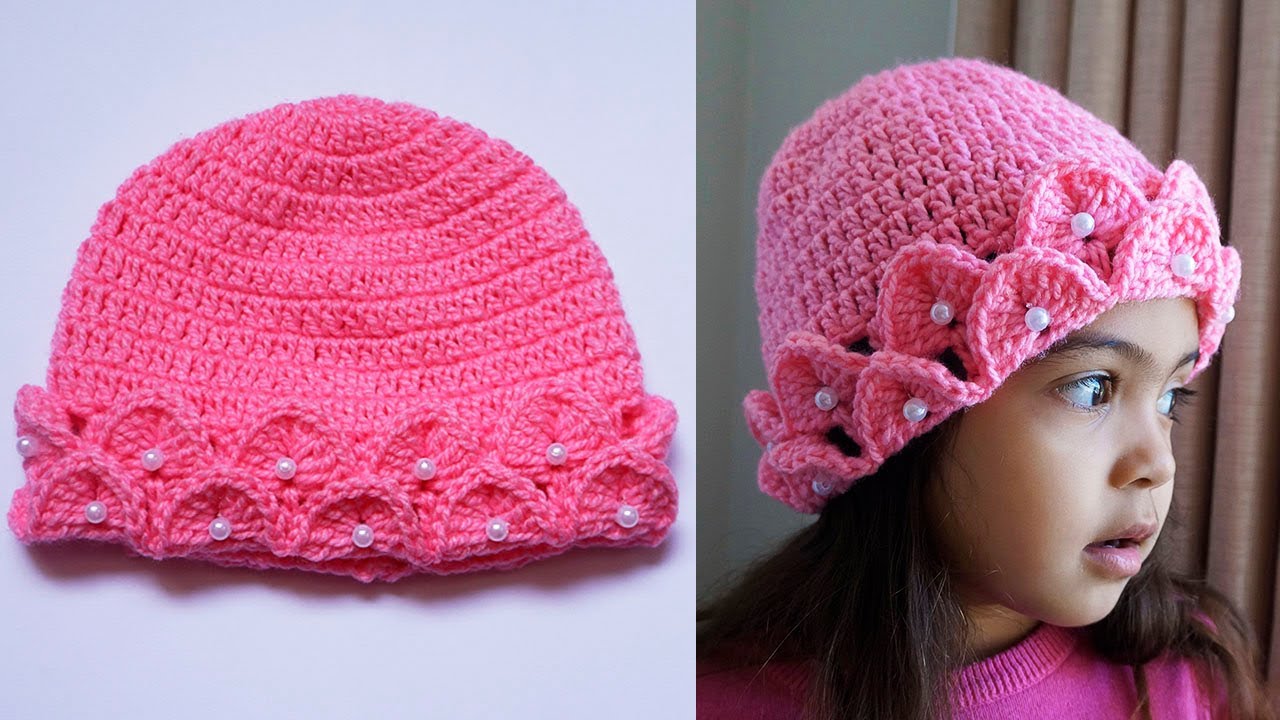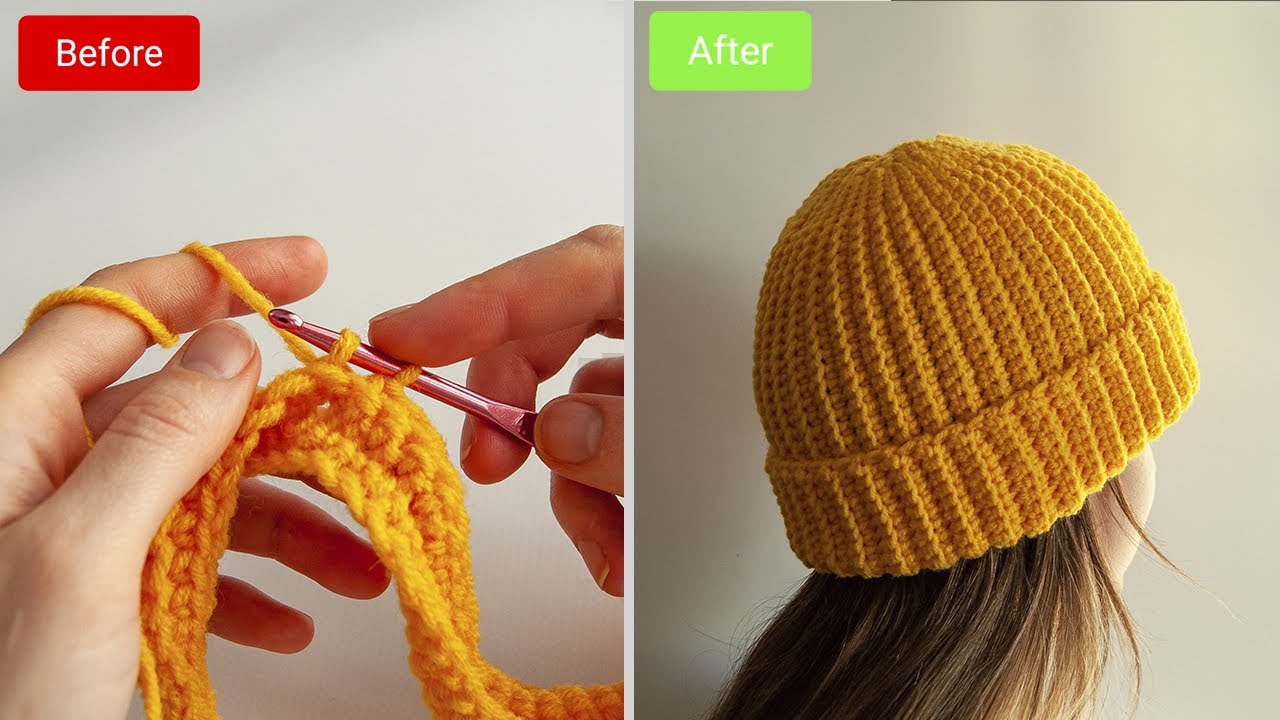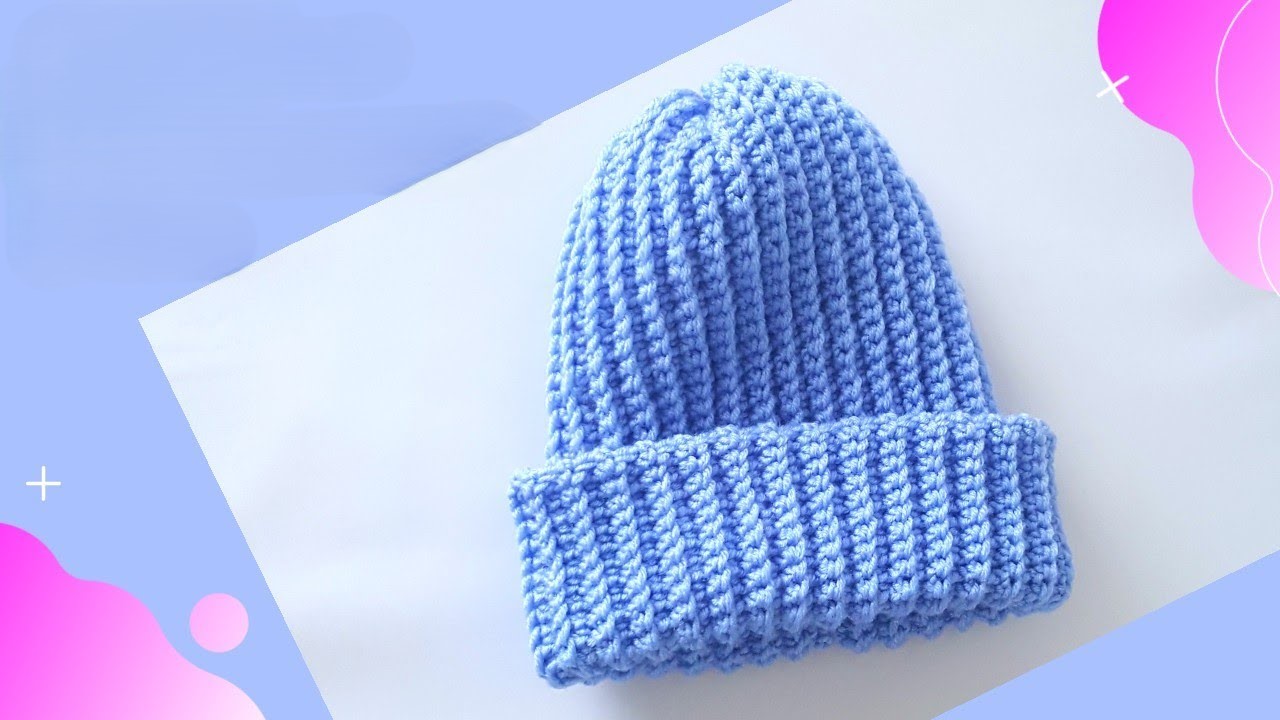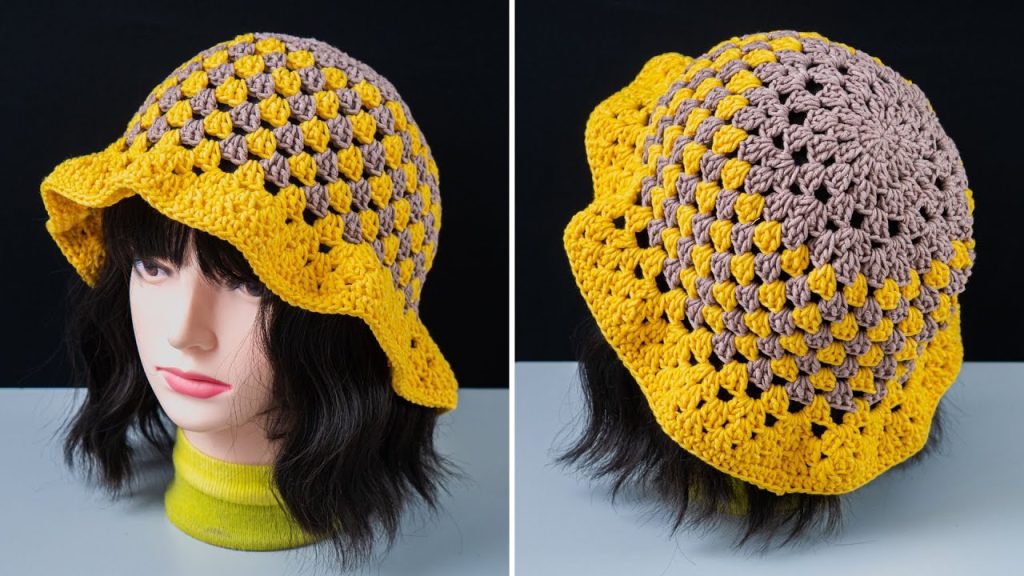
Welcome, crocheters, to a project that is as fun to make as it is stylish to wear! This “Two-Tone Granny” bucket hat is a modern and playful take on the classic granny stitch. By using two contrasting solid colors, we’ll create a striking visual pattern that looks fantastic. The hat features a comfortable crown and a wonderfully floppy, ruffled brim, making it the perfect accessory for a sunny day.
This pattern is designed to be comprehensive and detailed, walking you through each step from the solid crown to the two-color body and the beautifully ruffled brim. Whether you’re a seasoned pro or just getting started with colorwork, you’ll love creating this unique hat.
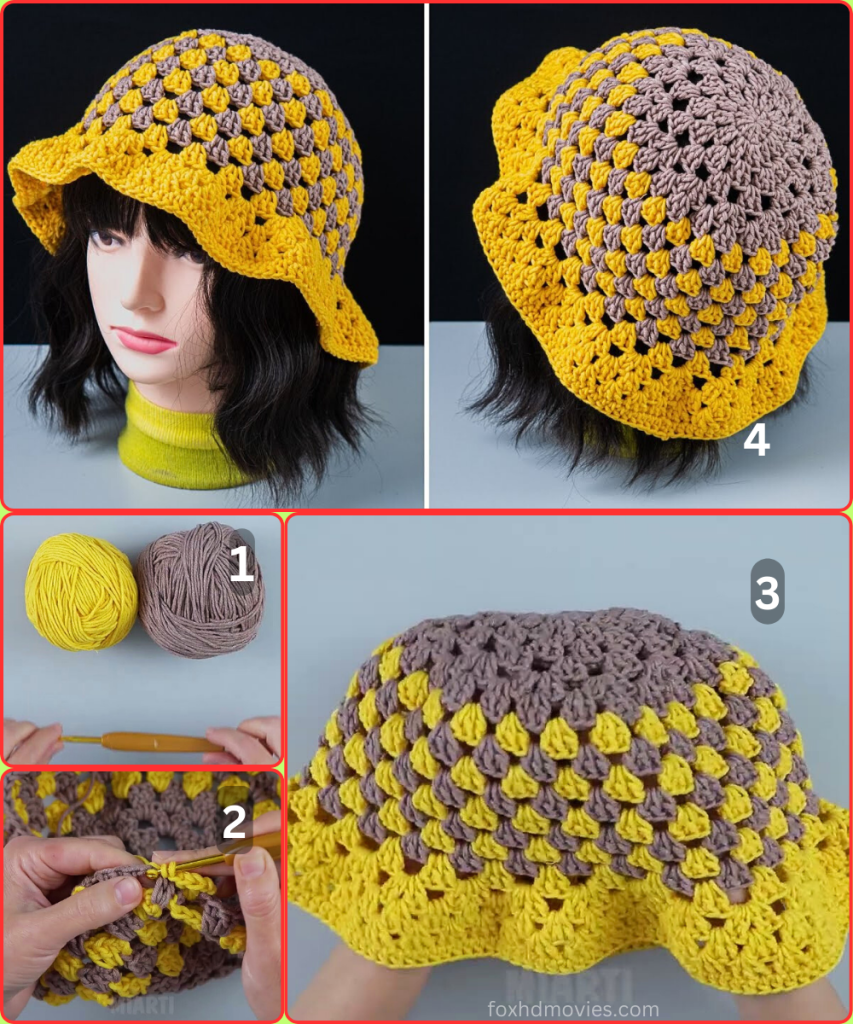
Materials You’ll Need:
- Yarn: Approximately 200-250 yards of worsted weight (Category 4) yarn. You will need two solid colors that contrast well:
- Color A (e.g., Light Gray/Taupe): Approximately 75-100 yards for the crown and one set of stripes.
- Color B (e.g., Mustard Yellow): Approximately 125-150 yards for the brim and the other set of stripes.
- Crochet Hook: A size H/8 (5.00 mm) hook.
- Scissors
- Yarn Needle: For weaving in ends.
Abbreviations (US Terms):
- ch: chain
- sl st: slip stitch
- dc: double crochet
- st(s): stitch(es)
- sp: space
- rep: repeat
- Rnd: round
- granny cluster: 3 dc worked in the same stitch or space
Gauge:
- For the Crown: After Rnd 4, the diameter should be approximately 3.5 inches (9 cm).
- The finished hat should have a circumference of about 21-22 inches, which fits most adult heads.
Part 1: The Crown (Color A)
The crown is worked in the round, from the top down.

Starting with Color A and your H/8 hook:
- Rnd 1: Create a magic ring. Ch 3 (counts as 1st dc). Work 11 more dc into the ring. Sl st to the top of the beginning ch 3 to join. (12 dc)
- Rnd 2: Ch 3 (counts as 1st dc). Work 1 dc in the same st. Work 2 dc in each st around. Sl st to the top of the beginning ch 3 to join. (24 dc)
- Rnd 3: Ch 3 (counts as 1st dc). Work 1 dc in the same st. Dc in the next st, 2 dc in the next st. Rep from * to * around. Sl st to the top of the beginning ch 3 to join. (36 dc)
- Rnd 4: Ch 3 (counts as 1st dc). Work 1 dc in the same st. Dc in the next 2 sts, 2 dc in the next st. Rep from * to * around. Sl st to the top of the beginning ch 3 to join. (48 dc)
- Rnd 5: Ch 3 (counts as 1st dc). Work 1 dc in the same st. Dc in the next 3 sts, 2 dc in the next st. Rep from * to * around. Sl st to the top of the beginning ch 3 to join. (60 dc)
- Rnd 6: Ch 3 (counts as 1st dc). Dc in the next 4 sts, 2 dc in the next st. Rep from * to * around. Sl st to the top of the beginning ch 3 to join. (72 dc)
The crown is now complete. At the end of Rnd 6, fasten off Color A and join Color B.
Part 2: The Body (Two-Toned Stripes)
Now we will transition to the two-toned granny clusters, alternating colors with each round.

Starting with Color B:
- Rnd 7: Sl st into the sp between the last dc and the beginning ch 3 from the previous round. Ch 3 (counts as 1st dc), 2 dc in the same sp. Sk 3 sts, work a granny cluster (3 dc) in the next sp between the sts. Rep from * to * around. Sl st to the top of the beginning ch 3 to join. Fasten off Color B. (24 granny clusters)
- Rnd 8: With Color A, sl st into the sp between the last and first granny cluster. Ch 3, 2 dc in the same sp. Work a granny cluster in the sp between the next two granny clusters. Rep from * to * around. Sl st to the top of the beginning ch 3 to join. Fasten off Color A. (24 granny clusters)
- Repeat Rnd 8, alternating between Color B and Color A, for a total of 6-8 rounds, or until the hat is about 6 inches high from the top of the crown. This will form the body of the hat.
Part 3: The Ruffled Brim
Now we will create the dramatically ruffled brim by working increases in every granny cluster.

Starting with Color B:
- Rnd 1 (Brim Increase): Sl st into the sp between the last and first granny cluster. Ch 3, 2 dc in the same sp. Work a granny cluster, ch 1, and another granny cluster in the sp between the next two granny clusters. Rep from * to * around. Sl st to the top of the beginning ch 3 to join. Fasten off Color B. (48 granny clusters)
- Rnd 2: With Color A, sl st into the sp between the last and first granny cluster. Ch 3, 2 dc in the same sp. Work a granny cluster in the sp between the next two granny clusters. Rep from * to * around. Sl st to the top of the beginning ch 3 to join. Fasten off Color A. (48 granny clusters)
- Rnd 3: With Color B, sl st into the sp between the last and first granny cluster. Ch 3, 2 dc in the same sp. Work a granny cluster in the sp between the next two granny clusters. Rep from * to * around. Sl st to the top of the beginning ch 3 to join. Fasten off Color B. (48 granny clusters)
- Rnd 4: With Color A, sl st into the sp between the last and first granny cluster. Ch 3, 2 dc in the same sp. Work a granny cluster in the sp between the next two granny clusters. Rep from * to * around. Sl st to the top of the beginning ch 3 to join. Fasten off Color A. (48 granny clusters)
The brim should now have a wavy, ruffled appearance. You can add more rounds to the brim for a larger, floppier look by repeating Rnds 3-4 as desired, continuing to alternate colors.
Part 4: Finishing Touches
- Final Edging: With Color A, ch 1 and sc in each stitch around. You’ll work 3 sc into each granny cluster and 1 sc in each sp between the clusters. Sl st to the first sc to join.
- Fasten off and weave in all loose ends. Your beautiful “Two-Tone Granny” bucket hat is now complete!
Video tutorial
Final Thoughts:
This hat is a fantastic project that showcases the timeless appeal of the granny stitch. The color changes add a modern touch, and the ruffled brim gives it a fun and carefree look. Enjoy wearing this unique hat and the compliments that are sure to come your way!
