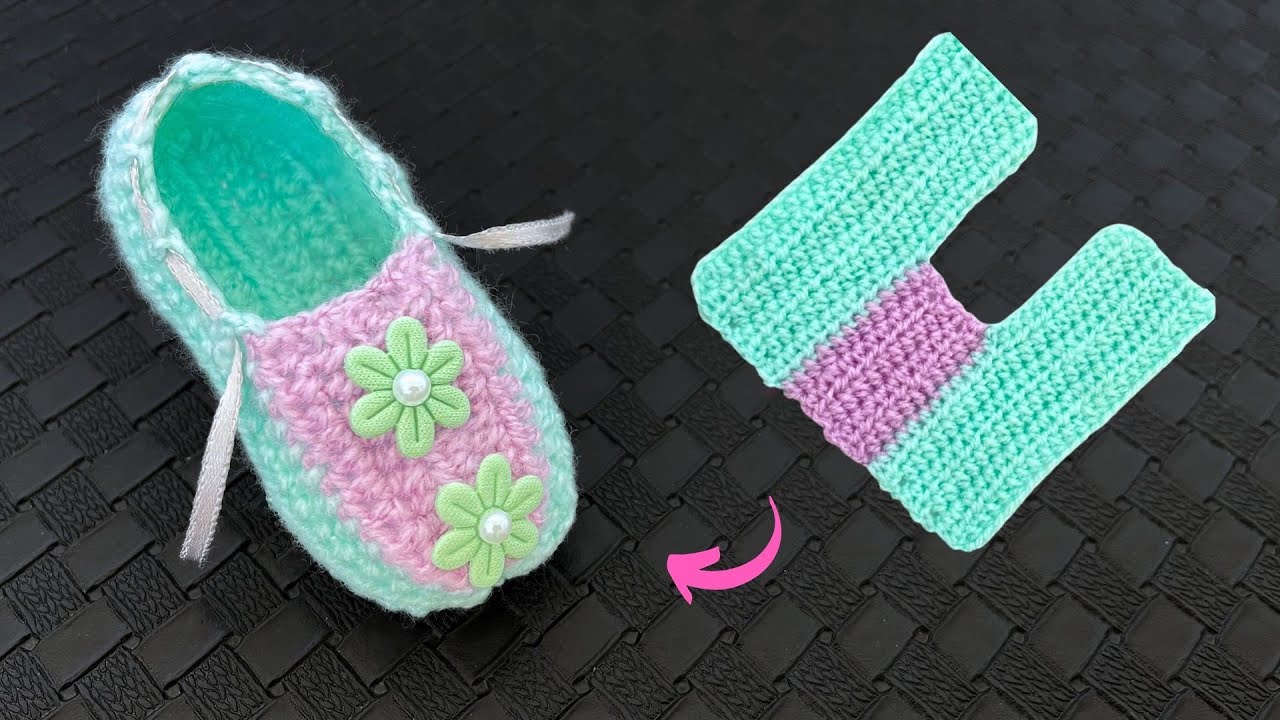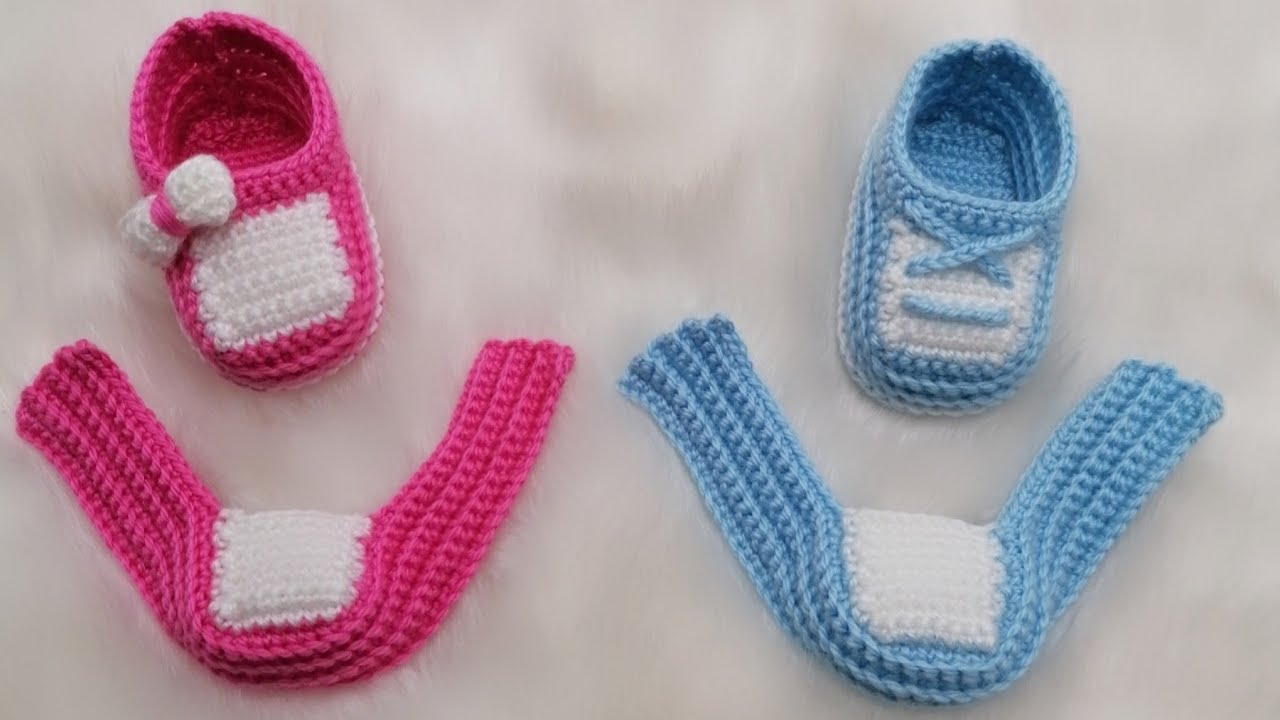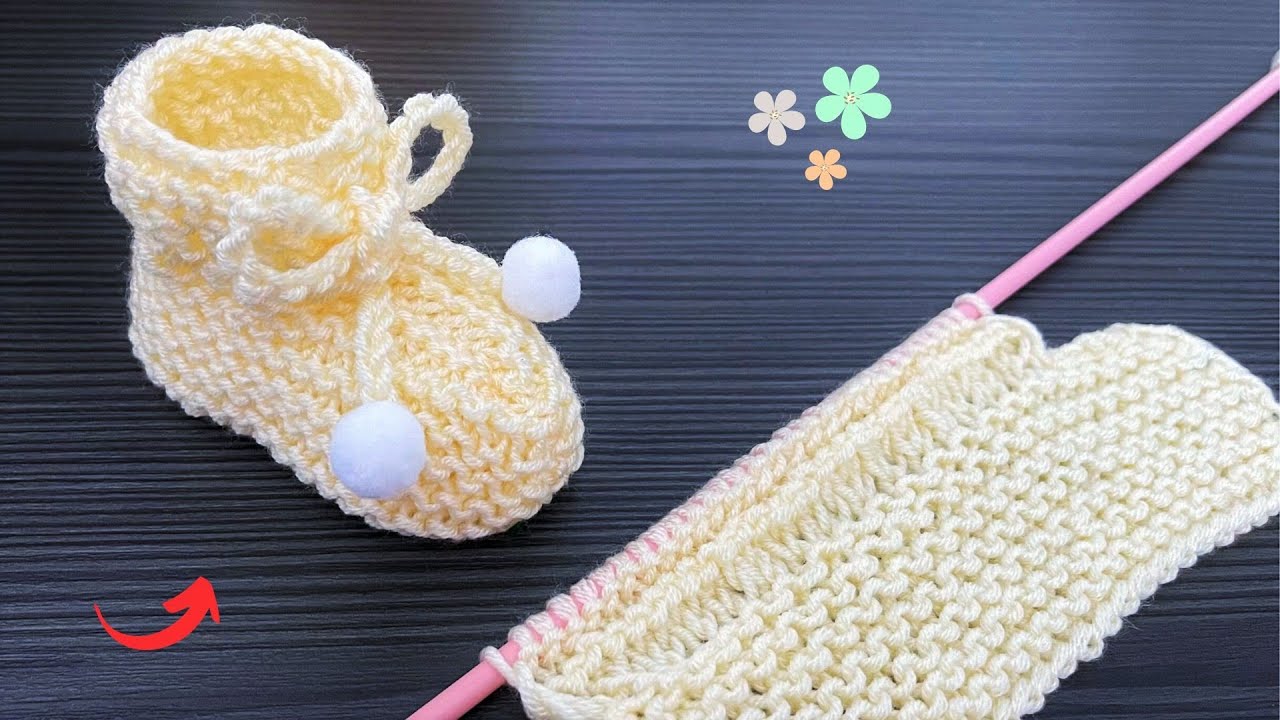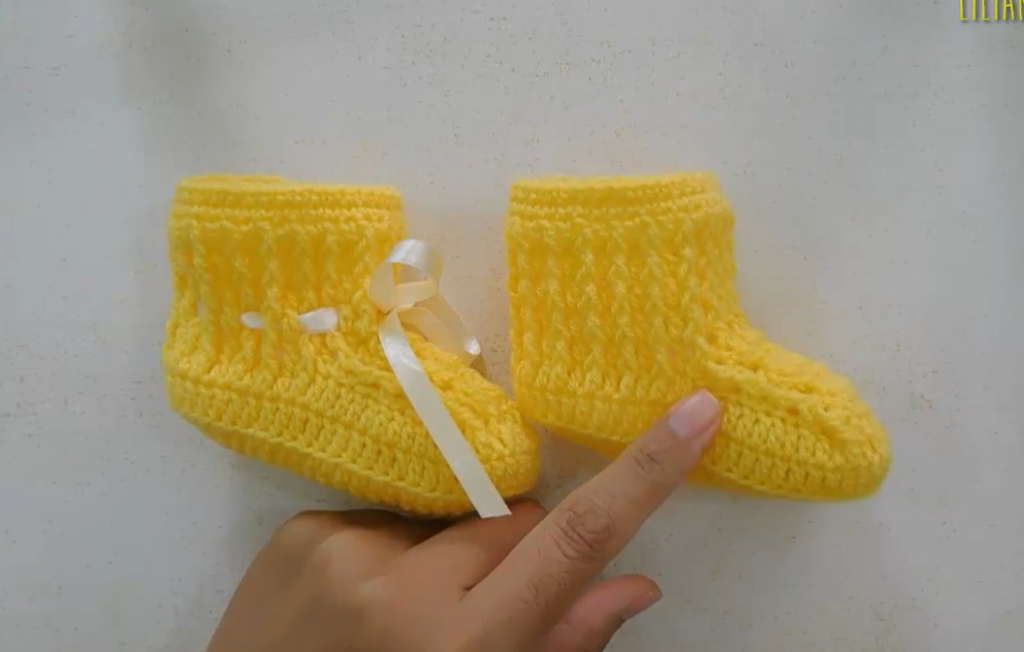
Welcome, crocheters, to a delightful new project! There’s nothing quite as heartwarming as a pair of handmade baby booties. They are the perfect project for a new arrival, a baby shower gift, or just to practice your skills. Today, we’re going to create the most adorable baby booties, featuring a classic, sturdy sole, a beautiful textured body, and a sweet ribbon tie.
This pattern is designed to be comprehensive and easy to follow, taking you step-by-step from the very first chain to the final embellishment. The result is a charming and cozy pair of booties that are as fun to make as they are to give.
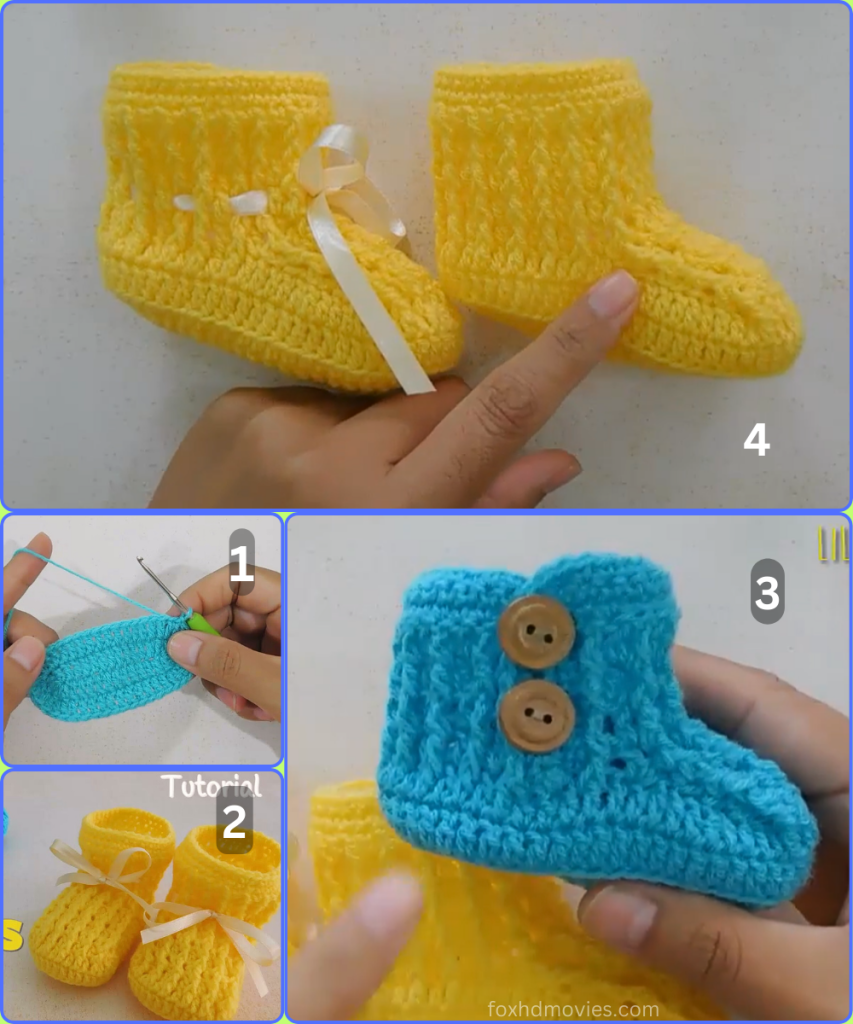
Materials You’ll Need:
- Yarn: Worsted weight (Category 4) yarn in your desired color (e.g., bright yellow). A soft, washable acrylic or cotton yarn is ideal for baby items. You will need about 50-70 yards per pair.
- Crochet Hook: A size H/8 (5.00 mm) hook.
- Scissors
- Yarn Needle: For weaving in ends and seaming.
- Ribbon: About 1/2 inch wide and 18-20 inches long. Choose a color that complements your yarn.
Abbreviations (US Terms):
- ch: chain
- sl st: slip stitch
- sc: single crochet
- hdc: half double crochet
- dc: double crochet
- st(s): stitch(es)
- sp: space
- rep: repeat
- Rnd(s): Round(s)
- sc2tog: single crochet 2 stitches together (a decrease)
- dc2tog: double crochet 2 stitches together (a decrease)
Gauge:
- For the Sole: 4 sc = 1 inch, and 4 rows of sc = 1 inch.
- Finished Bootie Sole Length: Approximately 3.5 inches (9 cm). This size fits a standard newborn (0-3 months).
Part 1: The Sole (Make 2)
We’ll start with the sole, working in a continuous oval to create the foundation for our booties.

Starting with your yarn and H/8 hook:
- Foundation Chain: Ch 12.
- Round 1: Hdc in the 2nd ch from the hook. Hdc in the next 9 chs. Work 5 hdc in the last ch. Rotate your work and hdc in the next 10 sts on the opposite side of the ch. Work 4 hdc in the last st. Join with a sl st to the first hdc. (30 hdc total)
- Round 2: Ch 2 (does not count as a st). Work 2 hdc in the same st. Hdc in the next 10 sts. Work 2 hdc in each of the next 5 sts. Hdc in the next 10 sts. Work 2 hdc in each of the next 4 sts. Join with a sl st to the first hdc. (40 hdc total)
- Round 3: Ch 1 (does not count as a st). Sc in the same st. Sc in the next 10 sts. Work 2 sc in each of the next 10 sts. Sc in the next 10 sts. Work 2 sc in each of the last 9 sts. Join with a sl st to the first sc. (59 sc total)
You now have a finished sole. Do not fasten off. We will now work on the body of the bootie.
Part 2: The Body of the Bootie
For this section, we’ll be working in the back loop only (BLO) for the first round to create a defined edge for the sole.

Round 4 (Creating the Sides): Ch 1 (does not count as a st). Sc in the BLO of each st around. Join with a sl st to the first sc. (59 sc)
- This round can be a little tight. Be sure to work your stitches evenly.
Round 5 (Creating the Holes for the Ribbon): Ch 3 (counts as 1st dc). Dc in the next st. Ch 1, sk 1 st, dc in the next 2 sts. Rep from * to * around. End the round with a ch 1, sk 1 st. Join with a sl st to the top of the beginning ch 3. (40 dc and 20 ch-1 spaces)
- This round creates a row of holes perfect for weaving the ribbon through.
Round 6 (Adding Texture): Ch 1 (does not count as a st). Sc in the first 2 dc. Sc in the ch-1 sp, sc in the next 2 dc. Rep from * to * around. End with a sc in the last ch-1 sp. Join with a sl st to the first sc. (60 sc)
Round 7 (Working the Toe of the Bootie): Ch 1 (does not count as a st). Sc in the next 16 sts. Dc2tog 8 times. Sc in the remaining 16 sts. Join with a sl st to the first sc. (52 sts)
- This round begins to shape the toe. The decreases are centered over the front of the bootie.
Round 8 (Shaping the Ankle): Ch 1 (does not count as a st). Sc in the next 12 sts. Sc2tog 10 times. Sc in the remaining 12 sts. Join with a sl st to the first sc. (42 sts)
- The bootie is now clearly taking shape with a defined ankle opening.
Part 3: The Cuff
This final section will give your booties a finished, ribbed look around the ankle.
Round 9 (Creating the Cuff): Ch 1 (does not count as a st). Sc in each st around. Join with a sl st to the first sc. (42 sc)
- This round is a simple single crochet to provide a clean edge before the final ribbing.
Round 10: Ch 1 (does not count as a st). Sc in each st around. Join with a sl st to the first sc. (42 sc)
Fasten off and weave in all loose ends. Make sure to weave them securely to prevent unraveling.
Part 4: Finishing Touches
Your booties are almost complete! Now for the final details that make them truly special.

Adding the Ribbon:
- Cut two pieces of ribbon, each about 9-10 inches long.
- Using your yarn needle (or your fingers, if the ribbon is firm enough), weave one piece of ribbon in and out of the holes you created in Round 5.
- Start at the outside center of the bootie and weave the ribbon all the way around, ending where you started.
- Tie the two ends of the ribbon into a small, neat bow.
Repeat all steps to create the second bootie. Take care to make them symmetrical so you have a matching pair.
Video tutorial
Your beautiful, handmade baby booties are now ready to be gifted or put to use! This classic pattern is perfect for any occasion and is sure to be a treasured item. Enjoy the warmth and love you’ve put into every stitch.

