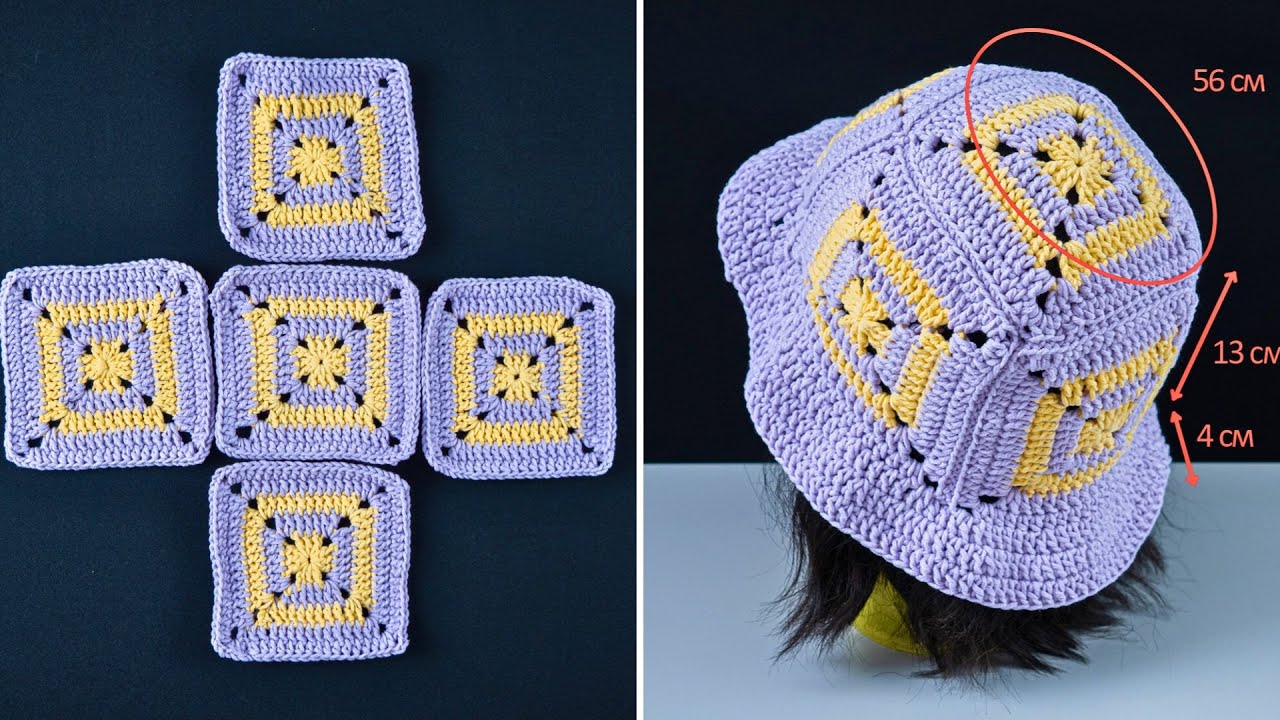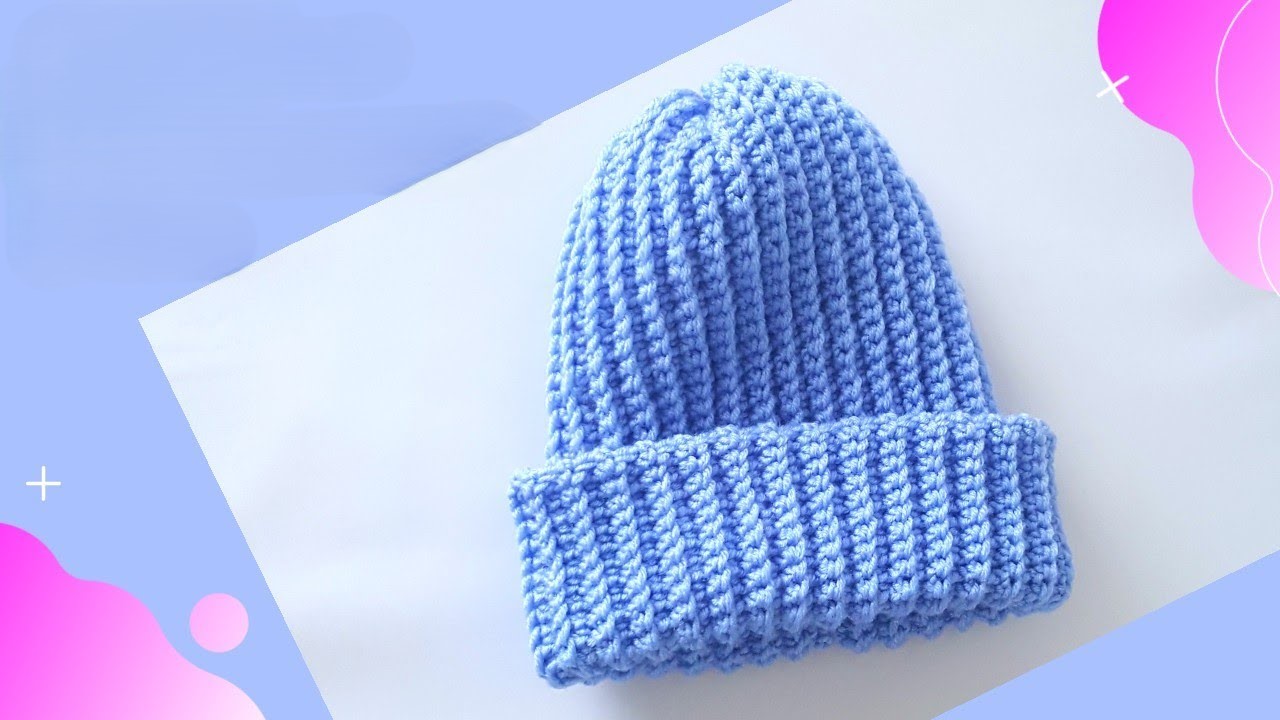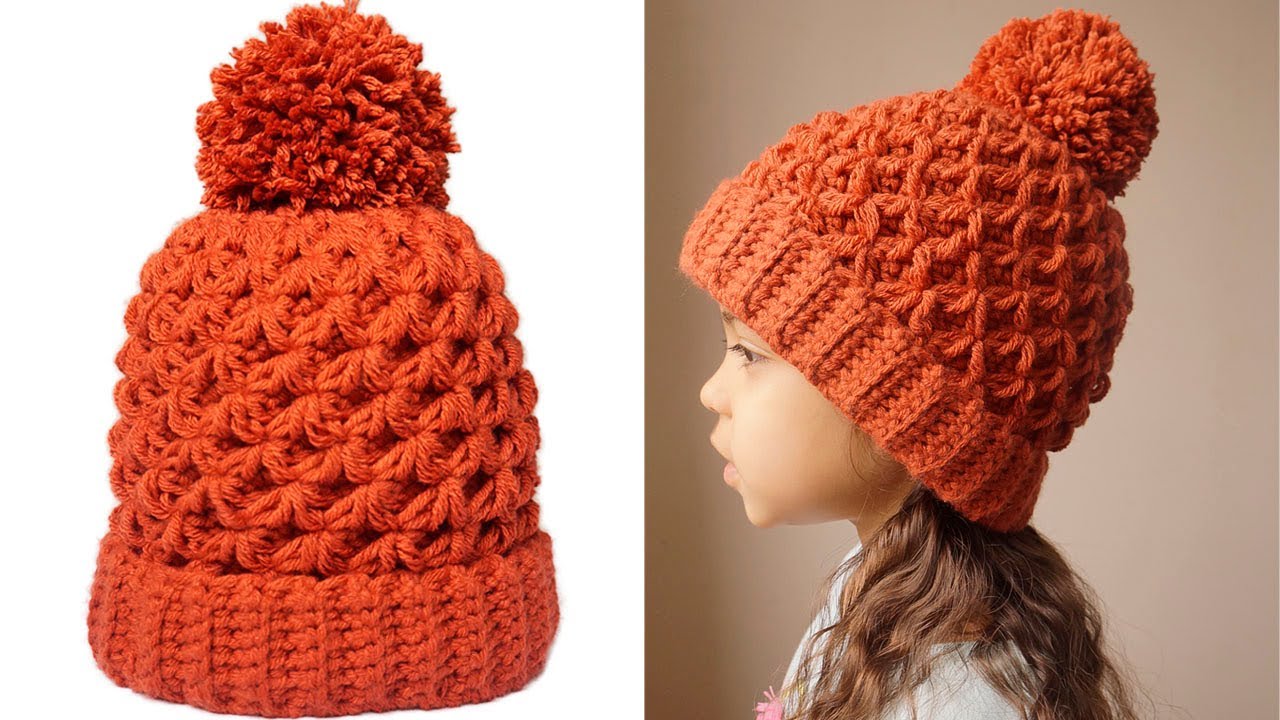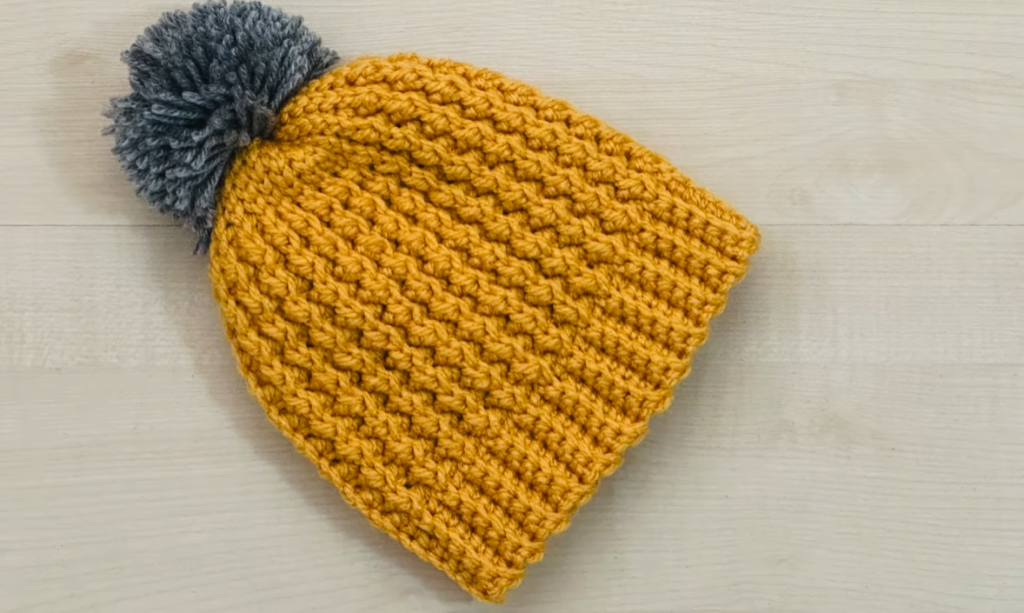
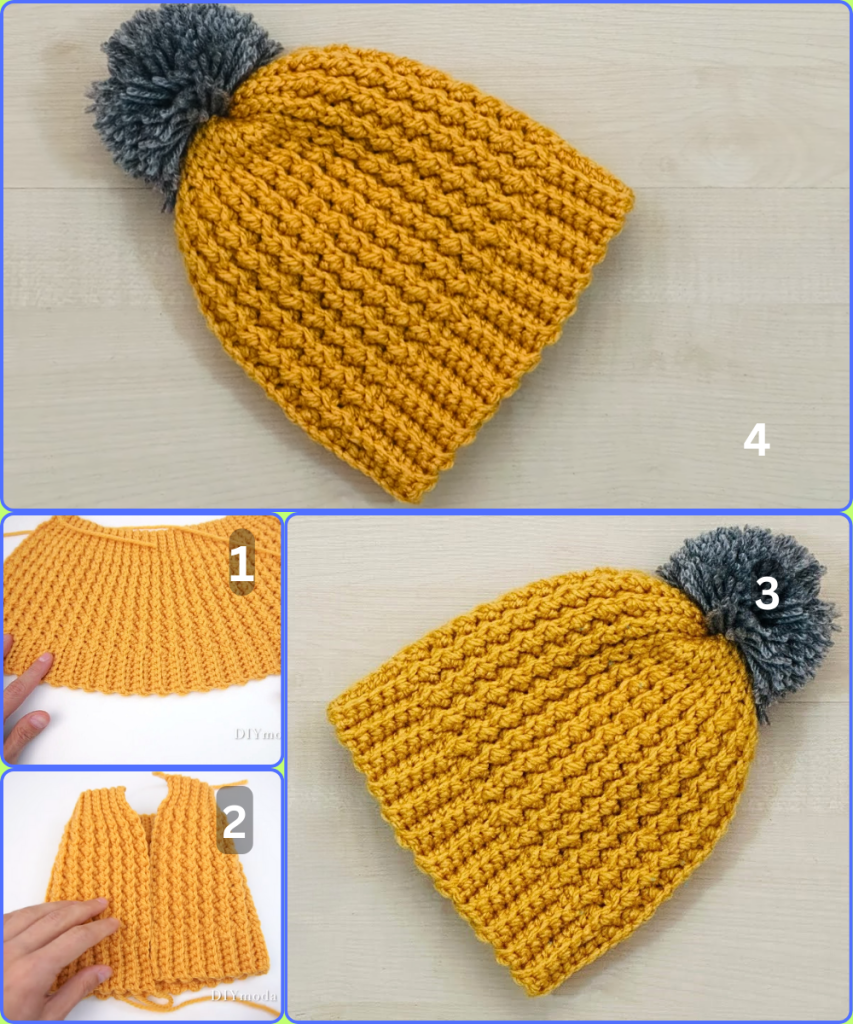
Create a beautifully textured and cozy hat with this easy-to-follow pattern. We’ll combine a stretchy, ribbed brim with the eye-catching Herringbone Half Double Crochet (HHDC) stitch for the main body of the hat. This stitch creates a dense, angled texture that looks amazing and feels super warm. This pattern is worked in the round from the bottom up to create a seamless finish.
What You’ll Need
- Yarn:
- Approximately 150 grams (about 270 yards) of worsted-weight yarn. Choose a yarn that is smooth and not too fuzzy to highlight the stitch definition.
- Hook:
- A 5.0 mm (H/8) crochet hook for the brim.
- A 5.5 mm (I/9) crochet hook for the body of the hat. Using a larger hook for the main body will prevent the fabric from being too tight.
- Tools:
- Scissors
- Tapestry needle for weaving in ends
- Stitch marker
- Pom-pom maker (optional, but a great addition!)
Key Crochet Stitches & Techniques
- ch (chain): Yarn over, pull yarn through the loop on your hook.
- sl st (slip stitch): Insert hook into the next stitch, yarn over, and pull through both the stitch and the loop on your hook.
- sc (single crochet): Insert hook into the stitch, yarn over, pull up a loop (2 loops on hook), yarn over, and pull through both loops.
- hdc (half double crochet): Yarn over, insert hook into the stitch, yarn over and pull up a loop (3 loops on hook), yarn over and pull through all 3 loops on the hook.
- sc in the back loop only (BLO): Work a single crochet stitch by inserting your hook into the back loop of the stitch only. This creates a ribbed texture.
- Herringbone Half Double Crochet (HHDC): This is our main stitch!
- Yarn over.
- Insert your hook into the first loop of the previous stitch (this is the last loop you pulled up).
- Insert your hook into the next stitch.
- Yarn over and pull up a loop through the stitch and the loop on your hook (2 loops on hook).
- Yarn over and pull through both remaining loops on your hook.
The Pattern: Let’s Get Started!
The Ribbed Brim
We’ll start with a ribbed brim that is worked in rows and then joined together to form a circle. This method creates a stretchy, professional-looking brim.
Using a 5.0 mm (H/8) hook
- Row 1: Chain 10.
- Row 2: Single crochet (sc) in the second chain from the hook and in each chain across. (9 stitches)
- Row 3: Chain 1 (does not count as a stitch), turn your work. Single crochet in the back loop only (BLO) of each sc across. (9 stitches)
- Rows 4-64: Repeat Row 3. Continue this until your brim measures approximately 18-20 inches long when slightly stretched, or until it fits snugly around your head.
- Joining the Brim: Fold your brim in half, aligning the first row with the last row. Slip stitch through the back loop of the last row and the front loop of the starting chain to join the two sides together. This creates a seamless join. Turn your work so the seam is on the inside.
The Hat Body
Now, we’ll work the main part of the hat in the round, using the Herringbone Half Double Crochet stitch.

Switch to a 5.5 mm (I/9) hook
- Round 1: Chain 1. Work 80 half double crochet (hdc) stitches evenly around the top edge of the brim. Join with a slip stitch to the first hdc. (80 stitches)
- Round 2 (Start of HHDC): Chain 2 (counts as your first HHDC). Work your first HHDC into the very next stitch. Continue working HHDC stitches around the entire round. Do not join at the end of this round; we will be working in a continuous spiral from now on to avoid a visible seam. Place a stitch marker in your last stitch to keep track of your rounds. (80 stitches)
- Rounds 3-18: Continue working HHDC in a continuous spiral, moving your stitch marker up at the end of each round. Keep going until your hat measures about 7.5 inches from the top of the brim, or until you reach your desired length before decreasing.
Shaping the Crown (Decreasing)
To close the top of the hat, we’ll decrease stitches to form a rounded top.

- Round 19: Work HHDC in the next 8 stitches, then work a Herringbone Half Double Crochet Decrease (HHDC2tog) over the next two stitches. Repeat this sequence around. You can use your stitch marker to keep track. (72 stitches)
- Round 20: Work HHDC in the next 7 stitches, then HHDC2tog over the next two stitches. Repeat around. (64 stitches)
- Round 21: Work HHDC in the next 6 stitches, then HHDC2tog over the next two stitches. Repeat around. (56 stitches)
- Round 22: Work HHDC in the next 5 stitches, then HHDC2tog over the next two stitches. Repeat around. (48 stitches)
- Round 23: Work HHDC in the next 4 stitches, then HHDC2tog over the next two stitches. Repeat around. (40 stitches)
- Round 24: Work HHDC in the next 3 stitches, then HHDC2tog over the next two stitches. Repeat around. (32 stitches)
- Round 25: Work HHDC in the next 2 stitches, then HHDC2tog over the next two stitches. Repeat around. (24 stitches)
- Round 26: Work HHDC in the next stitch, then HHDC2tog over the next two stitches. Repeat around. (16 stitches)
- Round 27: Work HHDC2tog over every two stitches around. (8 stitches)
Finishing Your Beanie

- Close the Crown: Cut your yarn, leaving a long tail (about 12 inches). Thread the tail through your tapestry needle. Weave the needle through the remaining 8 stitches. Pull the yarn tight to cinch the hole closed. Secure with a knot on the inside of the hat.
- Weave in Ends: Use your tapestry needle to weave in all loose ends on the inside of the hat.
- Make and Attach the Pom-Pom: Use your pom-pom maker to create a fluffy pom-pom. The image shows a pom-pom in the same color as the hat, which is a classic choice. Tie it securely to the top of your beanie and trim it to your desired shape.
Video tutorial
Congratulations! You’ve just created a beautiful, classic beanie. The combination of the ribbed brim and the herringbone stitch makes this a hat you’ll want to wear all season long.

