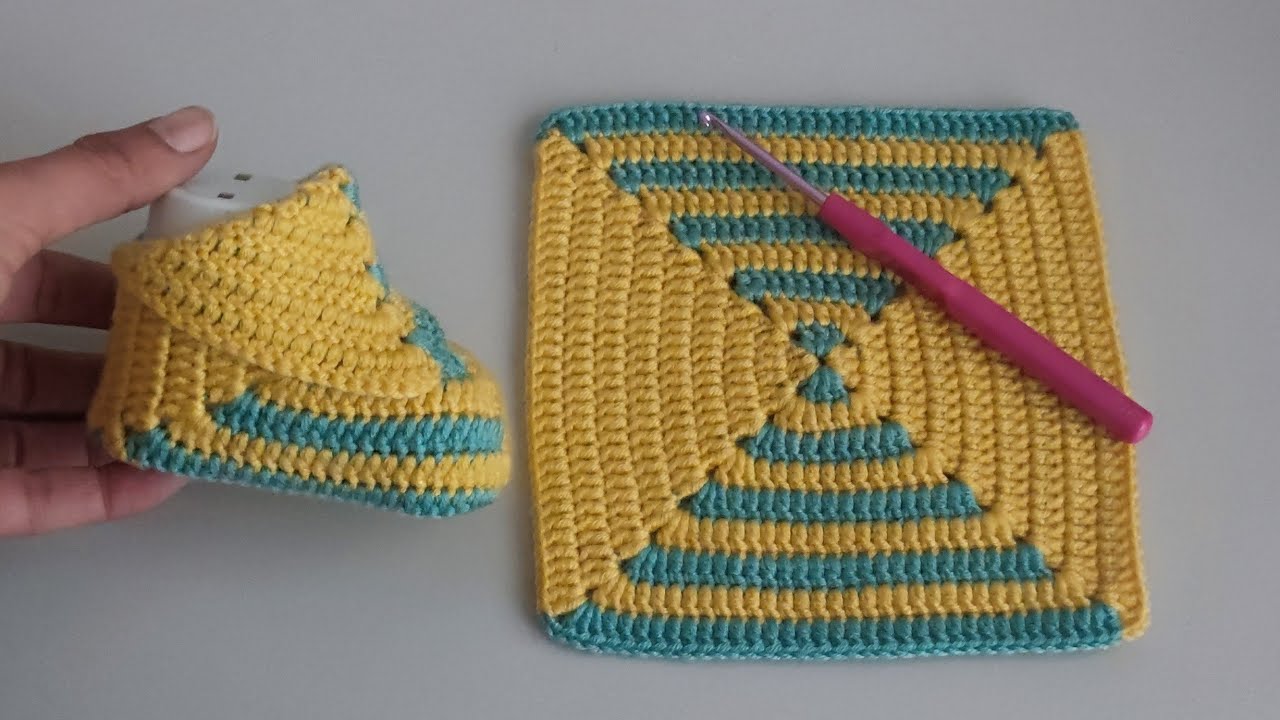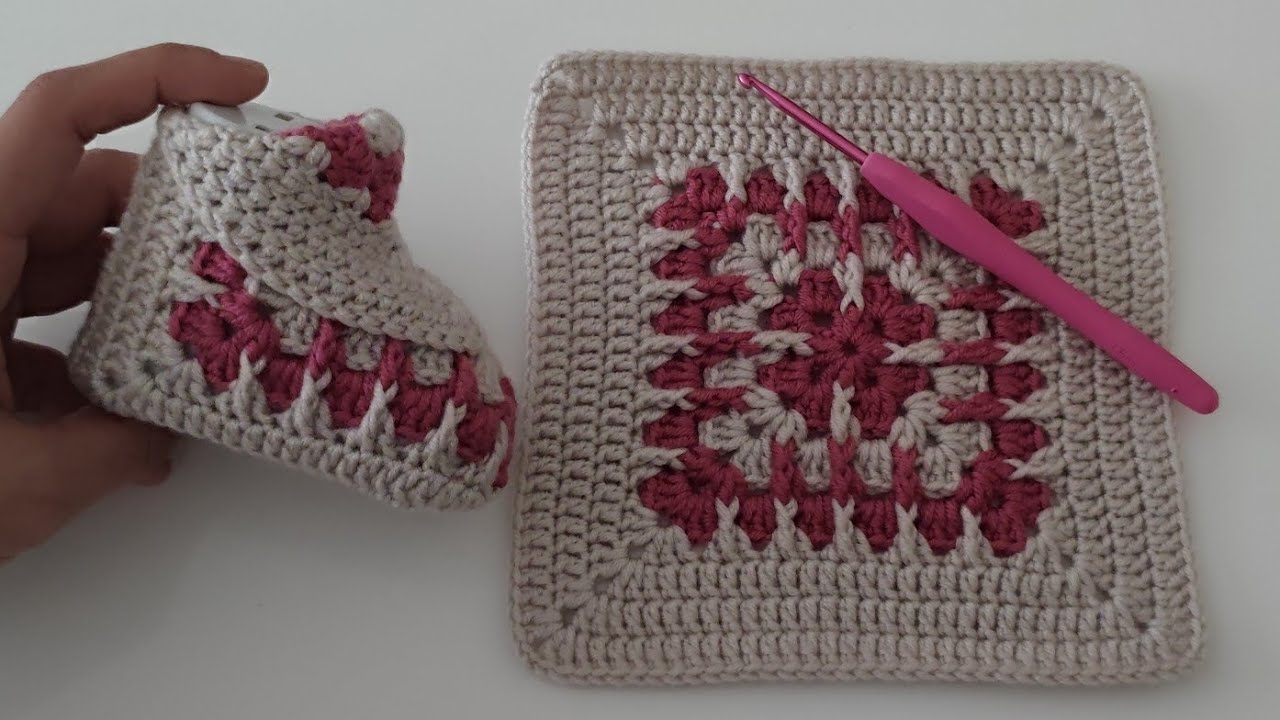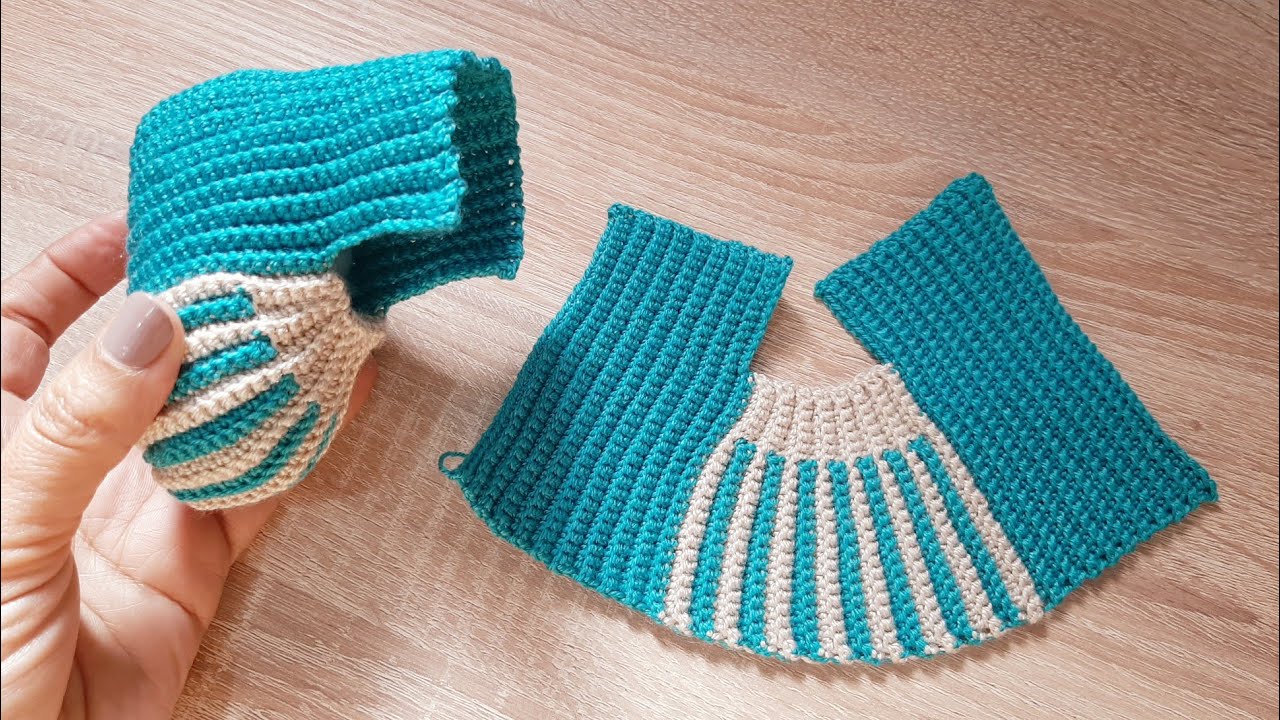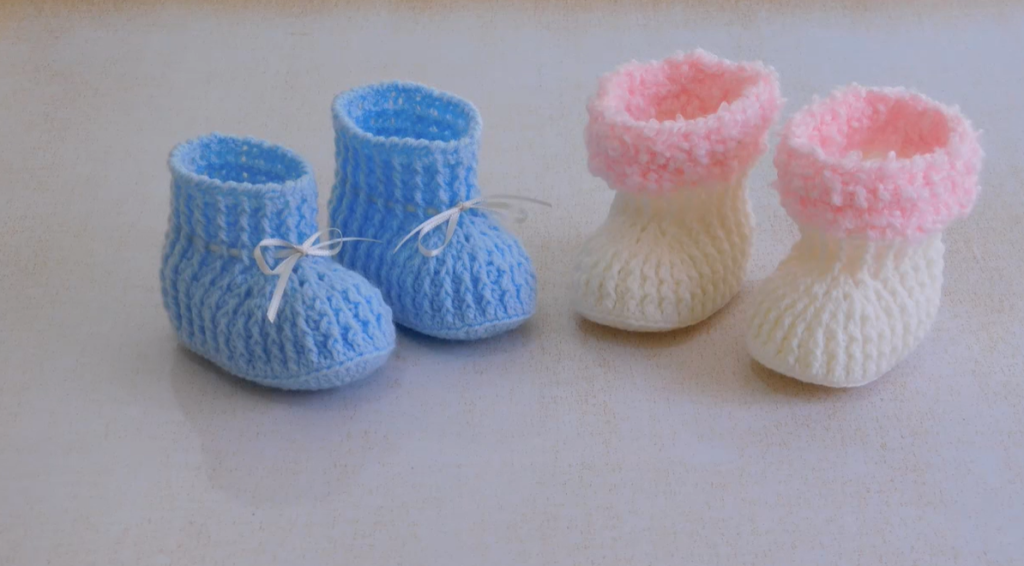
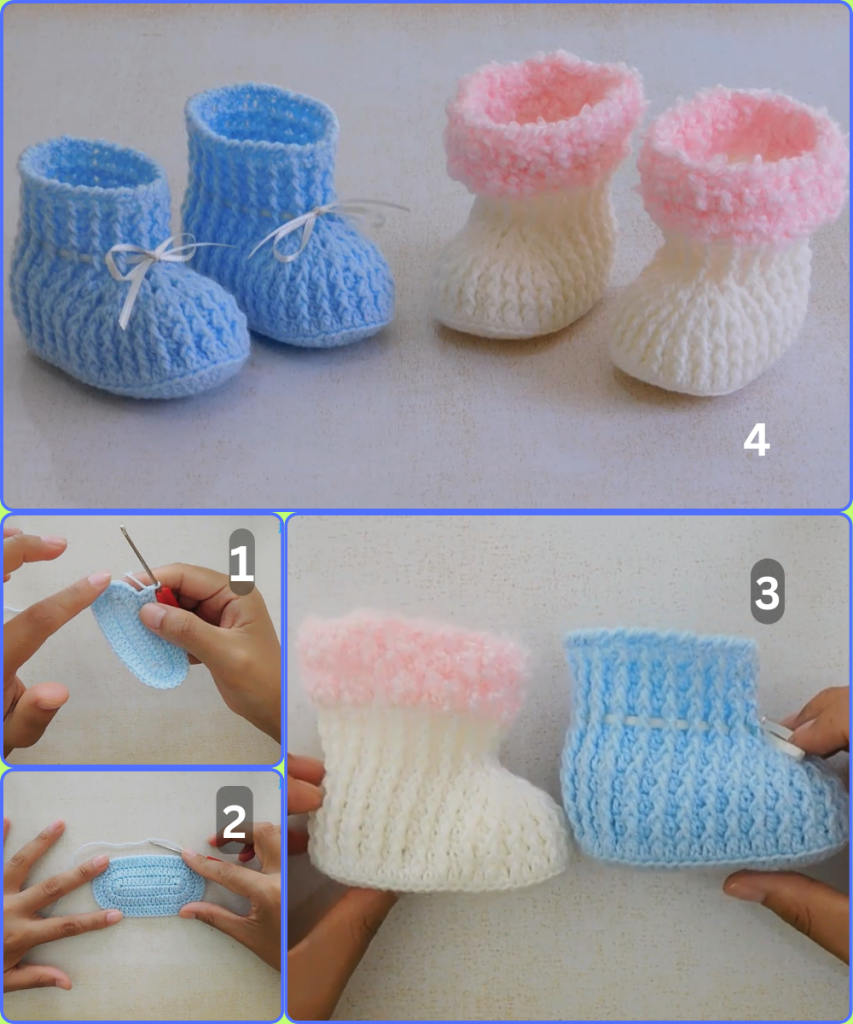
Create a pair of adorable, handmade booties that are as sweet as the little one who will wear them. This pattern is designed to be detailed and clear, perfect for crocheters of all skill levels, especially those new to making baby items. The booties feature a cozy ribbed texture, a seamless sole, and a cute folded cuff.
The pattern is written for a newborn size (approximately 3-3.5 inches long), but I’ve included notes on how to adjust the size for a bigger baby.
What You’ll Need
- Yarn:
- Approximately 50 grams of soft, worsted-weight yarn. A yarn that is machine washable and easy to care for, such as a baby acrylic or cotton blend, is ideal.
- Color A (for the sole and body, like the white or blue in the image).
- Color B (for the cuff, like the pink or blue fluffy yarn).
- Hook:
- A 3.5 mm (E/4) crochet hook.
- Tools:
- Scissors
- Tapestry needle for weaving in ends and seaming.
- Two thin ribbons, about 10-12 inches long, to match your yarn colors (for the blue booties).
Key Crochet Stitches & Techniques
- ch (chain): Yarn over, pull yarn through the loop on your hook.
- sl st (slip stitch): Insert hook into the next stitch, yarn over, and pull through both the stitch and the loop on your hook.
- sc (single crochet): Insert hook into the stitch, yarn over, pull up a loop (2 loops on hook), yarn over, and pull through both loops.
- hdc (half double crochet): Yarn over, insert hook into the stitch, yarn over and pull up a loop (3 loops on hook), yarn over and pull through all 3 loops on the hook.
- hdc in the back loop only (BLO): Work a half double crochet stitch by inserting your hook into the back loop of the stitch only. This creates a ribbed texture.
- sc2tog (single crochet two together): Insert hook into the next stitch, yarn over, pull up a loop. Insert hook into the next stitch, yarn over, pull up a loop (3 loops on hook), yarn over and pull through all 3 loops on the hook.
- hdc2tog (half double crochet two together): Yarn over, insert hook into the next stitch, yarn over, pull up a loop (3 loops on hook). Yarn over, insert hook into the next stitch, yarn over, pull up a loop (5 loops on hook). Yarn over and pull through all 5 loops on the hook.
The Pattern: Let’s Get Started!
Part 1: The Sole
We’ll start with the base of the bootie, which is worked in a flat oval.

Using Color A
- Round 1: Chain 11. Work 2 hdc in the 2nd chain from the hook. Hdc in the next 8 stitches. Work 5 hdc in the last chain. Now, working on the other side of the chain, hdc in the next 8 stitches. Work 3 hdc in the last stitch. Join with a sl st to the first hdc. (26 stitches)
- Round 2: Chain 1 (does not count as a stitch). Work 2 hdc in the same stitch. Work 2 hdc in the next stitch. Hdc in the next 8 stitches. Work 2 hdc in each of the next 5 stitches. Hdc in the next 8 stitches. Work 2 hdc in each of the next 3 stitches. Join with a sl st to the first hdc. (38 stitches)
- Round 3: Chain 1. Work 1 hdc in each stitch around. Join with a sl st to the first hdc. (38 stitches)
Part 2: The Body of the Bootie
Now we’ll work the main part of the bootie to create the ribbed texture. We’ll join each round to keep the seam tidy.

- Round 4: Chain 1 (does not count as a stitch). Work 1 hdc in the back loop only (BLO) of each stitch around. Join with a sl st to the first hdc. (38 stitches)
- Rounds 5-6: Chain 1. Work 1 hdc in the BLO of each stitch around. Join with a sl st to the first hdc. (38 stitches)
Part 3: Shaping the Toe
Now we will decrease stitches to create the toe.
- Round 7: Chain 1. Work 1 hdc in the BLO of the next 10 stitches. Hdc2tog over the next 2 stitches. Repeat the hdc2tog 5 more times (6 hdc2tog total). Hdc in the BLO of the next 10 stitches. Join with a sl st to the first hdc. (32 stitches)
- Round 8: Chain 1. Work 1 hdc in the BLO of the next 10 stitches. Hdc2tog over the next 2 stitches. Repeat the hdc2tog 3 more times (4 hdc2tog total). Hdc in the BLO of the next 10 stitches. Join with a sl st to the first hdc. (28 stitches)
Part 4: The Ankle
This section creates the shaft of the bootie.

- Round 9: Chain 1. Work 1 hdc in the BLO of each stitch around. Join with a sl st to the first hdc. (28 stitches)
- Rounds 10-12: Repeat Round 9.
Part 5: The Fluffy Cuff
Now we will add the fluffy cuff. You can use a different, fluffier yarn for this section, or the same yarn for a solid look like the blue booties.
Using Color B
- Round 13: Join new yarn to the top of the last round. Chain 1. Work 1 sc in the back loop only of each stitch around. Join with a sl st to the first sc. (28 stitches)
- Round 14: Chain 1. Work 1 sc in the back loop only of each stitch around. Join with a sl st to the first sc. (28 stitches)
- Rounds 15-16: Repeat Round 14.

Part 6: Finishing Touches
- Ribbon Tie (Optional): If you are making the blue version, thread a ribbon through the spaces created by the hdc stitches in Round 9. Tie a pretty bow at the front of the bootie.
- Weave in Ends: Cut your yarn, leaving a long tail. Use your tapestry needle to weave in all loose ends.
- Create a Second Bootie: Repeat all the steps above to make the second bootie.
Video tutorial
Congratulations! You’ve just created a beautiful, handmade pair of baby booties. They are perfect for a baby shower gift or to keep your own little one’s feet warm and cozy.

