 by
by 
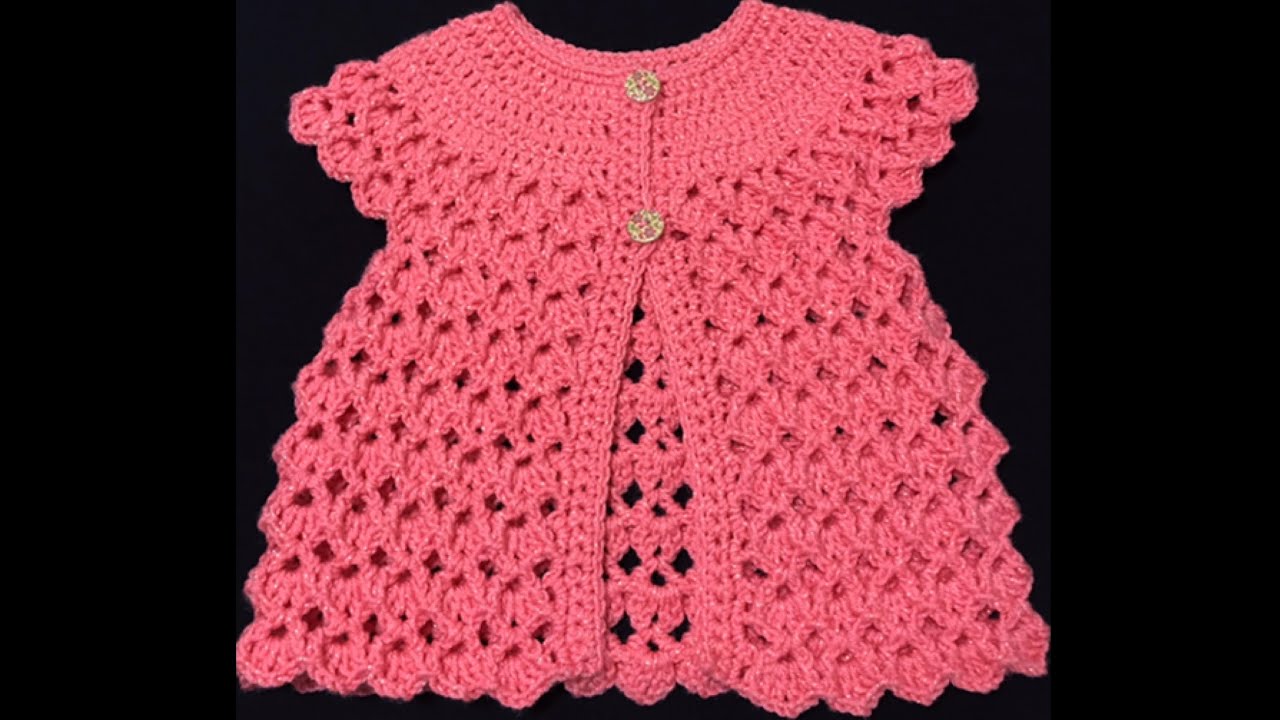
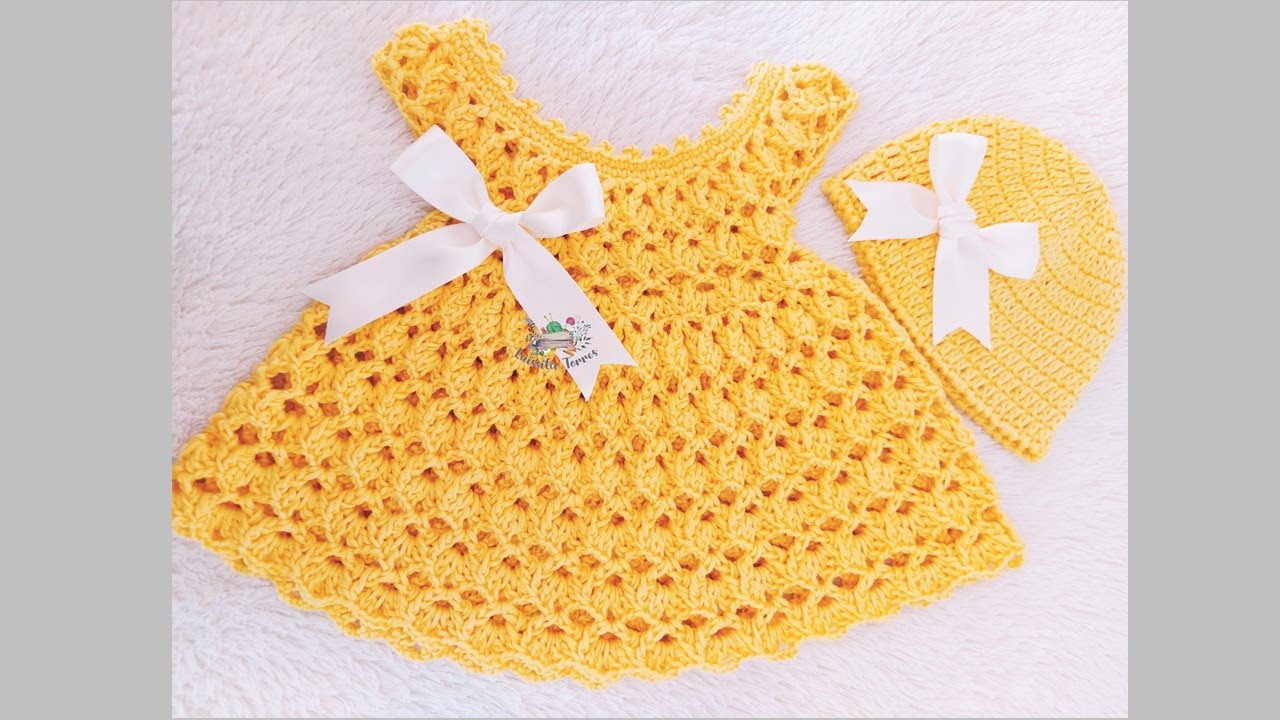
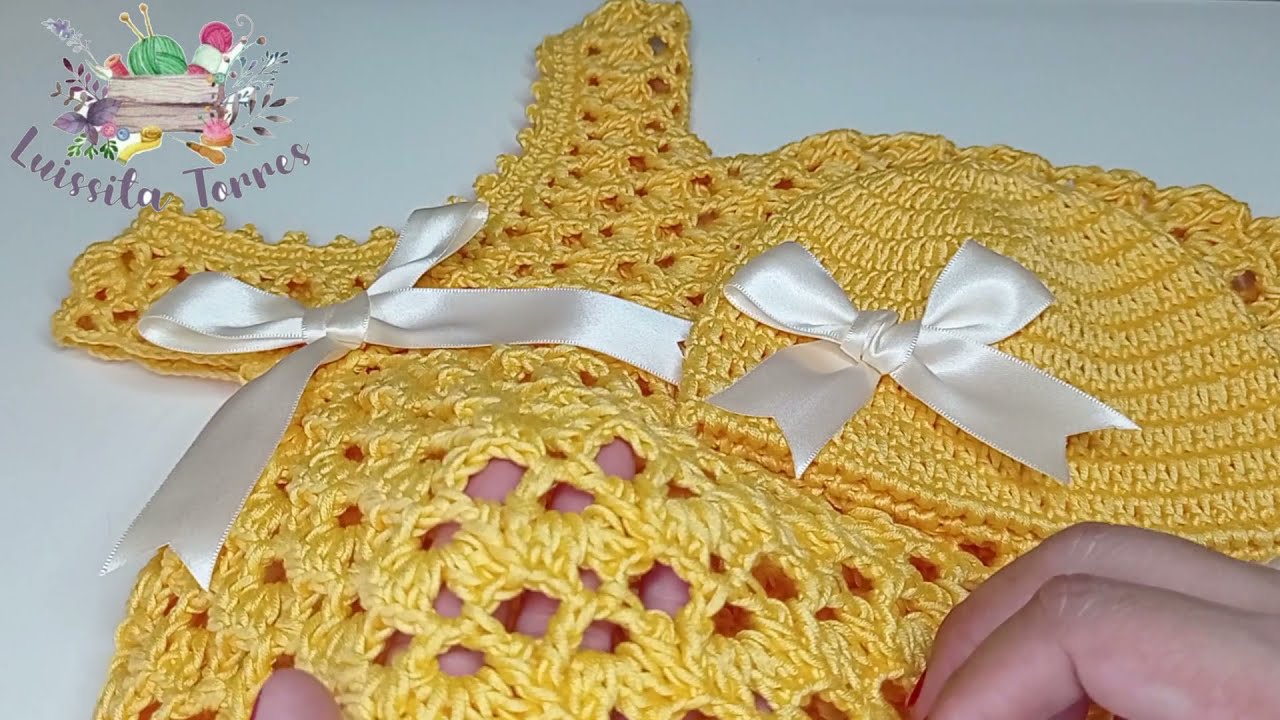
Creating a matching crochet set for a newborn is a labor of love, resulting in a beautiful and cherished keepsake. This detailed tutorial will walk you through the process of crocheting a complete set, including a sweet dress and a matching hat, designed for a newborn baby. This project, while simple in its design, creates a stunning and thoughtful gift.
Materials You’ll Need
- Yarn: Approximately 180 grams of Fontana brand 100% mercerized cotton yarn in a canary yellow color, or any similar #1 weight or fingering yarn.
- Crochet Hook: A 3 mm hook.
- Buttons: Two or three small buttons for the back of the dress.
- Ribbon: For the decorative bow on the dress and hat.
- Embroidery Needle: For weaving in ends and attaching decorations.
- Tools:
- Scissors
- Stitch markers
- Measuring tape
Part 1: The Dress – A Step-by-Step Guide
The dress begins with a simple bodice and then flares out into a full, elegant skirt.

- Foundation Chain: Begin by creating a foundation chain of 90 stitches. These chains will form the top part of the dress. Join the chain with a slip stitch to the first chain to form a ring.
- First Round: Chain 3 (counts as your first double crochet). Work one double crochet in each of the next stitches around. Join with a slip stitch to the top of the beginning chain 3.
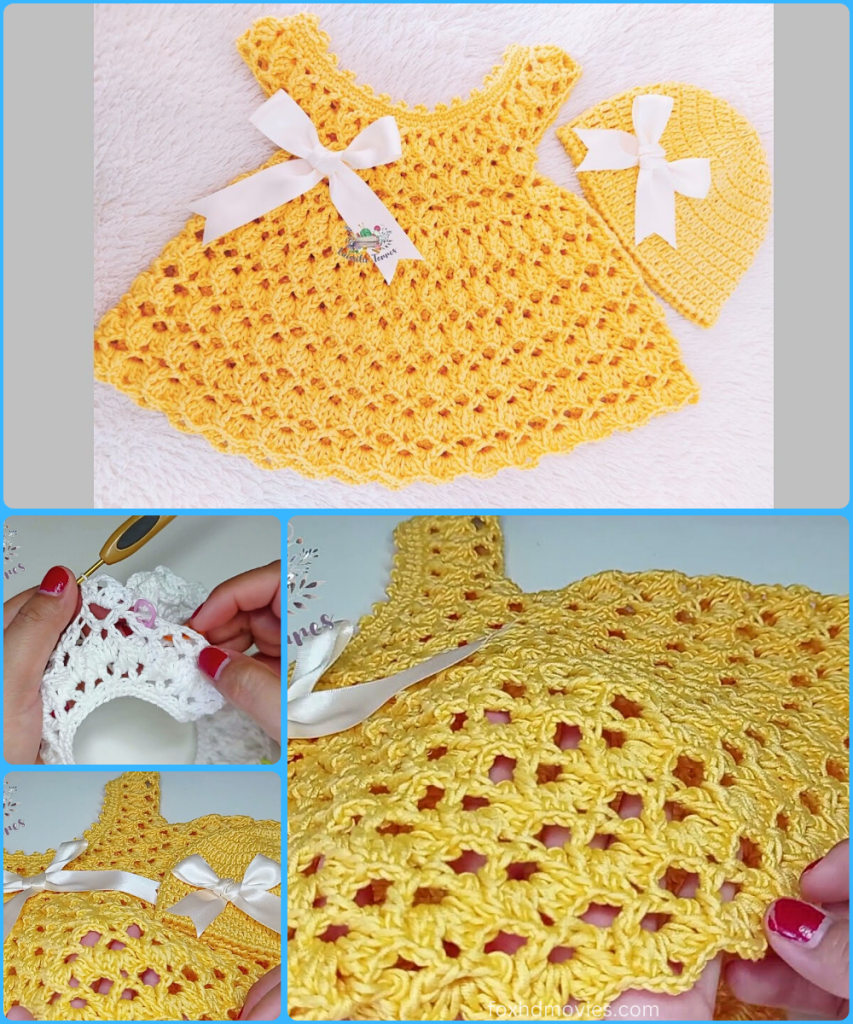
- Create the Yoke: Continue to work rounds of double crochets, or a similar stitch, until the yoke reaches the desired length. The video demonstrates how to separate the front, back, and sleeves.
- Create the Skirt: Once the yoke is the desired length, you will begin the skirt pattern. The tutorial guides you through a pattern that causes the skirt to flare out. This may involve increasing stitches in each round or working a specific stitch pattern that naturally expands. The video mentions that the length can be adjusted, so continue to work rounds until the skirt reaches the desired length.
- Final Touches: The video demonstrates a specific stitch for the edges of the dress to give it a finished look. You can also weave a ribbon through the stitches at the waist to create a decorative bow.
Part 2: The Hat – A Matching Accessory
The hat is a simple, matching accessory that is worked in a circular pattern from the top down.
- Magic Ring: Begin with a magic ring of six stitches. You will then work rounds of stitches into this ring to create the top of the hat.
- Increasing Stitches: The creator shows how to increase stitches in each subsequent round to form the crown of the hat. This is typically done by working two stitches into each stitch from the previous round, or by a similar increasing pattern.
- Hat Body: Once the crown is the desired size, you will stop increasing and continue to work rounds of stitches, which will form the body of the hat. Continue to work rounds until the hat reaches the desired length.
- Final Touches: The video demonstrates a specific stitch for the brim of the hat to give it a finished look. You can also weave a ribbon through the stitches to create a decorative bow that matches the dress.
Part 3: Finishing the Set

- Weave in Ends: Use your embroidery needle to carefully weave in all the loose ends of your yarn on both the dress and the hat.
- Attach Buttons: Sew two or three buttons to the back of the dress to create a secure closure.
Your newborn’s crochet set is now complete! Enjoy the satisfaction of having created a beautiful, custom, and stylish set all by yourself.