 by
by 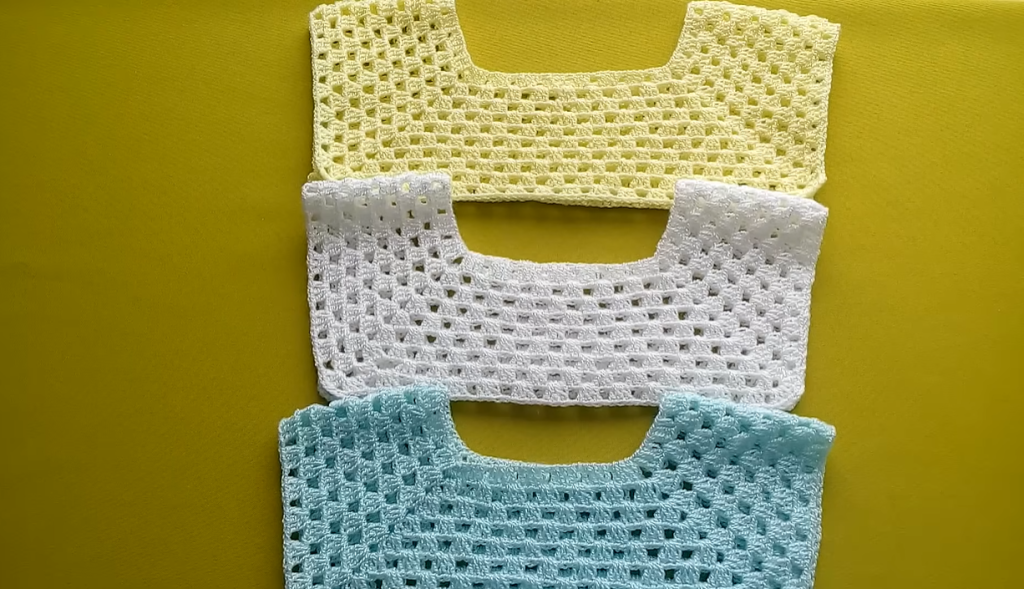
Introduction & Inspiration
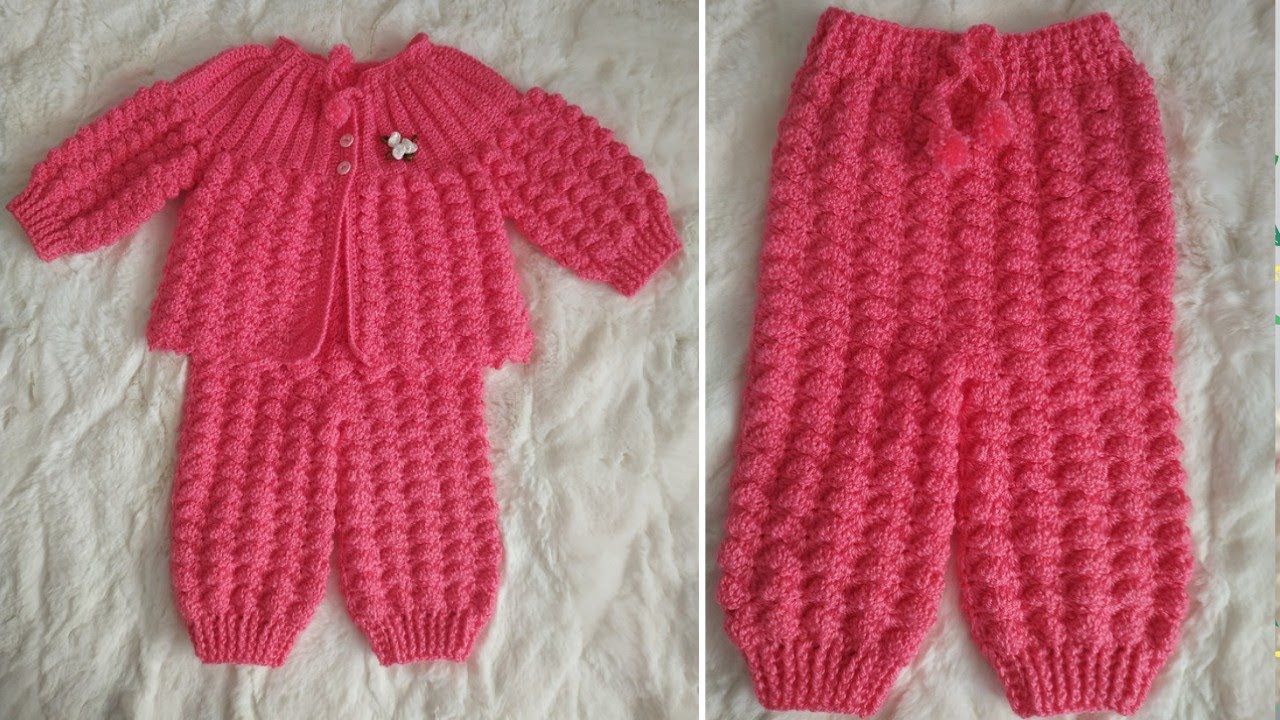
Crocheting a yoke garment offers both elegance and versatility. Starting from the neckline and working outward in rounds, the yoke maintains a seamless, comfortable shape that naturally fans into sleeves and the body—all in one piece. Inspired by the multi-size yoke tutorial, this pattern provides a foundation adaptable for any size—from infants to adults—featuring clear guidance on shaping, finishing, and customization.
Whether you’re crafting for personal use, gifting, or selling, this pattern will empower you to crochet a yoke garment such as a sweater, dress, or tunic using simple yet effective techniques.

1. Materials & Tools
- Yarn: Choose a yarn appropriate to your project:
- For baby/toddler sizes: Light DK or sport weight,
- For child/adult sizes: DK or worsted weight.
Estimate roughly: - Baby/toddler: 200–300 g;
- Child: 300–500 g;
- Adult: 600–1000 g (depending on length and sleeve style).
- Hook: Use the size recommended on your yarn label, typically 3.5–5 mm. Adjust based on tension and desired drape.
- Notions:
- Stitch markers (key for marking sleeve divisions).
- Yarn needle.
- Tape measure.
- Optional: buttons, ribbon, or decorative trims.
- Gauge (optional but helpful): Swatch 10 cm x 10 cm in double crochet (dc):
- DK: ~18 sts × 10 rows;
- Worsted: ~16 sts × 10 rows.

2. Sizing & Measurements
This pattern adapts to any size by adjusting the neck foundation chain. Use the following as a guide:
- Neck circumference target (lay the garment flat and measure inside):
- Infant (3–12 mo): 24–28 cm
- Child (2–8 yr): 30–36 cm
- Teen/Adult Small: 38–42 cm
- Adult Medium/Large: 44–54 cm
Starting chain recommendation:
- Measure your yarn over hook gauge or chain gauge, then divide the desired neck circumference by your measurement per stitch to get the chain count.
Add a foundation chain that is a multiple adjustable for stitch pattern (e.g., multiple of 4 + 2).

3. Abbreviations & Basic Stitches
- ch – chain
- sc – single crochet
- dc – double crochet
- sl st – slip stitch
- inc – increase (2 dc in the same stitch)
- sk – skip
- rep – repeat
Primary stitch used: Double Crochet (dc), unless customizing with shells, V-stitches, or lacy motifs.
4. Gauge Swatch (Optional)
Crochet a 10 cm² swatch in dc to check your tension:
- If stitches are tight (small gauge), try a larger hook.
- If too loose, switch to a smaller hook.
Better accuracy ensures proper fit across sizes.
5. Pattern Instructions
A. Foundation (Neck)
- Chain foundation to fit neck circumference, ensuring the count works with your chosen multiple plus 2 for joins.
- Join into a circle with sl st, being careful not to twist.
- Round 1: ch 3 (counts as dc), dc in each chain around. Join with sl st.
B. Yoke Construction with Increases
- Even rounds: dc in each stitch.
- Increase rounds: Sprinkle increases evenly—e.g., every Nth stitch:
- Dc in next (N–1) sts, 2 dc in next; repeat to end.
- Repeat: Alternate even and increase rounds until yoke depth reaches targeted underarm size (usually 12–18 cm, depending on total garment length).
- Final stitch count: Determine via measurement around yoke; this number will serve as your stitch base for division.
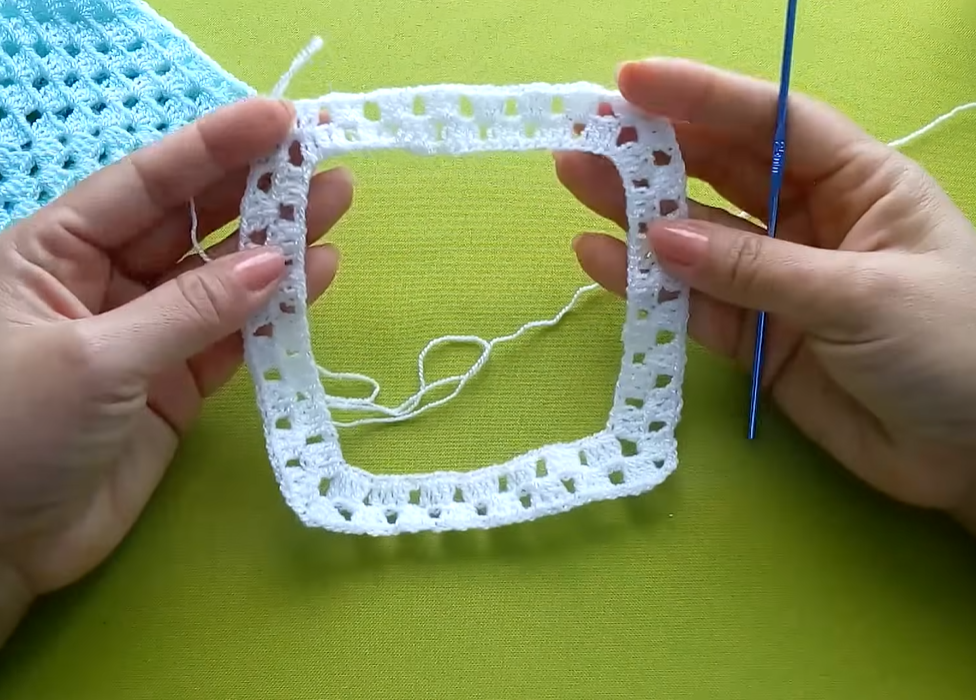
C. Sleeve & Body Division
- Mark the yoke into sections: front, left sleeve, back, right sleeve.
- Example for layout: 30% Front / 20% Sleeve / 30% Back / 20% Sleeve.
- Transfer to body rounds:
- Work dc over “body” stitches.
- Chain enough stitches to bridge sleeves (forming armholes).
- Skip sleeve stitches while working chain bridges on two opposite sides.
- This leaves the body in the round with two armholes opening.
D. Body (Torso or Skirt)
- Option 1 – Basic: Continue dc rounds until desired length.
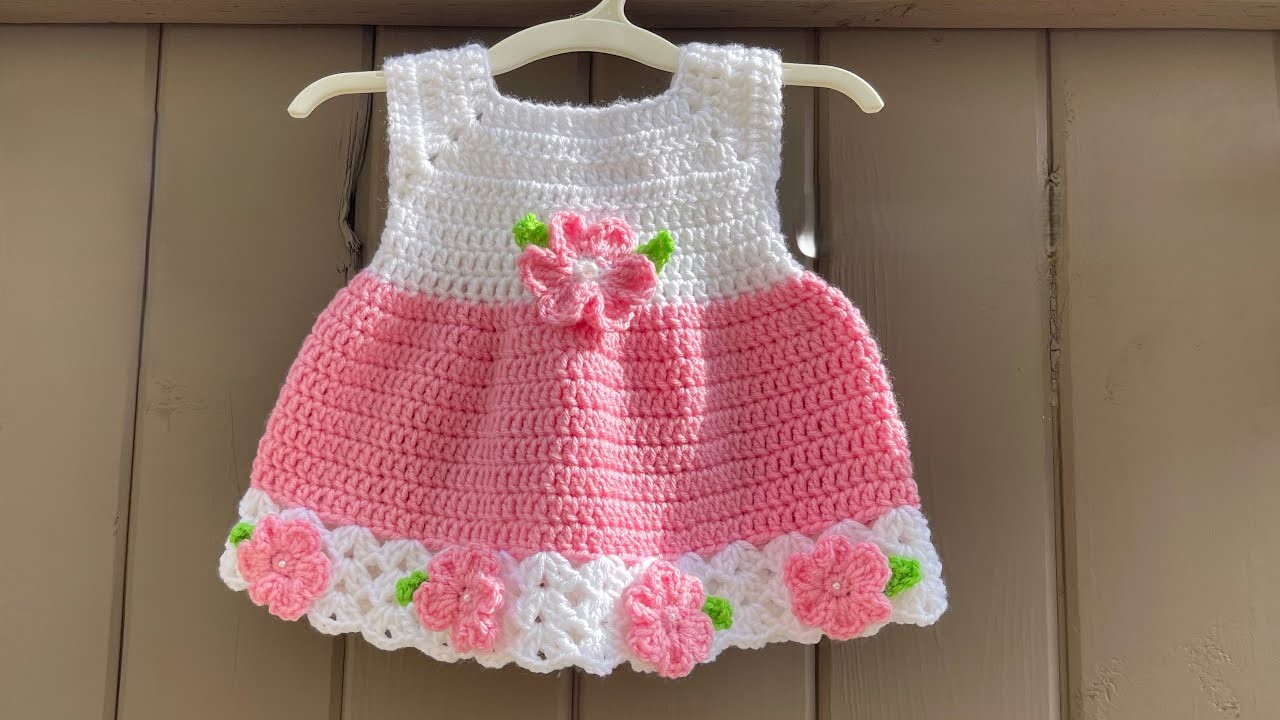
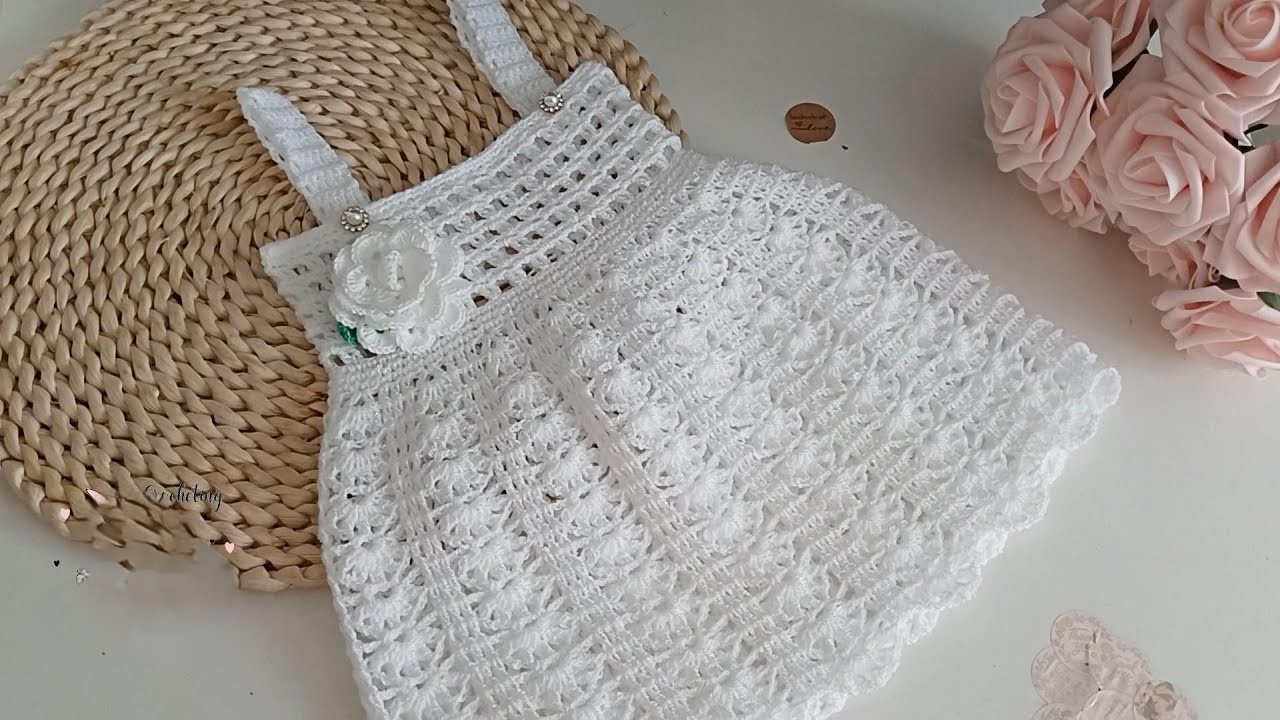
- Option 2 – Decorative Skirt: Switch to shell or lace pattern:
- Example: 5 dc in same st, sk 2, sc in next, sk 2, 5 dc around.
E. Sleeves
- Attach yarn at underarm opening.
- Work dc in rounds to create sleeve tubes:
- For short sleeves: 6–8 rounds.
- For long sleeves: Continue to desired arm length.
- Finish with edging—e.g., scallops or picot for flair.
F. Neck & Edge Finishing
- Single crochet around neckline for a firm finish.
- Add decorative trims—picots, ribbons, or small bows.

6. Finishing & Blocking
- Weave in ends securely.
- Block the garment: gently wet and lay flat to shape.
- Attach any embellishments like buttons or ribbons.
7. Customization Ideas
- Color Patterns: Use stripes or ombré effects by changing colors in the body or sleeves.
- Texture Variations: Alternate yarn textures or incorporate puff stitches for depth.
- Length Variations:
- Infant: Yoke top with short body for a top or onesie overlay.
- Child: Knee-length dress or tunic.
- Adult: Sweater with waist shaping or maxi dress with split.
- Sizing Up or Down: Adjust foundation chain for neck size, and depth before armhole division for chest/shoulder fit.
8. Troubleshooting
- Neck too tight? Restart with a looser foundation chain or larger hook.
- Yoke puckering or ruffling? Adjust increase frequency or space them out more evenly.
- Body too flared? Reduce increase rate toward lower rounds.
- Sleeves too tight? Add chains or lengthen rounds at armholes.
Video tutorial
Conclusion
This versatile yoke pattern is a true foundation for crafting garments across all sizes—from baby tops to adult sweaters. By understanding how the yoke shapes and adapts, you can produce beautifully tailored, seamless pieces with endless design potential.