 by
by 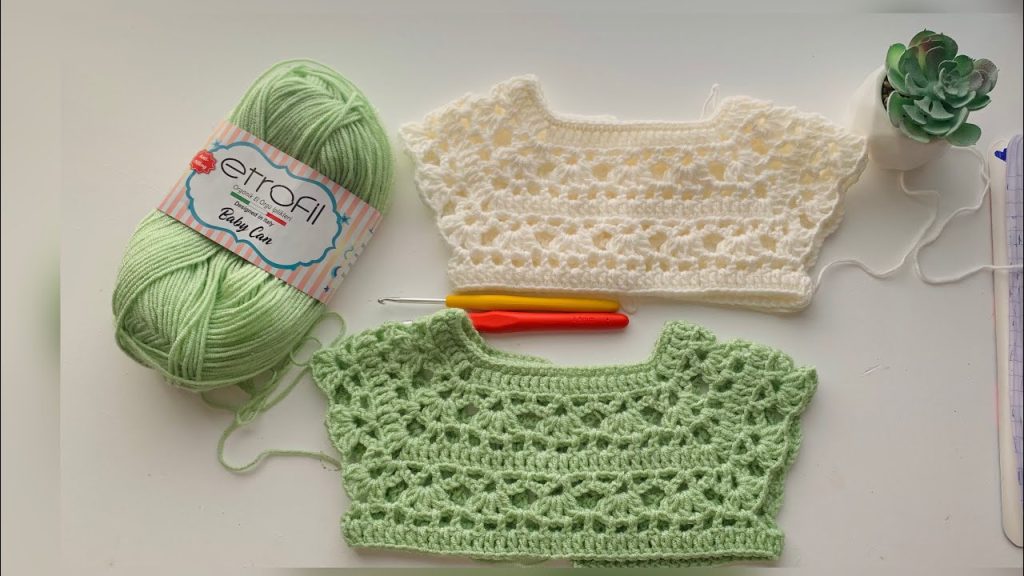
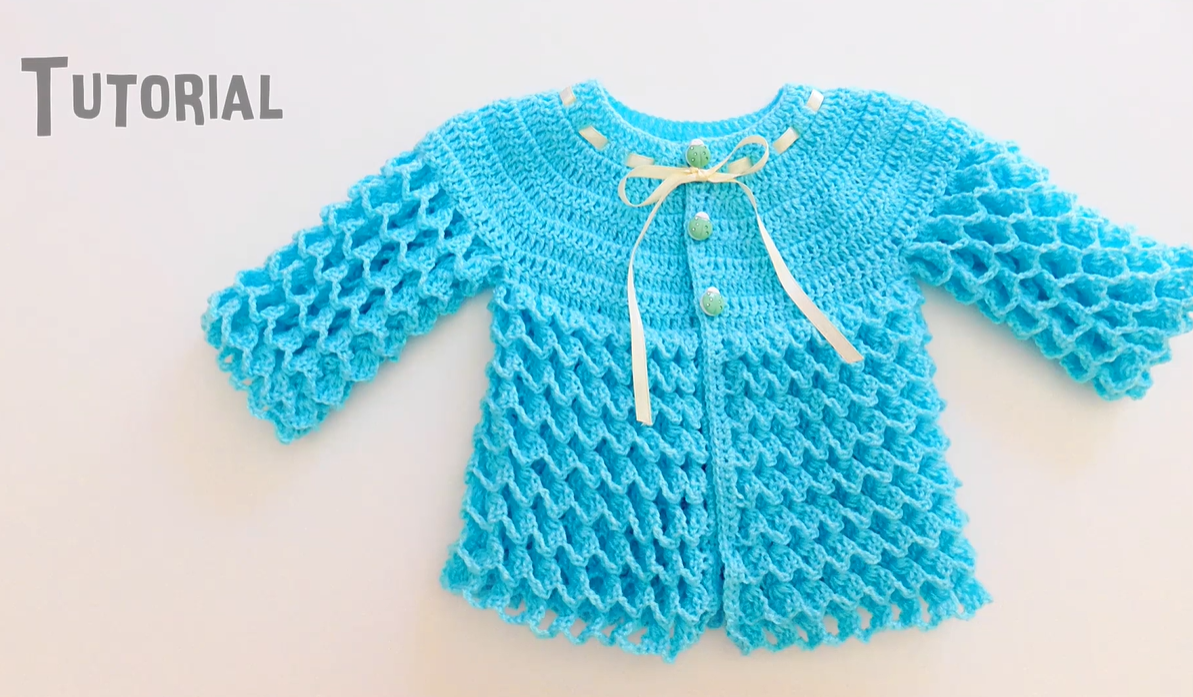
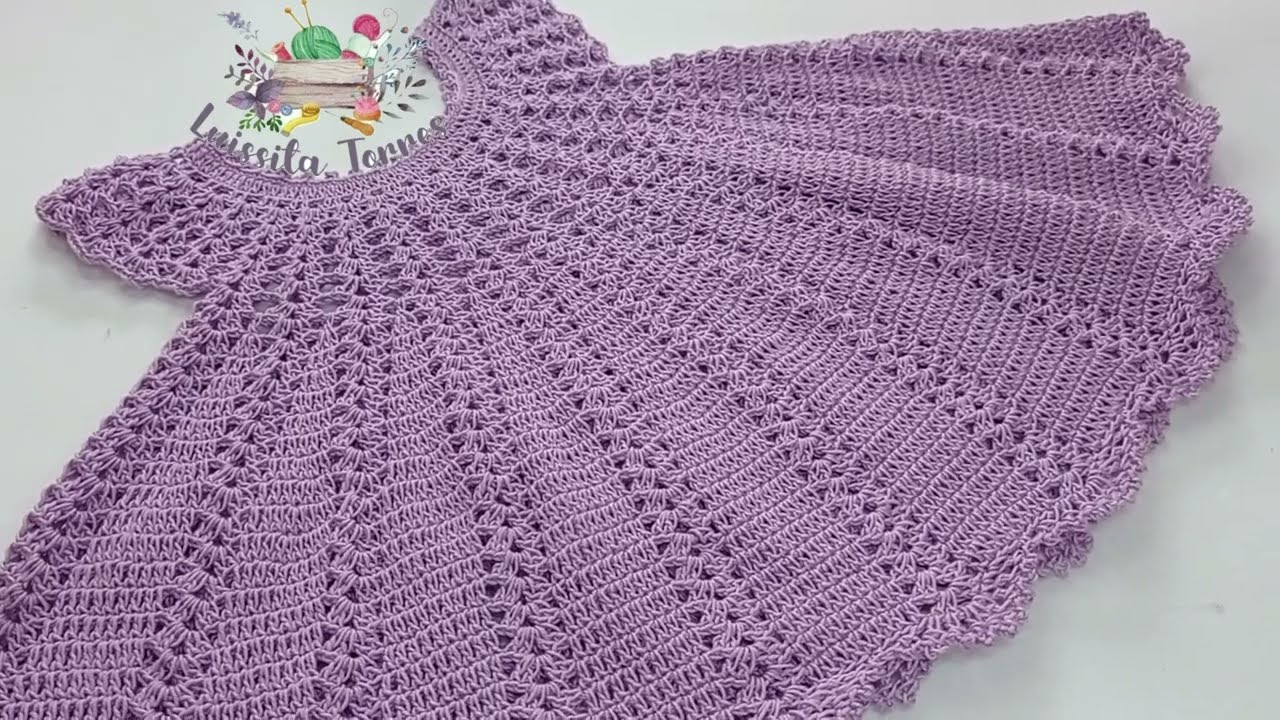
Create a beautiful yoked garment with this detailed crochet pattern! Inspired by a wonderful tutorial, this guide shows you how to make a stylish and versatile yoke for a baby’s dress or sweater. The unique feature of this pattern is its intricate stitch design, which creates a lovely texture and drape. This project is a joy to make and is the perfect starting point for a handmade baby outfit!
Skill Level: Intermediate
This pattern uses a combination of simple stitches to create a more intricate design. A familiarity with basic stitches and reading a pattern will be helpful.
Finished Size (Approximate):
- Size: 0 to 3 months old.
- Important: The final size can vary based on your personal tension. The pattern can be adjusted for a larger size by using a thicker yarn and a larger hook.
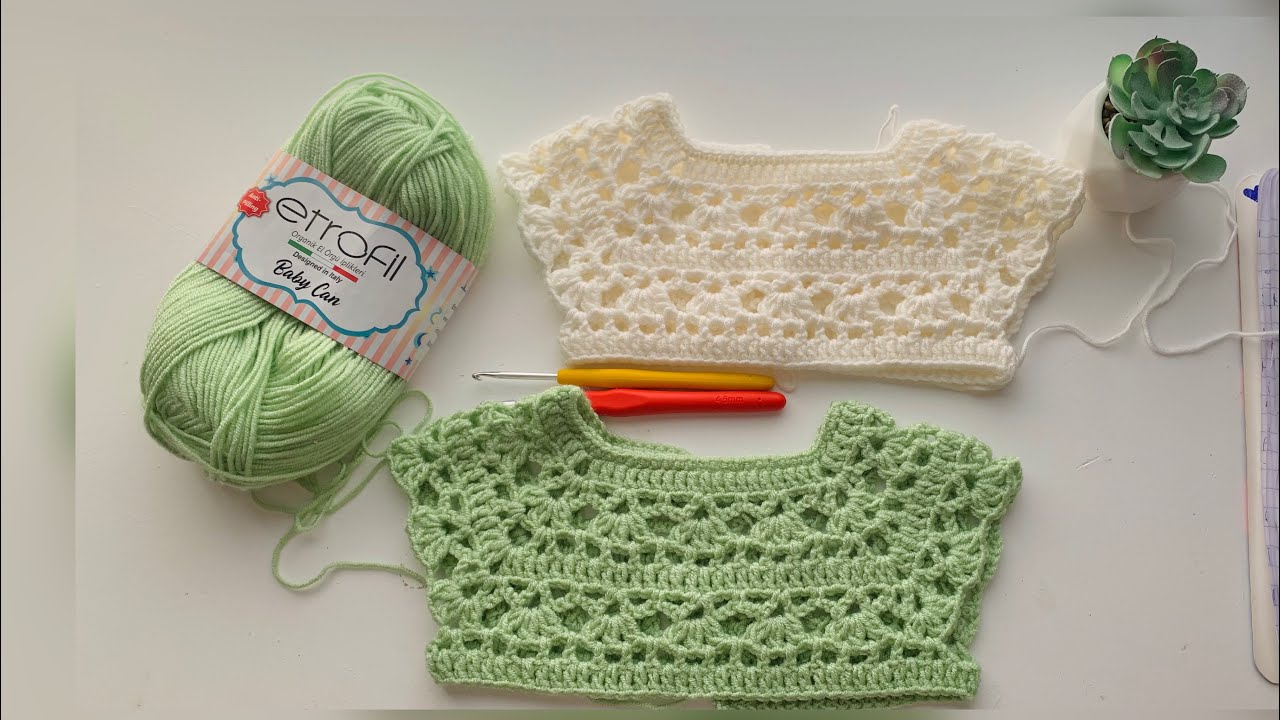
Materials You’ll Need:
- Yarn: A soft acrylic yarn, approximately 3 mm thick.
- Crochet Hook: A 3.5 mm crochet hook.
- Scissors
- Yarn Needle: For weaving in ends and sewing on the buttons.
- Two Small Buttons
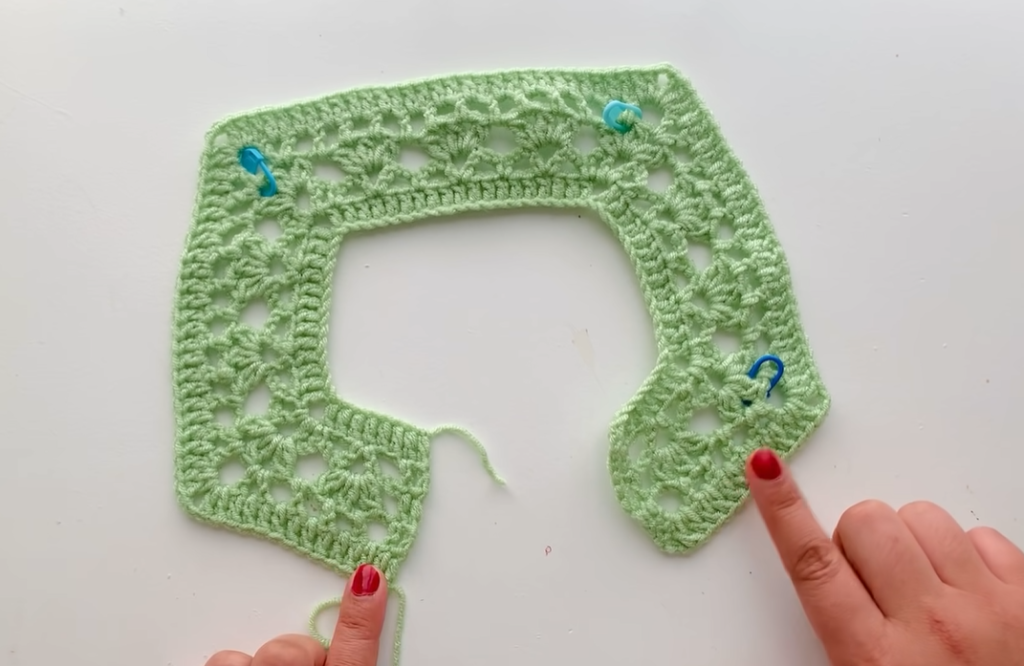
- Stitch Markers (Optional): To mark the divisions for the front, back, and sleeves.
Gauge:
Achieving consistent gauge is essential for creating a yoke that will fit correctly. The goal is to have a fabric that is firm enough to hold its shape but not so tight that it feels stiff. Before you begin, you can crochet a small swatch to check your tension.
Abbreviations (US Crochet Terms):
- ch: chain
- sl st: slip stitch
- sc: single crochet
- dc: double crochet
- st(s): stitch(es)
- V-st: V-stitch (dc, ch 1, dc) in the same stitch.
- FO: Fasten off
Let’s Crochet Your Baby Yoke!
This yoke is worked in rows, creating a flat piece that is later joined to form the round shape of the top of the dress or sweater.

Part 1: The Foundation Chain & First Row
- Start: Ch 61, plus two more chains for a total of 63.
- Row 1: Work the first row of double crochets, dividing the stitches as follows:
- Work 8 dc for the first front side.
- Ch 2.
- Work 13 dc for the first sleeve.
- Ch 2.
- Work 19 dc for the back side.
- Ch 2.
- Work 13 dc for the second sleeve.
- Ch 2.
- Work 8 dc for the second front side.

Part 2: The Yoke Pattern
The yoke is made with a pattern that combines various stitches to create an intricate and open fabric.
- Work the pattern: The video shows how to create the pattern, including V-stitches, single crochets, and groups of two double crochets closed together.
- Continue working in rows: Continue this pattern, increasing the number of stitches in each row to create the circular yoke shape.

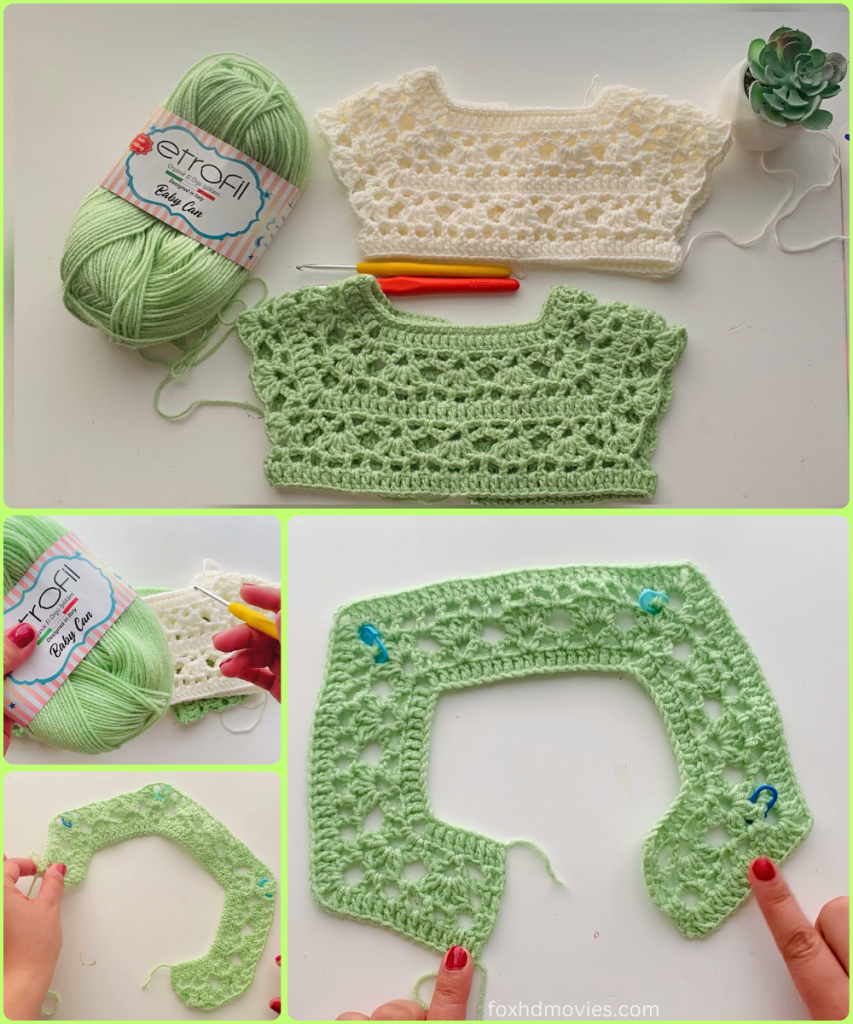
Part 3: Forming the Yoke
After crocheting a number of rows, the flat piece is joined to form the yoke.
- Join the sides: The video shows how to join the two sides of the yoke to create the armholes. This is a crucial step in shaping the yoke.
- Continue crocheting rounds: After joining, you will continue working in rounds, creating the base for the skirt of the dress or the body of the sweater.
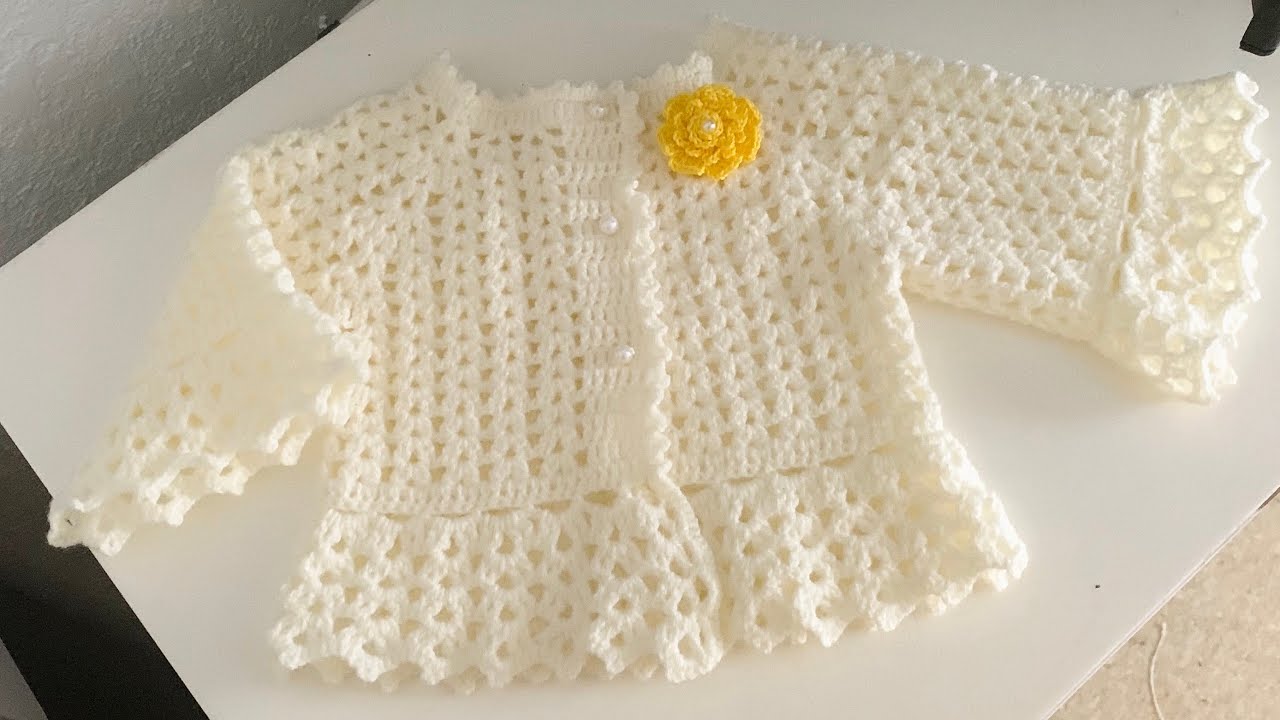
Part 4: Finishing Touches
- Add a Border: The video shows how to add a border of single crochets around the entire edge of the yoke.
- Create Buttonholes: Create a few buttonholes on one side of the yoke to allow for easy dressing.
- Attach the Buttons: Sew the buttons onto the other side of the yoke, opposite the buttonholes.
- Weave in all ends: Make sure all your yarn tails are neatly woven in.
Video tutorial
Versatile Uses for Your Yoke:
- Dress: The yoke can be used as the top part of a dress.
- Sweater: You can continue crocheting the body to create a comfortable sweater.
- Tunic: A longer body can be added to create a tunic.
Customization & Tips:
- Size Adjustment: The video provides a clear guide on how to adjust the size for different ages by simply changing the yarn thickness. You can also adjust the initial chain count and stitch count to create a larger or smaller yoke.
- Yarn Choice: Experiment with different yarn types and colors. A solid color would look classic, while a variegated yarn would create a fun, striped effect.
- Decoration: You can add a small crocheted flower, a ribbon, or a different kind of embellishment for a personalized touch.
Enjoy crocheting your own beautiful, practical, and unique yoke! It’s a fantastic way to create a personalized accessory that’s sure to become a favorite.