by
by 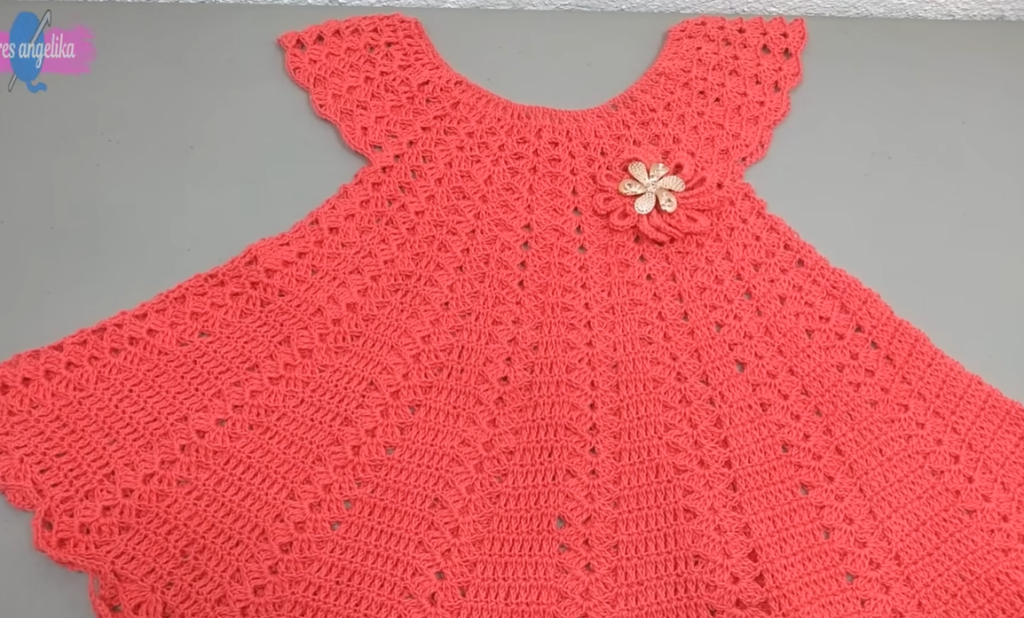
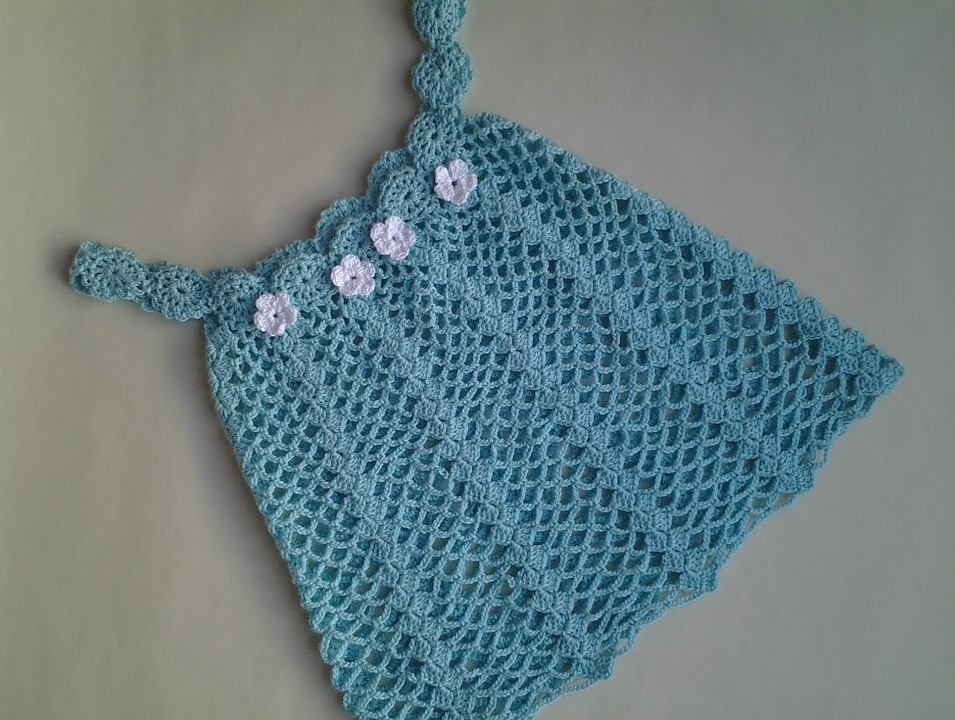
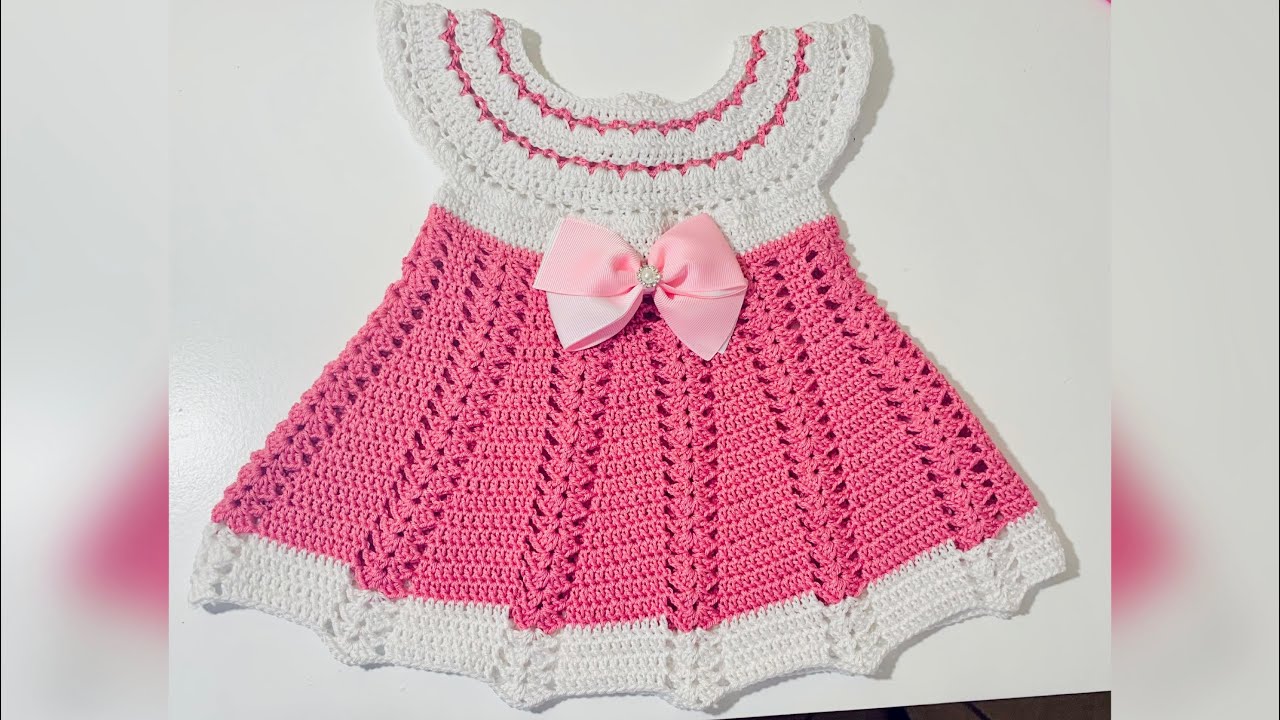
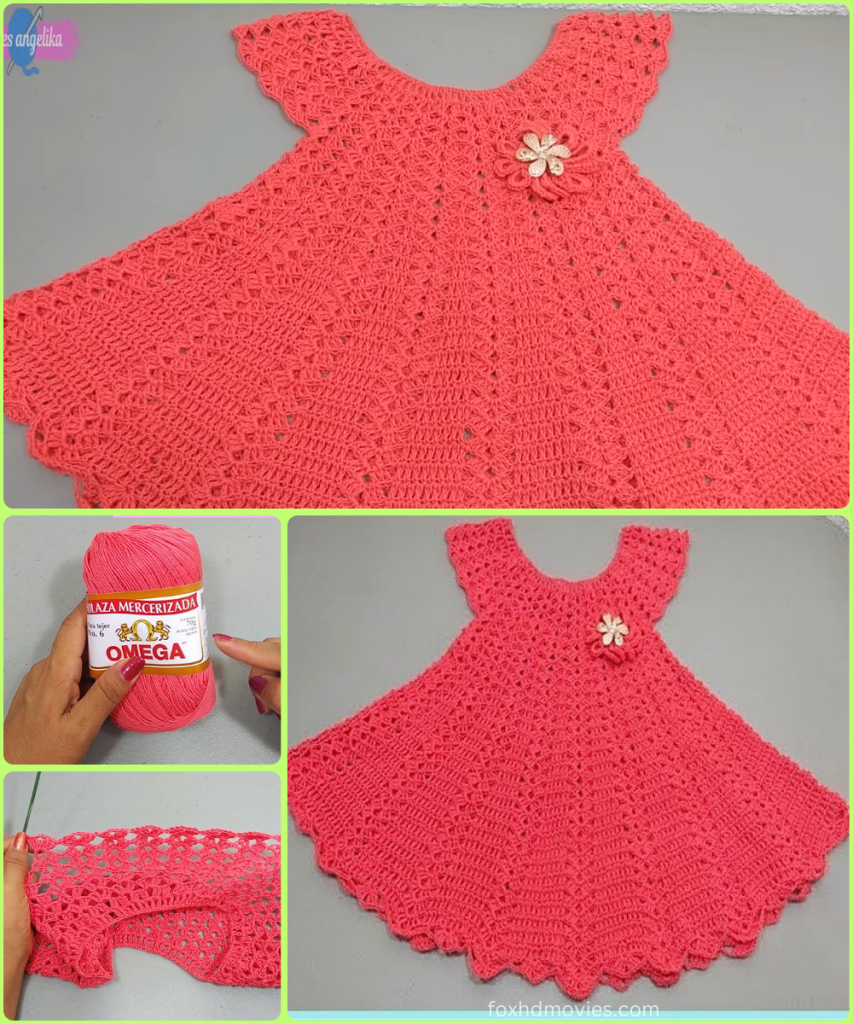
Create a stunning dress for a special little one with this seamless, top-down crochet pattern. This design features a beautiful lace yoke that gives way to a full, flowing skirt, perfect for twirling. The optional flower adds a touch of handmade charm, making this an excellent heirloom piece or a cherished gift for a 2-3 year old.
Let’s pick up our hooks and create this charming and comfortable dress!
Skill Level: Intermediate
Materials You’ll Need:
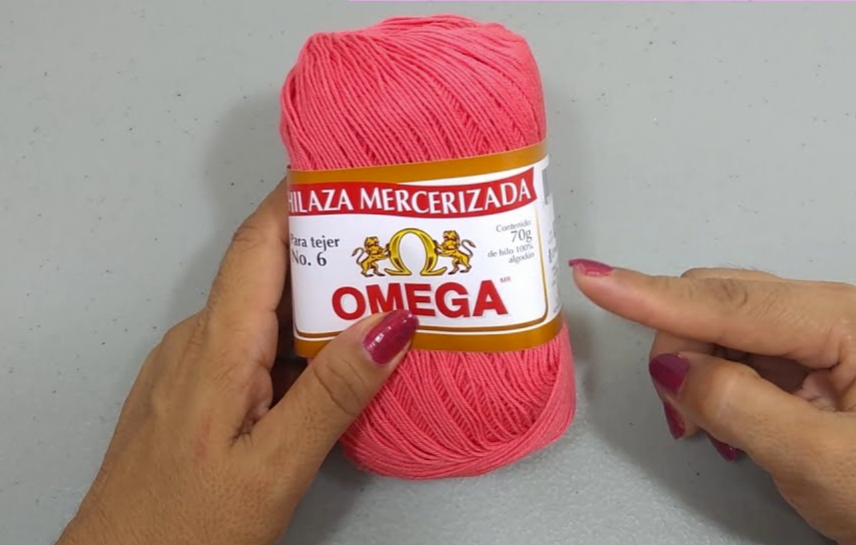
- Yarn: Approximately 400-500 yards of sport (size 2) or DK (size 3) weight yarn in your desired color (e.g., the beautiful red shown). A soft, washable yarn like a cotton or acrylic blend is perfect for baby clothes.
- A crochet hook appropriate for your yarn. A size G/6 (4.0mm) hook is a good starting point.
- Scissors
- Yarn needle for weaving in ends
- Stitch markers
- A small amount of white or contrasting yarn for the optional flower.
Key Stitches and Abbreviations:
- ch: chain
- st(s): stitch(es)
- sl st: slip stitch
- sc: single crochet
- dc: double crochet
- V-st: V-stitch (dc, ch 1, dc) in the same stitch
- Shell/Fan st: fan stitch ([5 dc] in the same stitch)
- sk: skip
- sp: space
- rnd: round
Pattern Instructions:
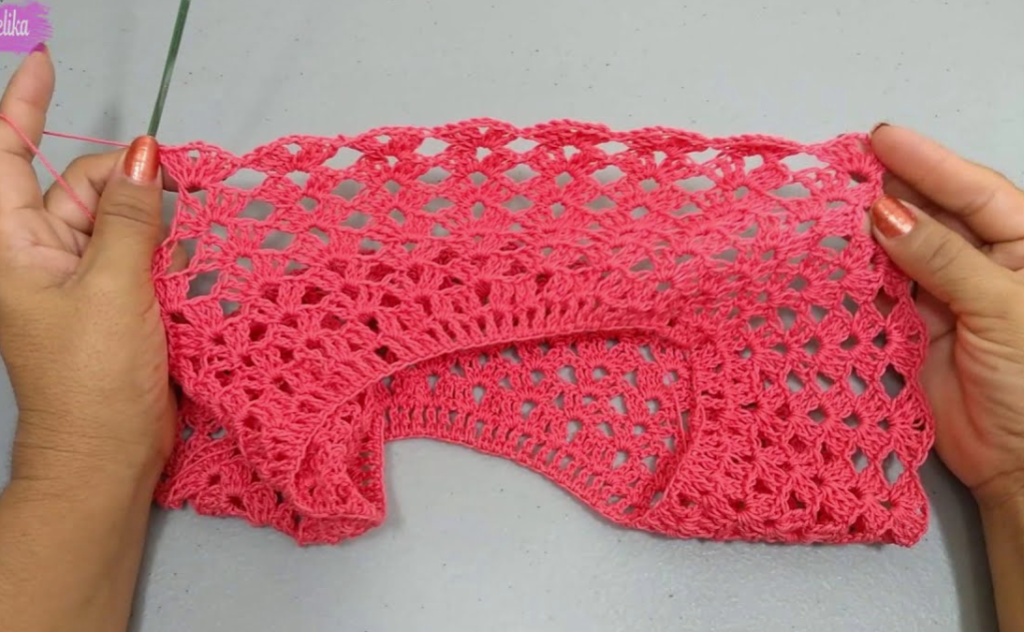
Part 1: The Yoke
The yoke is worked in the round from the top down, with increases to create a flat circular shape that will form the top of the dress.
- Rnd 1 (Neckline): ch 80 (or adjust for desired neck opening for a 2-3 year old), sl st to the first ch to form a ring. (80 sts)
- Rnd 2: ch 3 (counts as dc), dc in each st around. Join with sl st.
- Rnd 3 (Lace Yoke): ch 3 (counts as dc), dc in next st. ch 1, sk 1 st, dc in next 2 sts. Repeat from * around. Join with sl st.
- Rnd 4: ch 3, dc in each st and ch-1 sp around. Join with sl st.
- Rnd 5: ch 3, sk 2 sts, V-st in next st. Repeat from * around. You will need to add increases to maintain a flat yoke. Work an extra V-st or dc between the V-sts as needed.
- Continue working rounds of dc and lace, increasing the stitch count as needed to form a flat, round yoke. A good strategy is to add an extra dc to your fan stitches or to add extra stitches between them every few rows. Work until the yoke is wide enough to reach the armpits.
Part 2: Separate Armholes
Once the yoke is wide enough, you will separate the sleeves from the body and continue with the skirt.
- Split for Sleeves: Place stitch markers to divide the stitches into sections for the front, back, and two sleeves. A typical division for a toddler dress is about 30% for the front and back each, and 20% for each sleeve.
- Continue Body: ch 3, and continue your pattern across the stitches for the front panel. When you reach the first sleeve marker, ch 5 (or enough chains to create a comfortable armpit opening) and skip all the sleeve stitches to the next marker. Continue the pattern across the back stitches. When you reach the third marker, ch 5 and skip the remaining sleeve stitches. Join the round.
Part 3: The Skirt
The skirt is worked in continuous rounds from the armhole separation down to the hem.
- Rnd 1: ch 3, dc in each dc and ch st around, including in the ch-5 spaces under the armpits.
- Rnd 2 (Textured Skirt): ch 1, sc in first st. sk 2 sts, [5 dc] in next st (this is your shell stitch), sk 2 sts, sc in next st. Repeat from * around. Join with sl st.
- Rnd 3: ch 1, sc in the first sc. [5 dc] in the center dc of the next shell. Repeat from * around. Join with sl st.
- Repeat Rnd 3 until the skirt reaches your desired length. To create the full, flared look of the dress, you will need to increase the stitch count every few inches. You can do this by using a wider shell stitch (e.g., [7 dc] instead of 5) or by adding extra stitches between shells.
Part 4: Finishing Touches

- Scalloped Edging: Join yarn at the hem of the skirt. sc in first st, sk 1, [3 dc] in next st, sk 1. Repeat from * around. This will create a pretty, ruffled edge. Repeat this on the armhole openings and neckline as well.
- Crocheted Flower (Optional):
- ch 4, sl st to form a ring.
- ch 2 (counts as hdc), [hdc, dc, hdc] in the ring. sl st, ch 2, [hdc, dc, hdc] in ring. Repeat from * 4 more times to create 5 petals.
- Fasten off and sew the flower to the yoke of the dress.
- Weave in Ends: Weave in all loose ends securely with your yarn needle.
- Blocking: Gently block the finished dress to help the lace pattern lay flat and define the stitches.
You’re Done!
Video tutorial
Congratulations! You’ve just crocheted a beautiful and delicate toddler dress with a lovely lace pattern and a textured skirt. This project is a testament to your skill, resulting in a unique and heartfelt garment.
Share your finished dress with me on social media using #RubyLaceDress – I’d love to see your color choices! Happy crocheting!