by
by 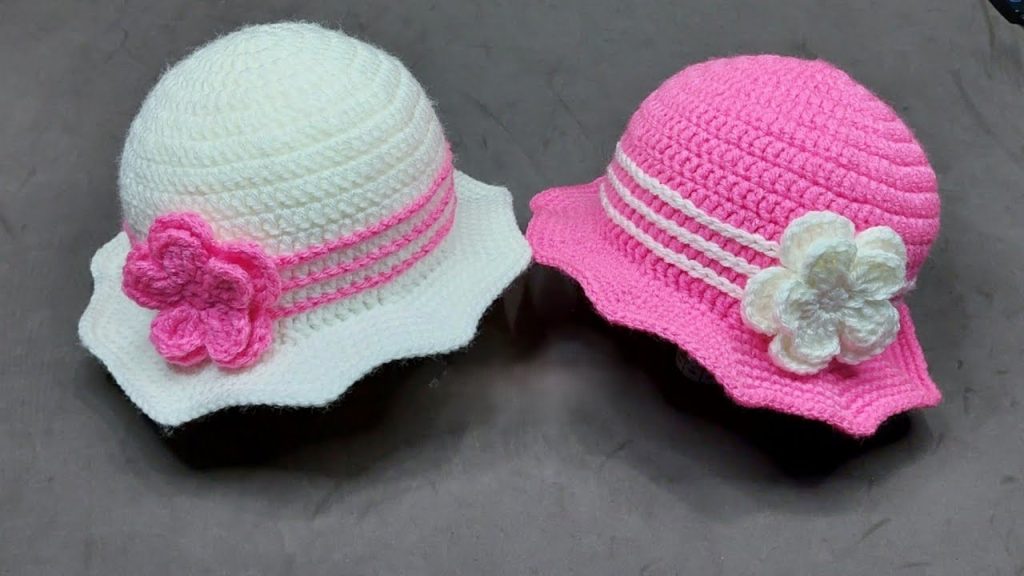
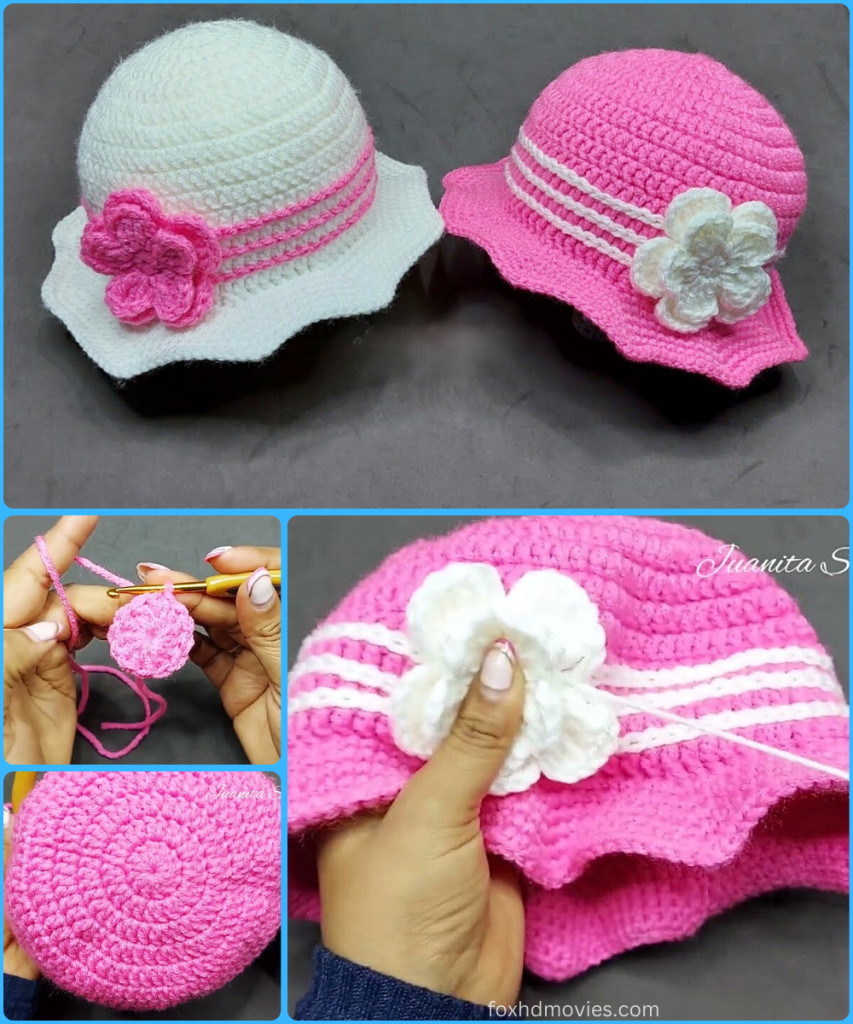
A crochet sun hat is the perfect accessory for a sunny day, providing shade while adding a touch of handmade charm to any outfit. This detailed tutorial will guide you through the process of crocheting a beautiful sun hat, complete with a structured brim and a decorative flower. Designed for a child aged 2 to 5 years, this hat is a rewarding project for any crocheter.
Materials You’ll Need
- Yarn: Approximately one skein of a 4mm yarn (DK or worsted weight). You’ll need a main color and a contrasting color for the decorative stripes.
- Crochet Hook: A 4mm crochet hook.
- Scissors
- Yarn Needle (Tapestry Needle): For weaving in ends.
- Measuring Tape: For checking the size of the crown.
- Optional: A crocheted flower or other embellishments for decoration.
Part 1: The Crown – Creating the Top of the Hat
The crown of the hat is worked in a circular pattern, with a series of increases to create a flat circle that fits on the head.
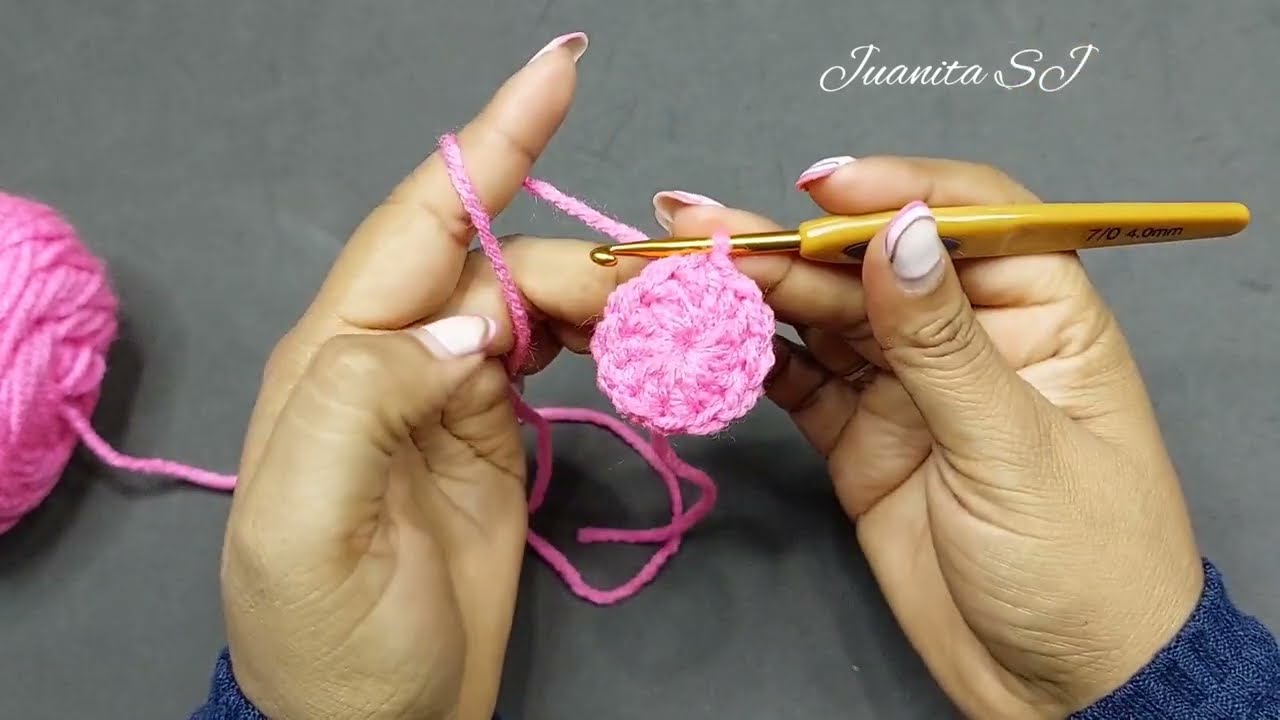
- Initial Ring: Begin with a magic ring or chain 4 and join with a slip stitch.
- First Round: Chain 2 (counts as a half-double crochet). Work 10 or 12 half-double crochets into the ring. Join with a slip stitch to the top of the beginning chain 2.
- Increasing Rounds: In the subsequent rounds, you will increase the number of stitches to create a flat circle. The video demonstrates a pattern of increasing stitches, such as working two half-double crochets in each stitch from the previous round, or alternating between one and two stitches. Continue increasing until the crown reaches a diameter of 15 to 15.5 centimeters for a child’s hat.
- Hat Body: Once the crown is the desired diameter, you will stop increasing and continue to work rounds of half-double crochets (one in each stitch) to form the sides of the hat. Continue to work rounds until the hat reaches the desired depth.
Part 2: The Brim – A Structured Flare
The brim of the hat is made with a different stitch pattern and a series of increases to make it stand out from the main body of the hat.

- Start the Brim: Once the main body of the hat is the desired length, you will begin the brim. The video uses a different type of stitch to make the brim stand out.
- Increasing Rounds: You will work a series of increasing rounds to create a structured flare for the brim. This is typically done by working two stitches in each stitch from the previous round, or by alternating between one and two stitches, in a pattern that causes the brim to expand.
- Continue the Brim: Continue to work rounds of the brim stitch, with increases, until the brim reaches the desired width.
Part 3: Finishing Touches
The final steps involve adding some decorative details and a neat finish.

- Add Decorative Stripes: The creator shows how to add decorative stripes around the base of the hat using a contrasting yarn color. You can do this by weaving a new color of yarn through the stitches or by working a few rounds of a new color.
- Attach the Flower: The video concludes with instructions on how to attach a crocheted flower to the hat to cover the seam where the rounds were closed. This is a great way to add a personal touch.
- Weave in Ends: Use your tapestry needle to carefully weave in all the loose ends of your yarn for a clean and professional finish.
Video tutorial
Your beautiful crochet sun hat is now complete! Enjoy the satisfaction of having created a custom, organized, and stylish accessory all by yourself.