 by
by 
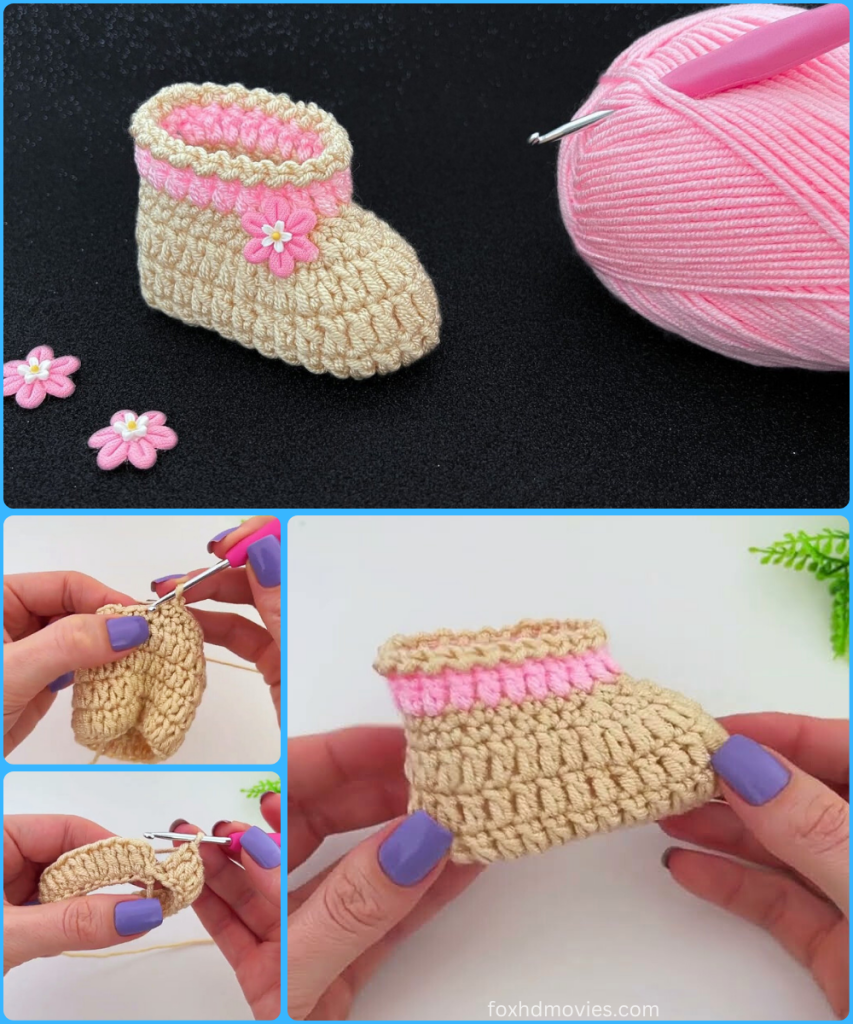
Create your own beautiful and practical baby shoes with this easy-to-follow crochet pattern! Inspired by a detailed tutorial, this design guides you through crafting a unique pair of booties with a simple double crochet stitch, perfect for a newborn up to three months old. These booties are a wonderful handmade gift that is sure to be treasured.
Skill Level: Advanced Beginner (familiarity with foundation chains and decreasing stitches recommended)
Finished Size (Approximate):
- Size: 0-3 months
- The finished piece should measure about 7.5 inches (19 cm) in length.
- Size can vary based on yarn, hook, and tension.
Materials You’ll Need:
- Yarn: Approximately 20-30g of a baby-appropriate yarn in at least two different colors.
- Crochet Hook: A hook size appropriate for your chosen yarn.
- Tapestry Needle: For sewing the sole together and weaving in ends.
- Scissors
- Ribbon or Elastic (Optional): To help the shoes stay on the baby’s feet.
Gauge:
Achieving consistent gauge is important for sizing. Make sure your stitches are not too loose or too tight. If your fabric is too loose, go down a hook size.
Abbreviations (US Crochet Terms):
- ch: chain
- sl st: slip stitch
- dc: double crochet
- dc2tog: double crochet two together (a decrease)
- st(s): stitch(es)
- FO: Fasten off
Let’s Crochet Your Baby Booties!
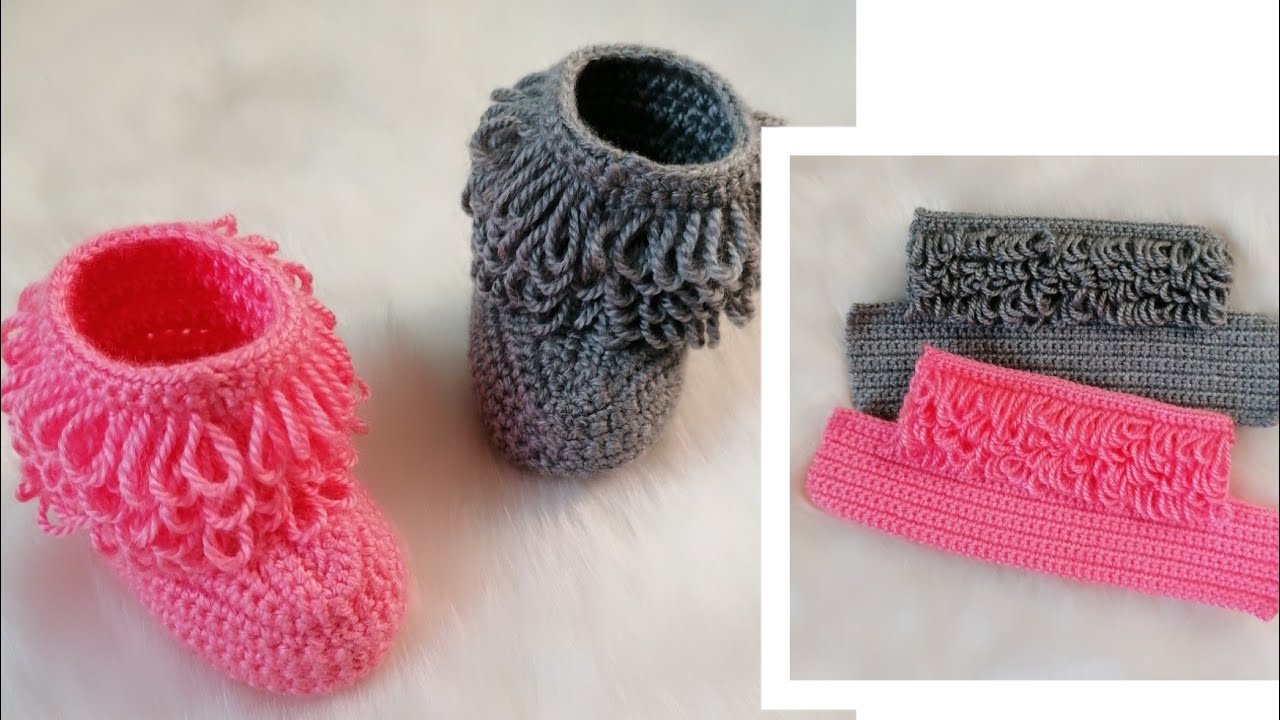
This baby shoe is constructed by first crocheting a flat rectangular piece and then sewing it together to form the shoe shape.
Part 1: The Bootie Base

- Start: Ch 32, which should measure about 7.5 inches (19 cm). Sl st into the first ch to form a circle.
- Round 1: Ch 2 (counts as 1st dc). Dc in each ch around. Join with a sl st to the top of the initial ch 2. (32 dc)
- Round 2: Ch 2. Dc in each st around. Join with a sl st. (32 dc)
- Round 3: Ch 2. Dc in each st around. Join with a sl st. (32 dc)
- Round 4: Ch 2. Dc in each st around. Join with a sl st. (32 dc)
Part 2: Decreasing for the Toe
- Decrease Round 1: The video demonstrates how to decrease stitches to create the shape for the toe. You will be working dc2tog stitches.
- Decrease Round 2: The video shows how to continue decreasing to further shape the toe of the shoe.

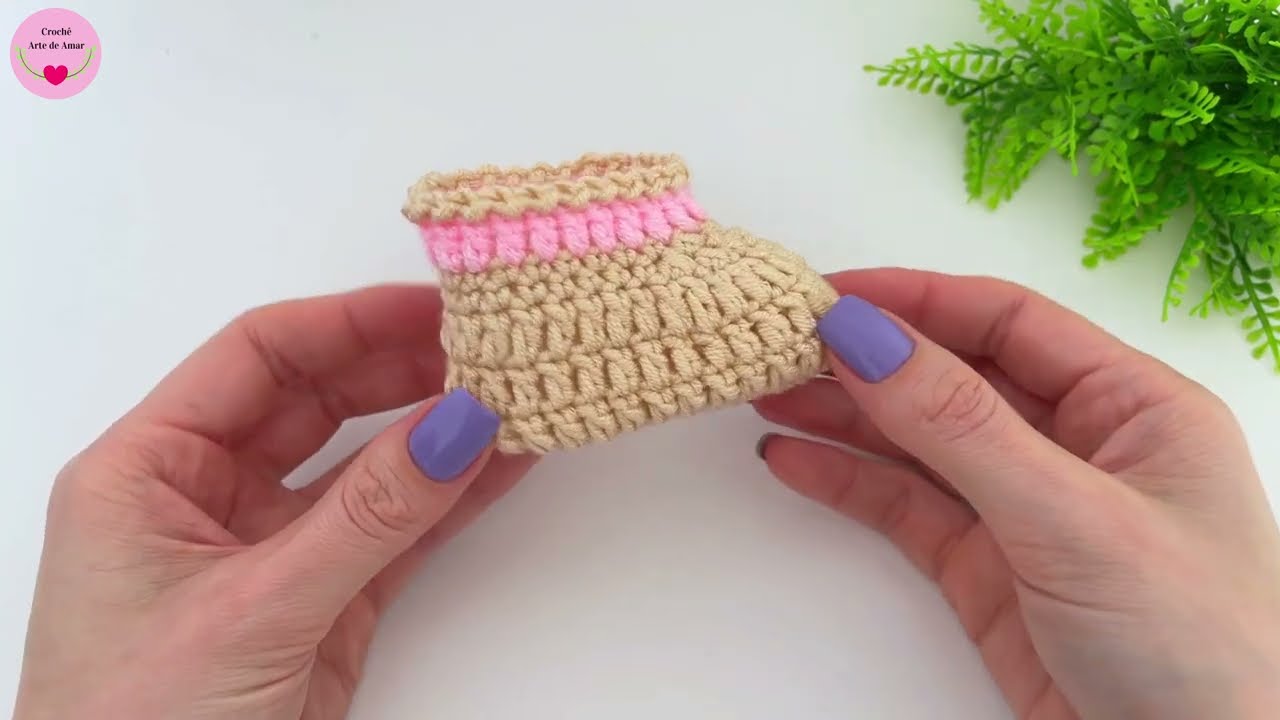
Part 3: Adding Color & The Top Edge
- Change Colors: The video shows how to switch to a different color of yarn. Attach the new yarn and work a row of dc stitches.
- Final Decorative Round: The creator adds a final decorative row using the original yarn color, alternating between slip stitches and chains to create a pretty top edge.
- FO: Cut the yarn, leaving a long tail for sewing.
Part 4: Seaming the Sole
- Sew the Sole: Fold the bootie in half, with the wrong side facing out. Using a tapestry needle and a zigzag stitch, sew the sole of the shoe together to give it a rounded shape.
- Weave in all ends: Use your tapestry needle to neatly weave in any remaining loose yarn tails.
Part 5: Final Touches
- Turn the shoe right side out, and it’s ready to wear!
- Add elastic or a ribbon around the top edge to help the shoe stay on the baby’s foot.
Video tutorial
Versatile Uses for Your Baby Booties:
- Everyday Wear: Keep your baby’s feet warm and cozy.
- Photo Prop: A beautiful handmade prop for baby photos.
- Gift: A thoughtful and impressive handmade baby shower or new baby gift.
Customization & Tips:
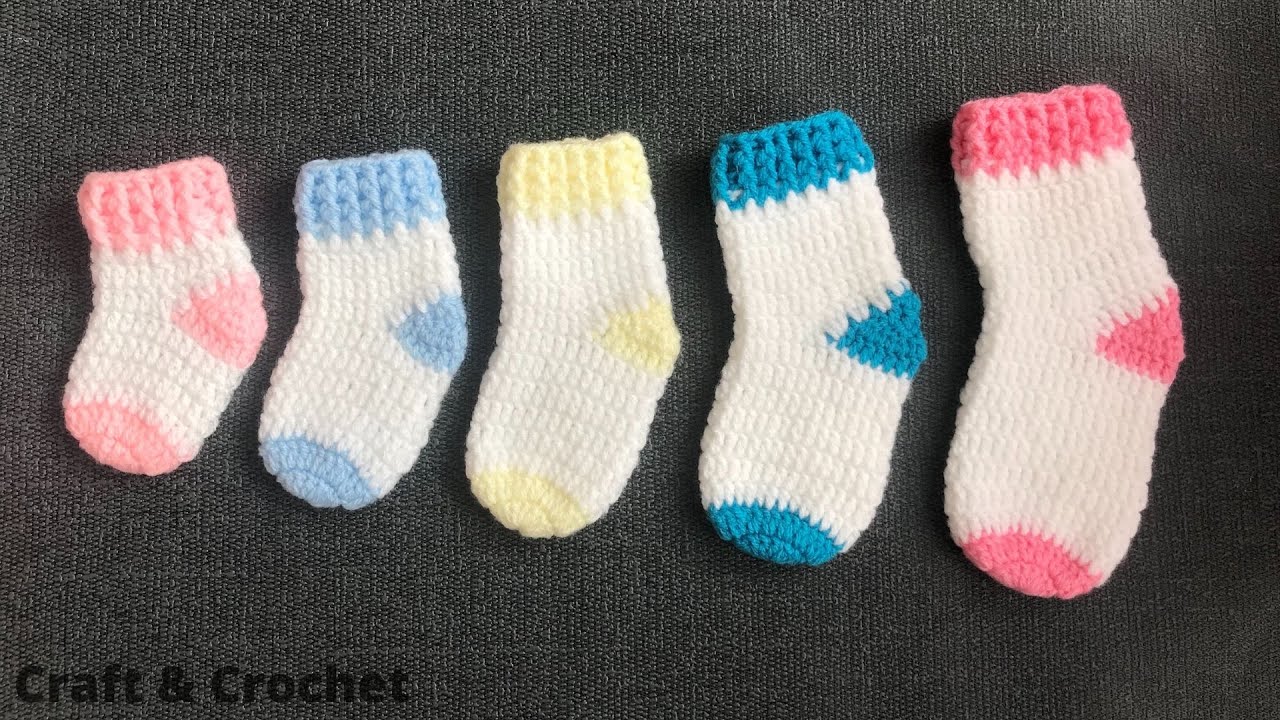
- Size Adjustment: The video mentions that the pattern can be adjusted to make the shoe bigger or smaller. You can do this by changing the number of initial chains and the number of rounds.
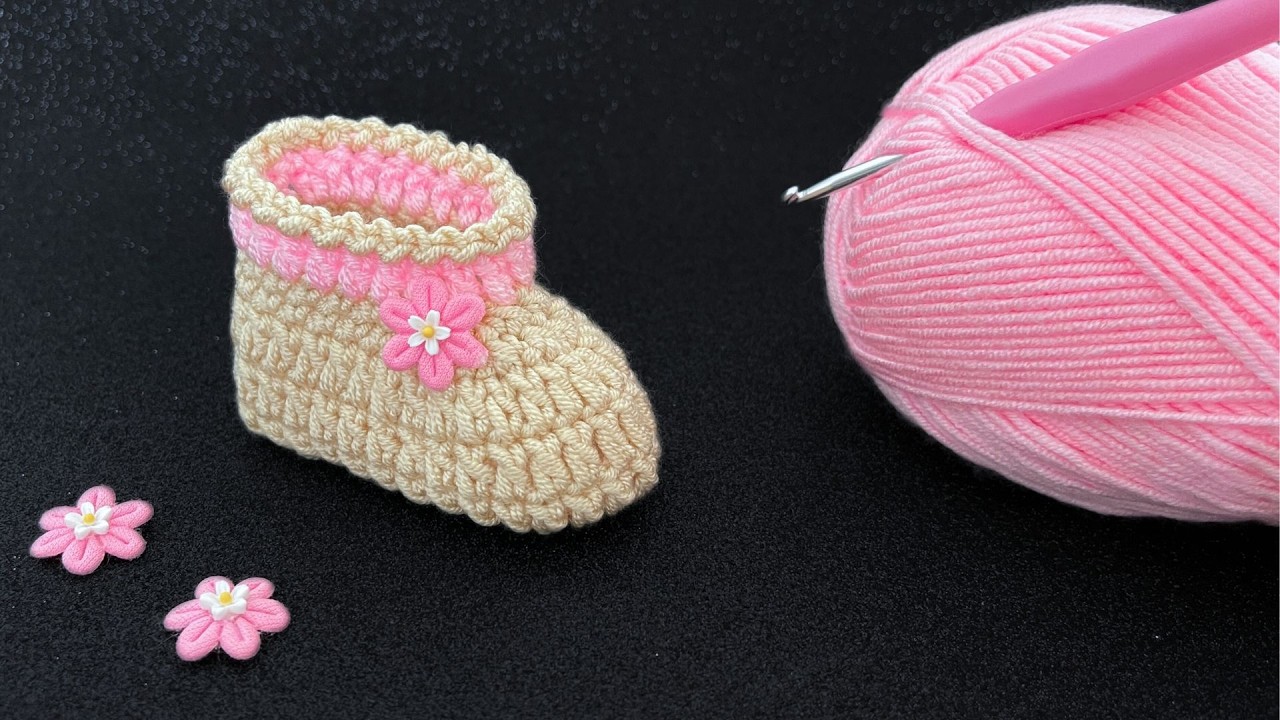
- Yarn Choice: Experiment with different yarn types and colors.
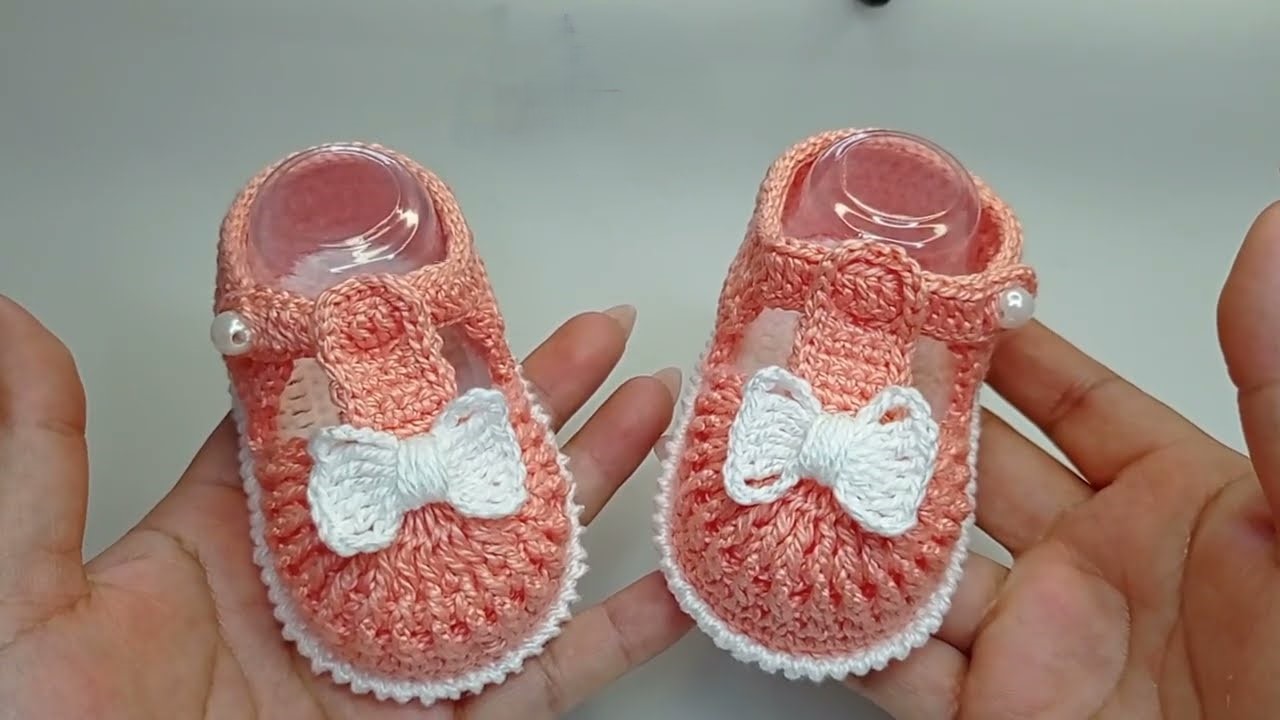
- Decoration: Add a small crocheted flower, a button, or a different kind of embellishment for a personalized touch.
Enjoy crocheting your own beautiful, practical, and unique baby booties! It’s a fantastic way to create a personalized accessory that’s sure to become a favorite.