 by
by 
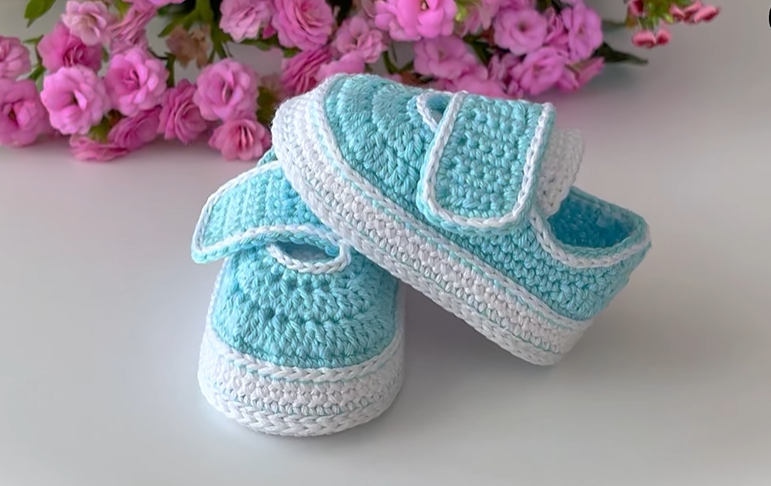
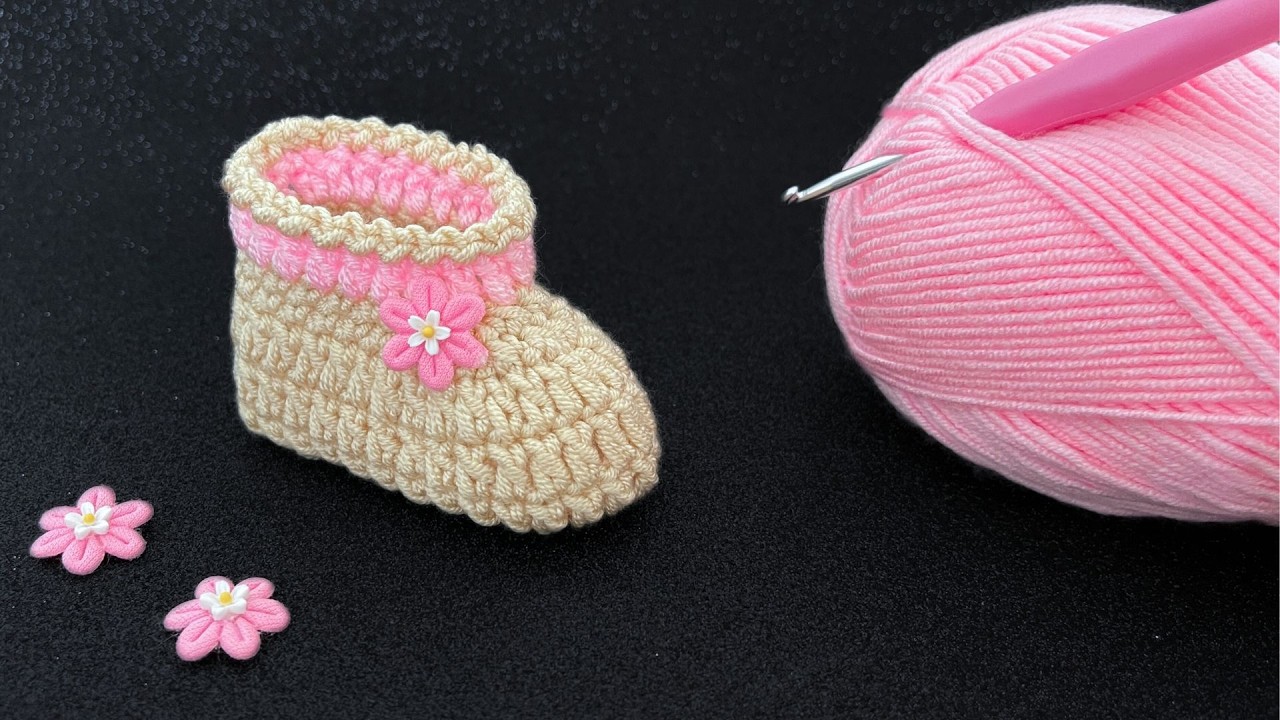
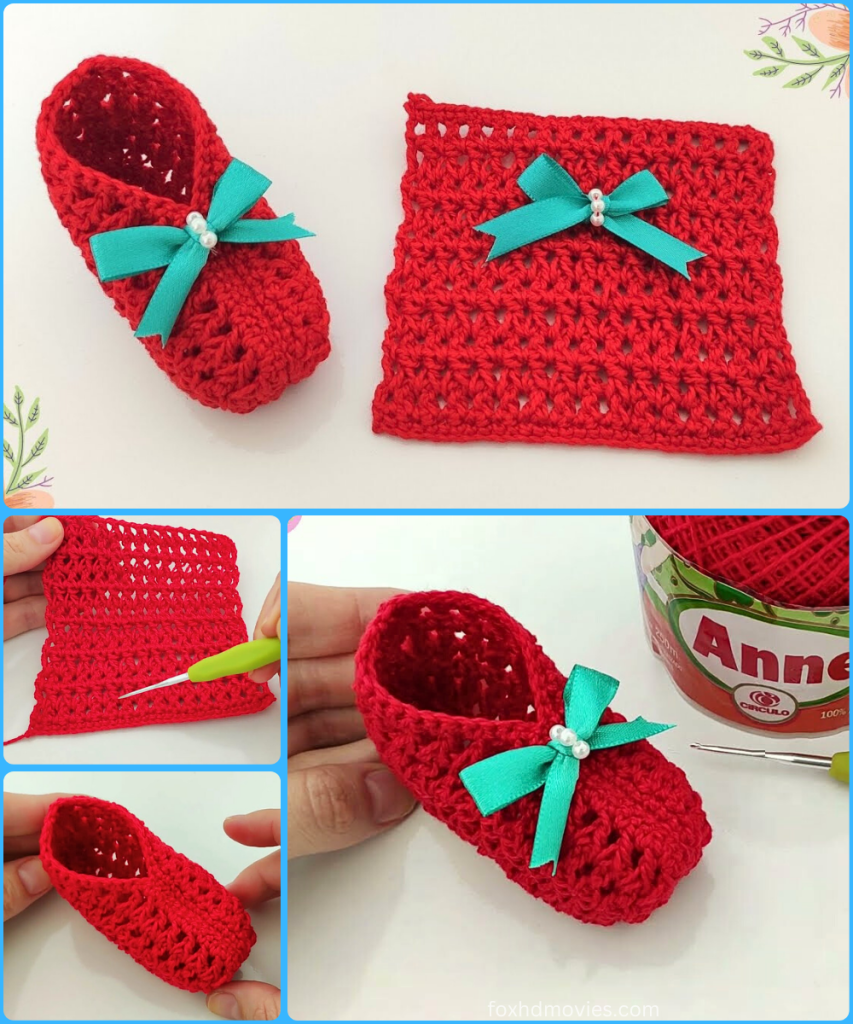
Create your own beautiful and practical baby shoes with this easy-to-follow crochet pattern! Inspired by a detailed tutorial, this design guides you through crafting a unique pair of booties with a simple single crochet stitch, perfect for a newborn up to three months old. These booties are a wonderful handmade gift that is sure to be treasured.
Skill Level: Beginner
Finished Size (Approximate):
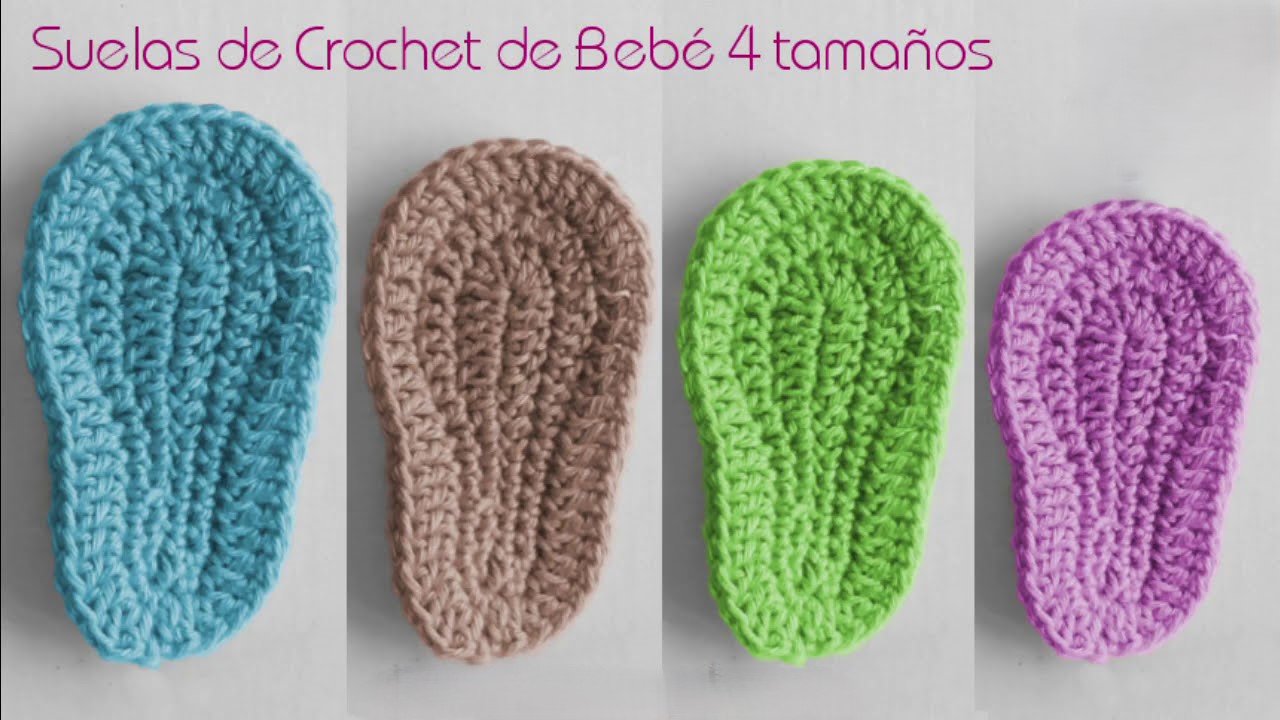
- Size: 0-3 months
- The finished piece should measure about 4.3 inches (11 cm) in height.
- Size can vary based on yarn, hook, and tension.
Materials You’ll Need:
- Yarn: Approximately 10-15g of a baby-appropriate yarn.
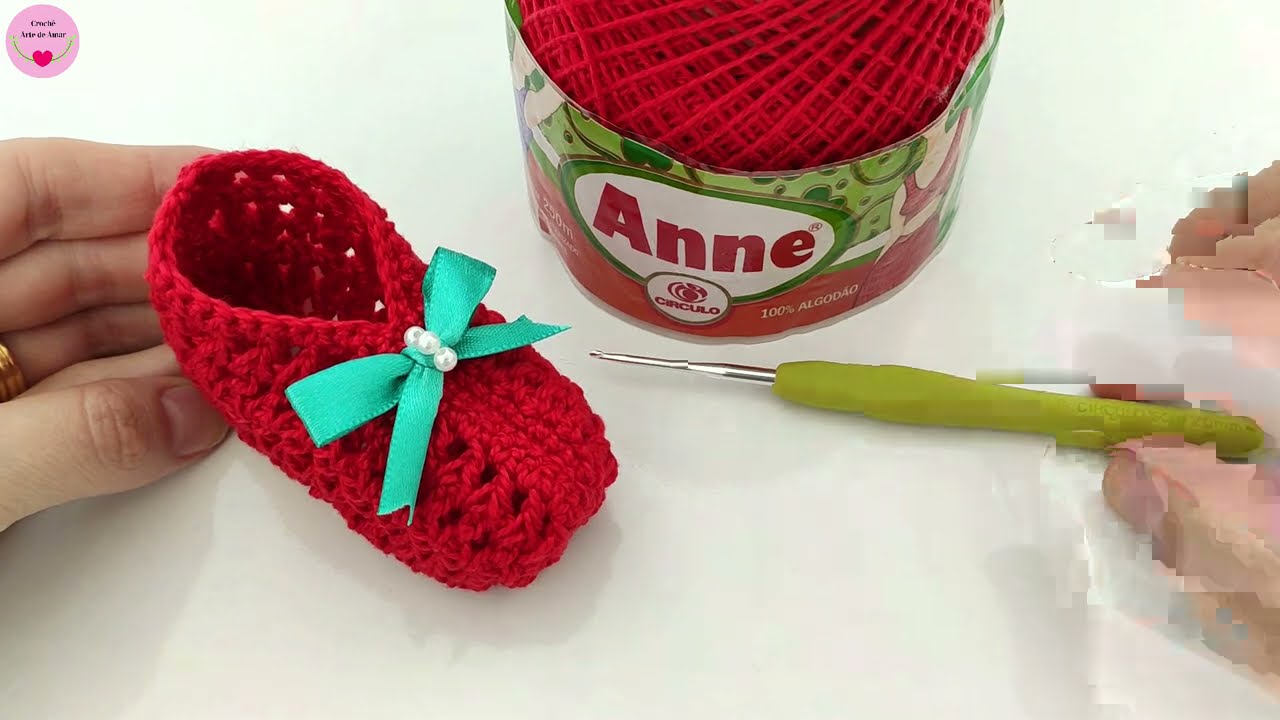
- The video uses a specific yarn with a tex of 295.
- Crochet Hook: A 2.0 mm crochet hook (or a hook size appropriate for your chosen yarn).
- Tapestry Needle: For sewing the pieces together and weaving in ends.
- Scissors
Gauge:
Achieving consistent gauge is important for sizing. Make sure your stitches are not too loose or too tight. If your fabric is too loose, go down a hook size. The stitch pattern used for this project is a multiple of two.
Abbreviations (US Crochet Terms):
- ch: chain
- sc: single crochet
- sl st: slip stitch
- st(s): stitch(es)
- FO: Fasten off
Let’s Crochet Your Baby Shoes!
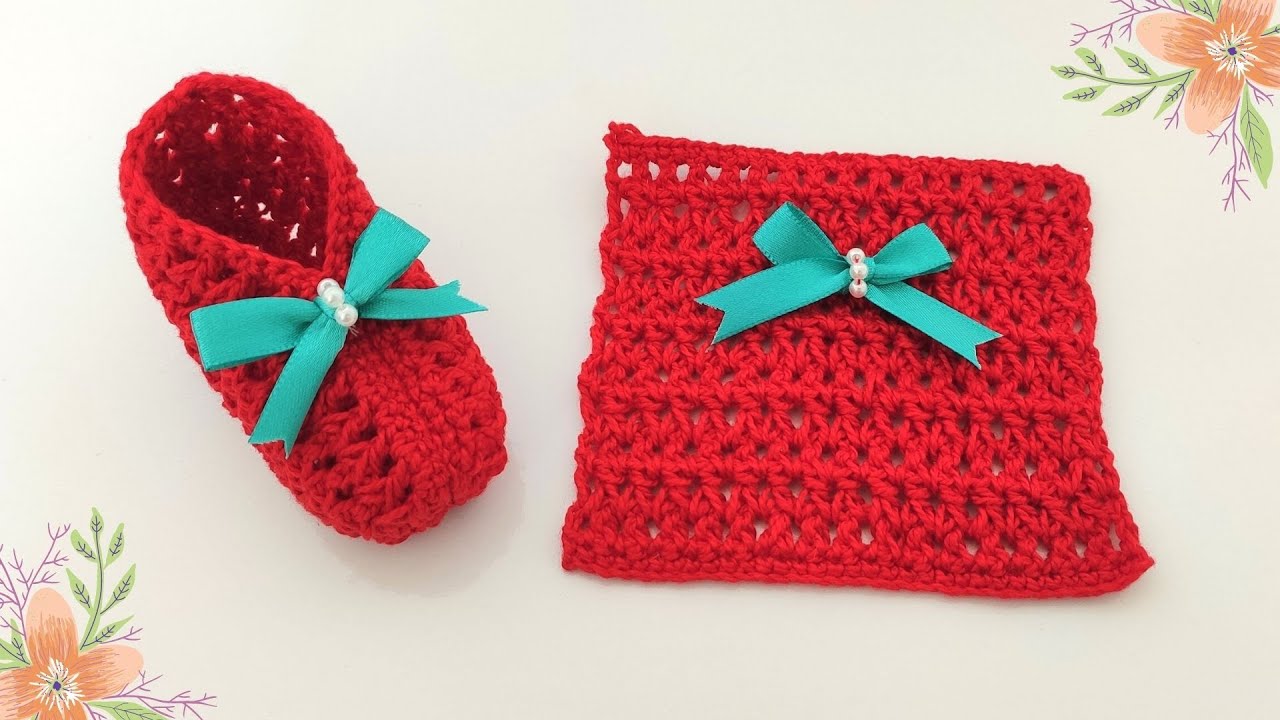
This baby shoe is constructed by first crocheting a flat rectangular piece and then sewing it together to form the shoe shape.
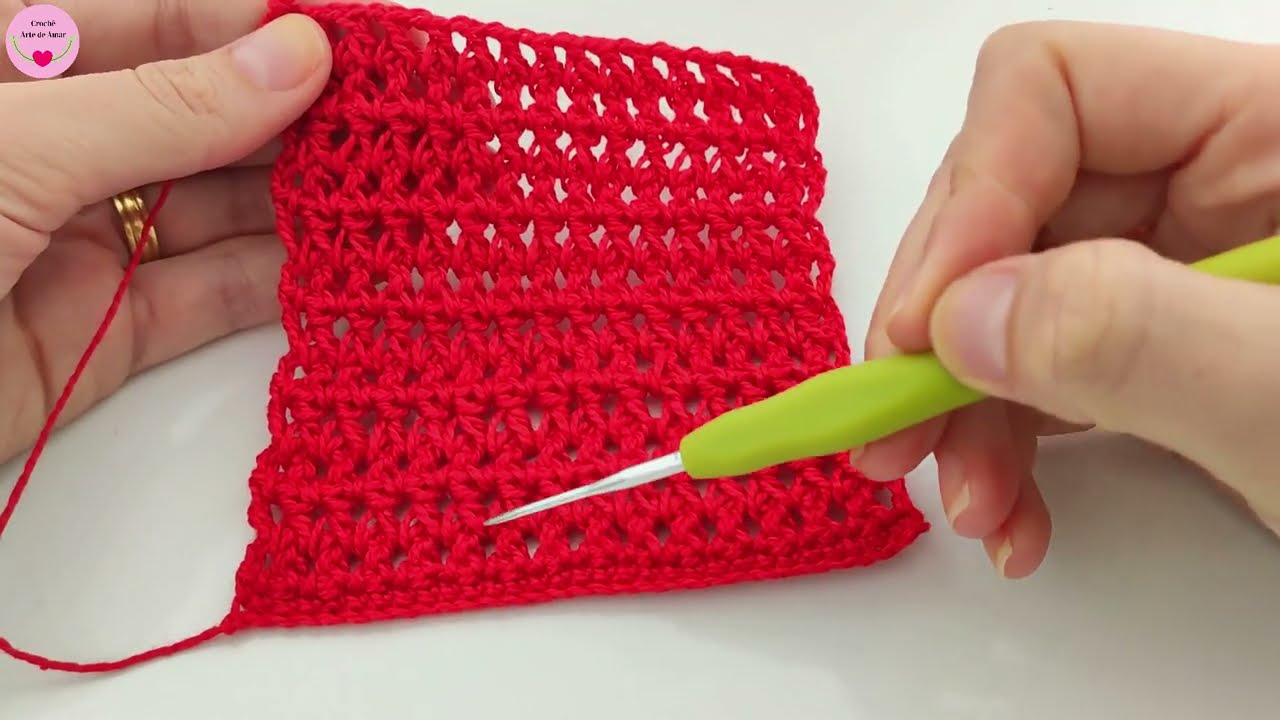
Part 1: The Shoe Piece
- Start: Ch 31.
- Row 1: Sc in the second ch from the hook and in each ch across. (30 sc)
- Subsequent Rows: The video demonstrates a specific stitch pattern, which is described as easy and versatile. The pattern involves a combination of stitches that create a beautiful texture.
- Continue crocheting rows in this stitch pattern until the piece measures about 4.3 inches (11 cm) in height.
- Final Row: End with a row of single crochet stitches to create a clean top edge.
- FO: Cut the yarn, leaving a long tail for sewing.
Part 2: Assembly
- Fold the Piece: Fold the piece in half lengthwise, with the wrong side facing out.
- Sew the Front: Use your tapestry needle and the long tail of yarn to sew the front edges together, creating the toe of the shoe.
- Sew the Back: Sew the back edges together to create the heel of the shoe.
- Weave in all ends: Use your tapestry needle to neatly weave in any remaining loose yarn tails.
Part 3: Final Touches
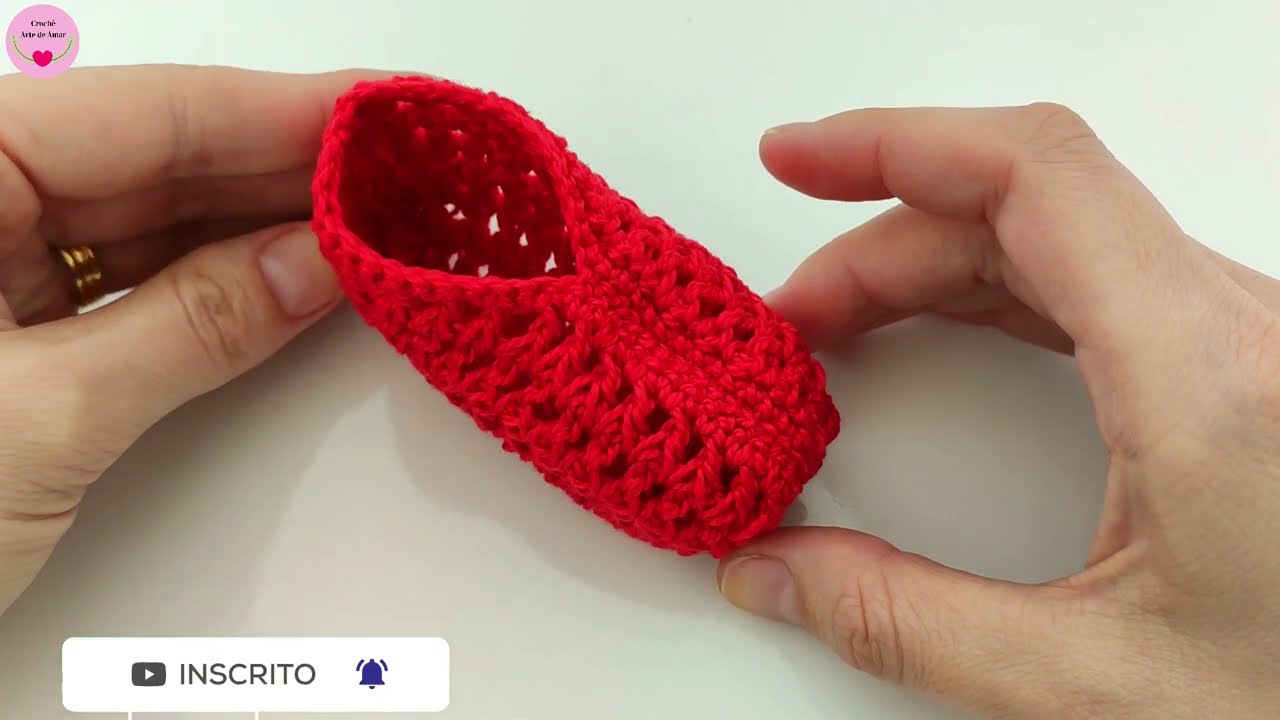
- Turn the shoe right side out, and it’s ready to wear!
- Add a small pom-pom, a crocheted flower, or a ribbon for a personalized touch.
Video tutorial
Versatile Uses for Your Baby Shoes:
- Everyday Wear: Keep your baby’s feet warm and cozy.
- Photo Prop: A beautiful handmade prop for baby photos.
- Gift: A thoughtful and impressive handmade baby shower or new baby gift.
Customization & Tips:
- Size Adjustment: The video provides a clear guide on how to adjust the size, as the stitch pattern is a multiple of two.
- Yarn Choice: Experiment with different yarn types and colors.
- Decoration: Add a small crocheted flower, a ribbon, or a different kind of embellishment for a personalized touch.
Enjoy crocheting your own beautiful, practical, and unique baby shoes! It’s a fantastic way to create a personalized accessory that’s sure to become a favorite.